Difference between revisions of "The Art of Sword Forging"
From Londonhua WIKI
(→Blade Patterns) |
(→Section 2: Deliverable) |
||
| Line 77: | Line 77: | ||
<br> | <br> | ||
[[File: Groups Swords.JPG|x320px|right|thumb|Workshop Swords before the handle]]<br> | [[File: Groups Swords.JPG|x320px|right|thumb|Workshop Swords before the handle]]<br> | ||
| − | For the Deliverable, I created a sword using some medieval sword forging techniques, such as drawing and cornering. By Comparing my Sword to those in ''The Illustrated Directory of Swords & Sabres'' by Harvey J. S. Withers, my sword is most like a European knightly sword from c.1350. Since creating art on a sword takes a more skilled blacksmith I decided to simple forge a sword to get an idea of how difficult creating the art along with the sword must have been. The Sword was made at a four day workshop offered by the Forge of Avalon on Glastonbury. The class was taught by Richard, the owner of the forge. In order to participate in the class we needed safety glasses, heat resistant work gloves (not welding gauntlets), | + | For the Deliverable, I created a sword using some medieval sword forging techniques, such as drawing and cornering. By Comparing my Sword to those in ''The Illustrated Directory of Swords & Sabres'' by Harvey J. S. Withers, my sword is most like a European knightly sword from c.1350. Since creating art on a sword takes a more skilled blacksmith I decided to simple forge a sword to get an idea of how difficult creating the art along with the sword must have been. The Sword was made at a four-day workshop offered by the Forge of Avalon on Glastonbury. The class was taught by Richard, the owner of the forge. In order to participate in the class, we needed safety glasses, heat resistant work gloves (not welding gauntlets), nonflammable clothes, and sturdy shoes. The next section will go into how the sword was made. |
<br><br> | <br><br> | ||
==Process of sword forging== | ==Process of sword forging== | ||
<br> | <br> | ||
===Learning the Basics=== | ===Learning the Basics=== | ||
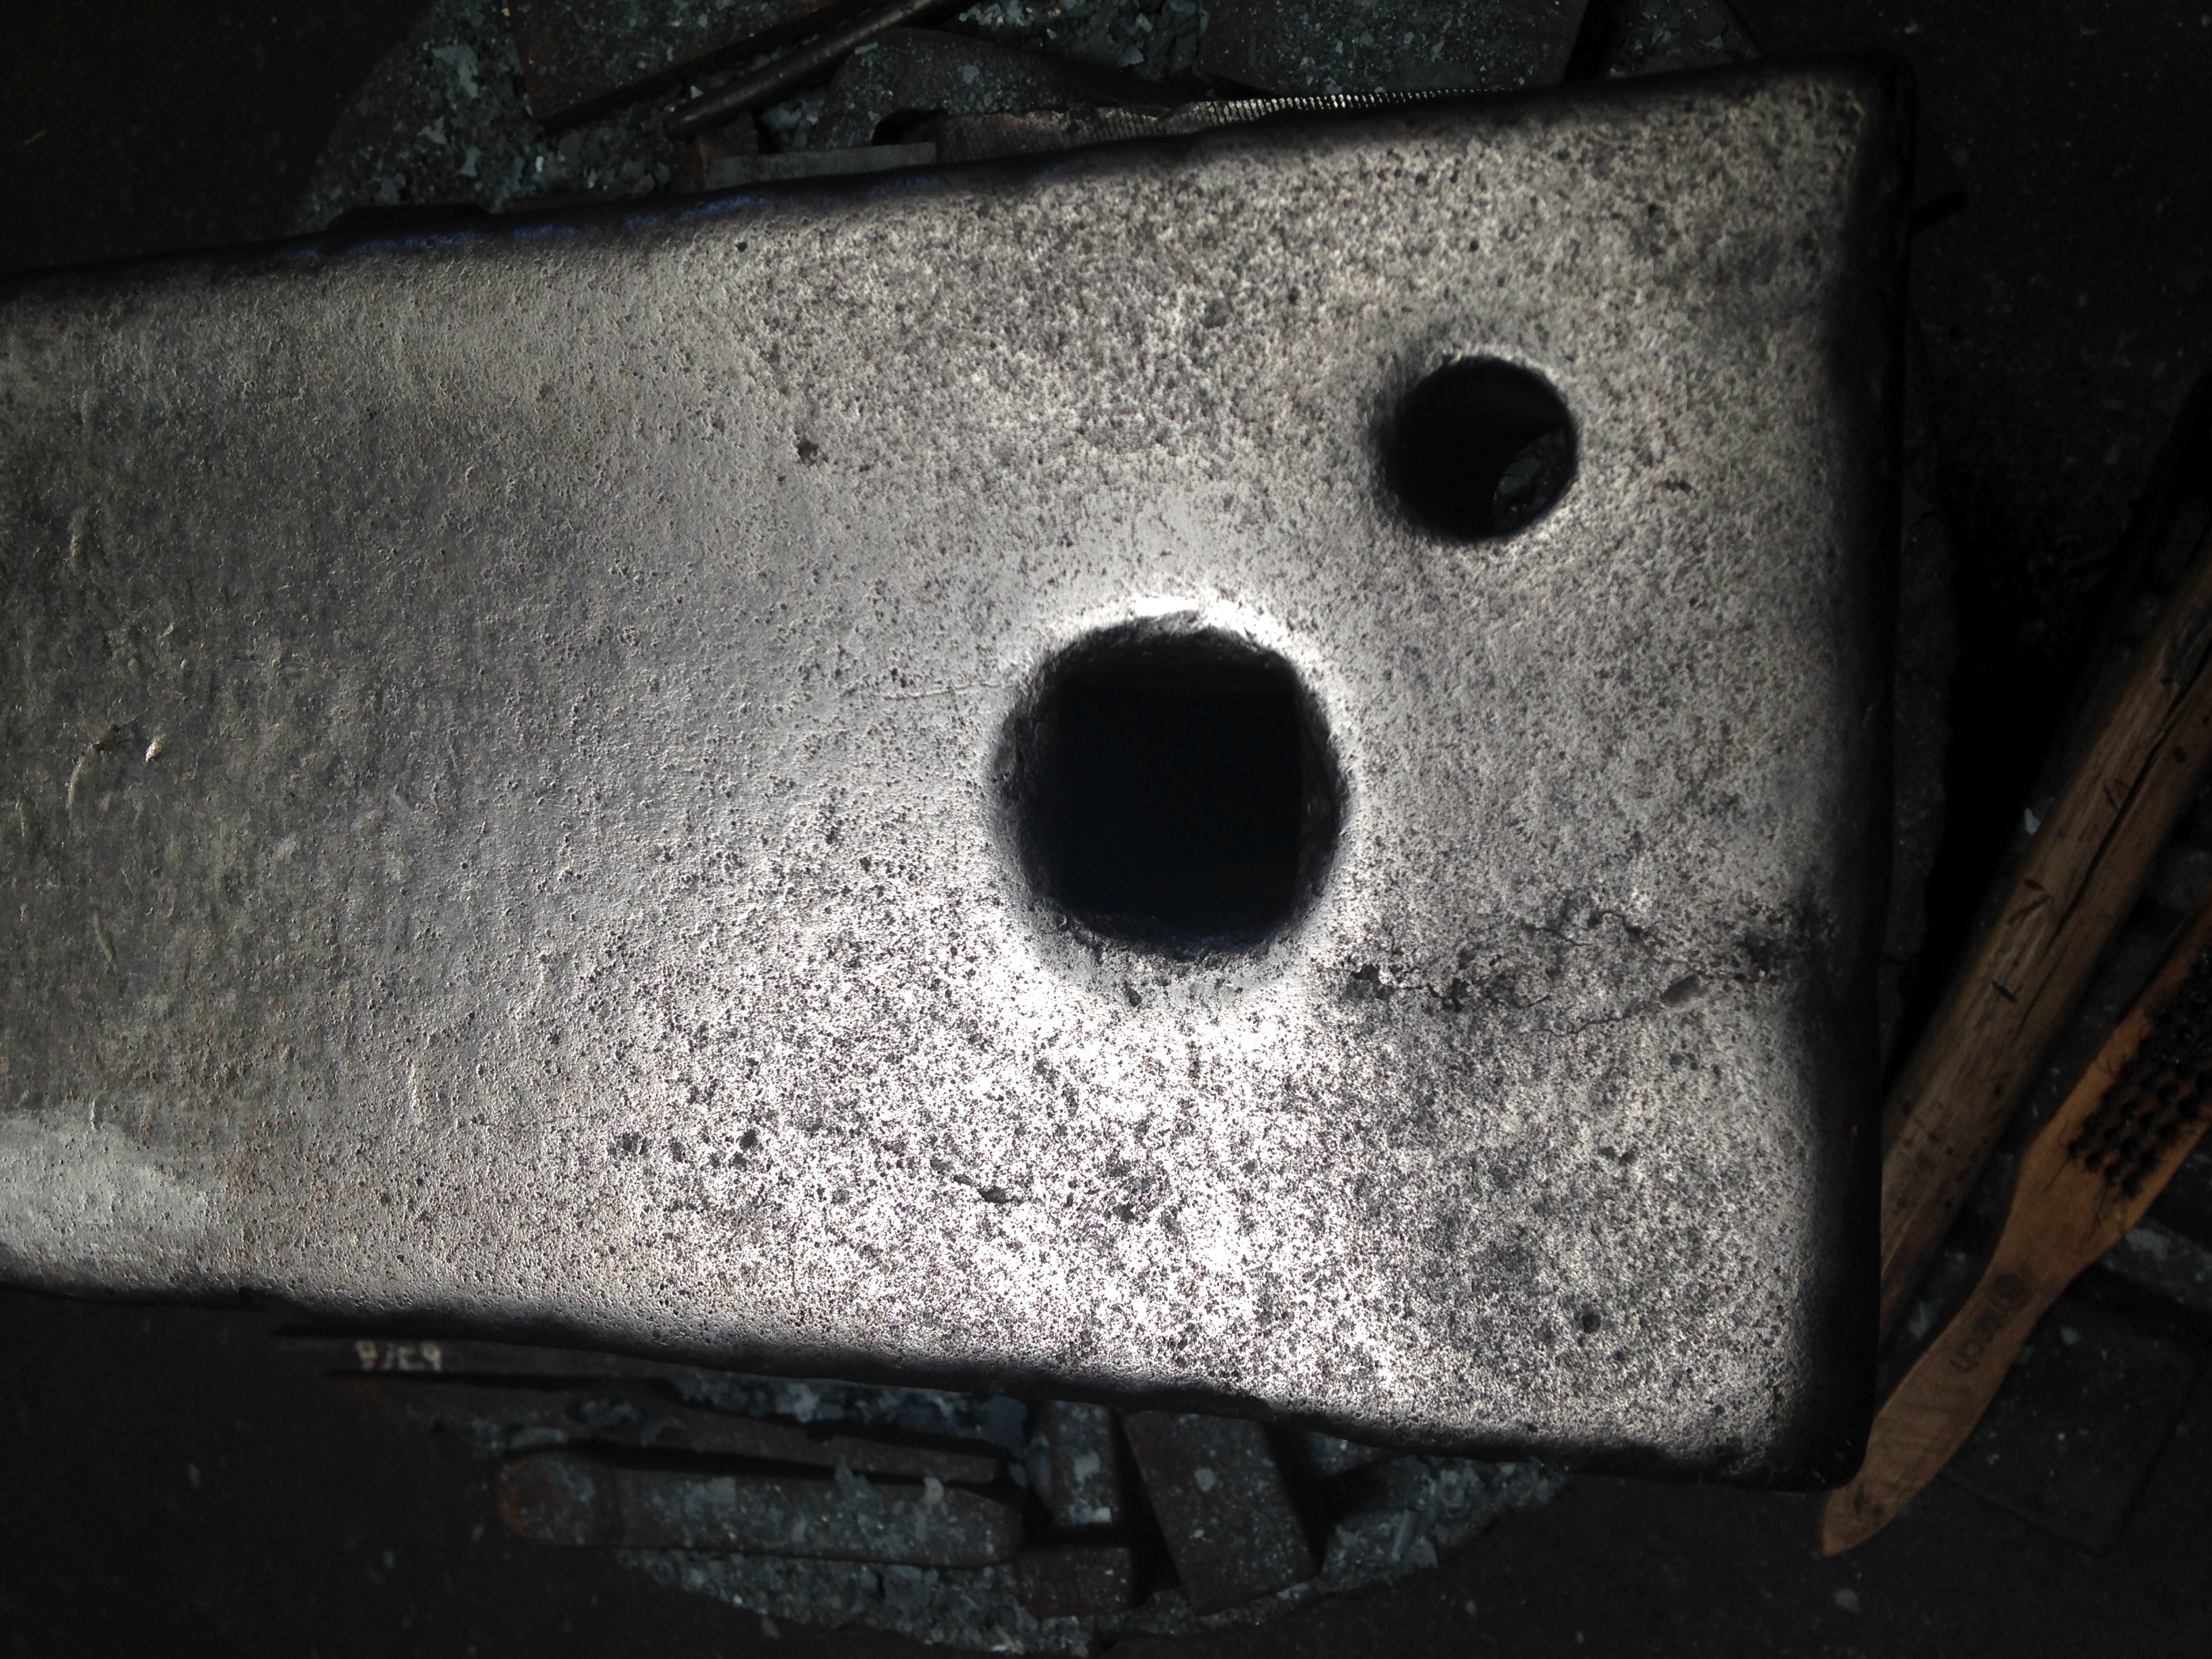
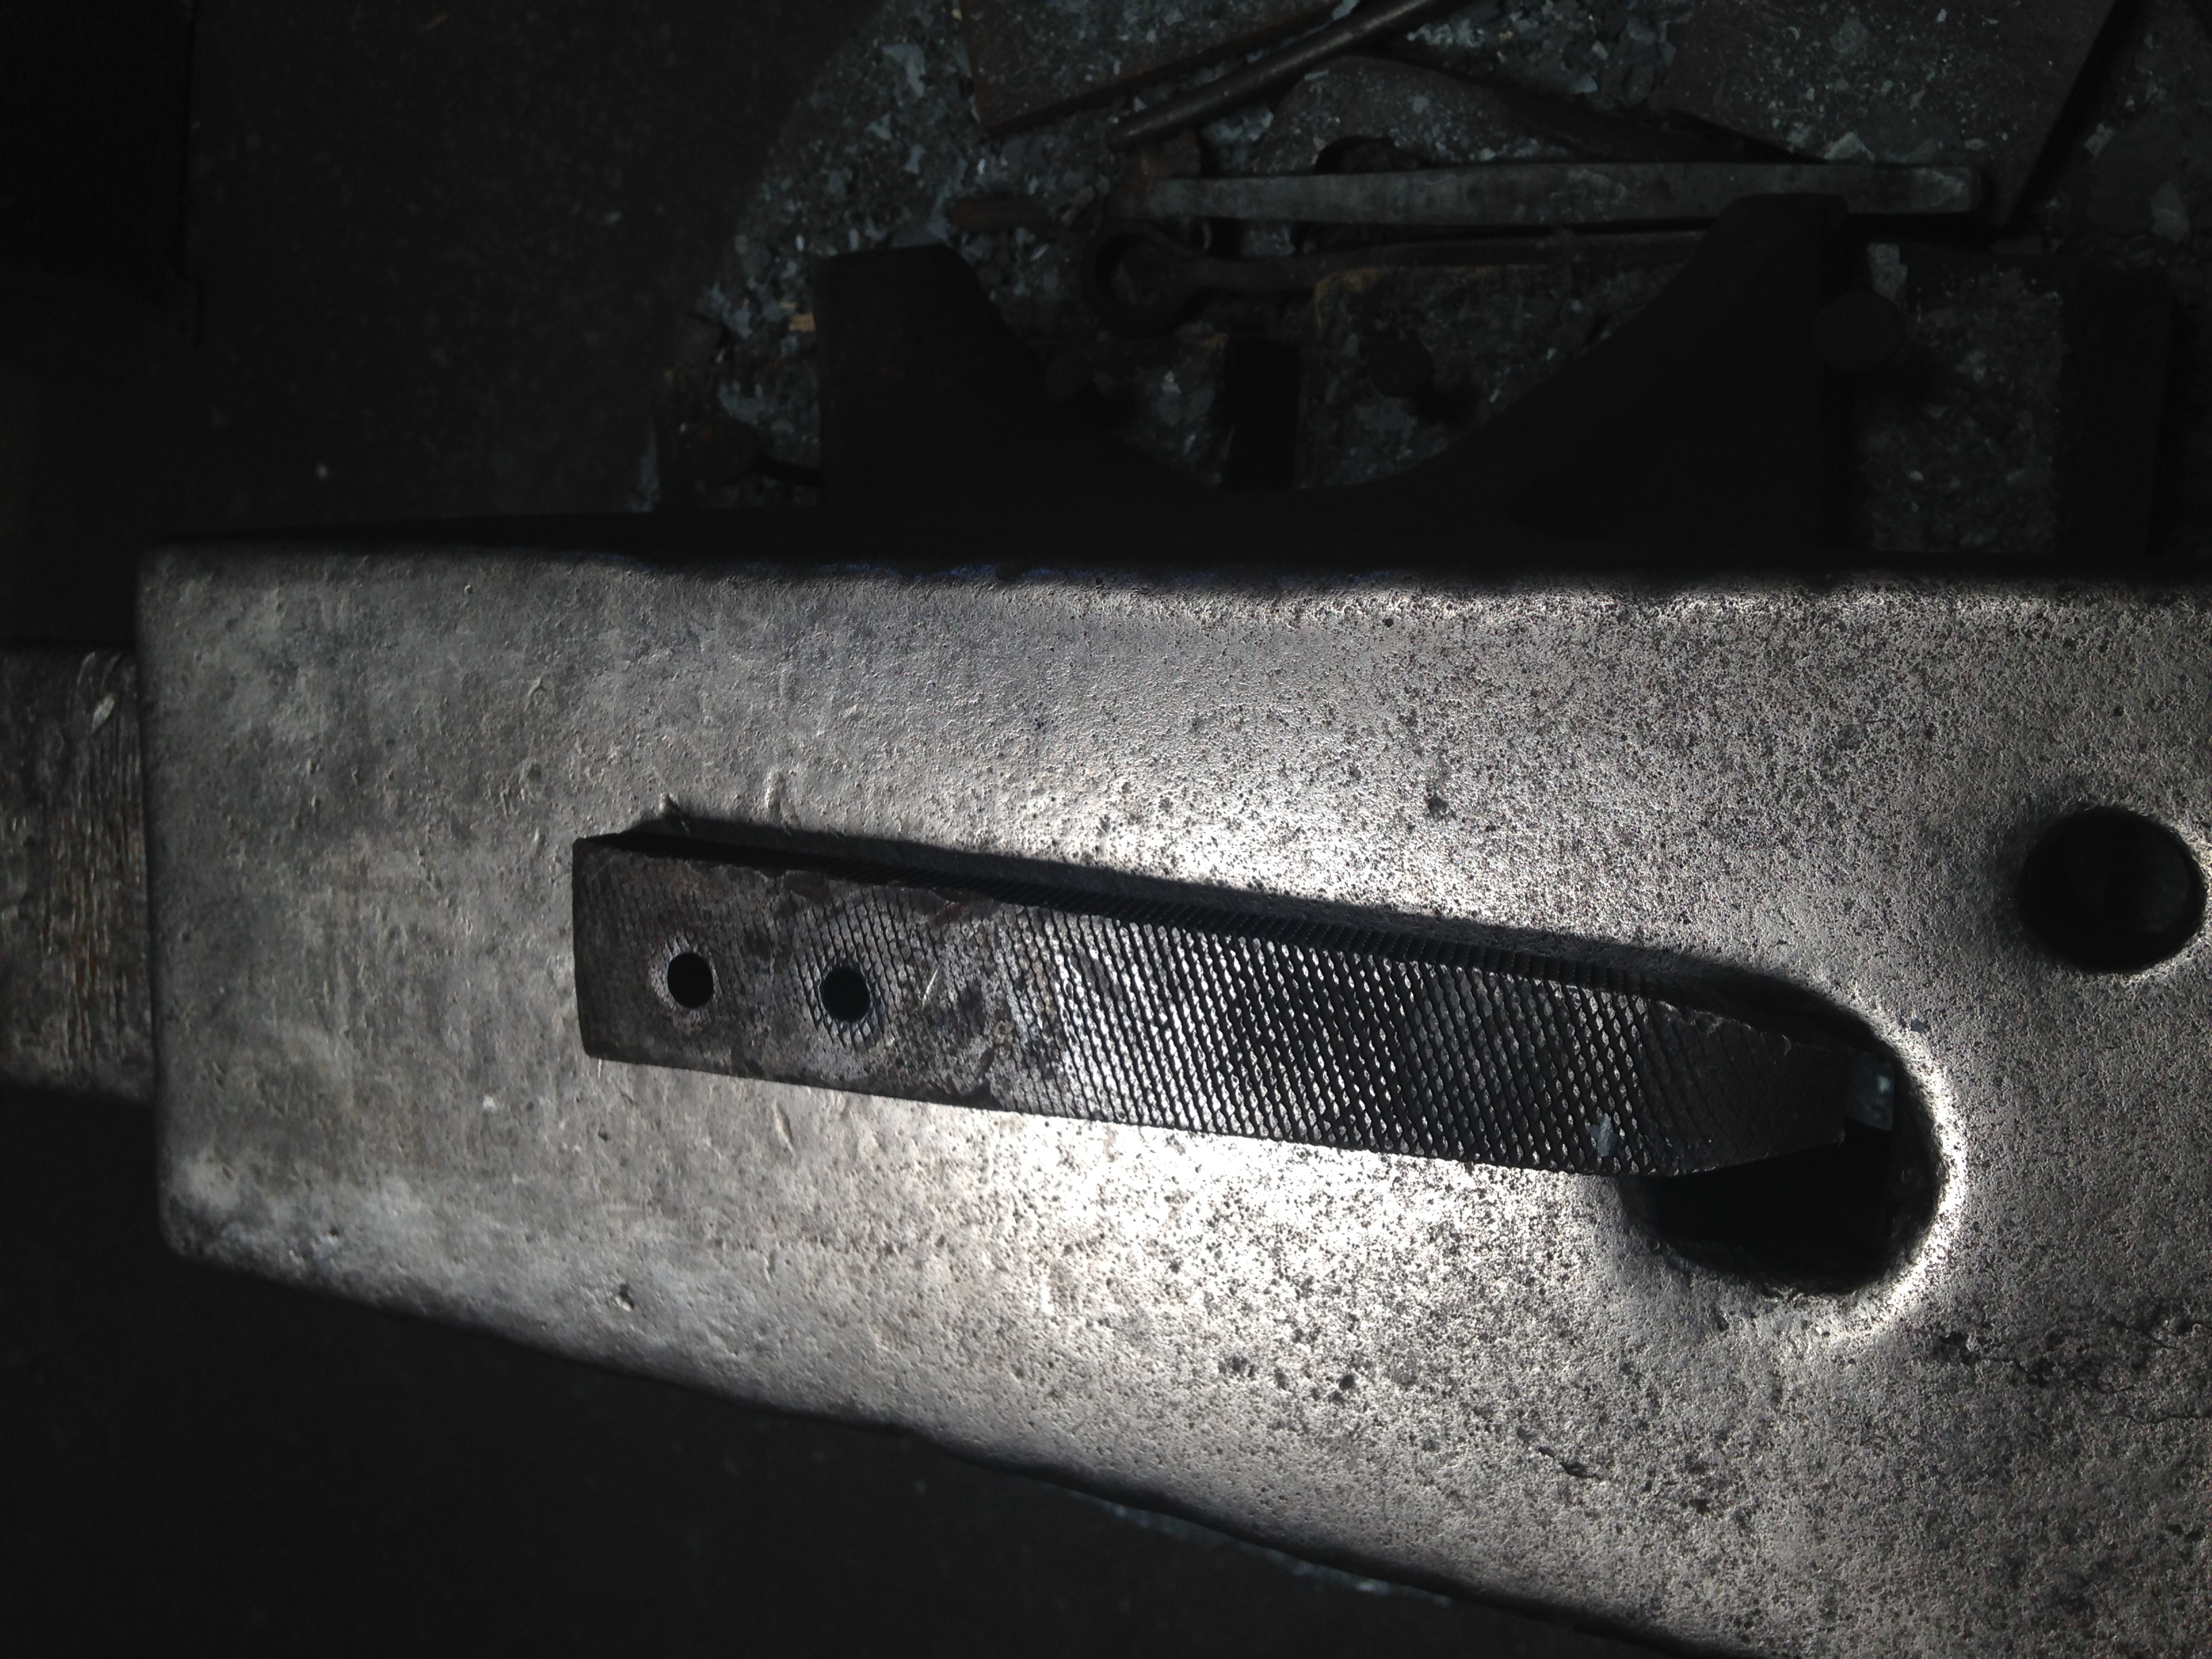
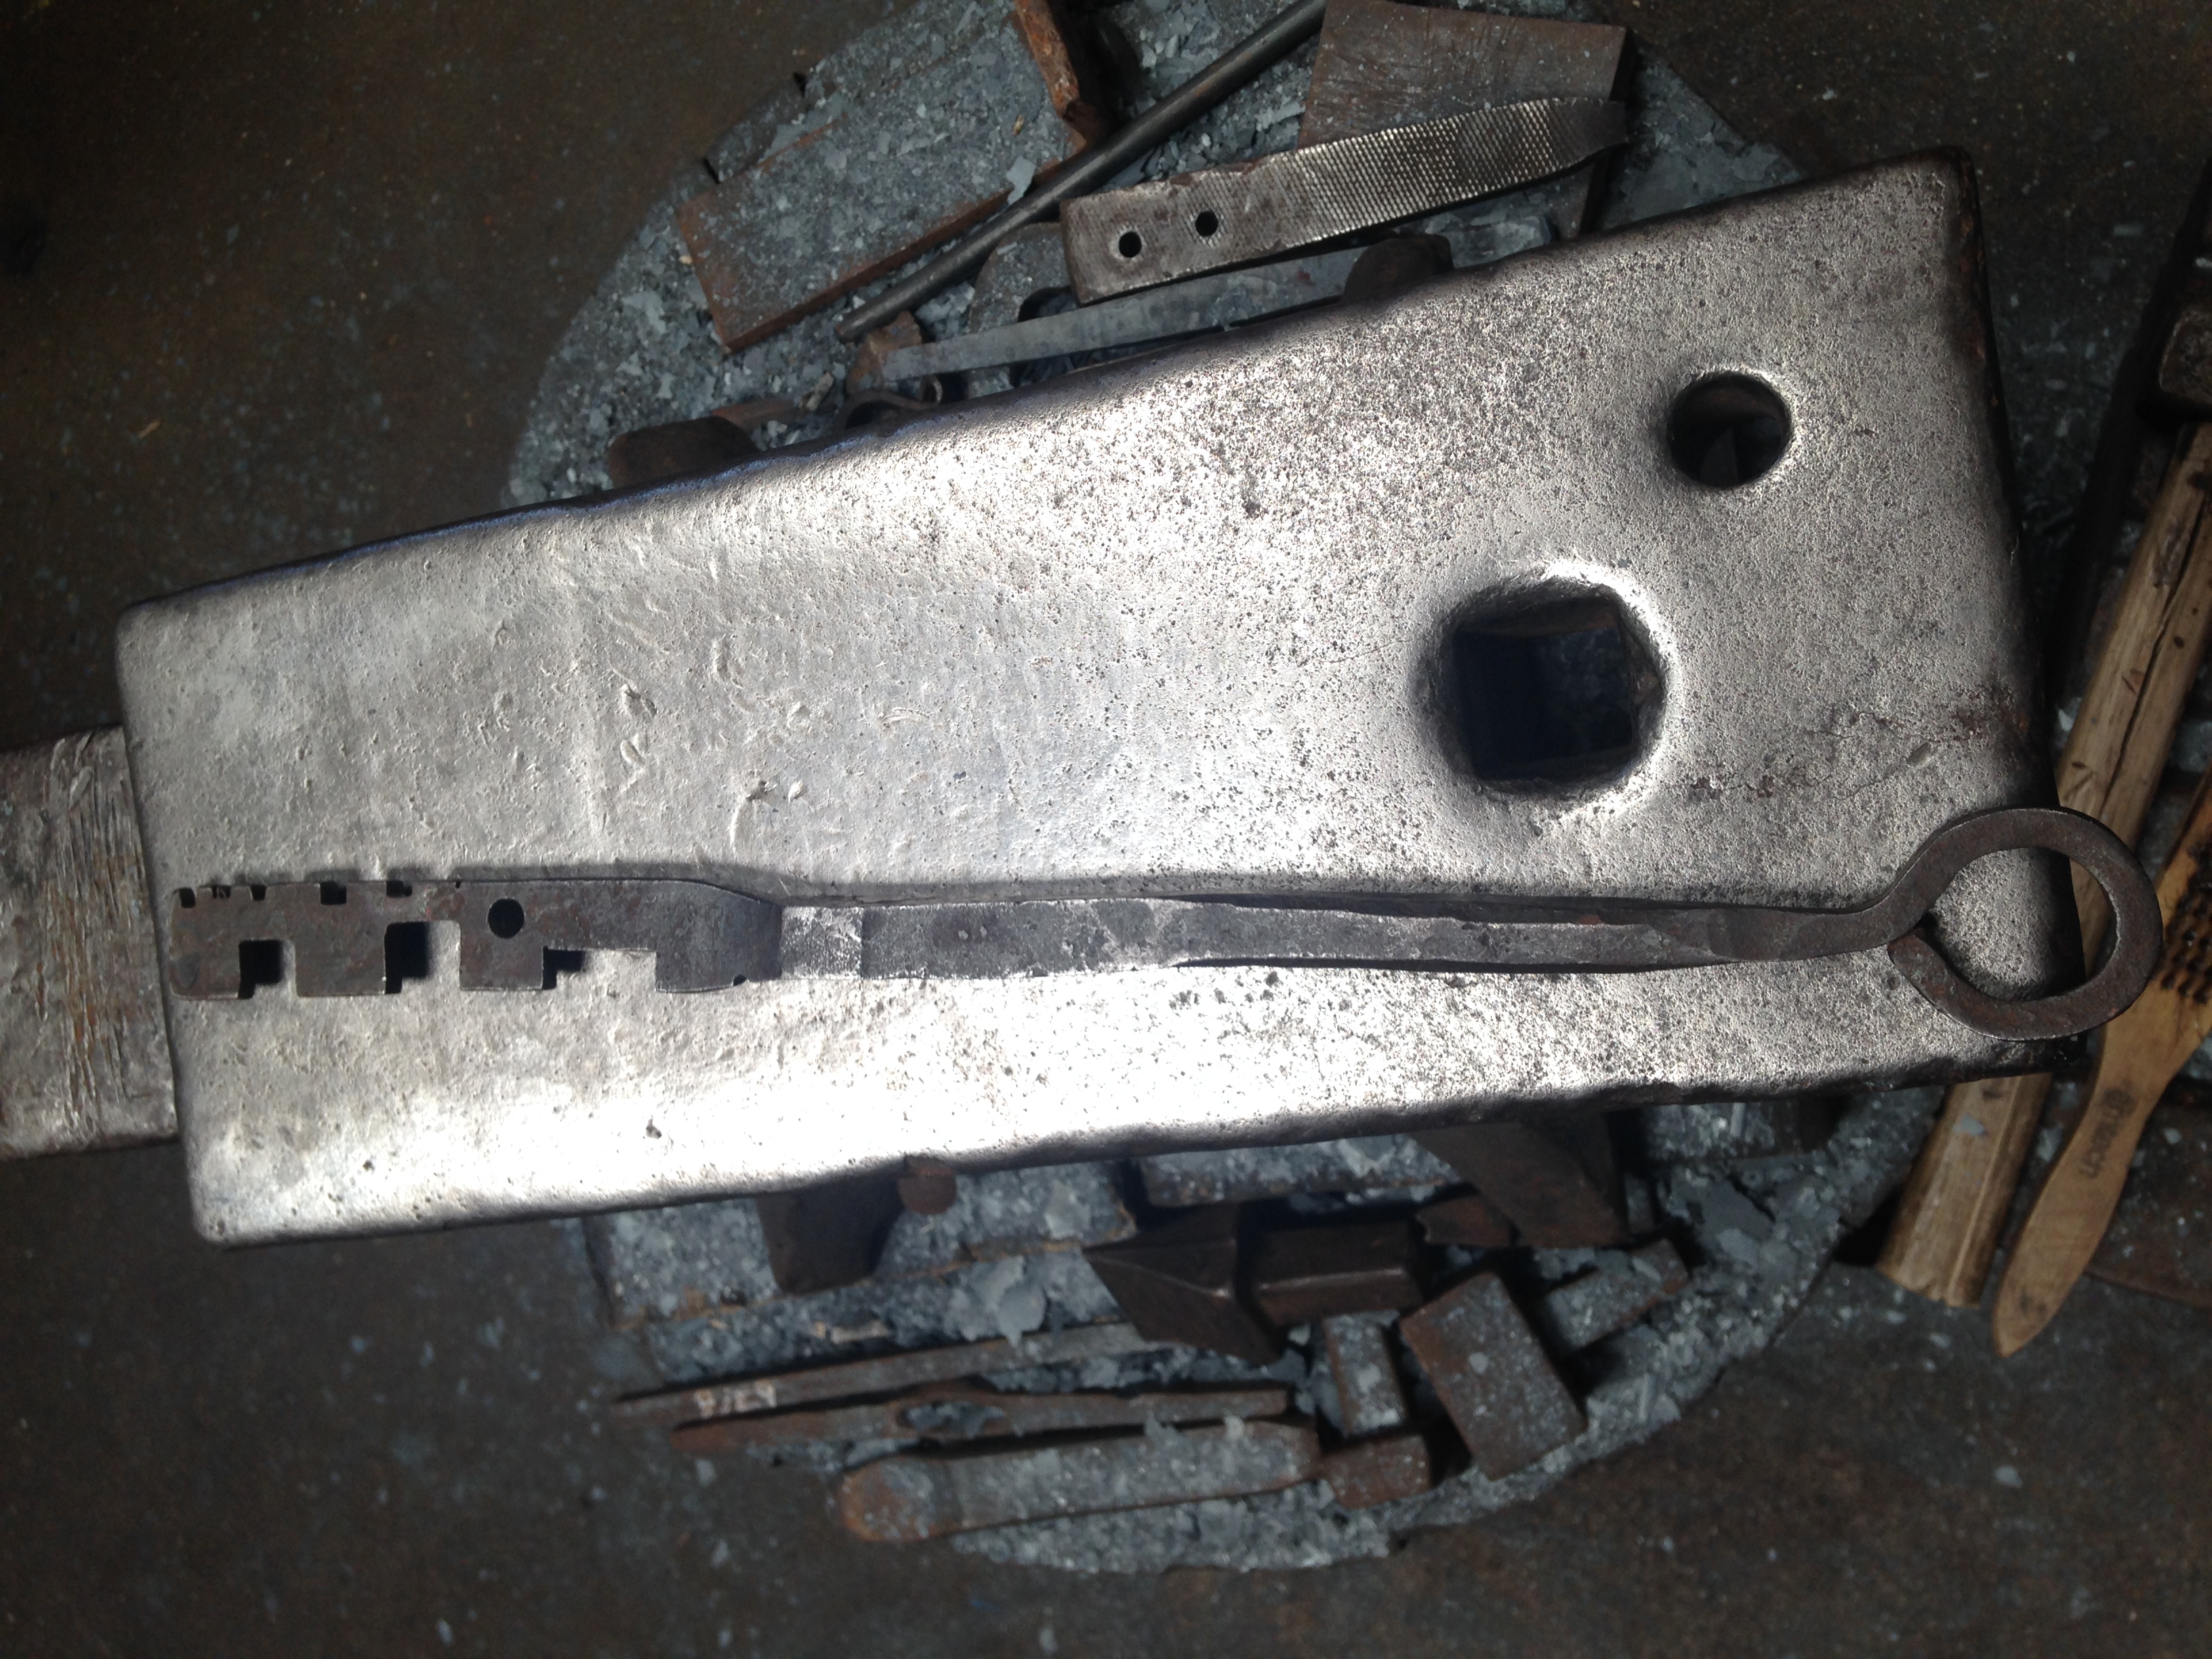
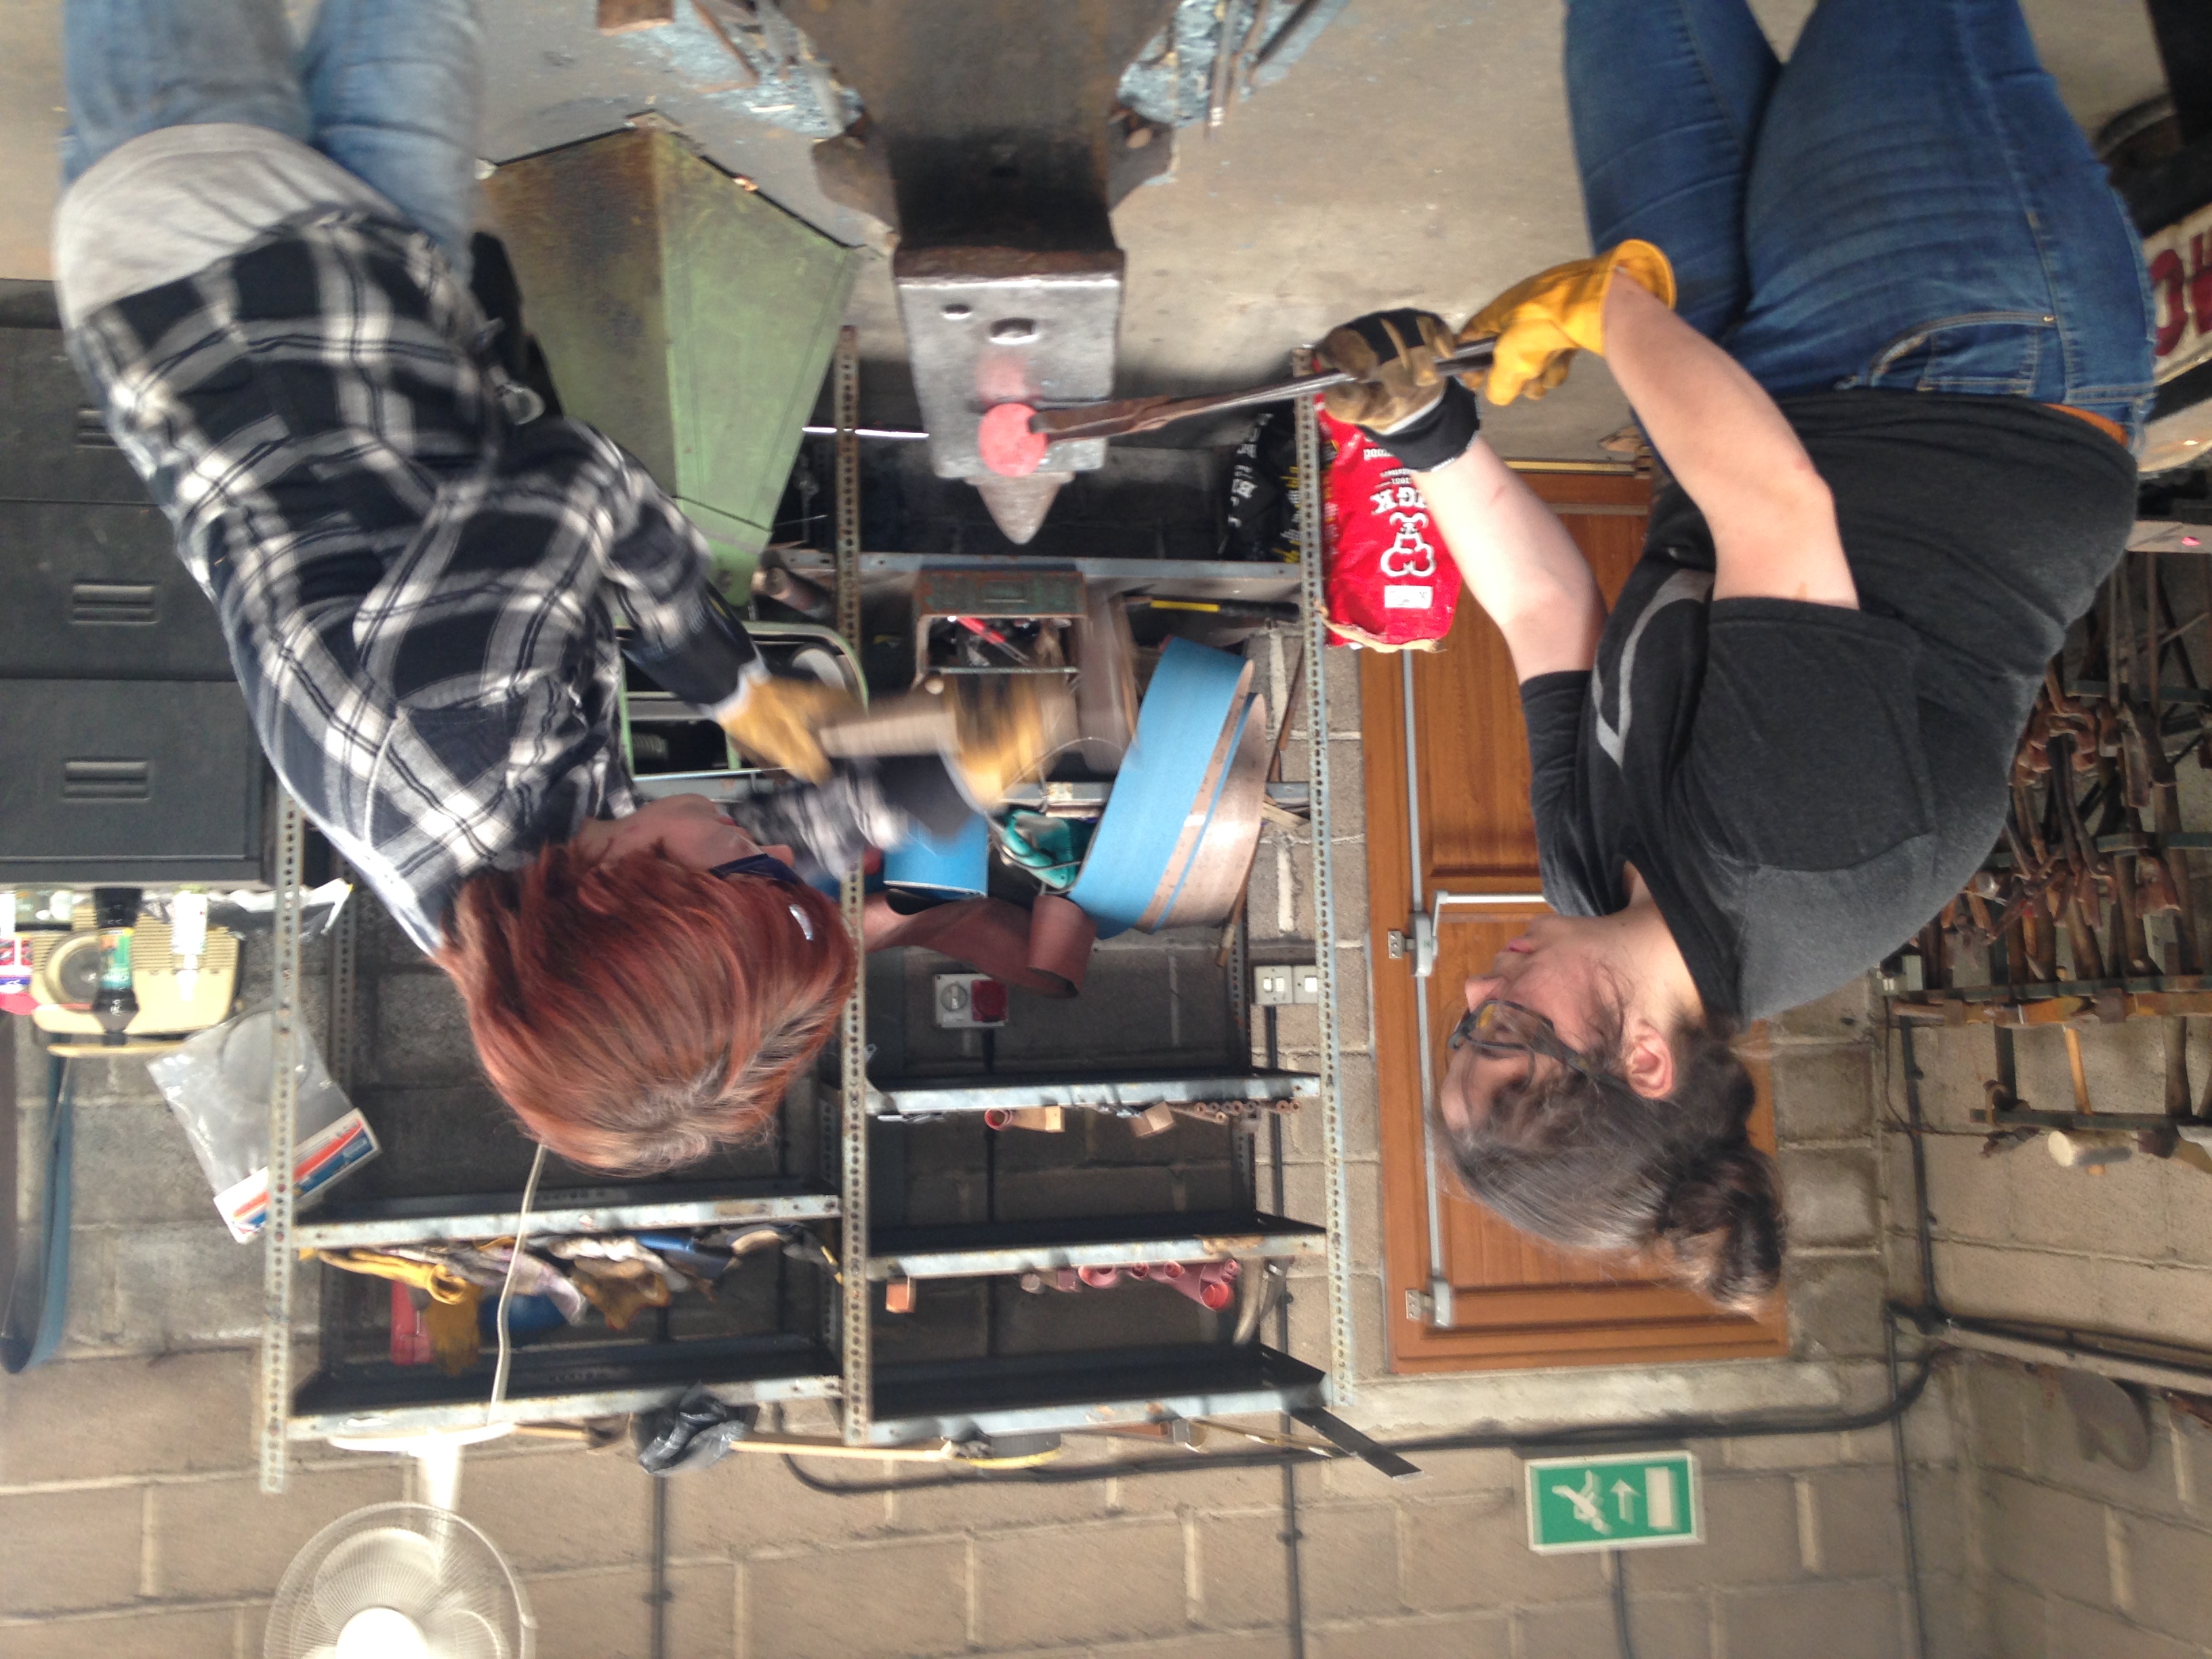
| − | We started by forging nails to learn basic skills such are making points, drawing, cornering, and making heads. Cornering is done by heating the metal then hammering at the end of the piece with a slight angle and rotating the piece at 90 degree angles to create a square point | + | We started by forging nails to learn basic skills such are making points, drawing, cornering, and making heads. Cornering is done by heating the metal then hammering at the end of the piece with a slight angle and rotating the piece at 90 degree angles to create a square point at the end. Drawing involves heating again and hammering the piece while slowing moving the piece away from the direction you want to draw it under the hammer. Drawing lengthens and narrows the piece. Cornering it done by heating and hammering in line with the side of the anvil in order to create a corner in between sections of a piece. To create the head of the nail, we cut the nail off by heating it and hammering it over the hardy then snapping it off in the heading tool. before snapping the nail off the rod that its being forged out of it is important to make sure the head is hot enough because the heading tool sucks heat out of the nail and you need enough time to hammer out the head. Once the nail in the heading tool you place the nail in the hardy hole and hammer where the cut was in order to create a flat head. <br> |
<gallery mode="packed"> | <gallery mode="packed"> | ||
Image:Anvil 2.JPG|''Anvil'' | Image:Anvil 2.JPG|''Anvil'' | ||
| Line 96: | Line 96: | ||
</gallery> | </gallery> | ||
===Cross Guard=== | ===Cross Guard=== | ||
| − | Work on the sword started with it cross guard. We stared with a square rod of low carbon steel (less than 1% carbon) and marked out | + | Work on the sword started with it cross guard. We stared with a square rod of low carbon steel (less than 1% carbon) and marked out an 80mm section, a 30mm section, and another 80mm section. We then drew one of the 80mm sections. We cut at the end of the other 80mm section the same way we cut the nails off their rods. We then drew out the other 80mm section. We used calipers to find the center of the piece after we drew it and marked the center. We then heated it and used a chisel to create the slot for the blade in the center if the guard. We had to use to different kinds of chisel to get the right shaped hole. |
<br><br> | <br><br> | ||
===Blade=== | ===Blade=== | ||
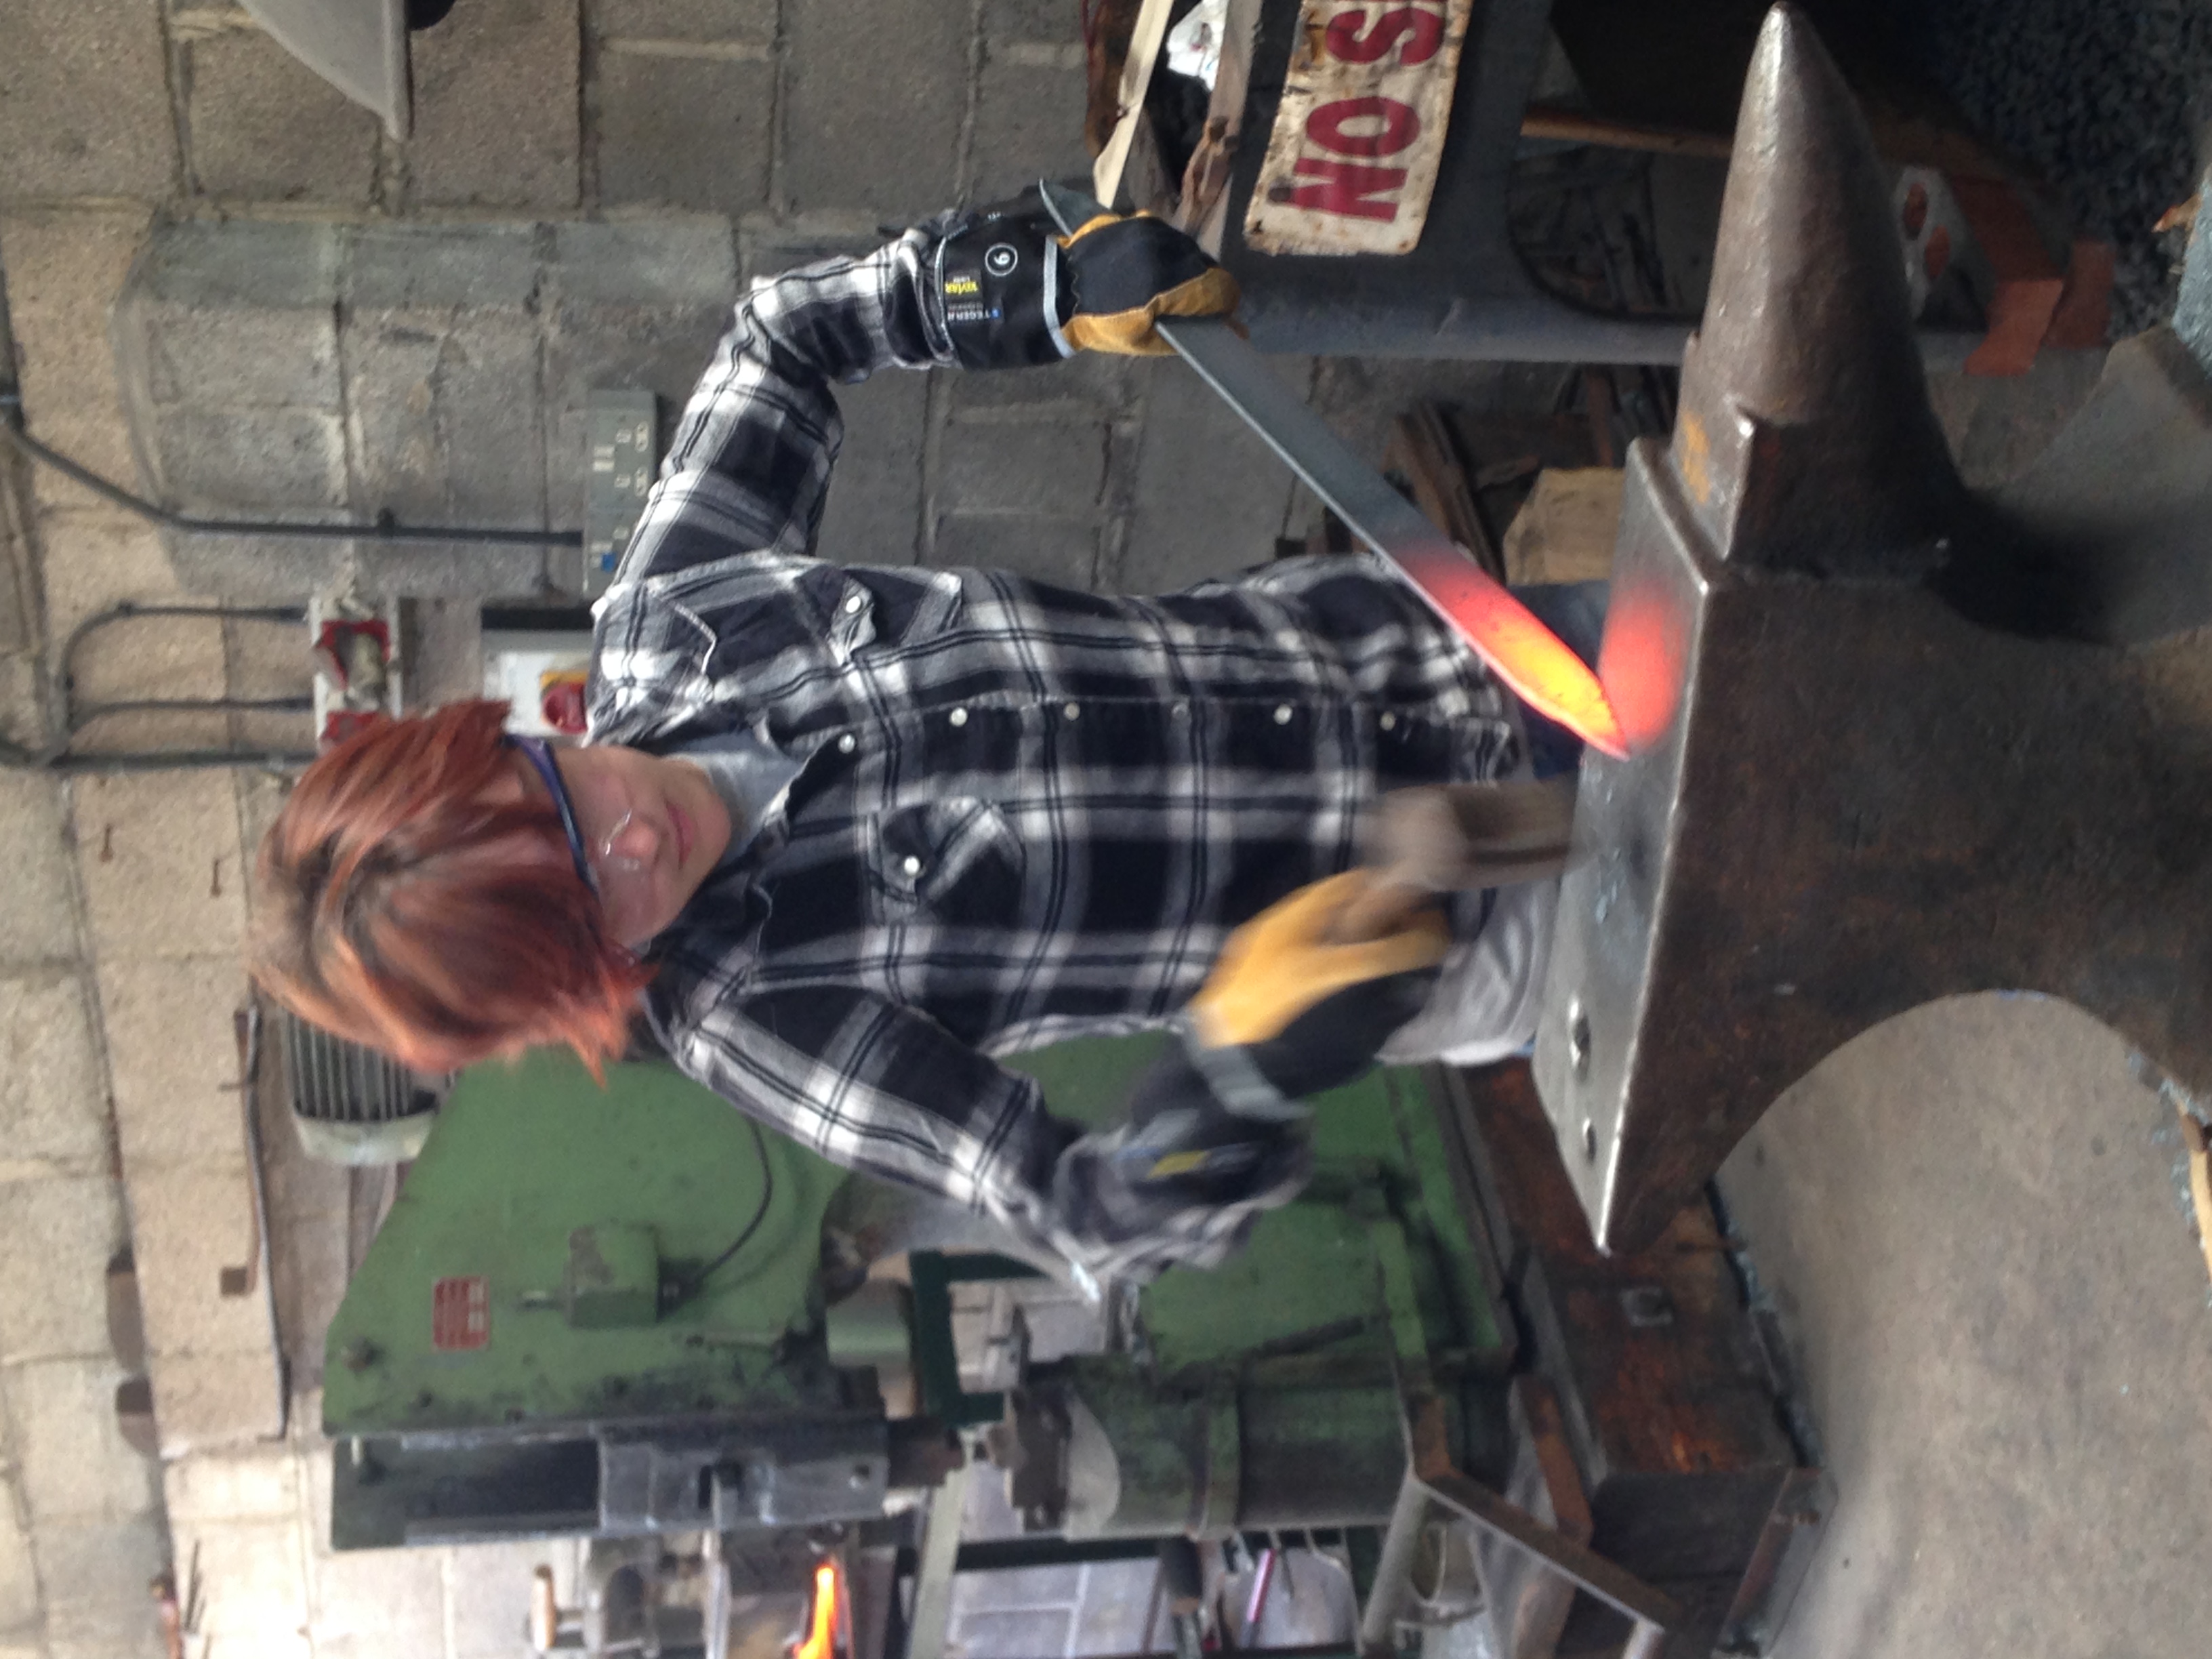
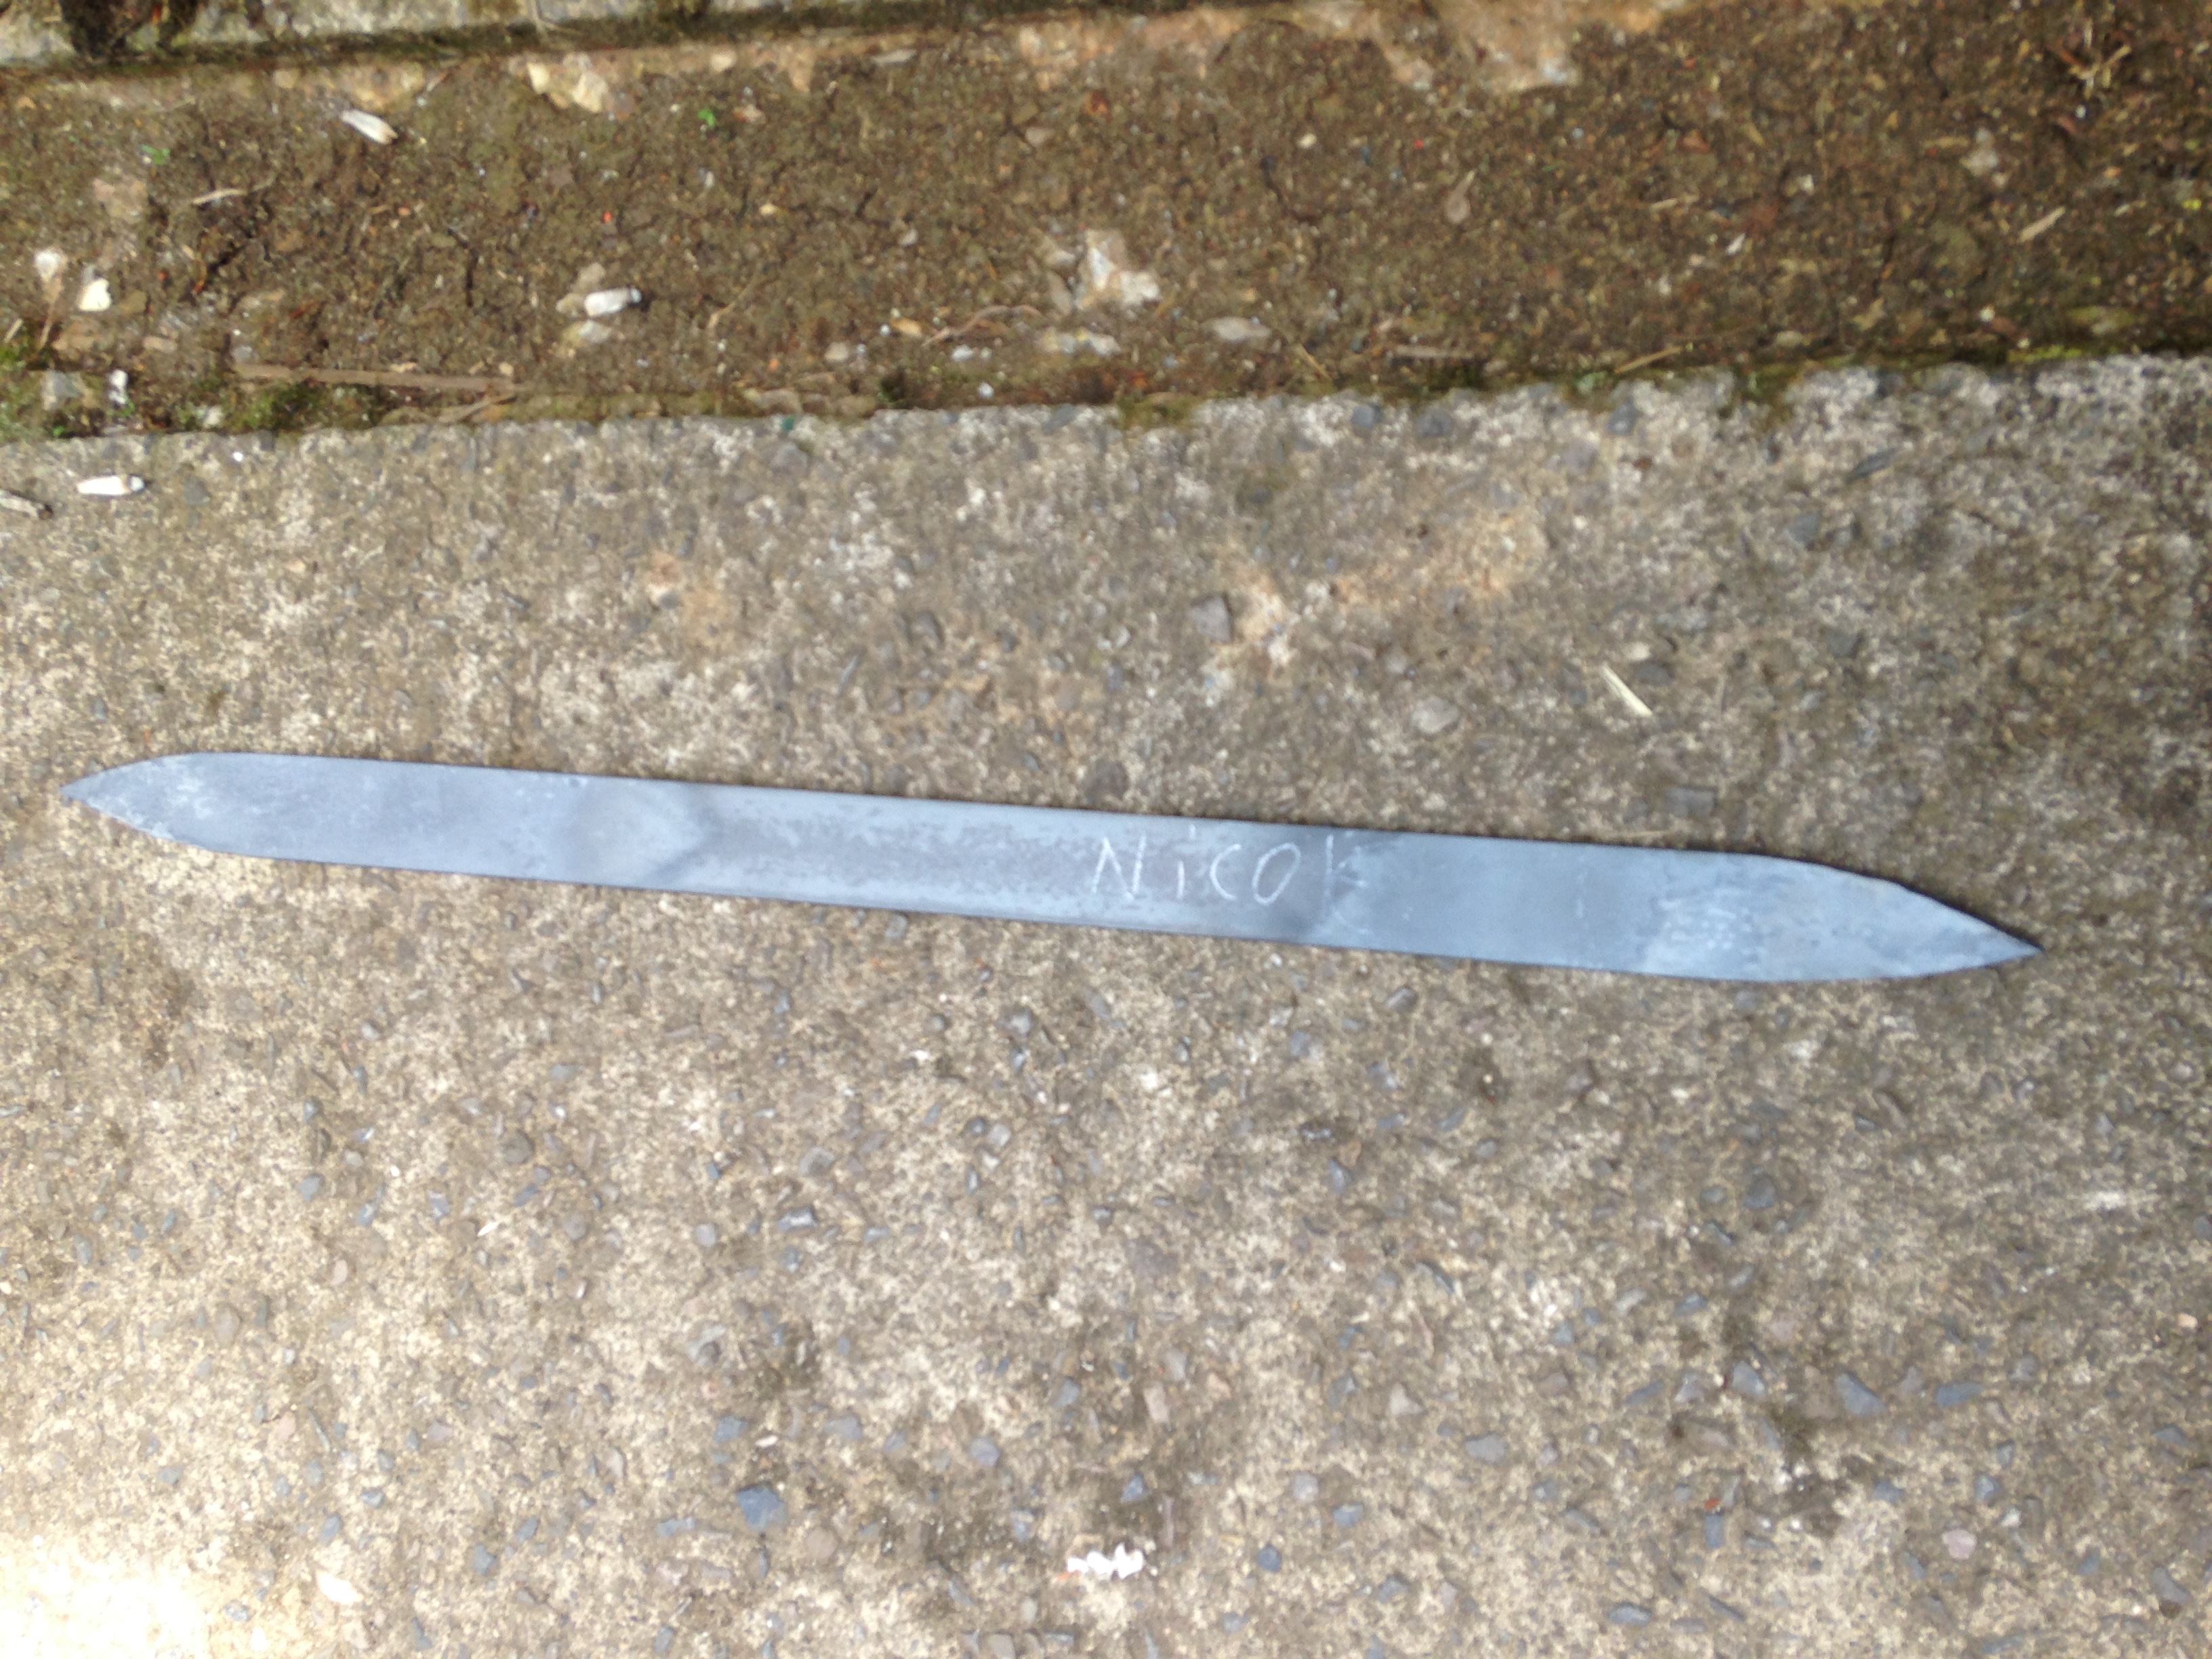
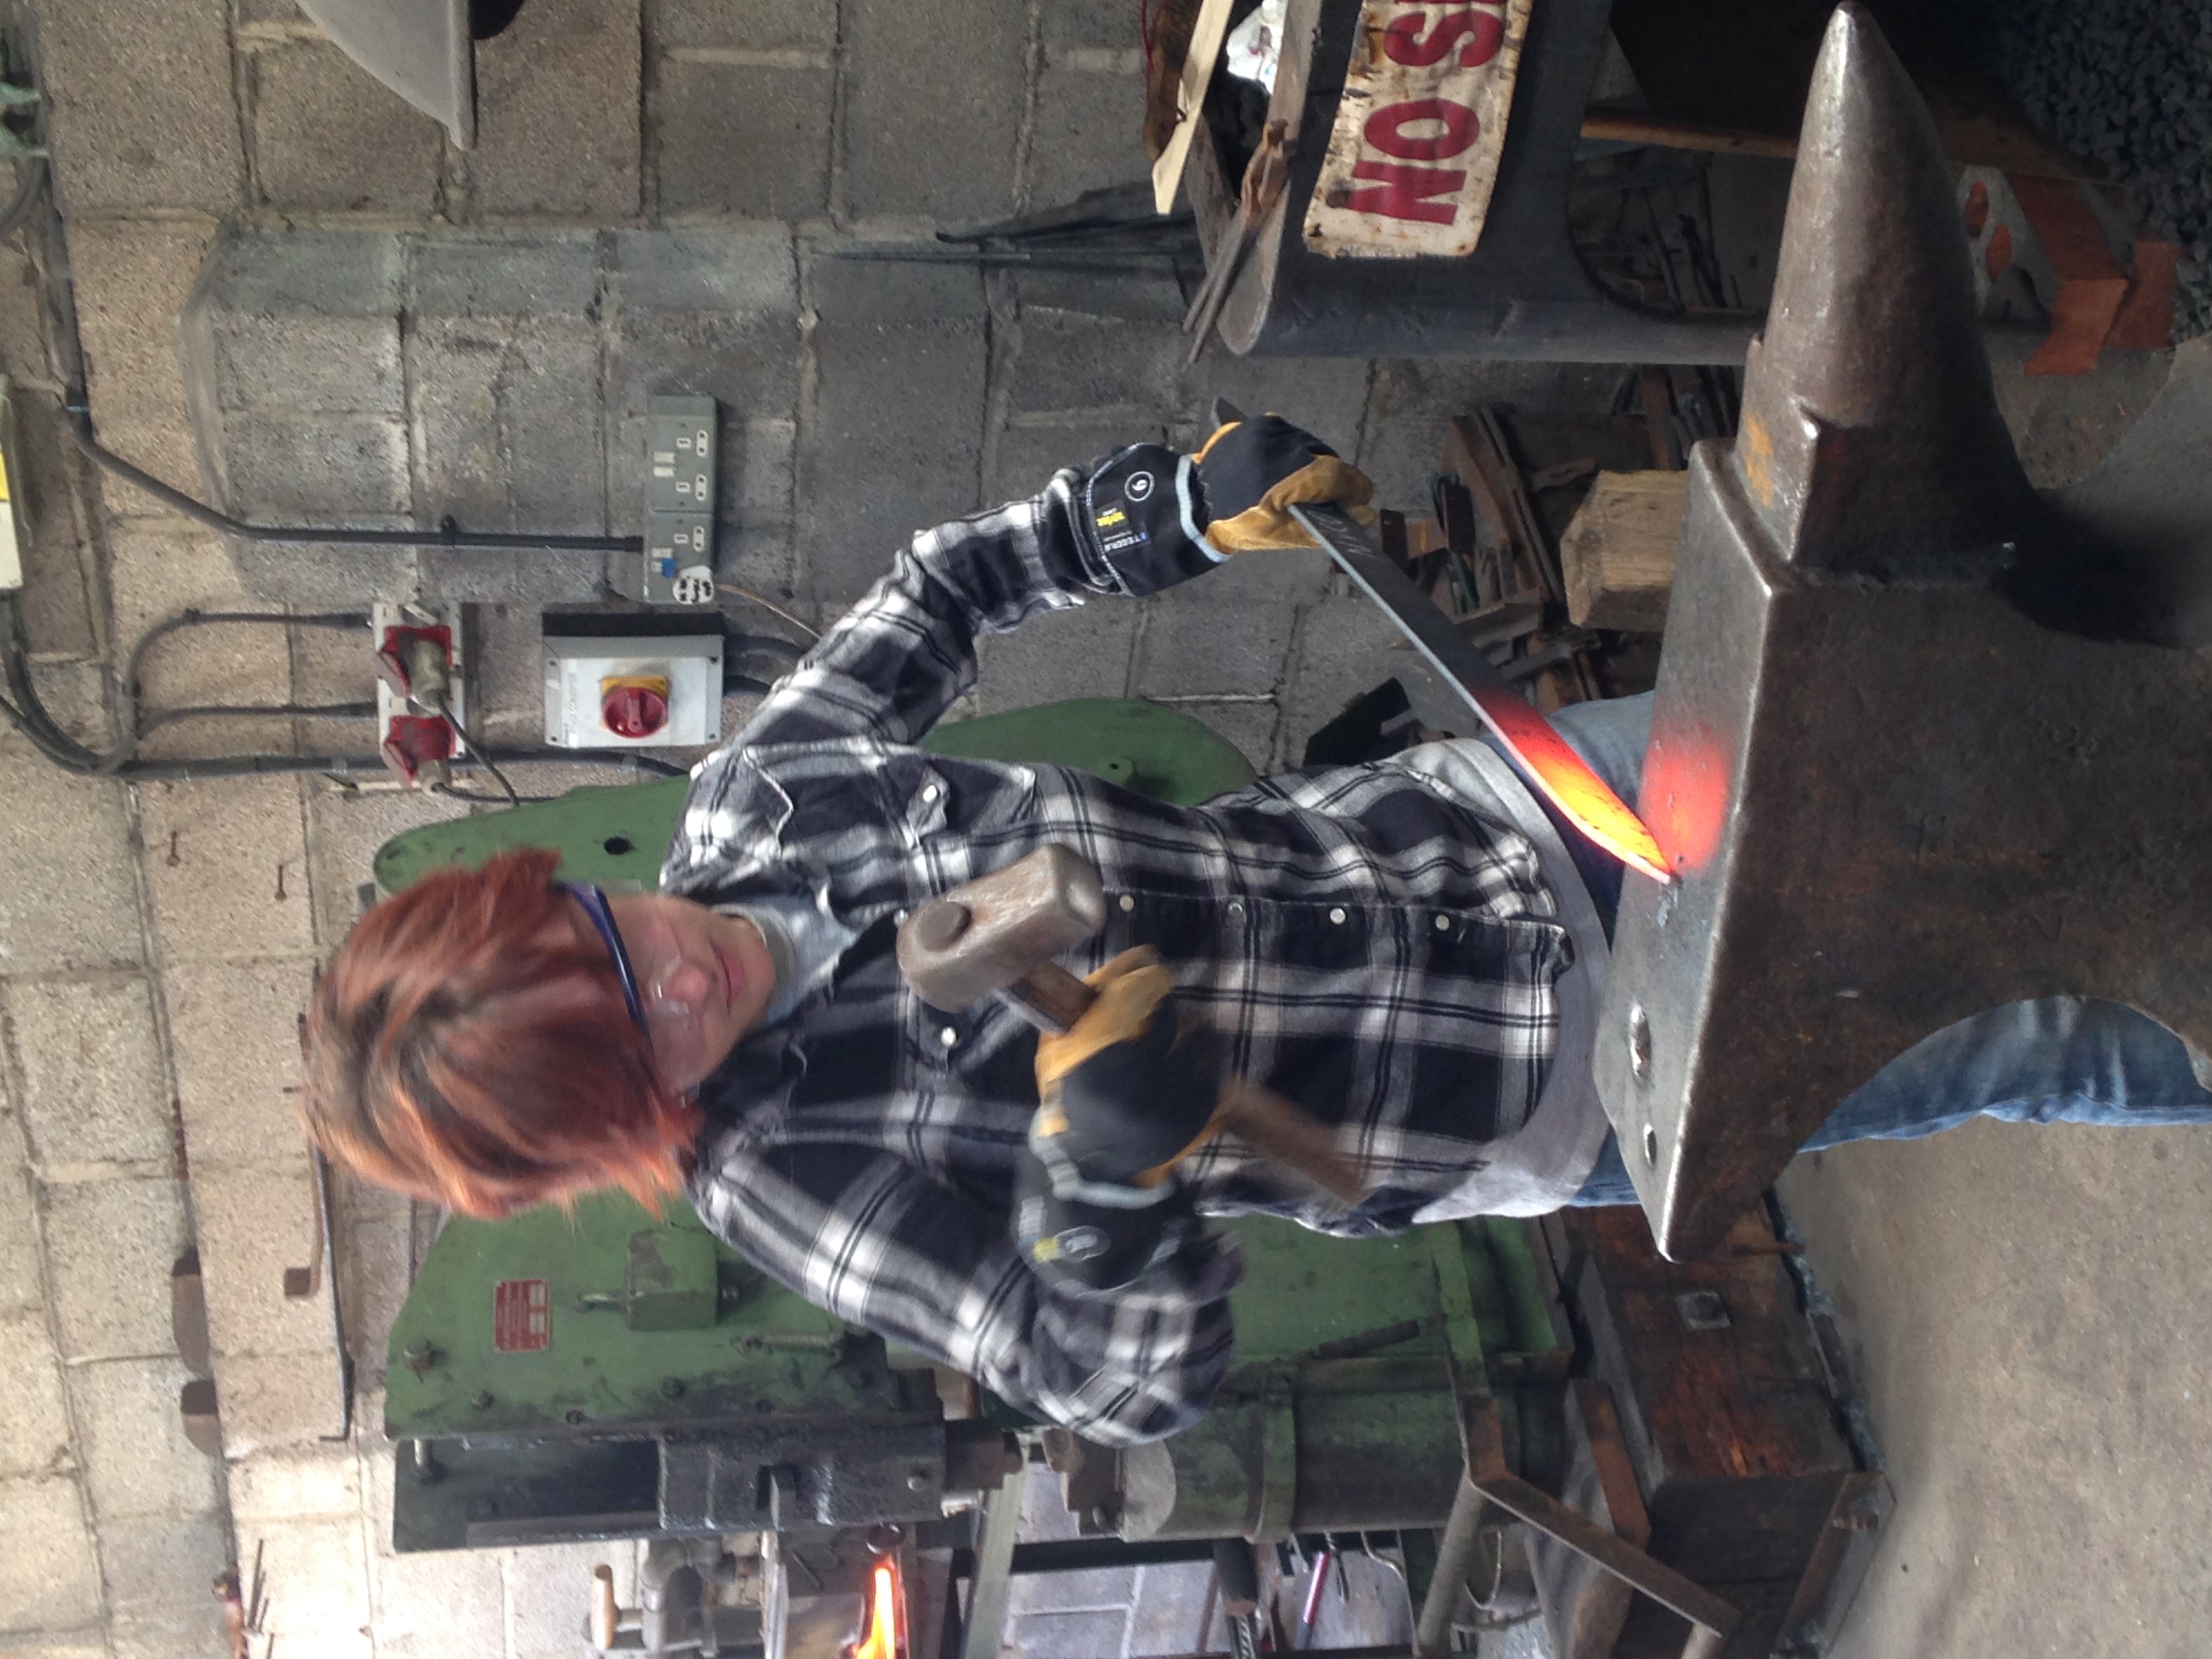
| − | The blade was created next. We started with some flat rod cut at a 45 degree angle of high carbon steel (about 7% carbon). We created points on both ends by heating them and hammering the 45 degree angles down. Once the point | + | The blade was created next. We started with some flat rod cut at a 45-degree angle of high carbon steel (about 7% carbon). We created points on both ends by heating them and hammering the 45 degree angles down. Once the point was shaped we chose our favorite one to became the point of the blade. we then drew that end of the blade out so it would have a taper. To create the tang, we marked a point 140 mm away from the end of the blade then Richard used a spring loaded press in order to corner the section of the tang that would fit into the cross guard. The spring loaded press was also used to draw out blade out more. we then marked about 3/4 of an inch up from our mark and drew out the section after that by hand. the spring loaded press was used again in order to further draw that section out and corner it again. We had to round the last section of the blade by hand. We also had to add a bevel to the edges of the blade. this was done by hammering at an angle until the end fit in the sizing tool. Through all these steps we had to brush the blade with a wire brush to keep oxidized chunks of steel called hammer scales from getting pounded into the blade |
<br> | <br> | ||
<gallery mode="packed"> | <gallery mode="packed"> | ||
Revision as of 14:51, 22 June 2017
Art in Medieval Sword Forging
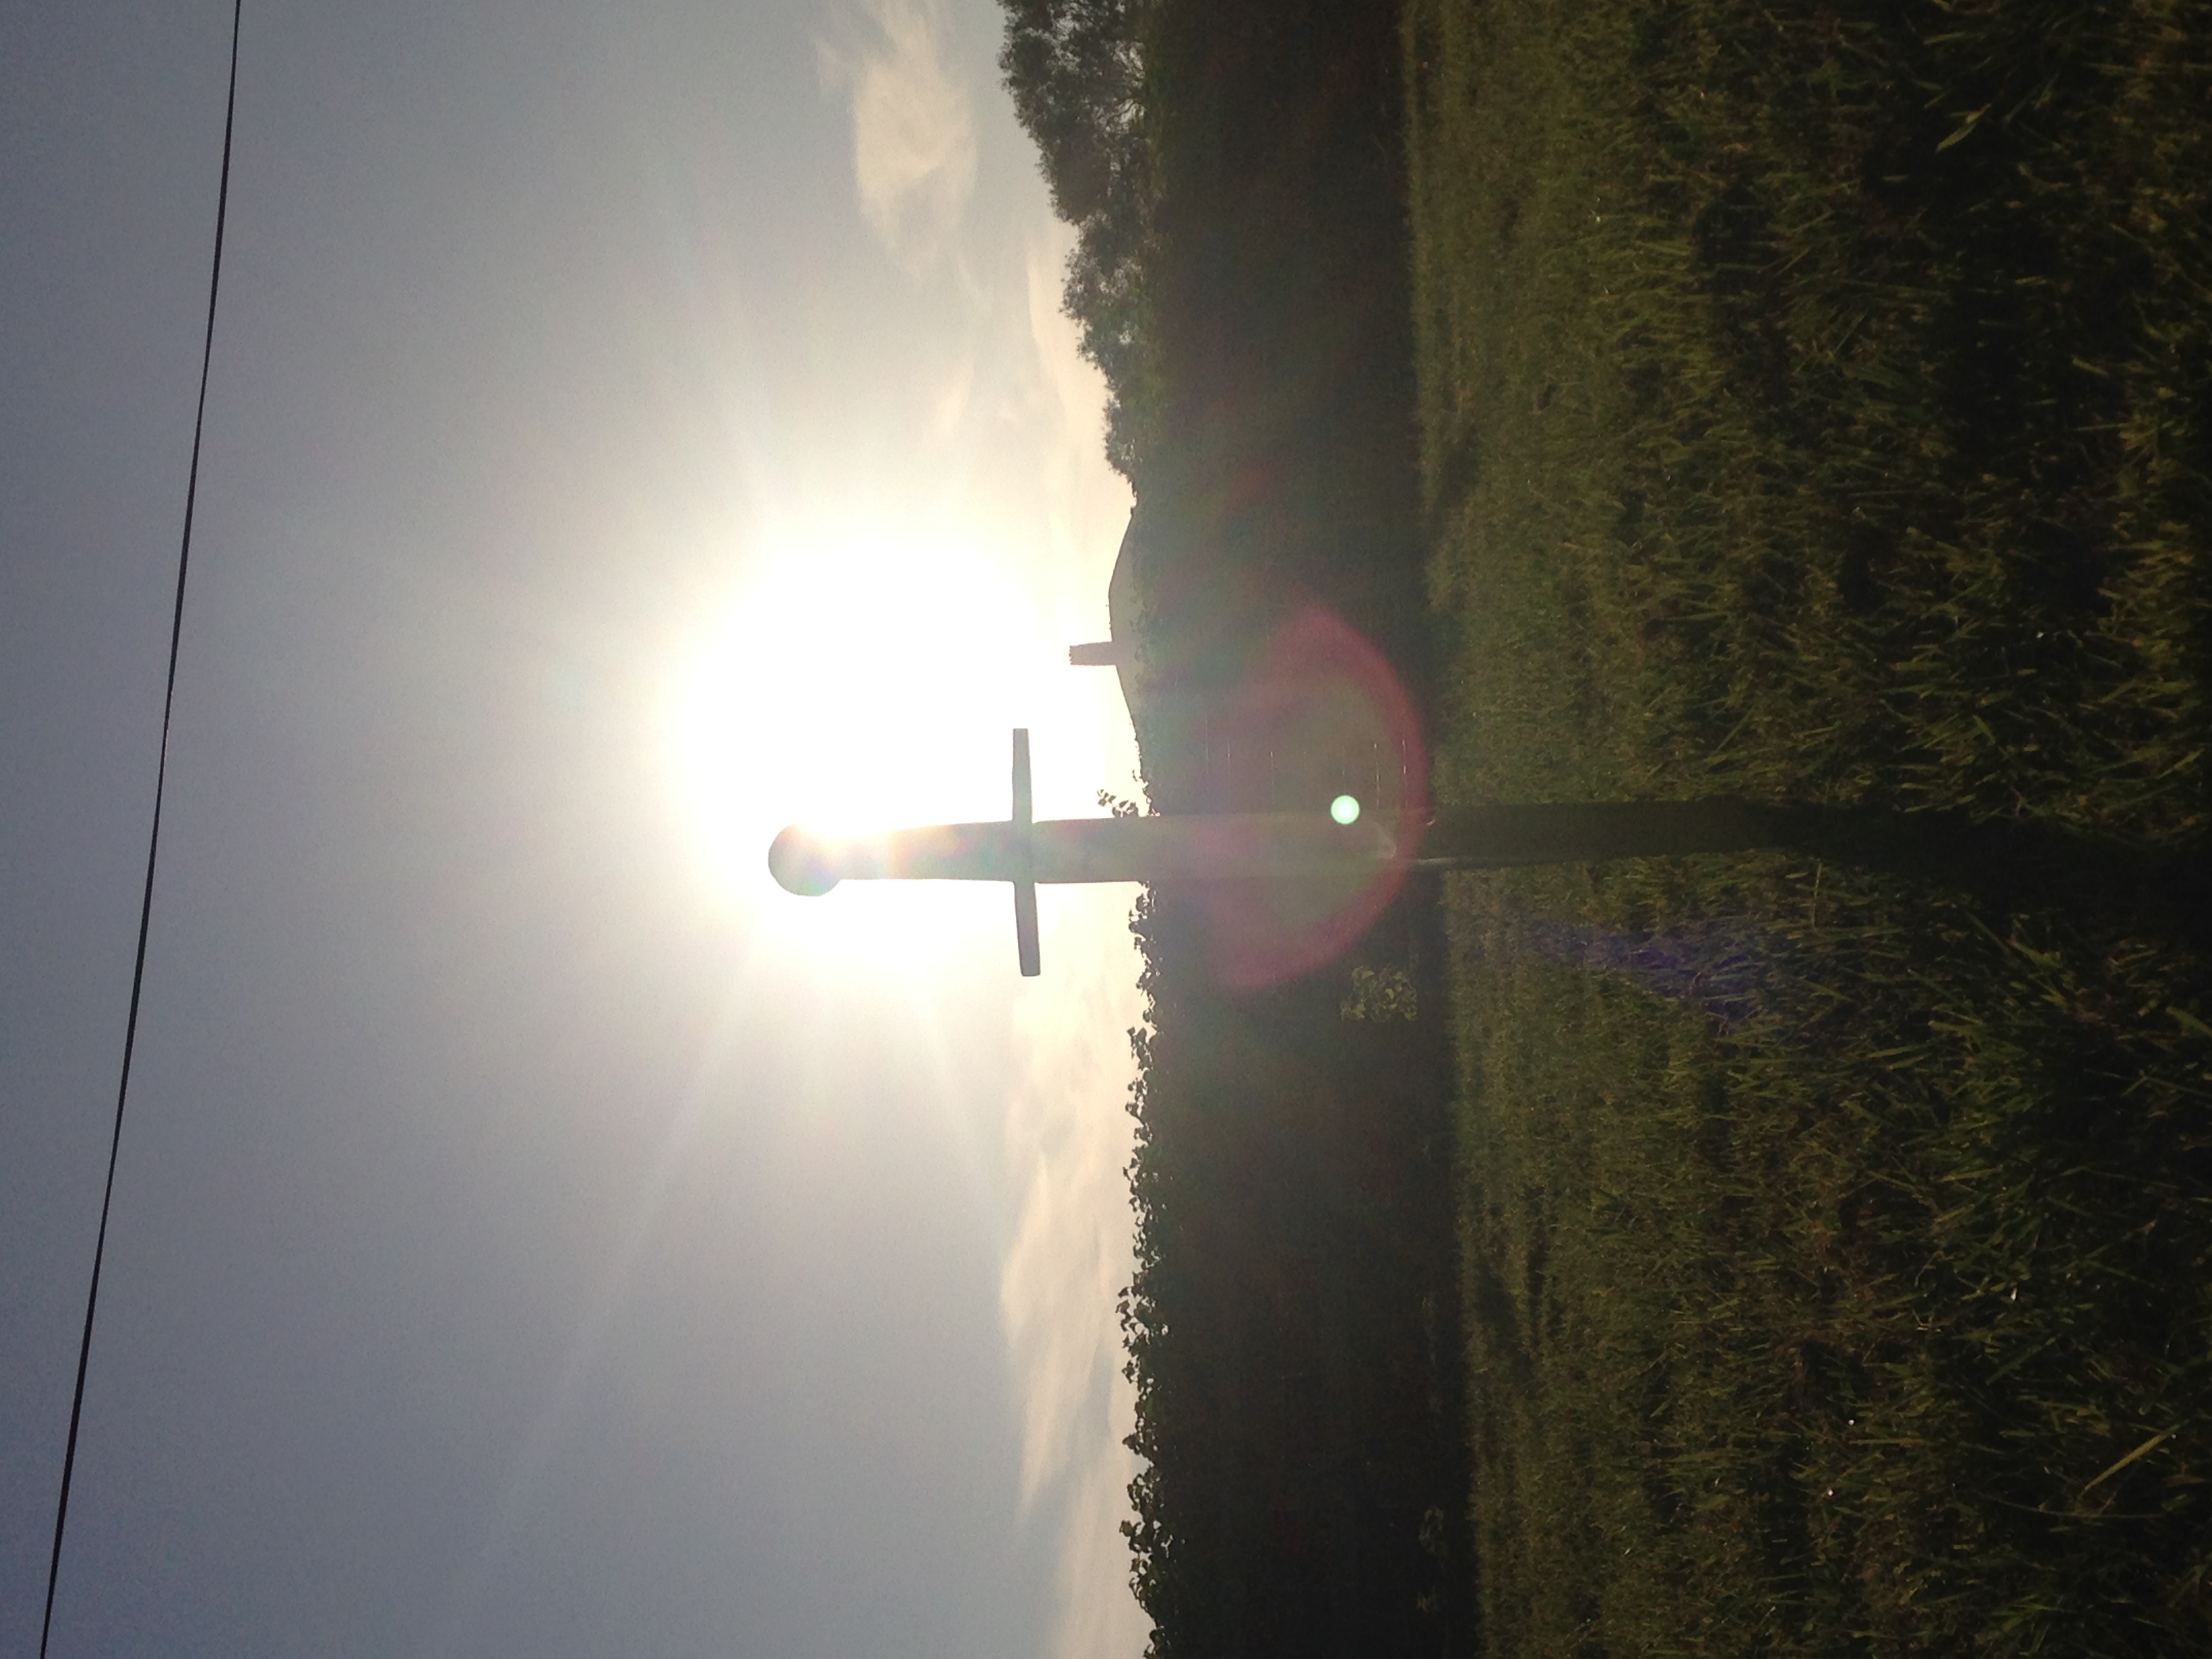 Deliverable Sword by Tower Hill |
__TOC__.
Contents
Abstract
The purpose of this project was to study how art was involved in medieval sword making and create a medieval sword. I have never done any kind of forging previously. I found that most art in medieval swords are religious in nature and meant to give the wielder divine favor in battle. A lot is not known about inscriptions because of a lack of understanding in Latin abbreviations and grammar. Sword blades could also be decorated with wave patterns during forging. I created a sword in order to understand the processes that would have been involved in creating the art. I was unable to actually create any art in my sword due to a lack of skill.
Introduction
The aim of this project was to find how art factored into the making of medieval swords in Europe. The most common kind of inscription are religious invocations. Blades were commonly decorated with religious symbols in order to give the wielder divine favor in battle. Other inscriptions could have been meant to give the blades magical power. Names could also be found on different blades along with maker's marks. A lot of the lettering cannot be interpreted due to a lack of understanding in Latin abbreviations and grammar. Other combinations might also be a magical language or random letters meant to give the blade a magical look. Inscriptions where created using a chisel. They could be filled n by hammering metal treads into the material once it had been carved. Patterning was also common as smiths aimed to recreate Damascus steel which was legendary for its strength and flexibility. Pattern welding became common to create different wave patters similar to Damascus steel in the blades. Making a sword takes a lot of skill. I tried to get an idea for this by making my own sword.
Section 1: Background
Time Period
I am defining a Medieval sword to mean any sword crafted in Europe between 500 and 1400 AD. During this time period, swords would be mainly used for fighting as seen by the fact that the shape of the blade depends on the fighting style native to that area. They also would have be used in the Crusades.[1] The majority of swords where made to be functional as opposed to be artistic. The swords did have art on them designed to be functional in the forms of engravings meant to give the blades magical power or blessings from various deities.[2] Designs in the blades did come about from trying to mimic Damascus steel, steel made from wootz, an iron ore from India, and crafted in Damascus, a trade center from that time period, because of its highly functional qualities.[3]
Meaning of Art in Swords
Blade Patterns
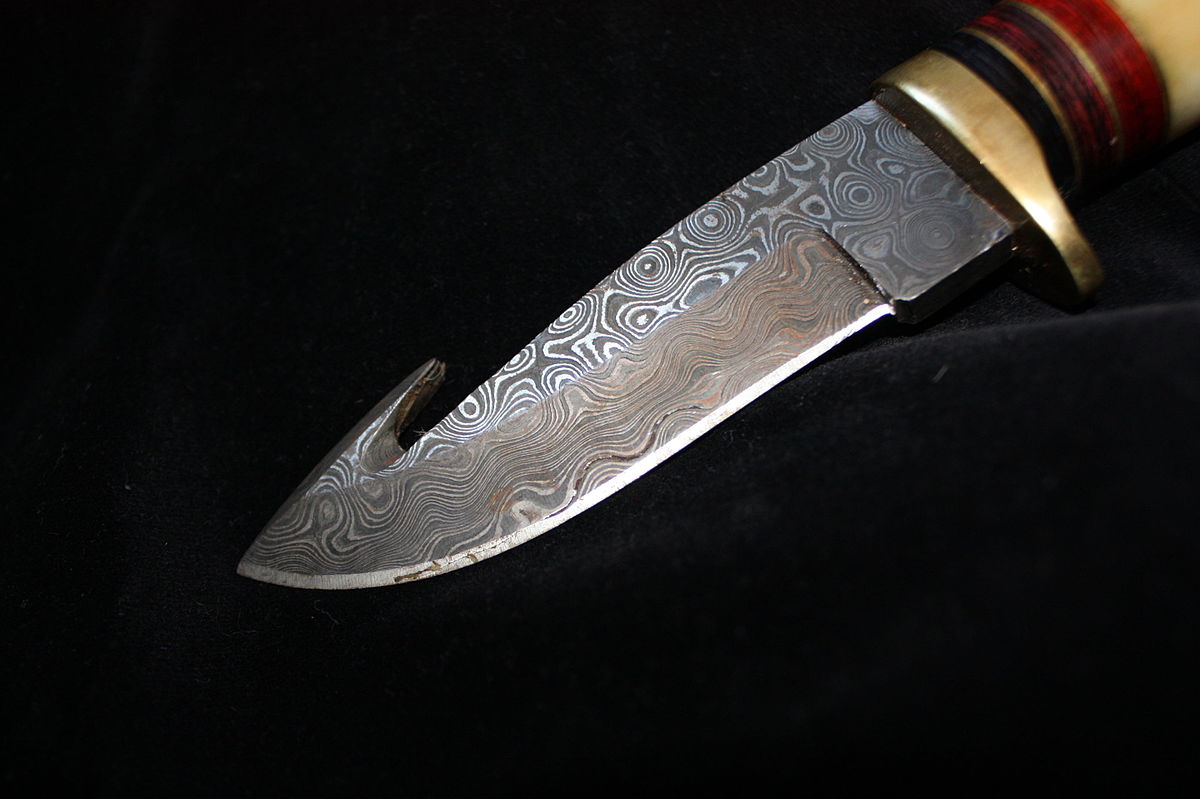 Damascus Steel has a distinctive wave pattern | |
| Artist | Attributed to Rich Bowen[4] |
|---|---|
Damascus steel swords were very popular during the medieval period due to their combination of strength and flexibility. Using Damascus steel causes a water ripple looking pattern in the blade. For this reason, many smiths found ways to copy the pattern despite not having the steel. The patterning was entirely for aesthetic uses and had no real meaning beyond the implication that it was a high quality sword which may or may not have been true depending on whether or not it was Damascus steel and if it was forged properly.[5]
Inscriptions
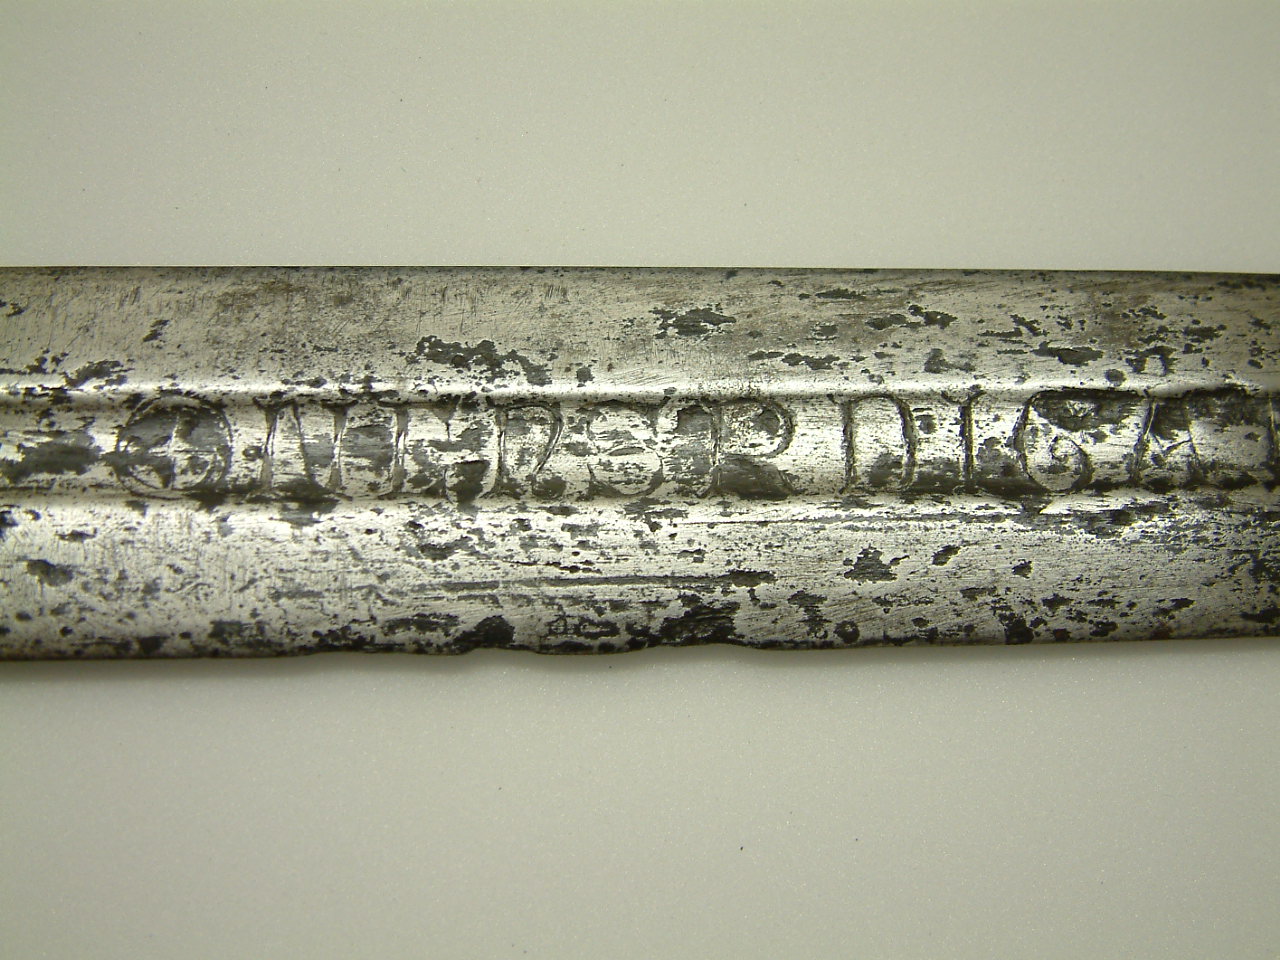 The meaning of many inscriptions are unknown | |
| Artist | Photographed by: York Museums Trust Staff[6] |
|---|---|
Inscriptions on Medieval swords are very common and severed a variety of purposes. There are four kinds of inscriptions that are found on medieval swords, runic inscriptions, symbols, religious vocations, and periodic sequences.[7] Runic inscriptions were frequently maker's marks, which show who forged the sword, but also could have been the names of the owners, makers (their name being different form their mark), donators, carriers or the weapons name. Having a name was rare and was likely used for gifting swords. They could have also been to remind the barer to show bravery or been written by sorceresses to give the blade magic power.[8][9] Religious vocations would have been meant to give the wielders divine favor in battle.[10] Symbols and ornaments were likely religious.[11] Most writing on medieval swords have religious, magical, or other protective meaning.[12][13] Among more common letter sequences such as SDX, which means Sanctus Dominus Christus or Holy Lord Christ, SD(I)X, which could have meant salvator Dominus Iesus Xrist or Liberator Lord Jesus Christ, and ULFBERTH which were mass produced. There are different sequences that do not appear to have any meaning.[14] This could be because hey are Latin abbreviations of songs or verse that are unknown or due to a lack of understanding the grammar. Because witting was very uncommon at the time, any kind of lettering would have a magical connotation. Some of the inscriptions could have been nonsense meant to be a magical language.[15]
Making The Art
Blade Patterns
There are multiple ways of creating patterns on a blade. One method would be to weld two pattern sheets of steel together. This could be done with or without a sheet of iron in the middle depending on the forge.[16] Other methods include the use of Damascus steel and pattern welding. The Original method for creating Damascus steel was lost sometime in 1750. There have been some attempts to replicate it but non have been entirely successful.[17] The loss could have been from a lack of Wootz, the ore used to make the sword and found only in India, or a change in technique in an attempt to keep up with high demands. Pattern welding requires stacking alternating layers of iron or low carbon steel and high carbon steel or alternating steels of different grain size. The sheets are then curryed, or welded together. They can then be folded bent and twisted during forging to create different patterns.[18]
Inscriptions
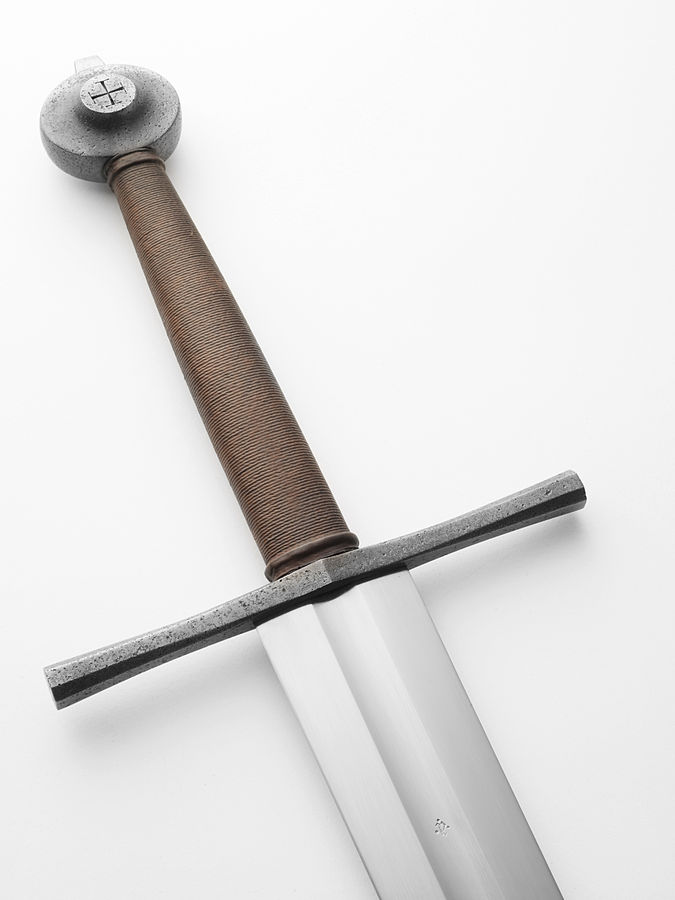 Note the Cross symbol on the pommel | |
| Artist | Attributed to Søren Niedziella[19] |
|---|---|
Inlays were made by Carving out the desired design in the blade with a chisel. Gold or other metal thread was place over the carvings then hammered in. It was hammered in using a lager flat hammer that would be place on the sword then hit with a more standard hammer.[20]
Section 2: Deliverable
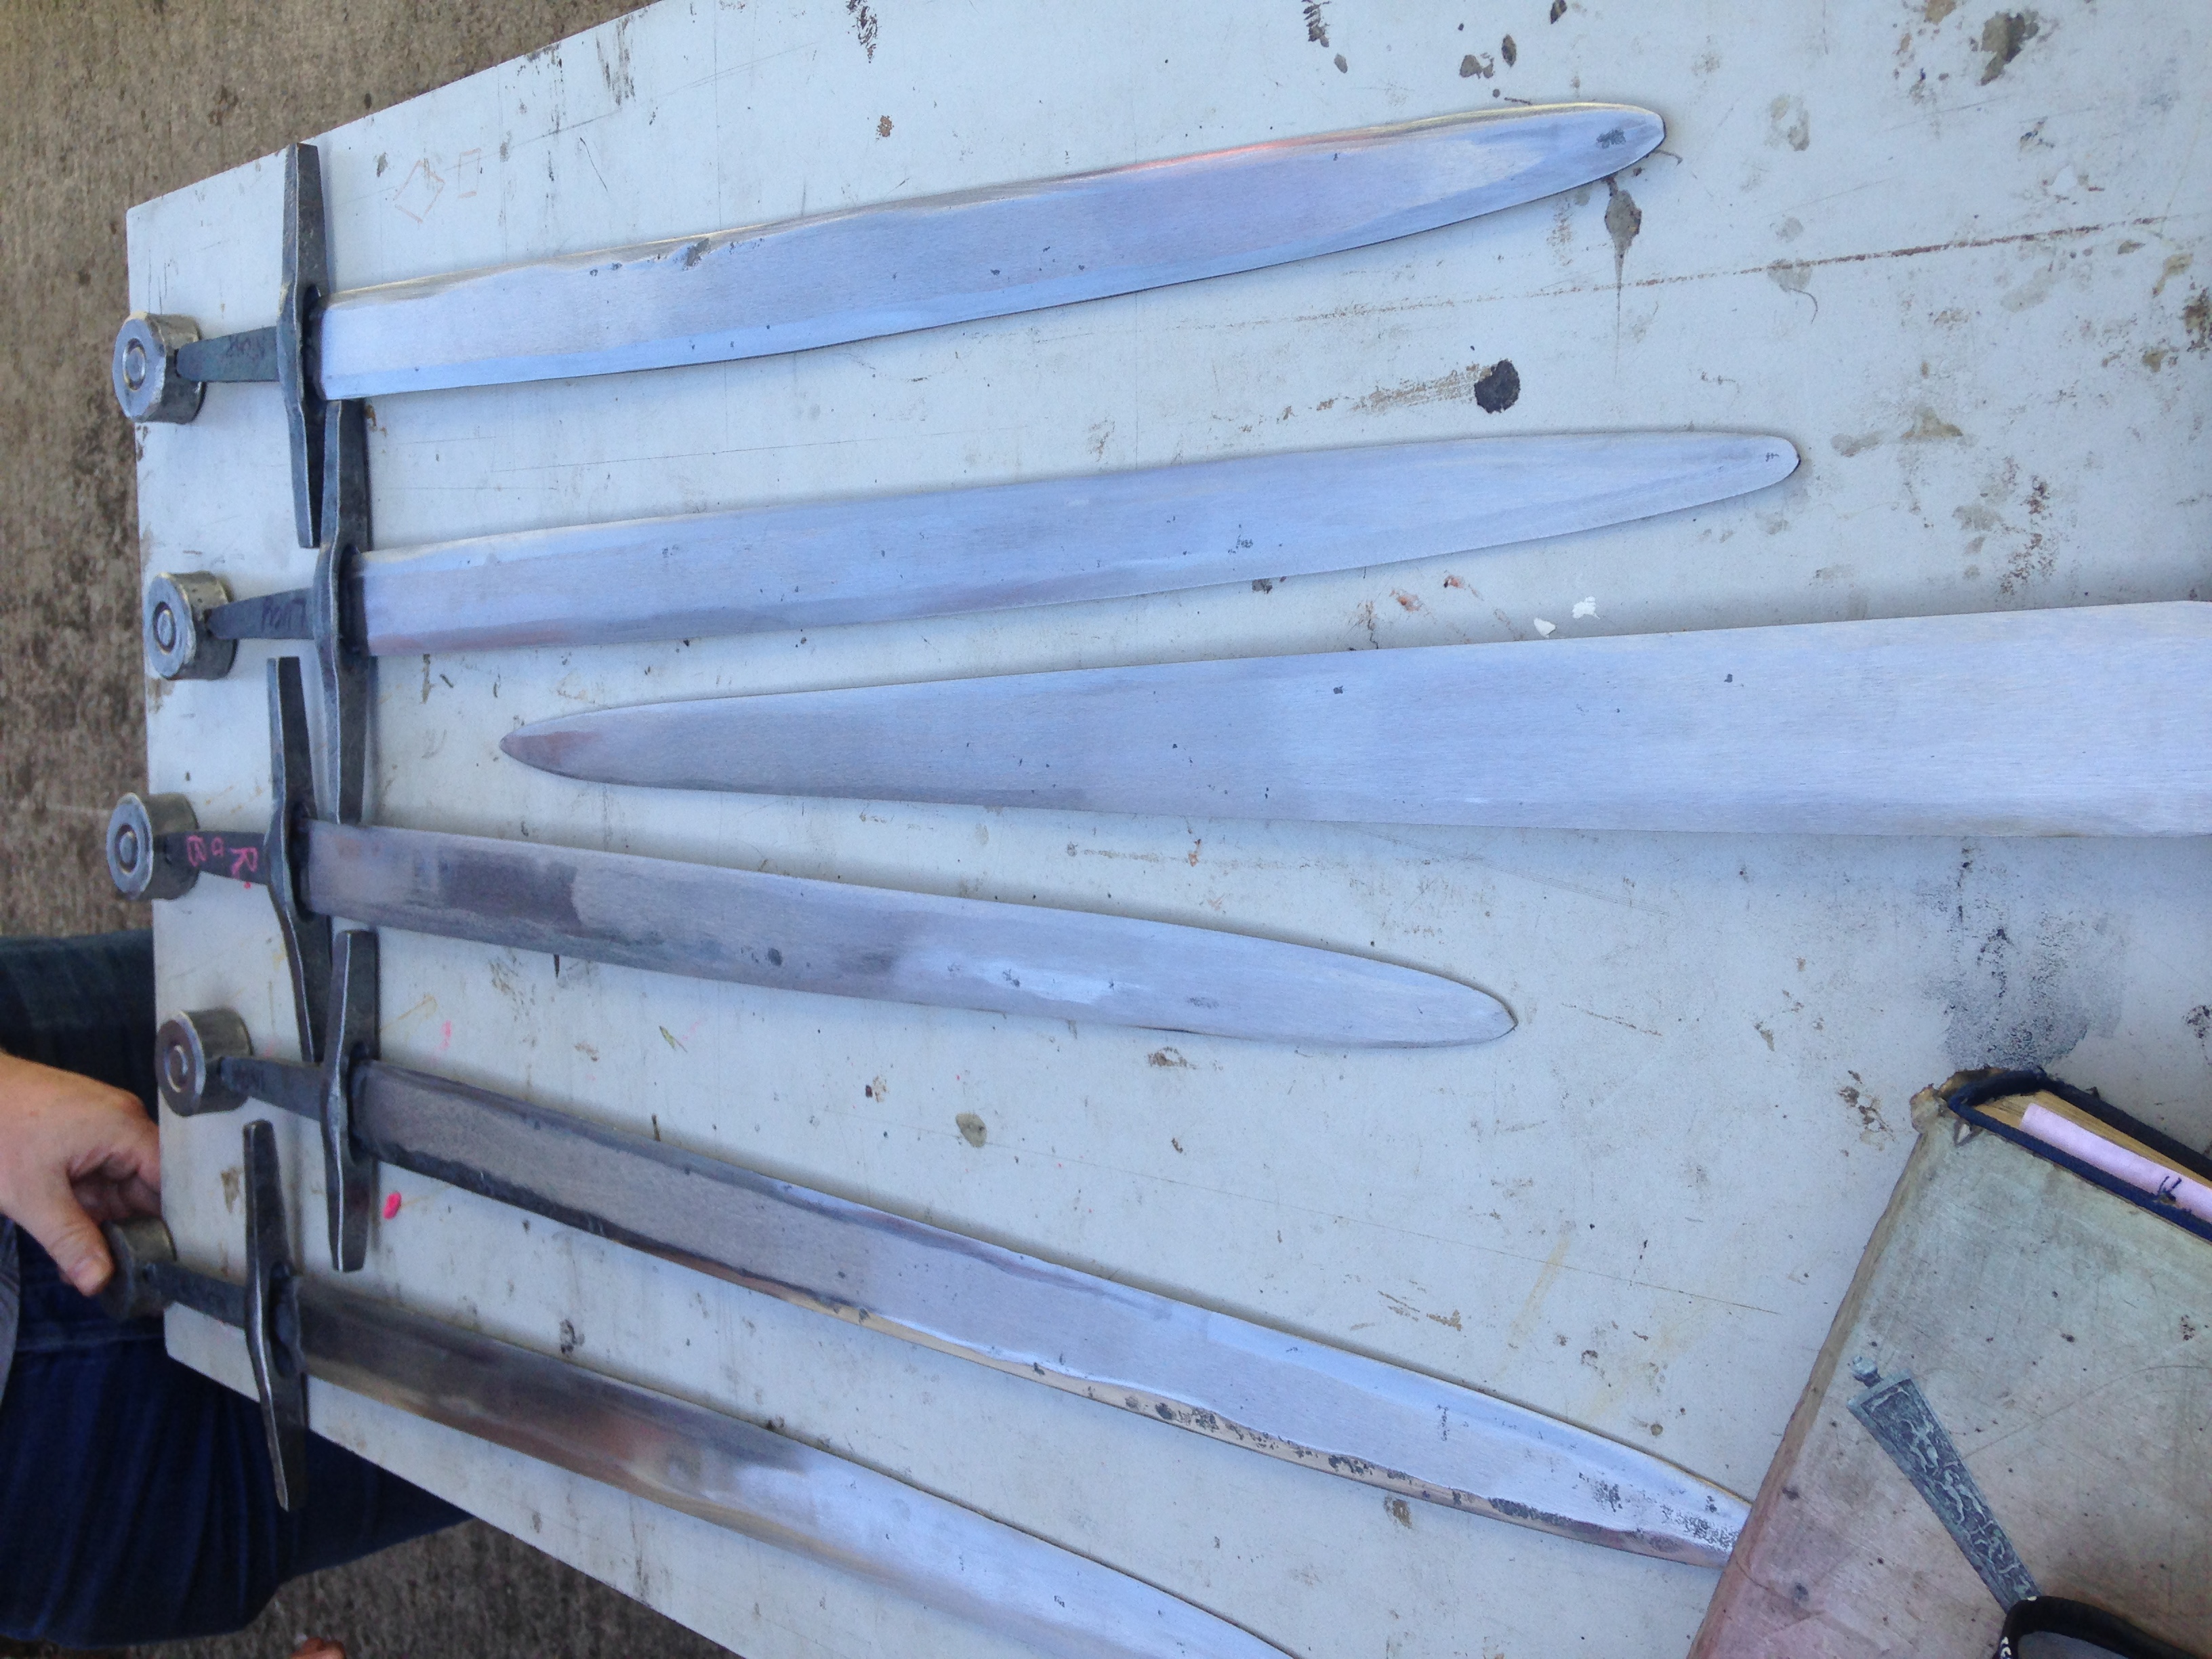
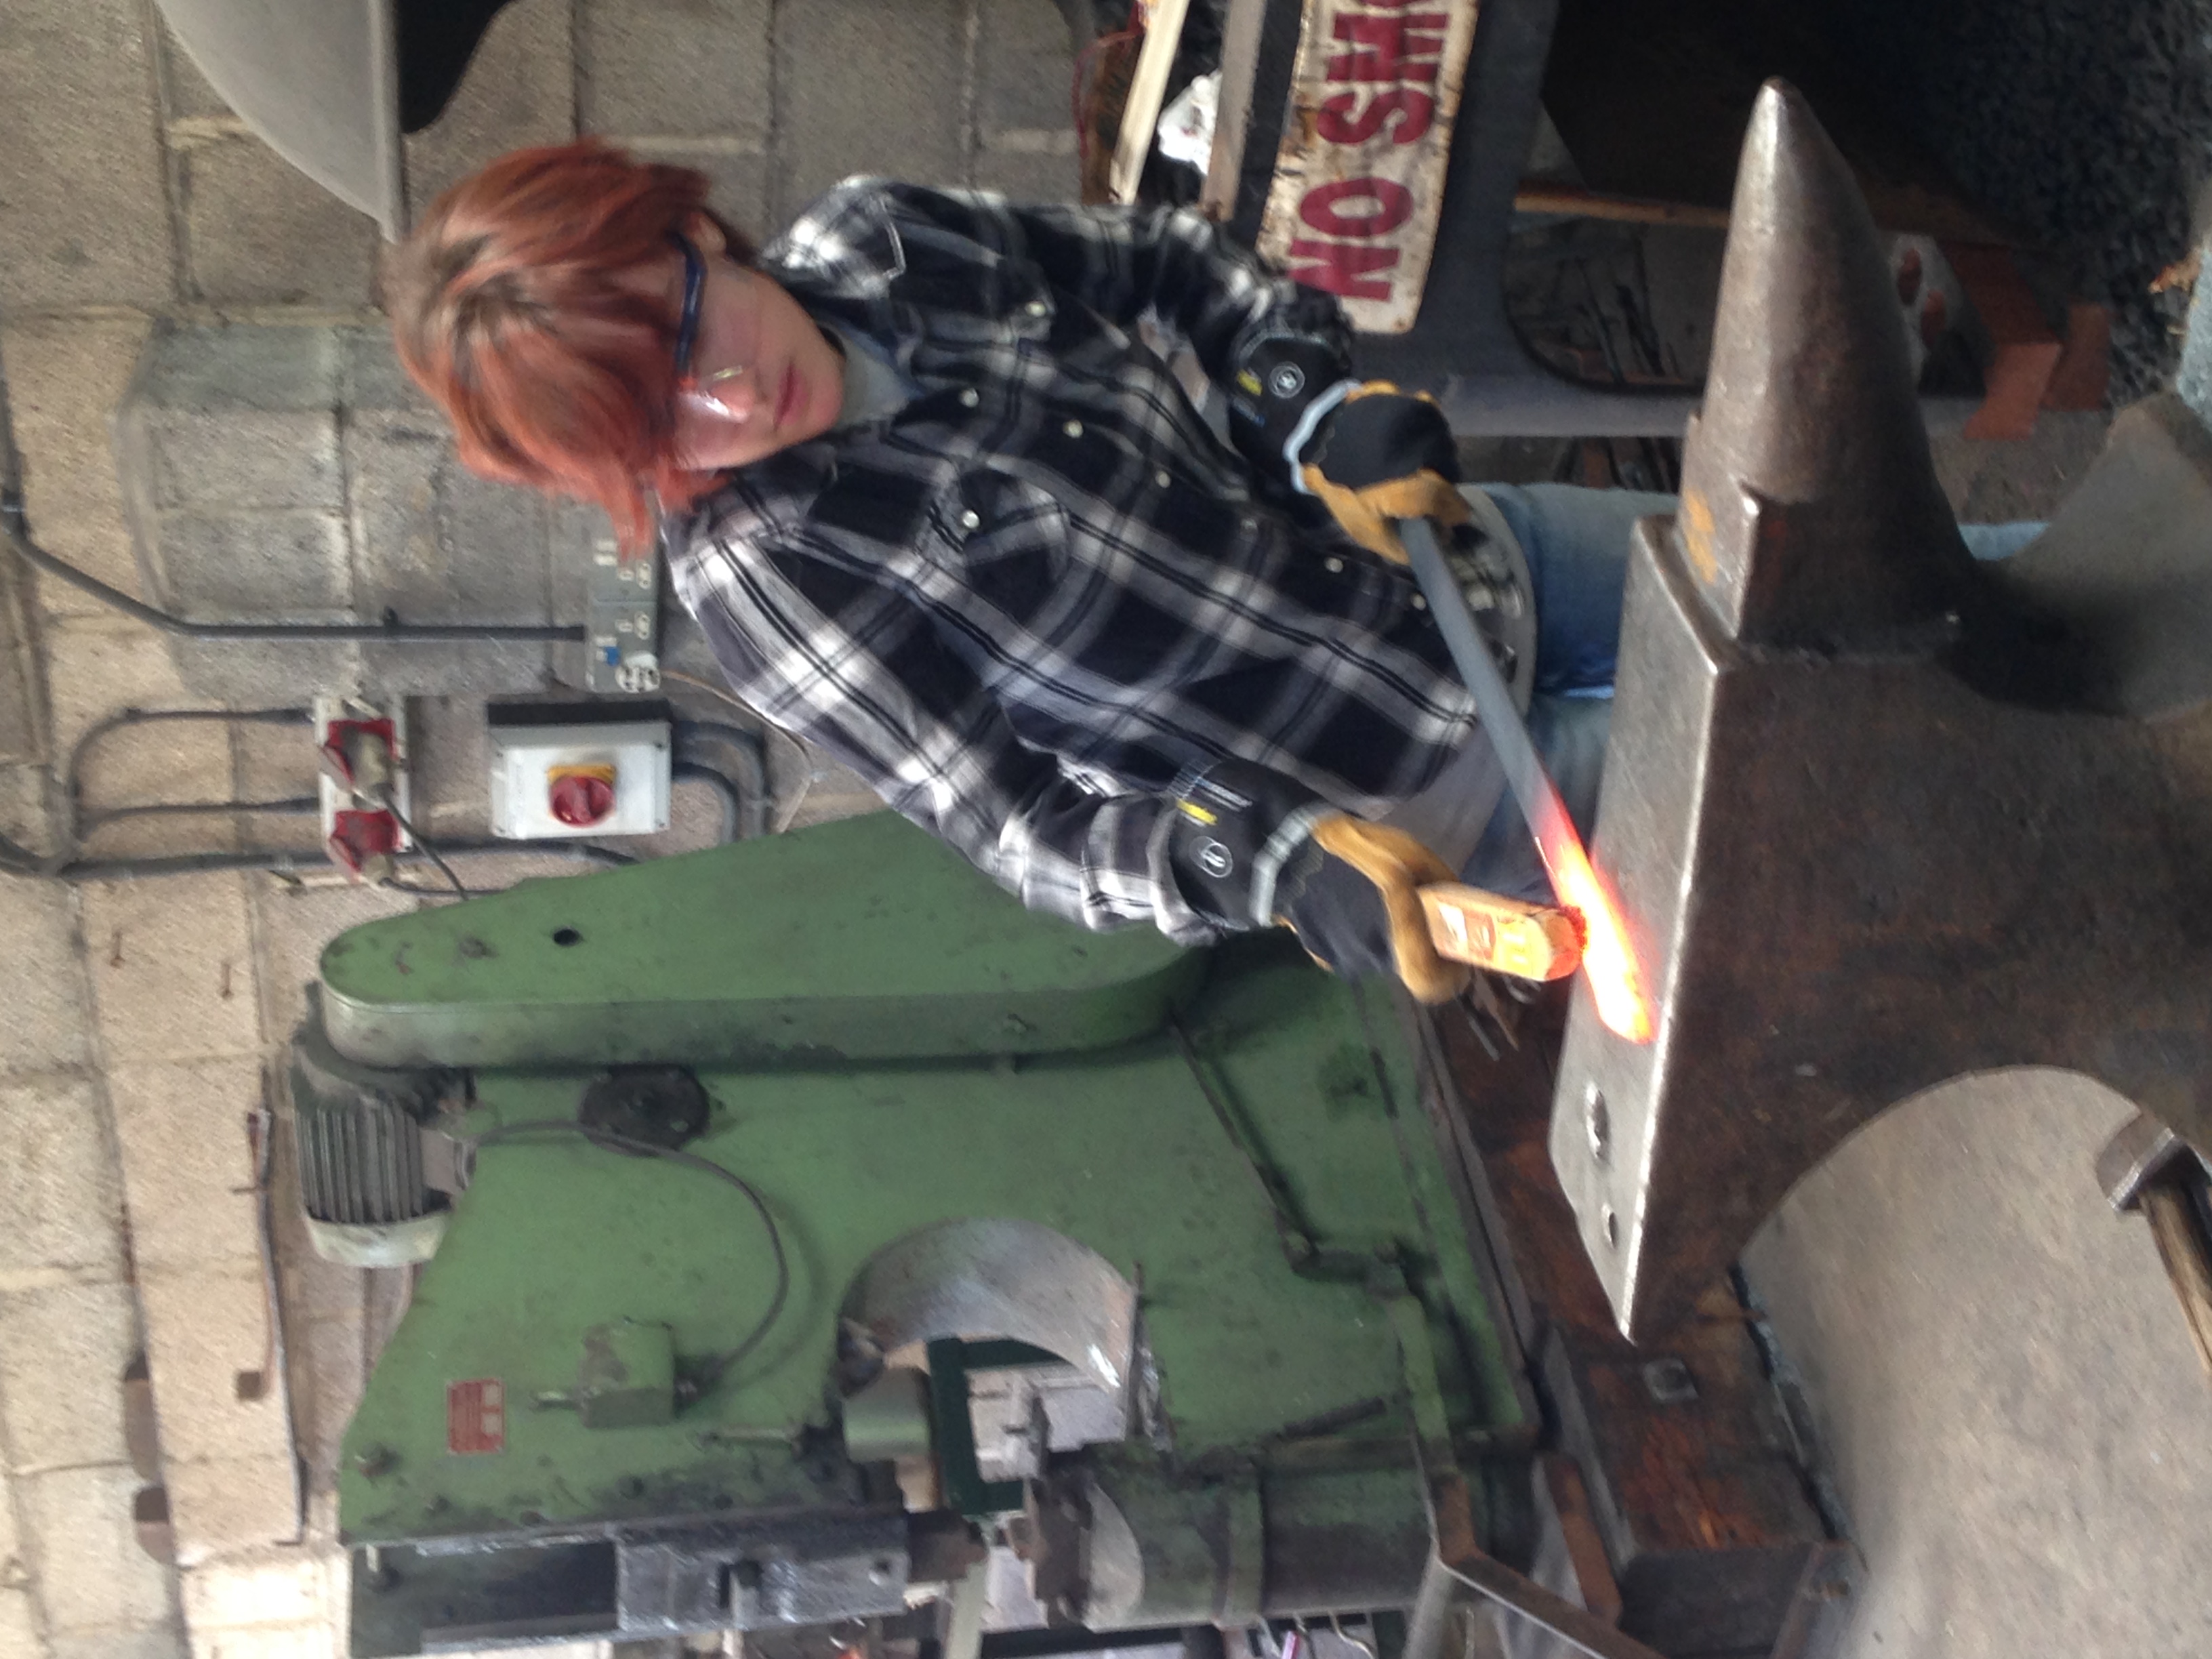
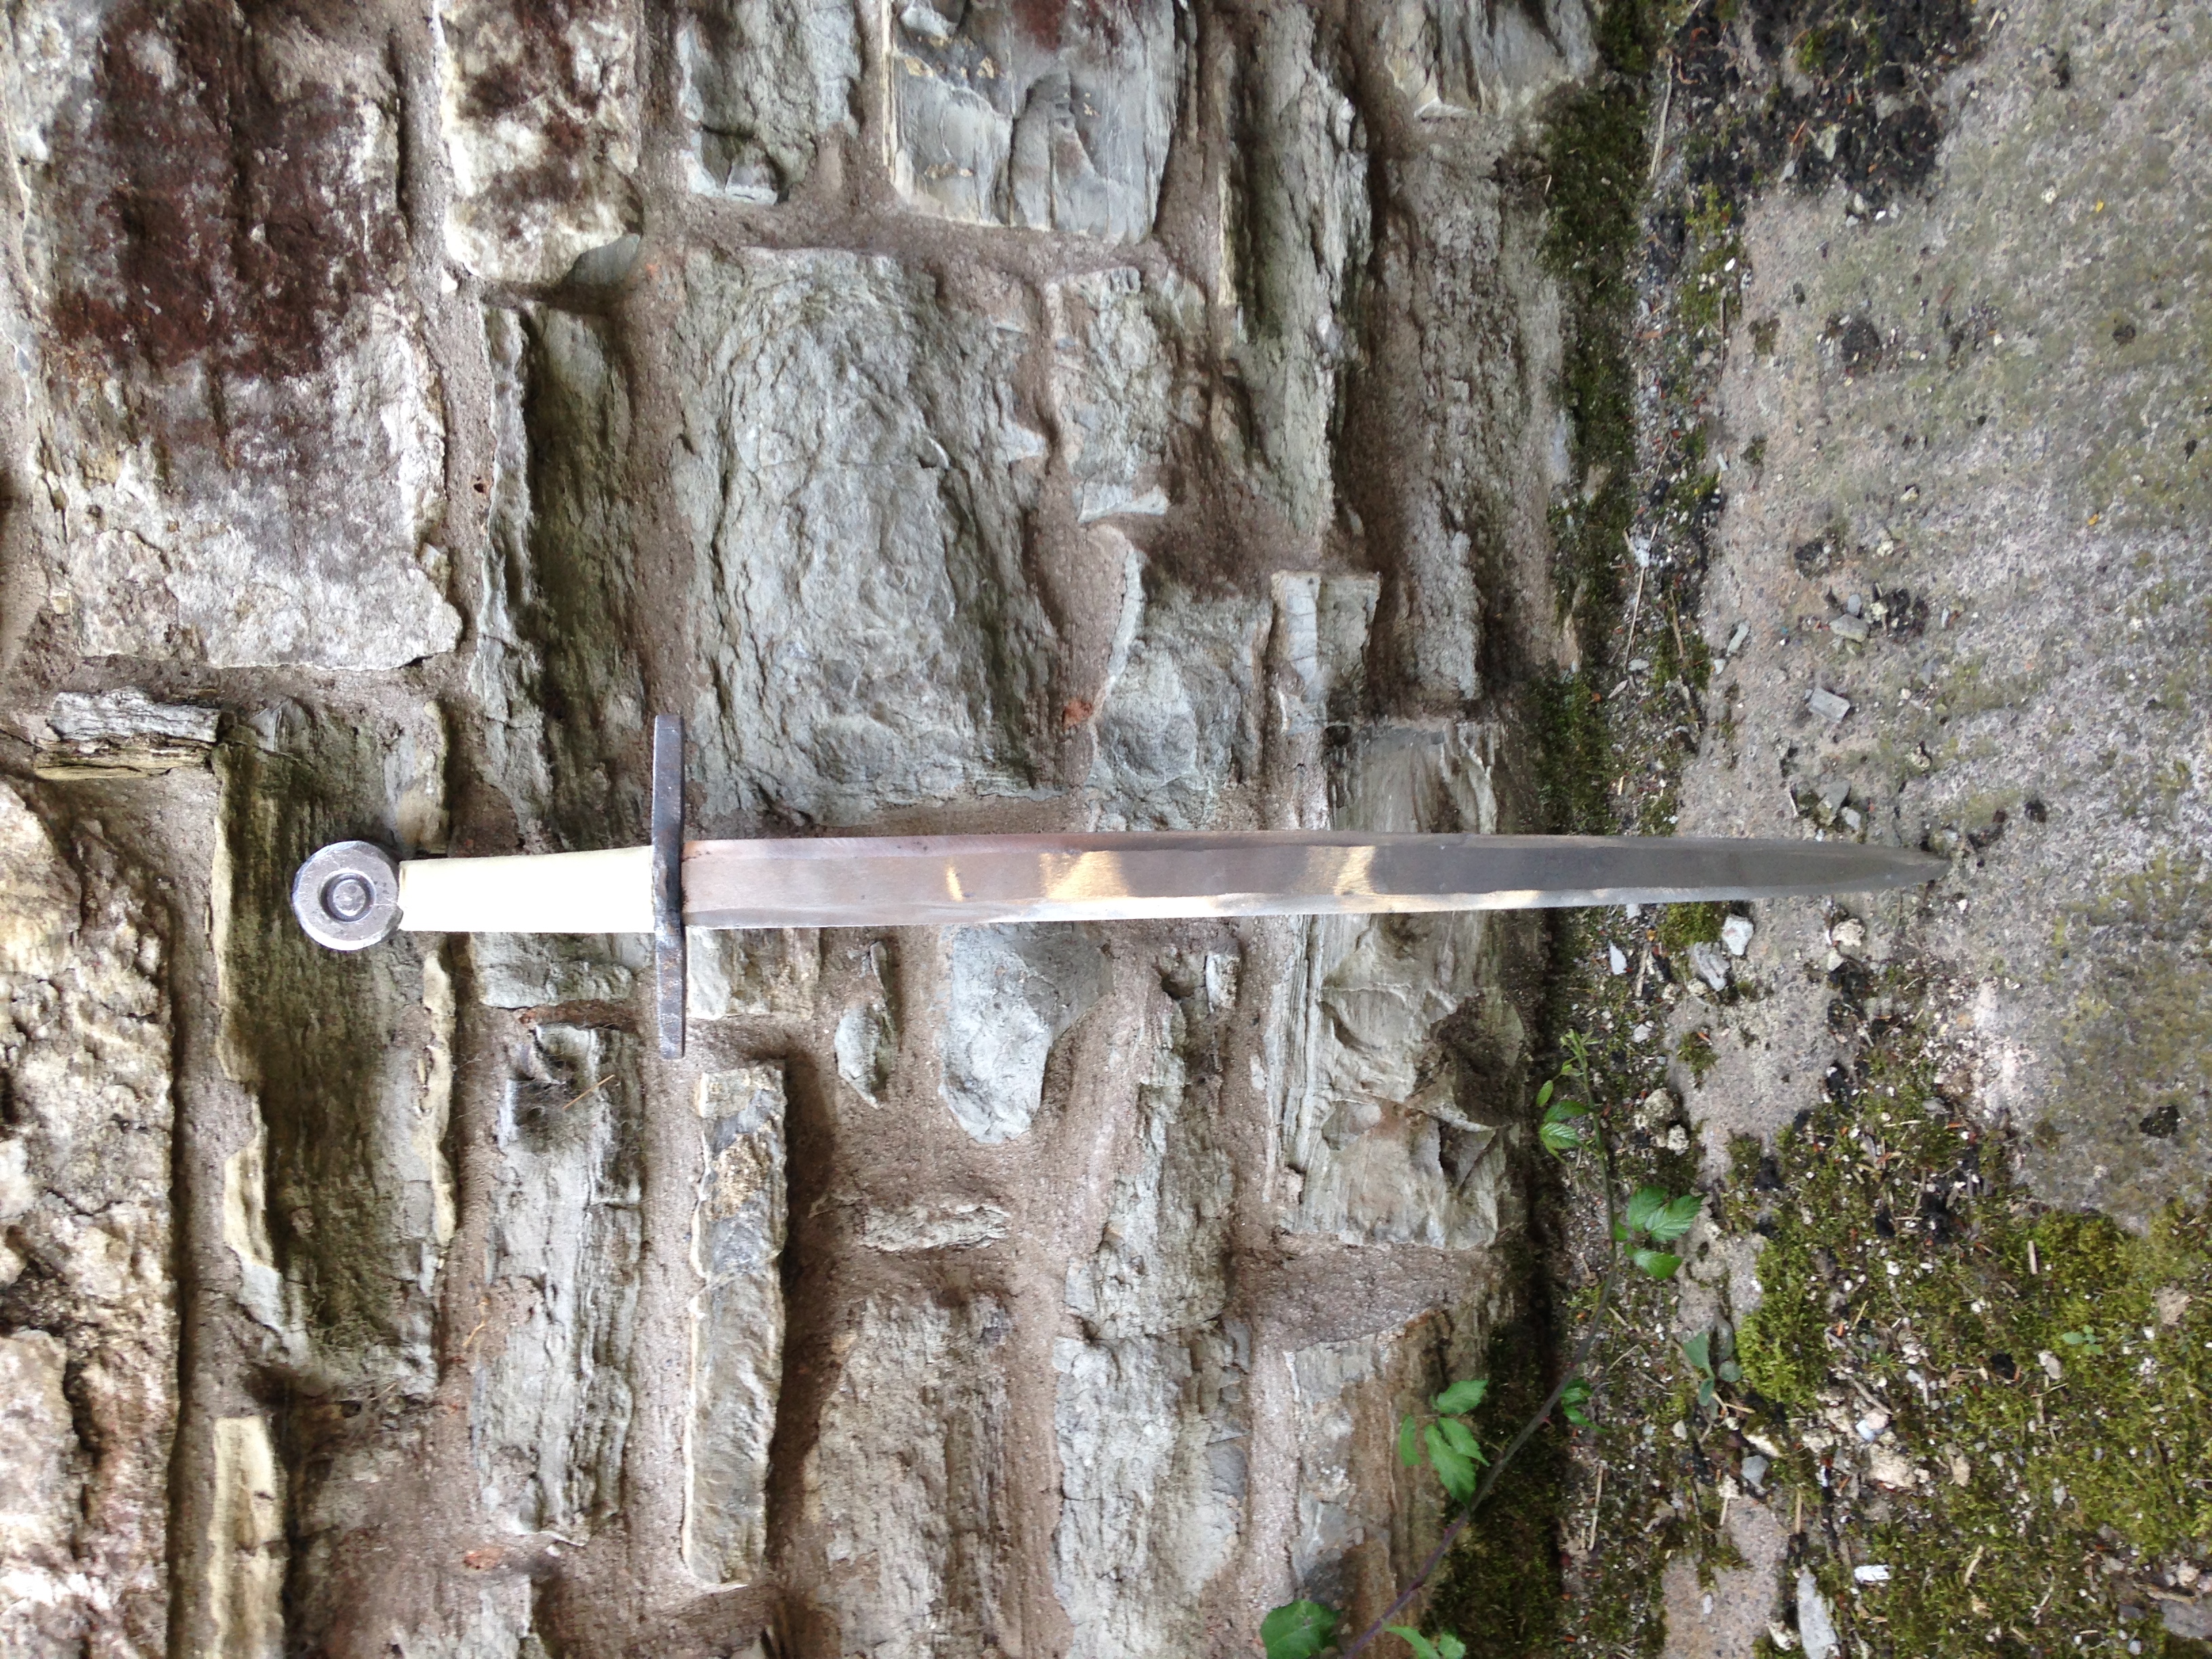
For the Deliverable, I created a sword using some medieval sword forging techniques, such as drawing and cornering. By Comparing my Sword to those in The Illustrated Directory of Swords & Sabres by Harvey J. S. Withers, my sword is most like a European knightly sword from c.1350. Since creating art on a sword takes a more skilled blacksmith I decided to simple forge a sword to get an idea of how difficult creating the art along with the sword must have been. The Sword was made at a four-day workshop offered by the Forge of Avalon on Glastonbury. The class was taught by Richard, the owner of the forge. In order to participate in the class, we needed safety glasses, heat resistant work gloves (not welding gauntlets), nonflammable clothes, and sturdy shoes. The next section will go into how the sword was made.
Process of sword forging
Learning the Basics
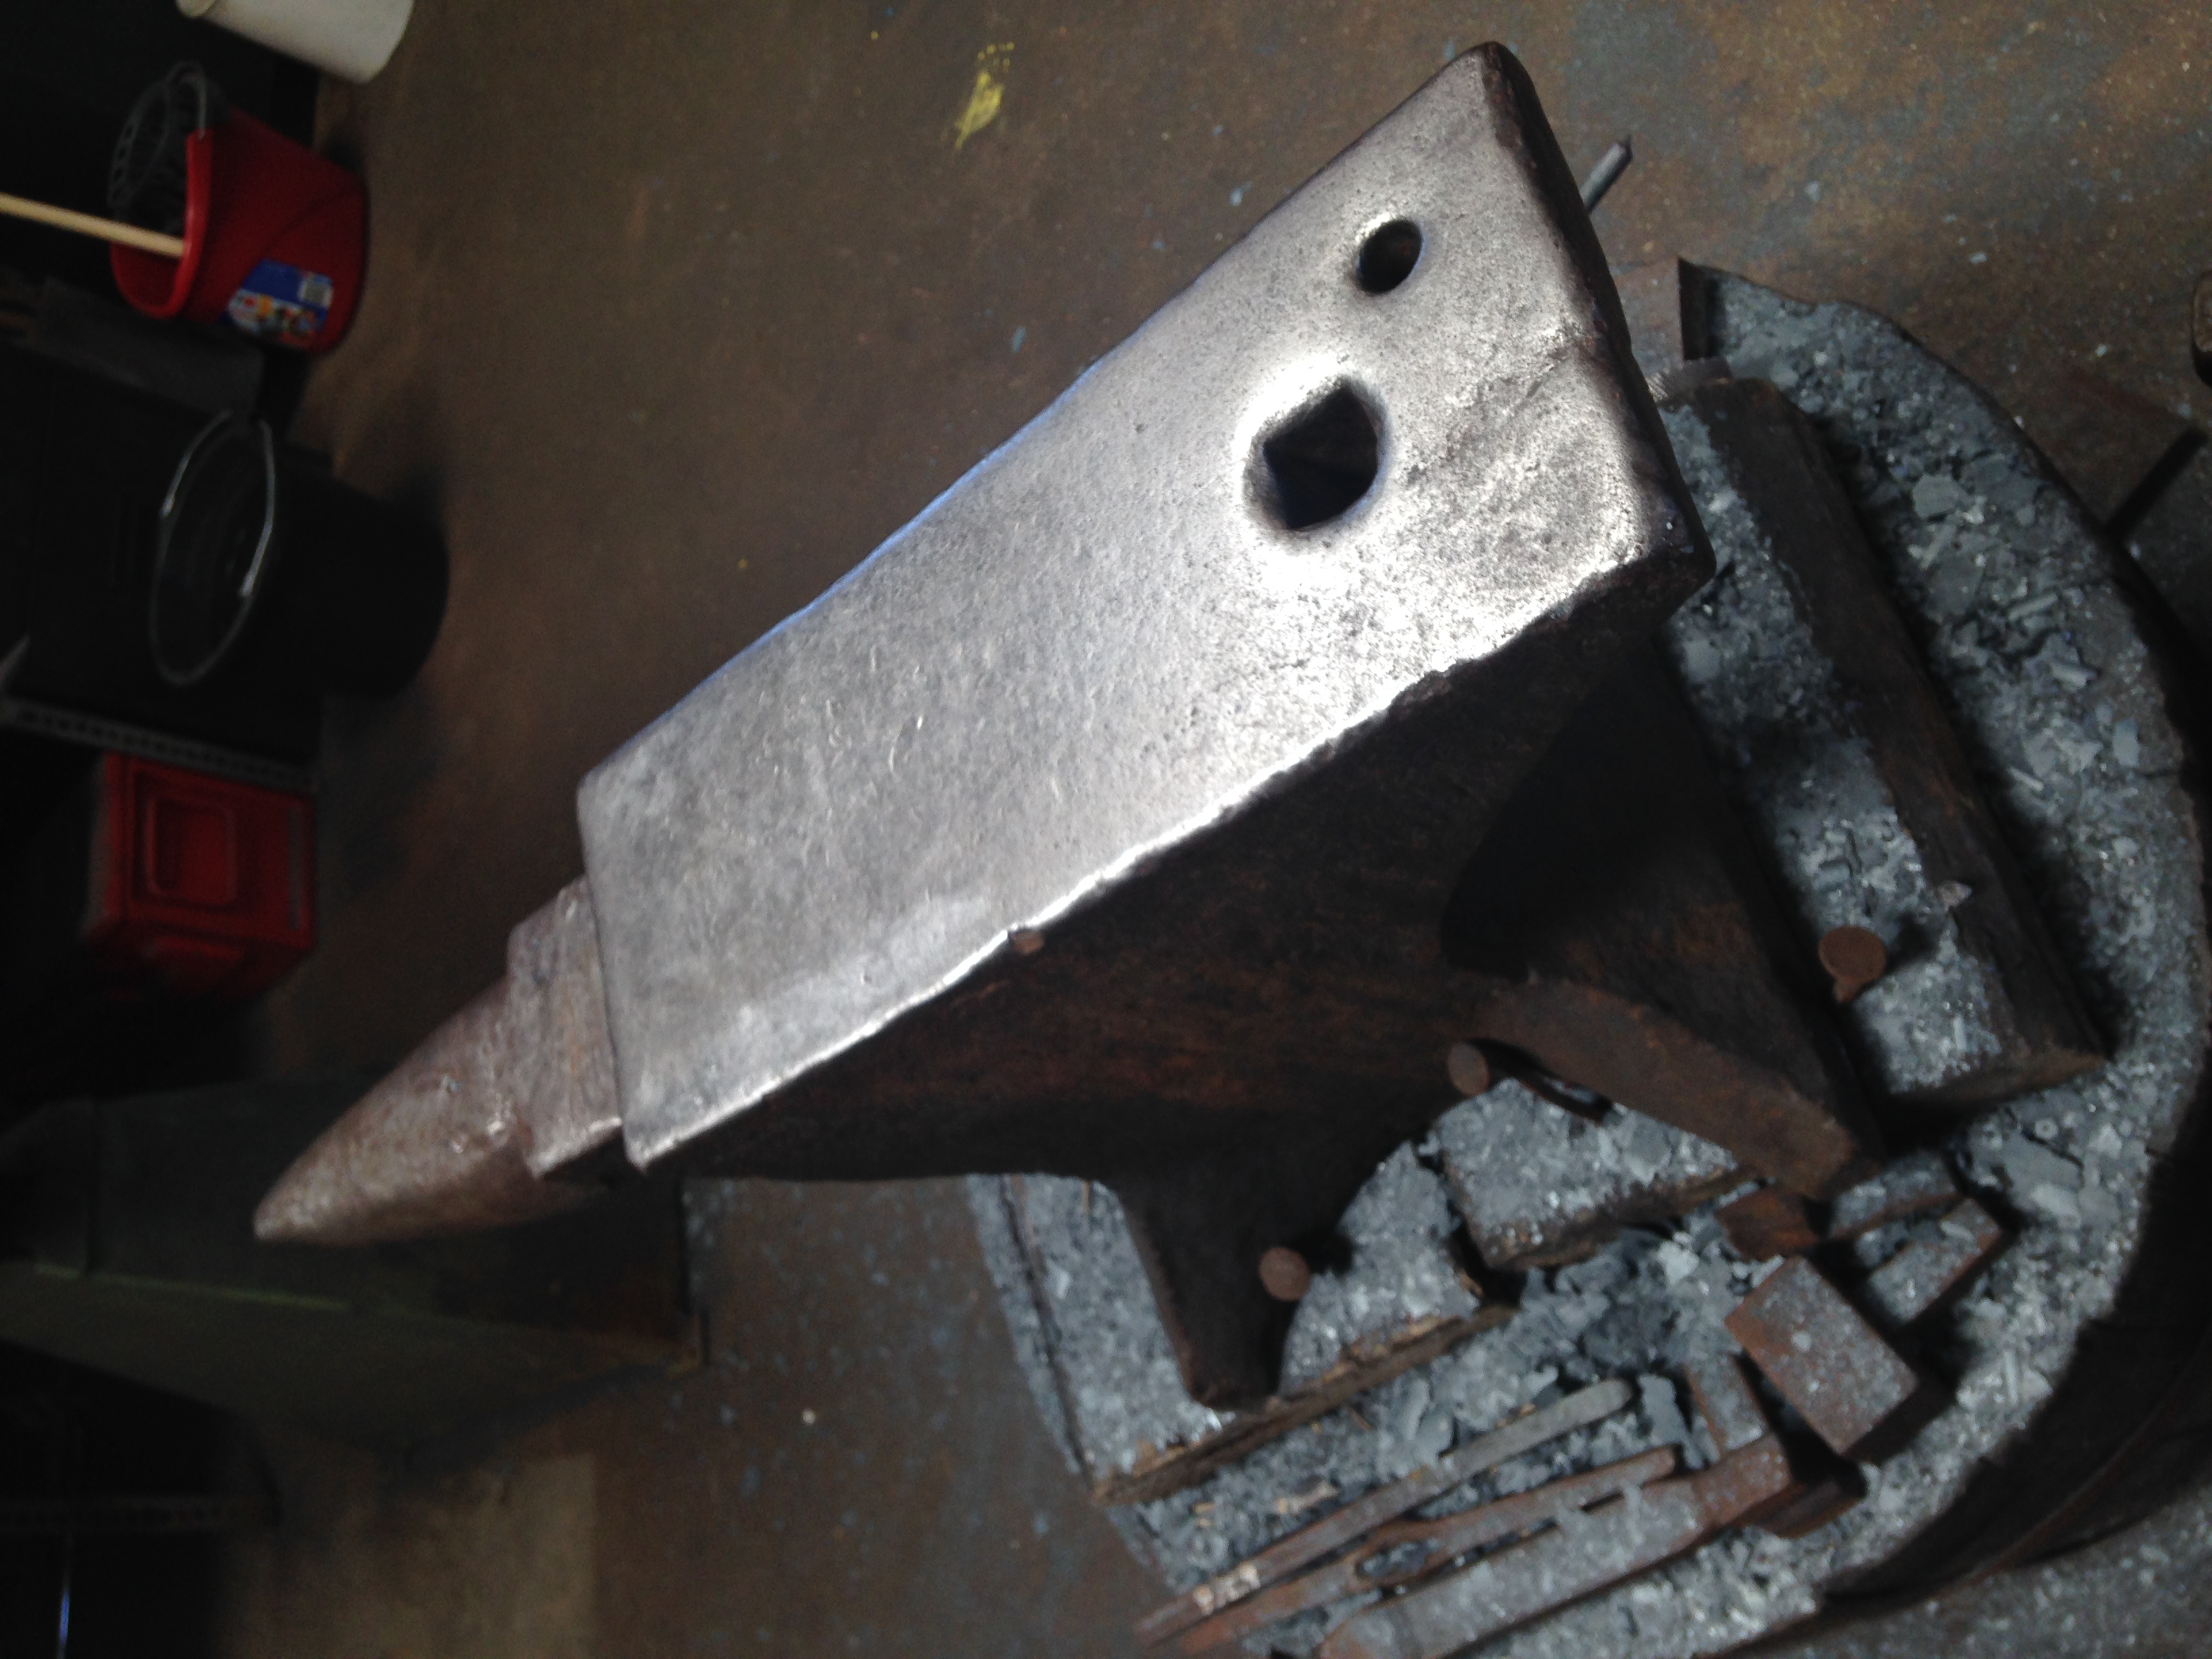
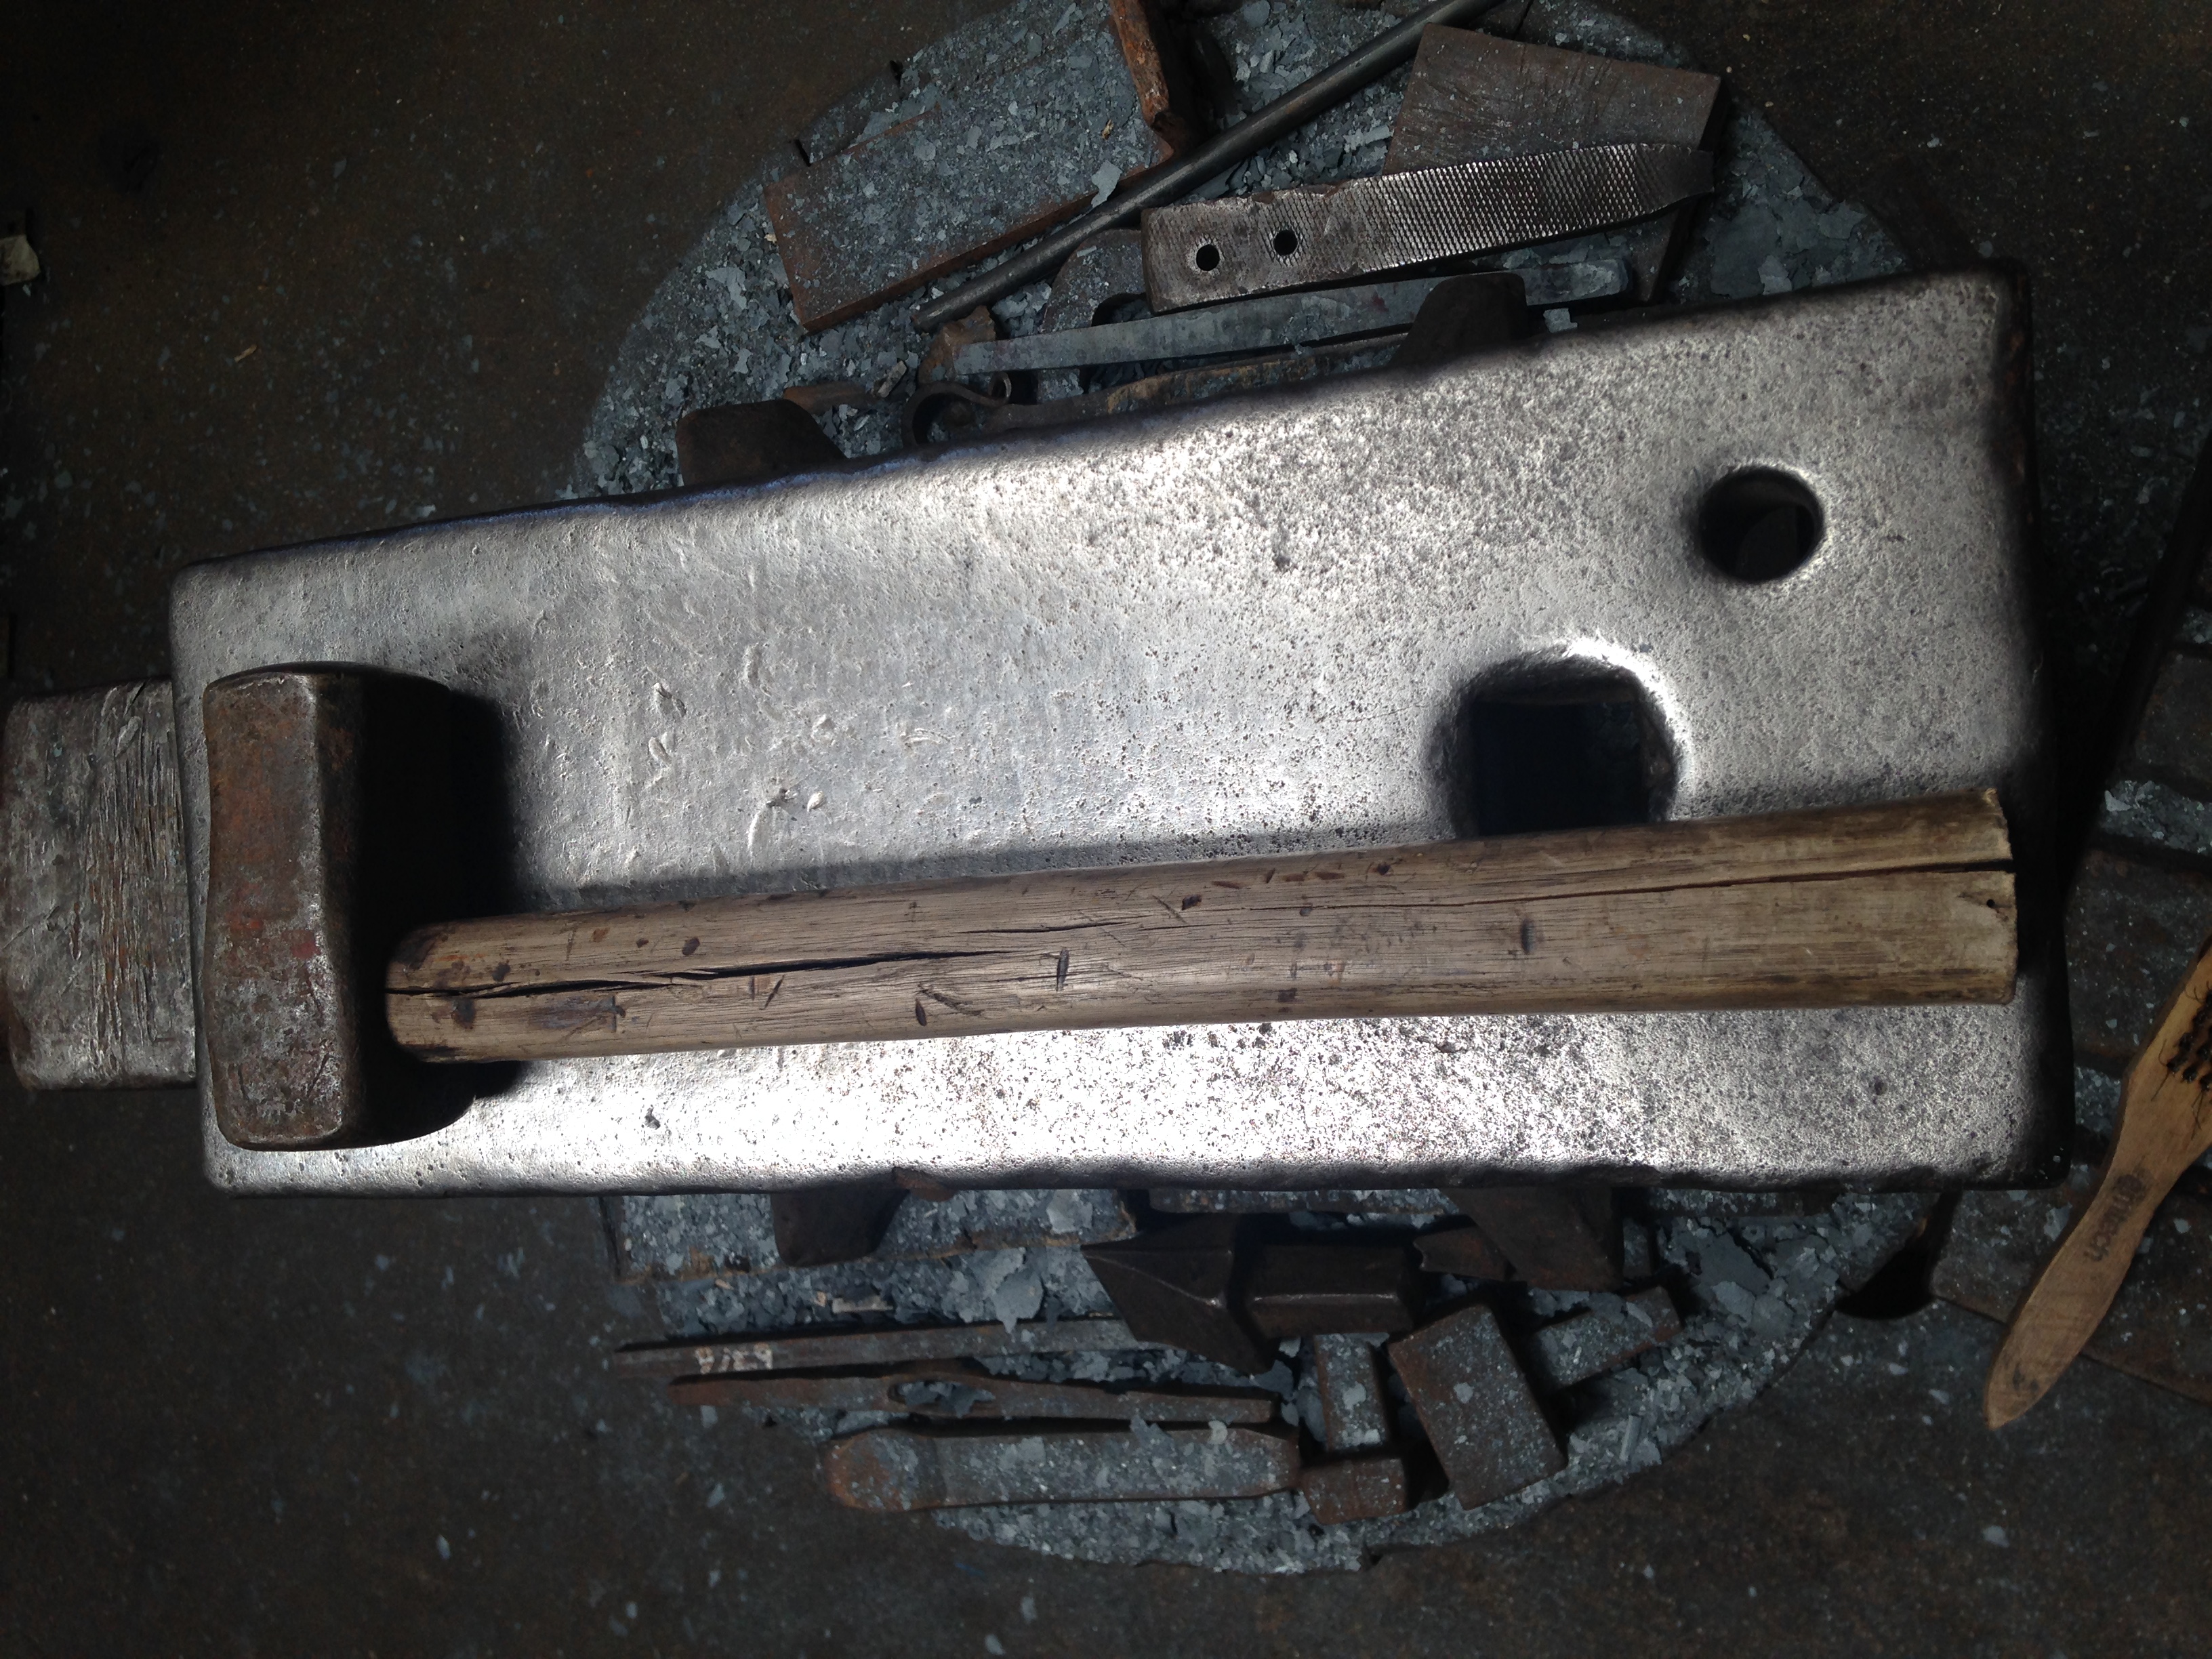
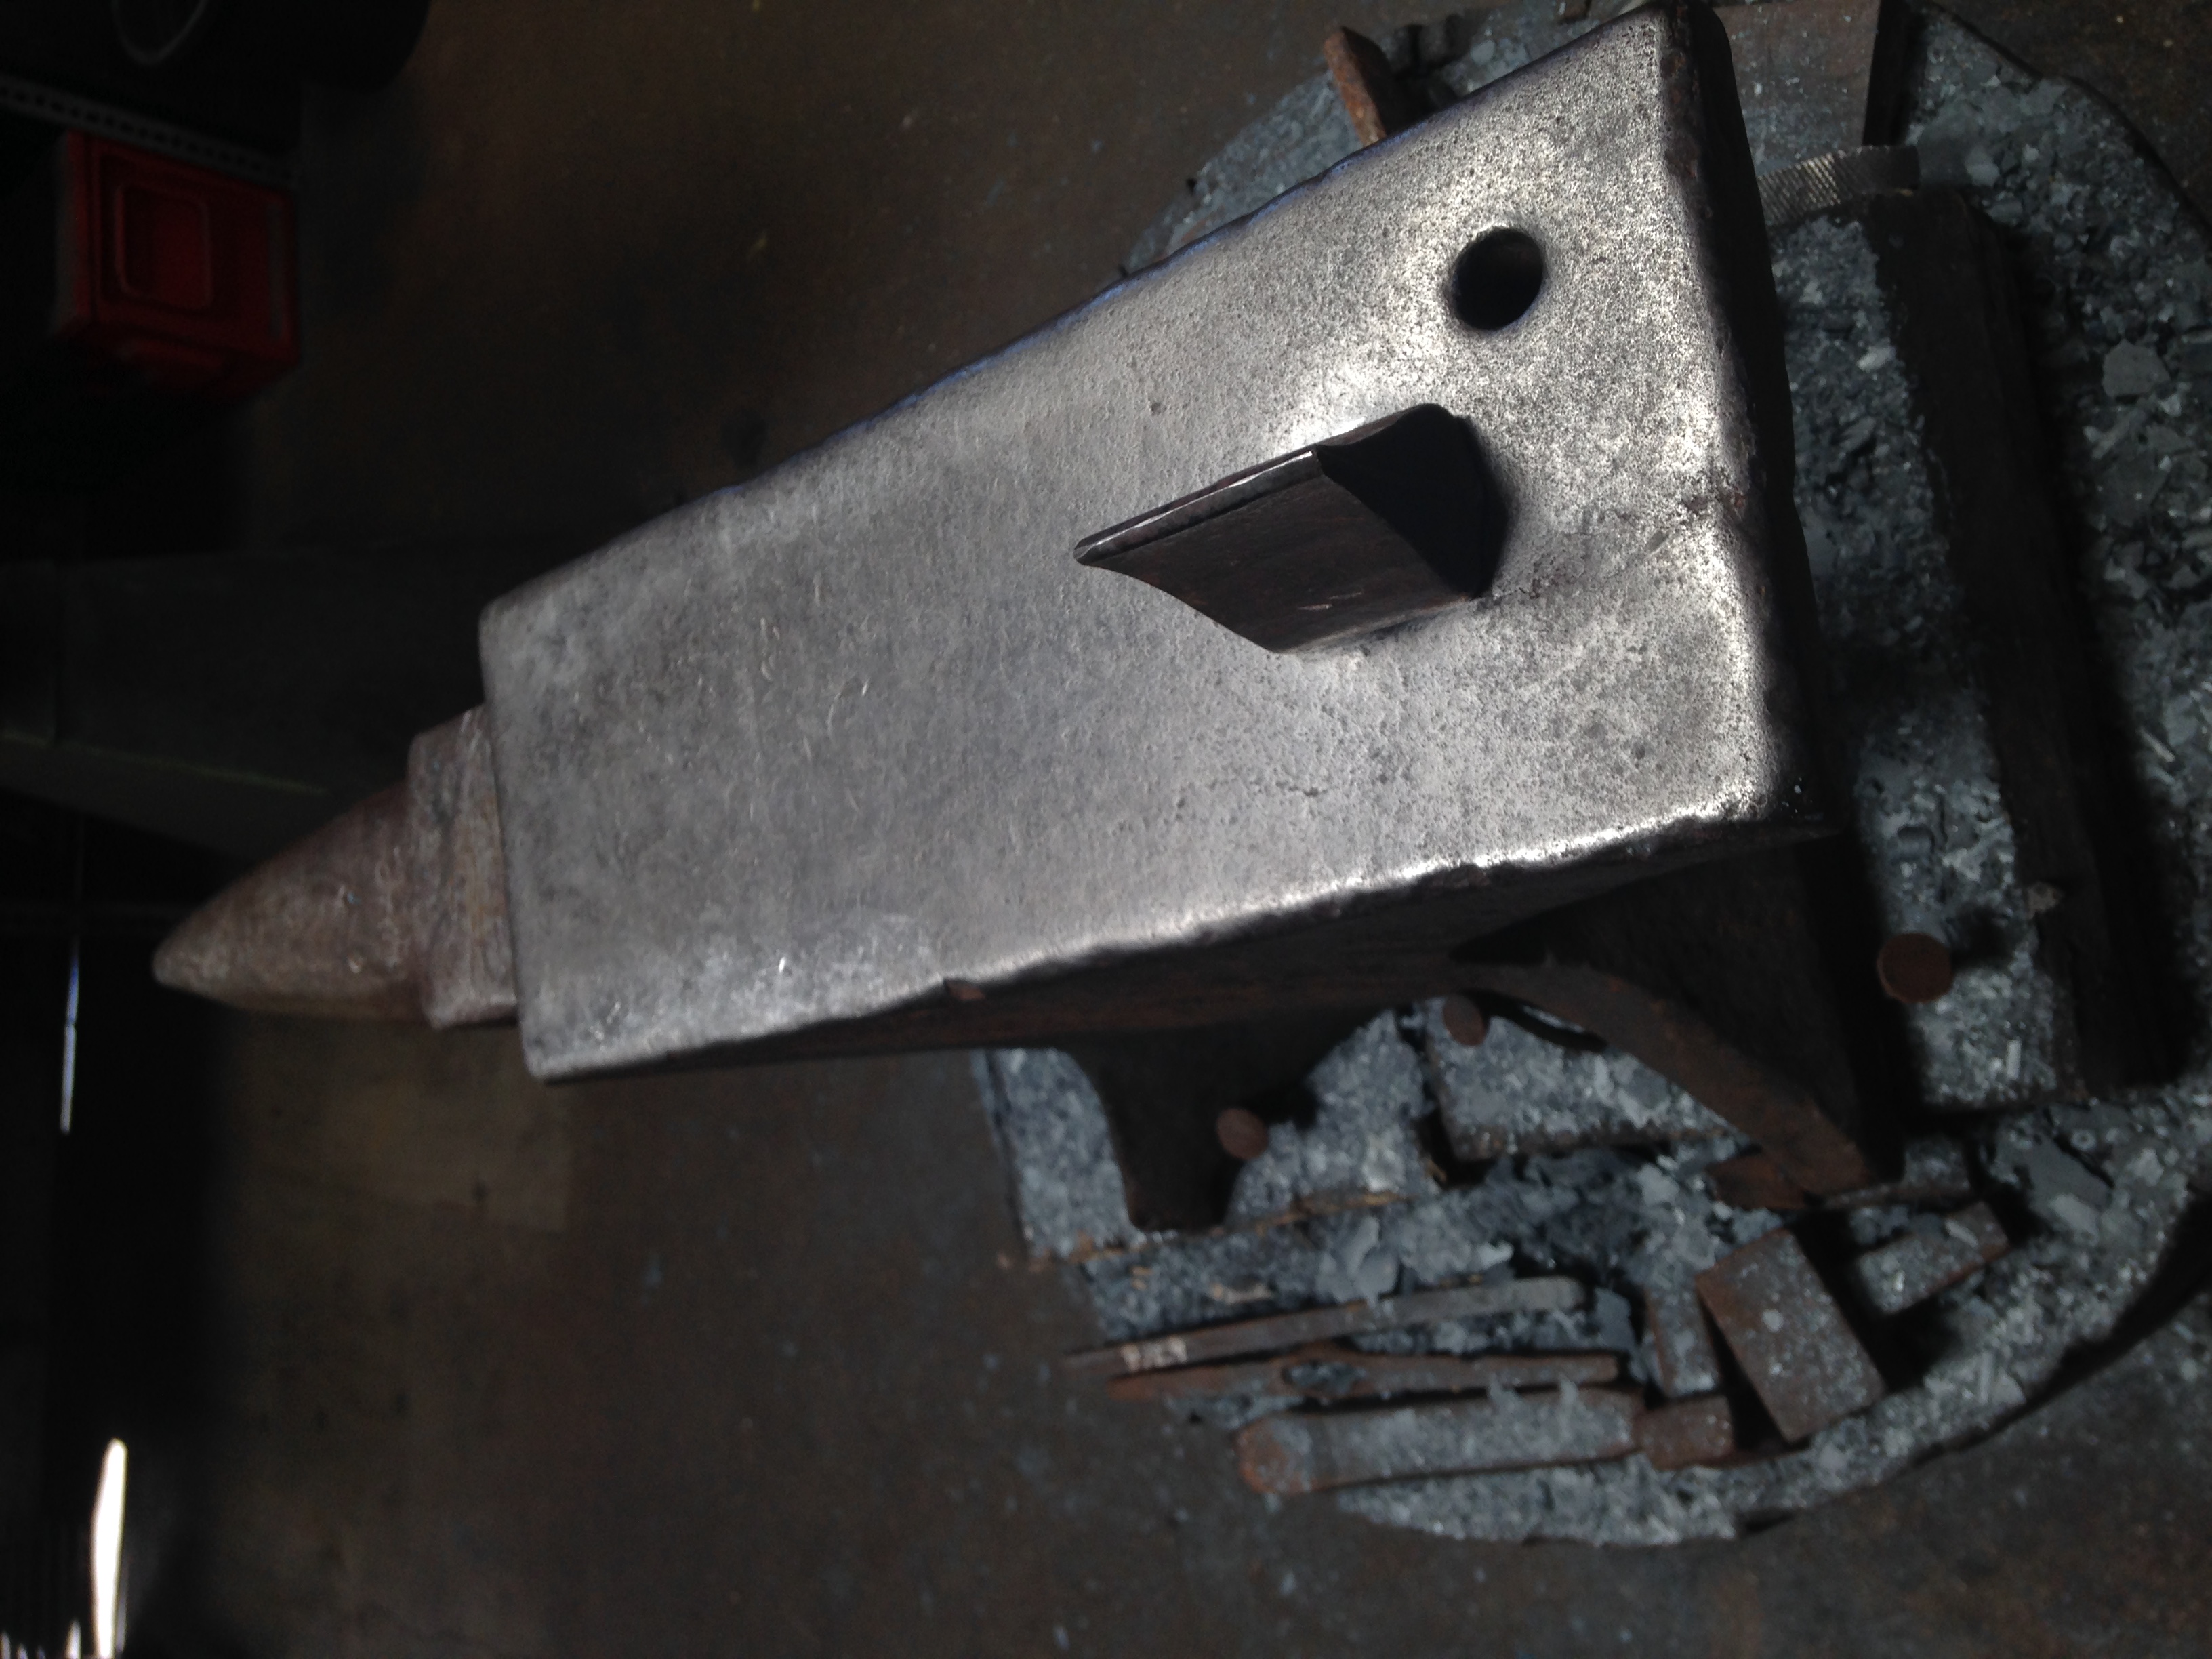
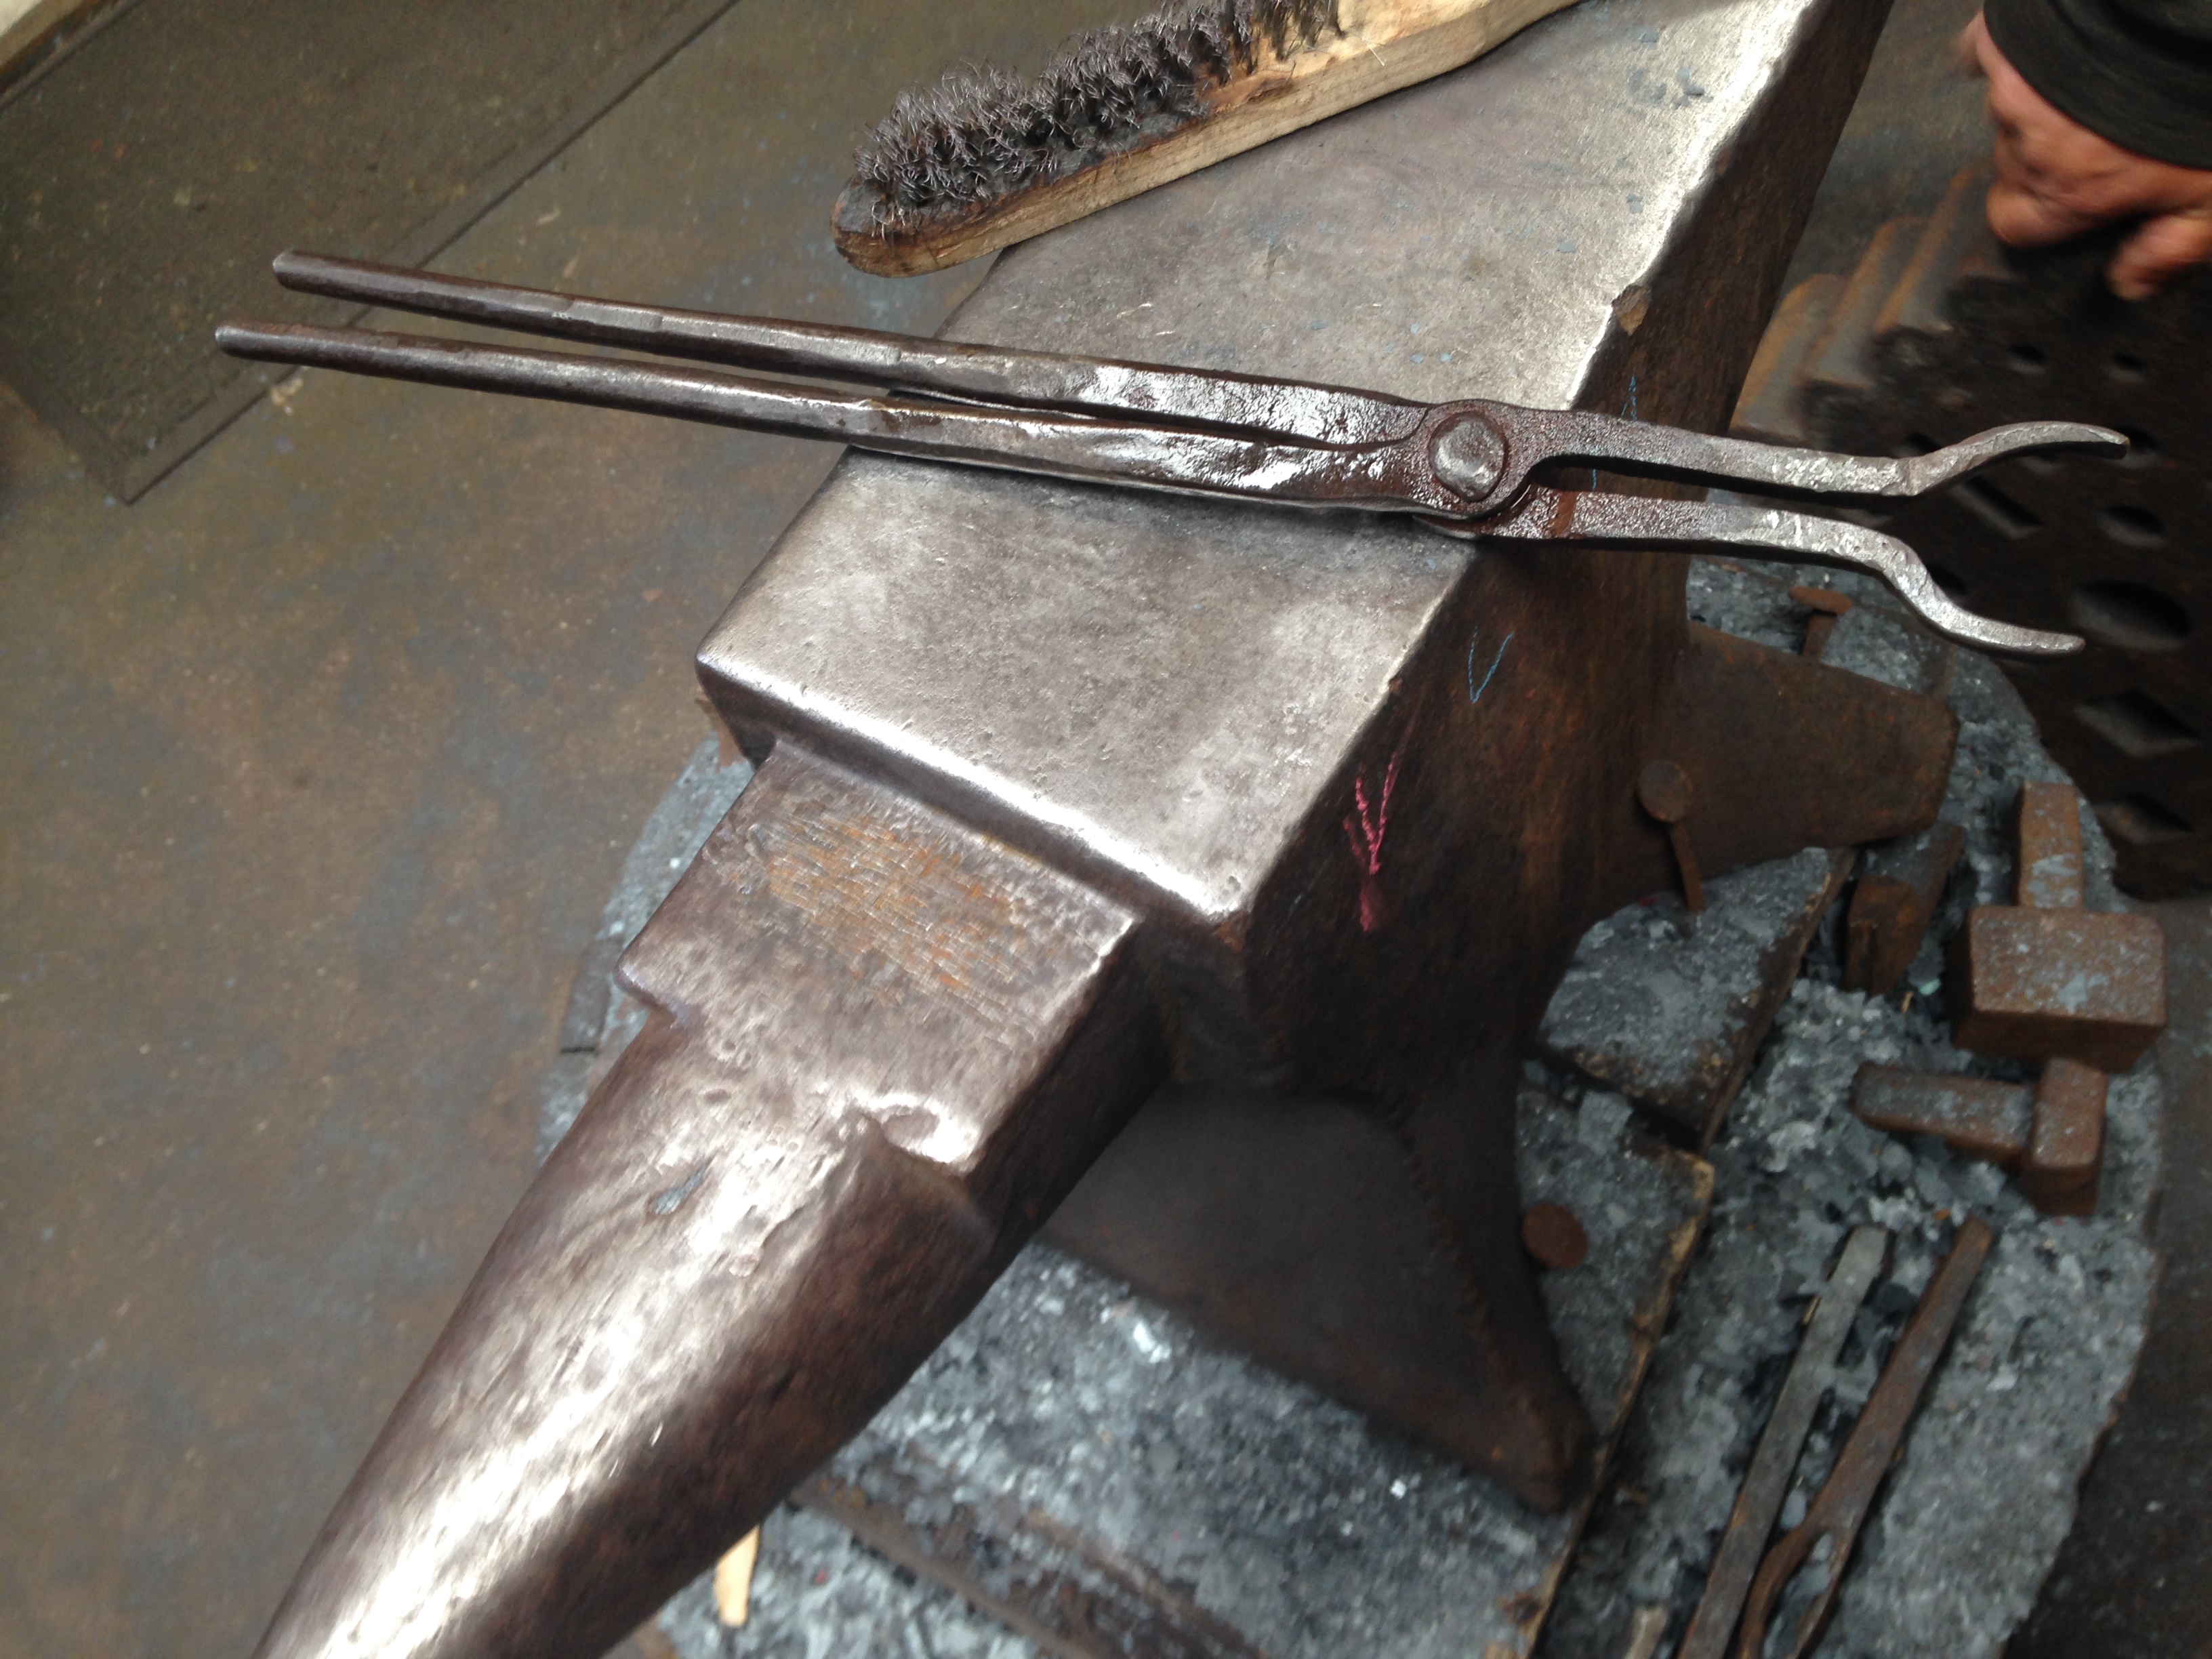
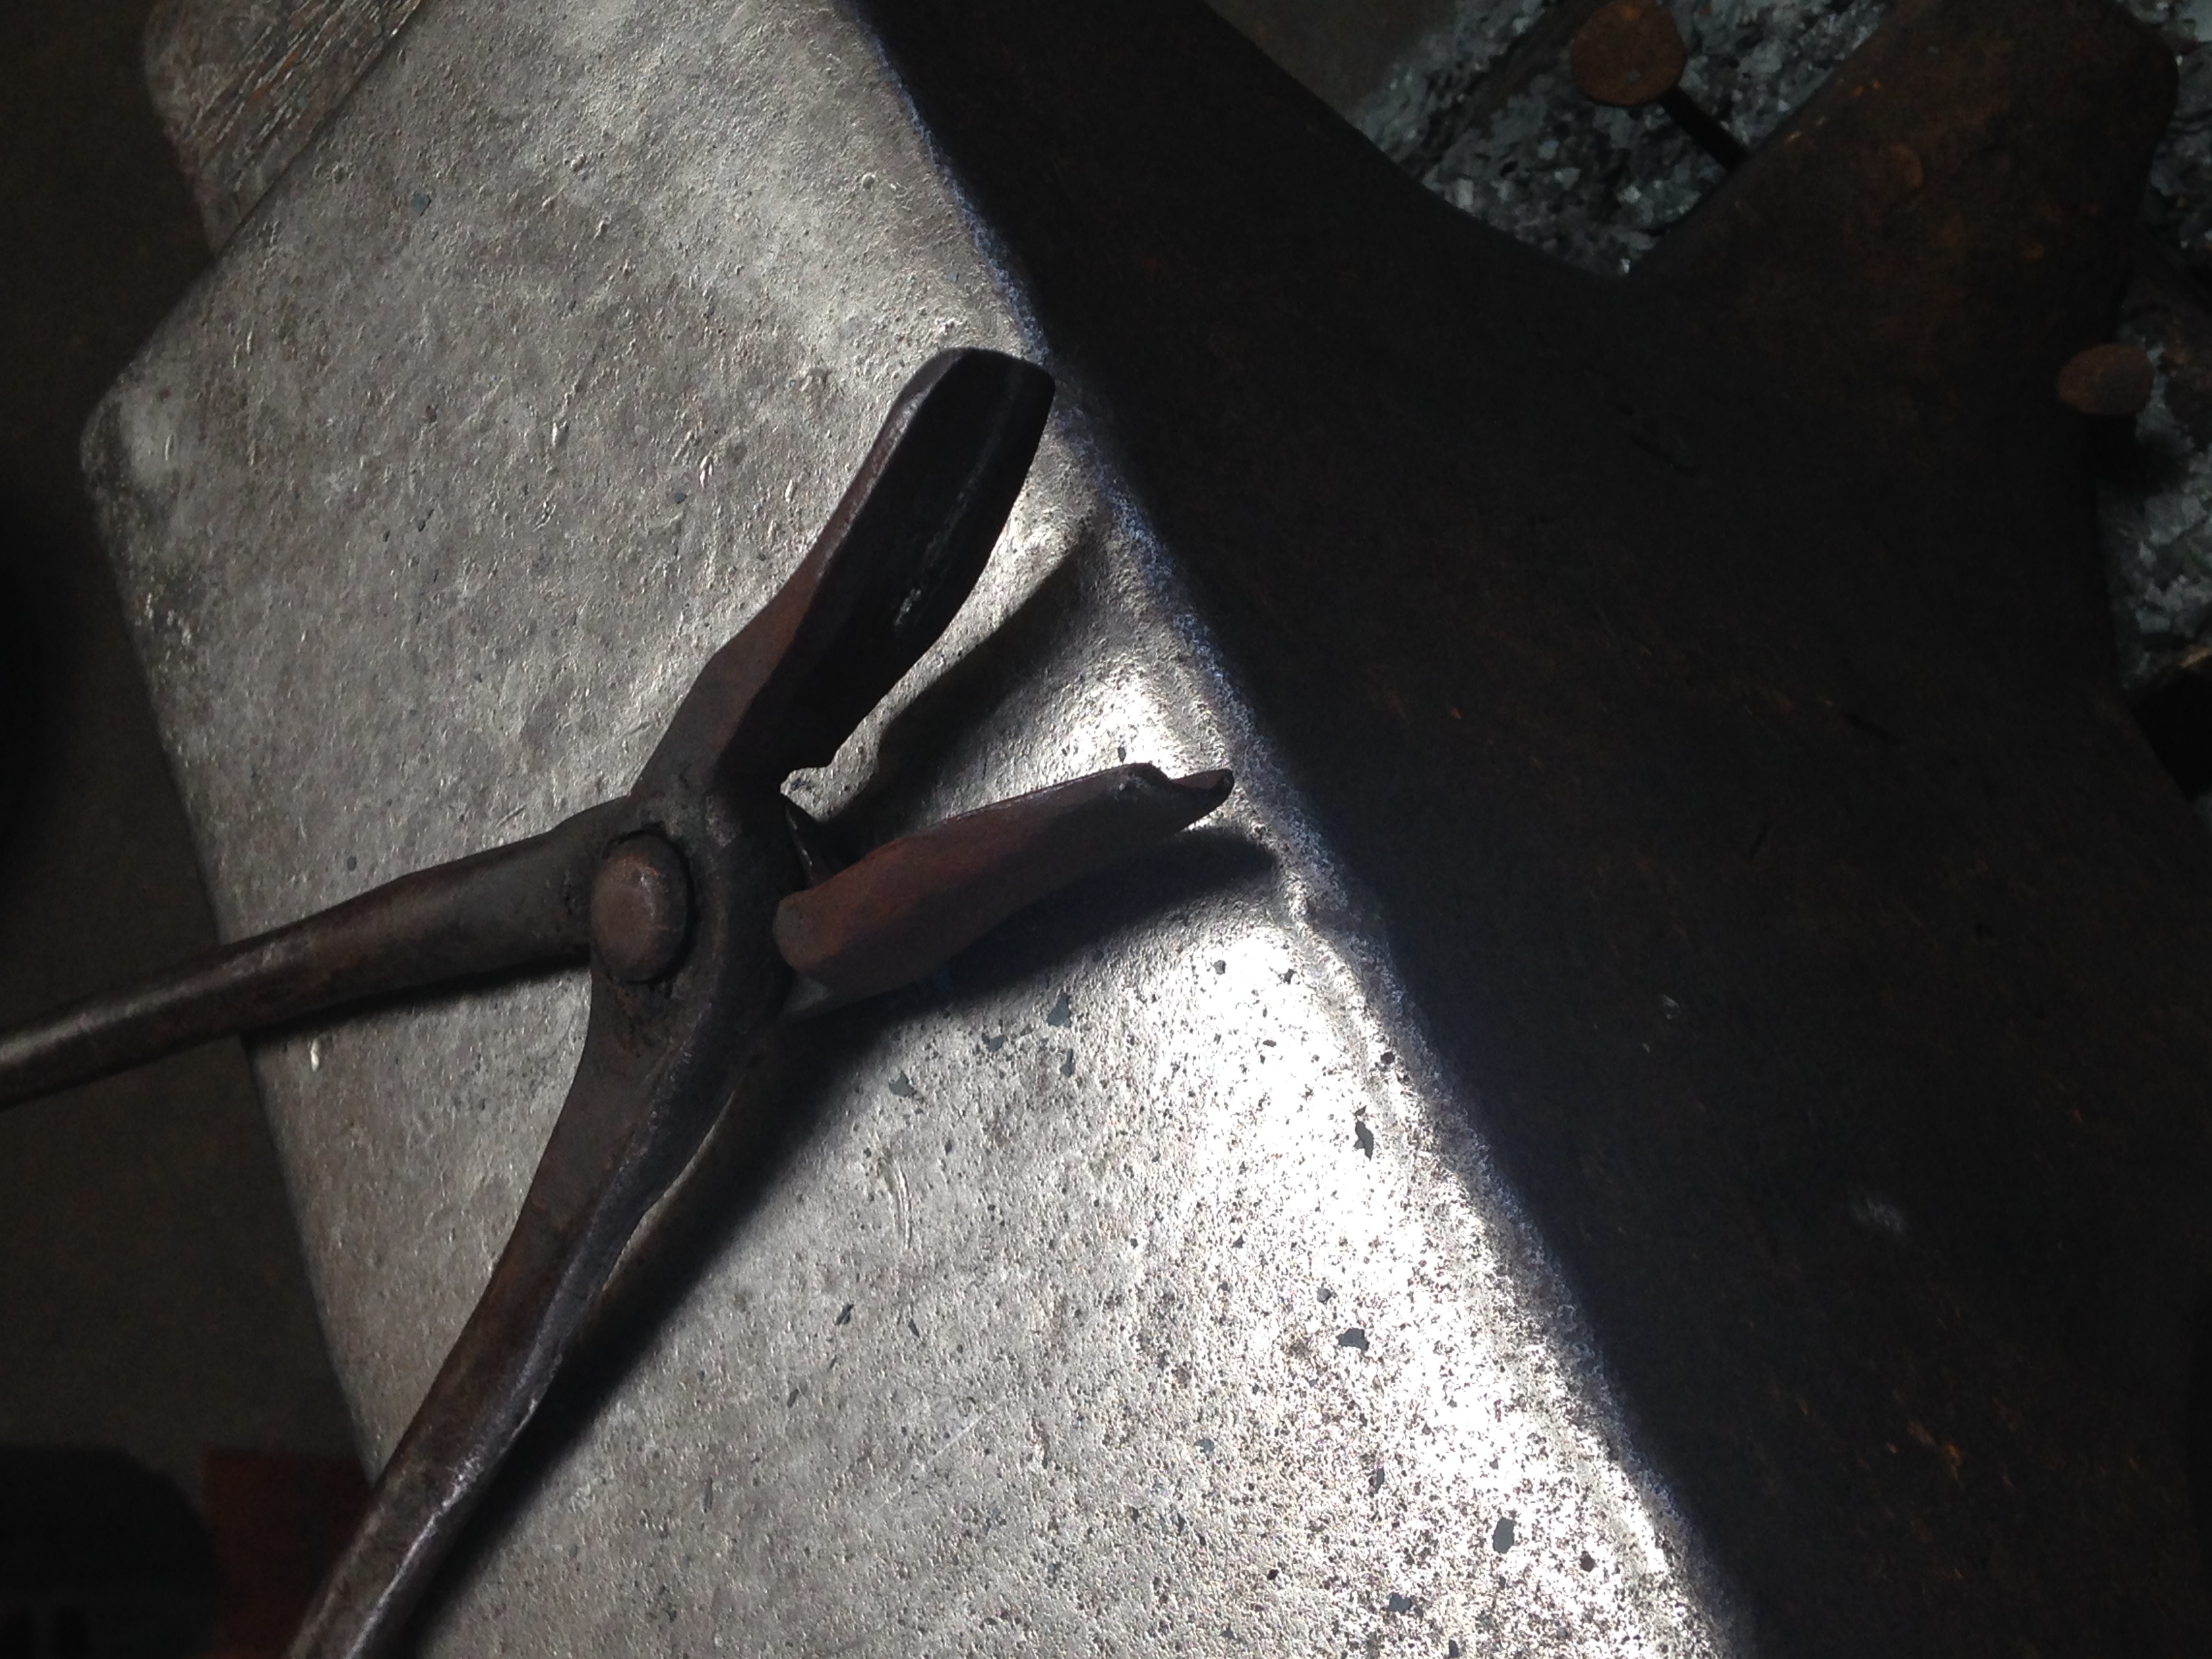
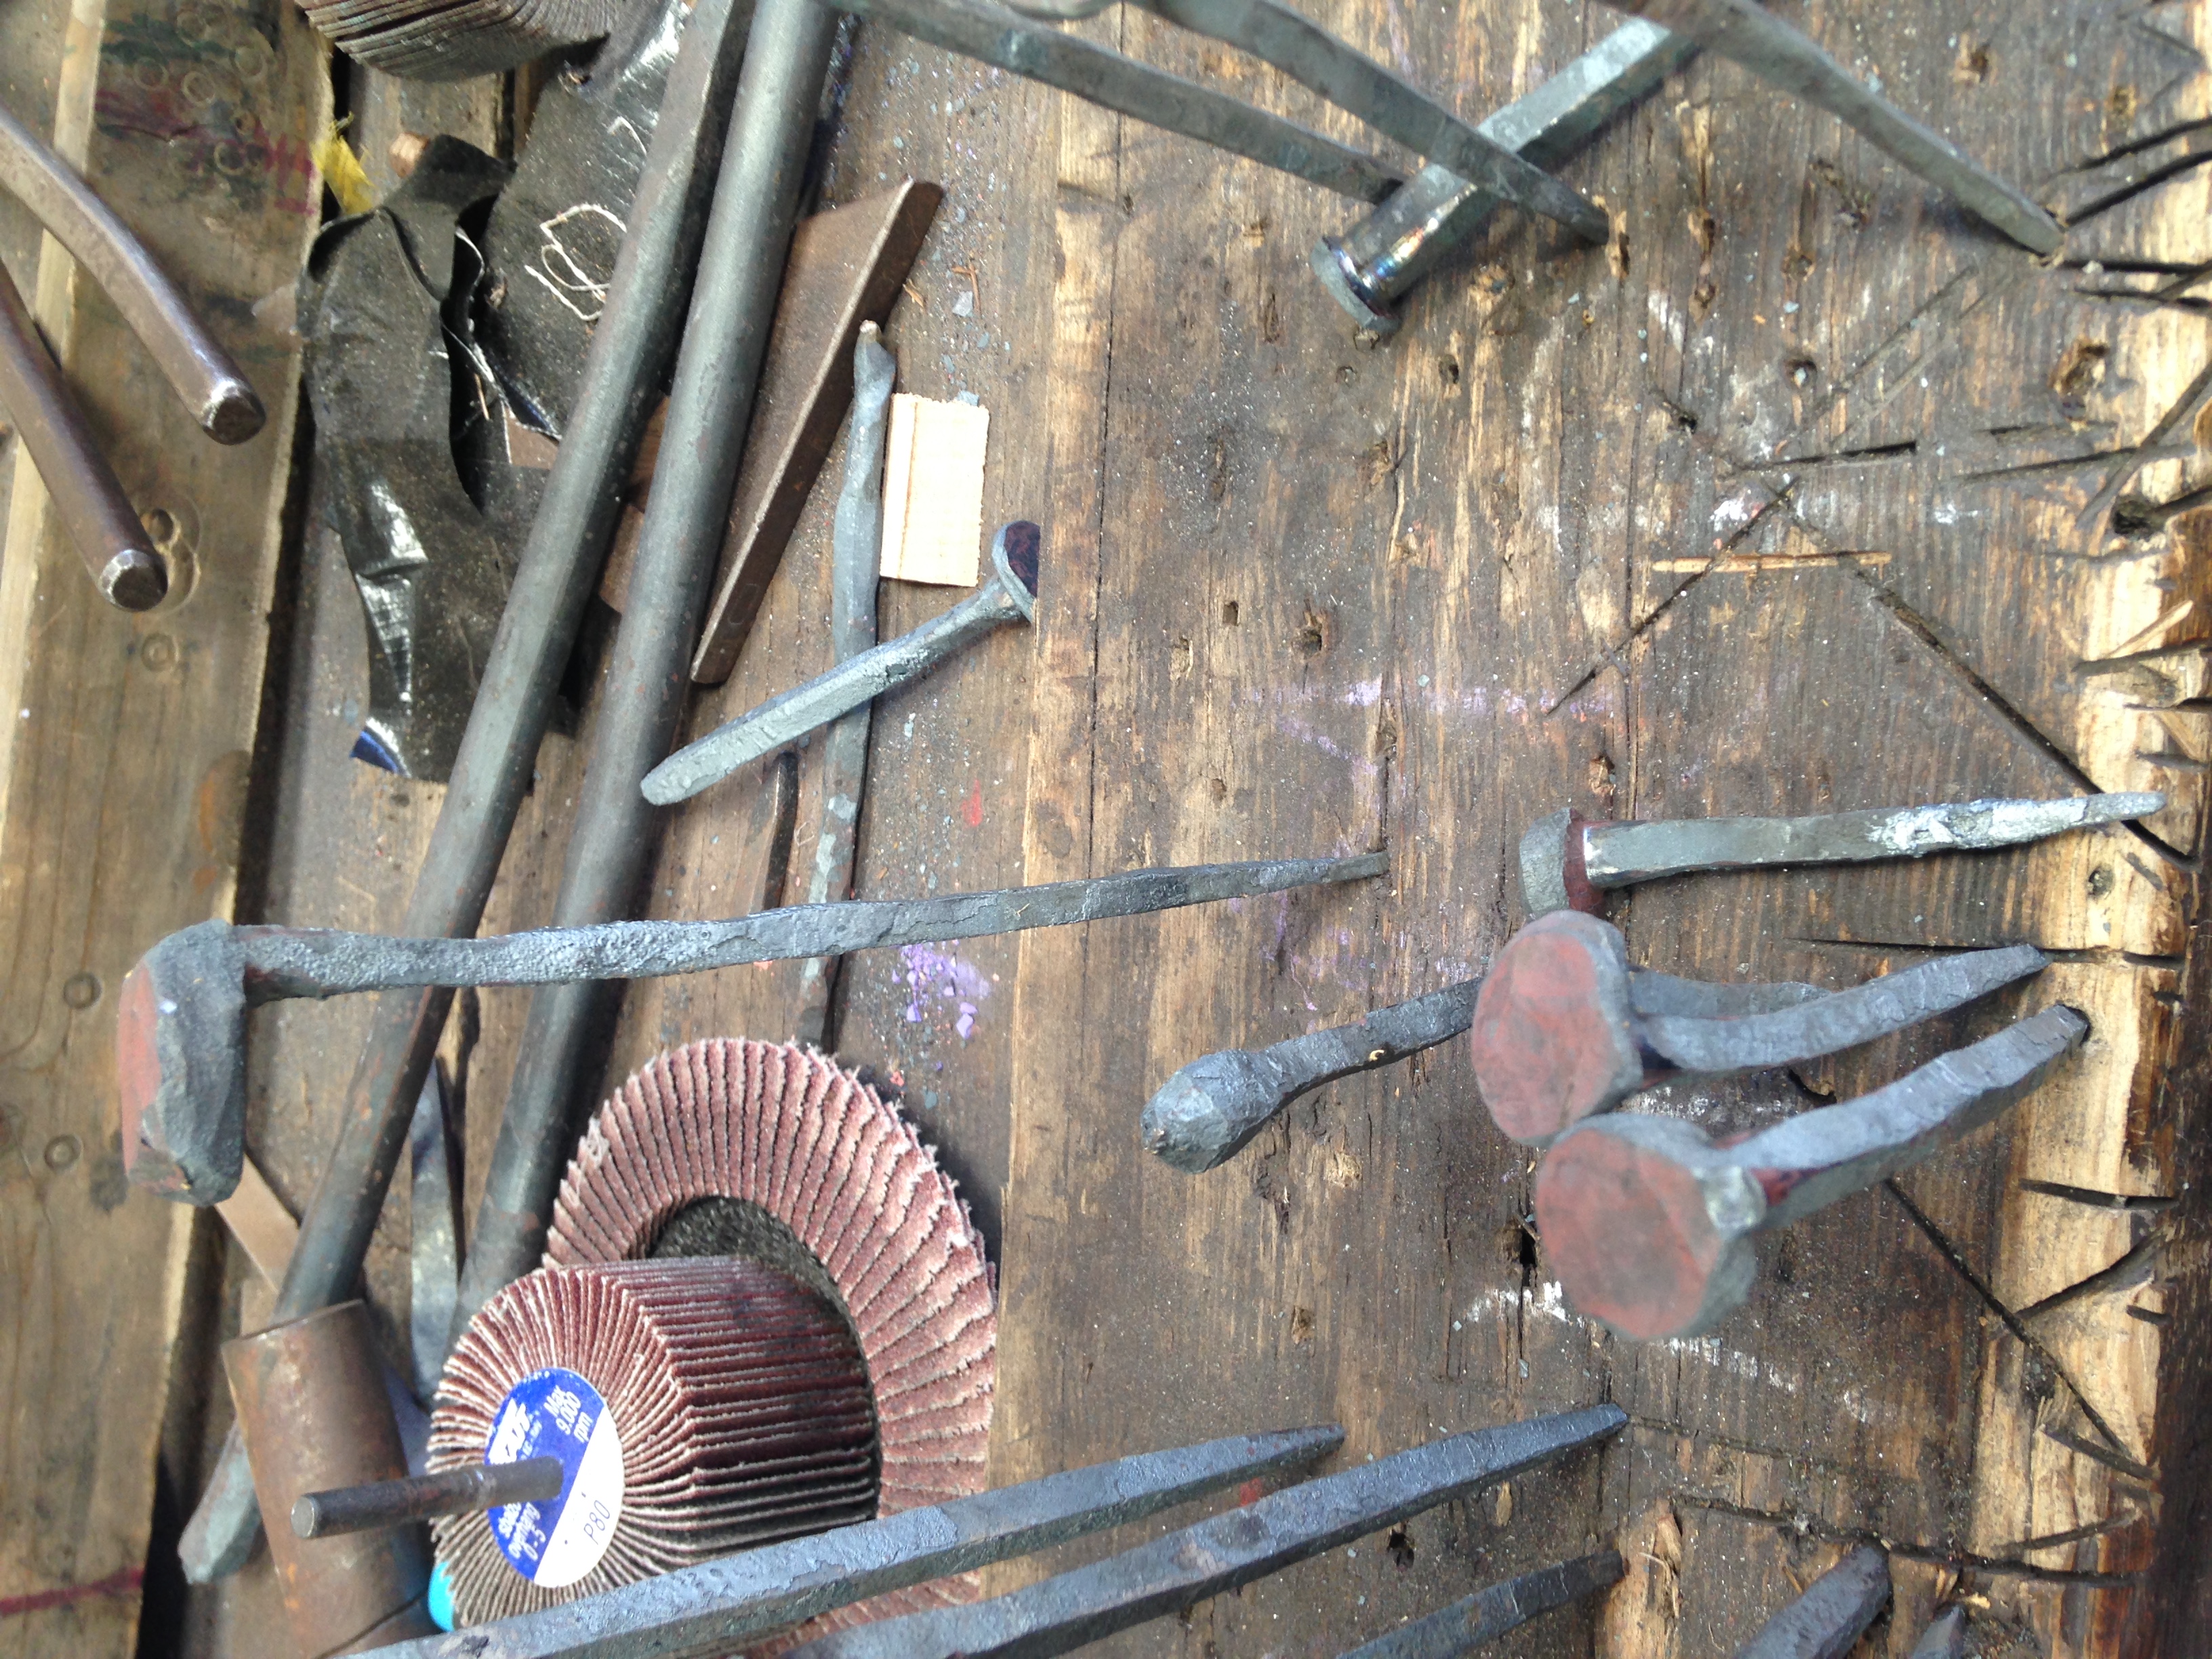
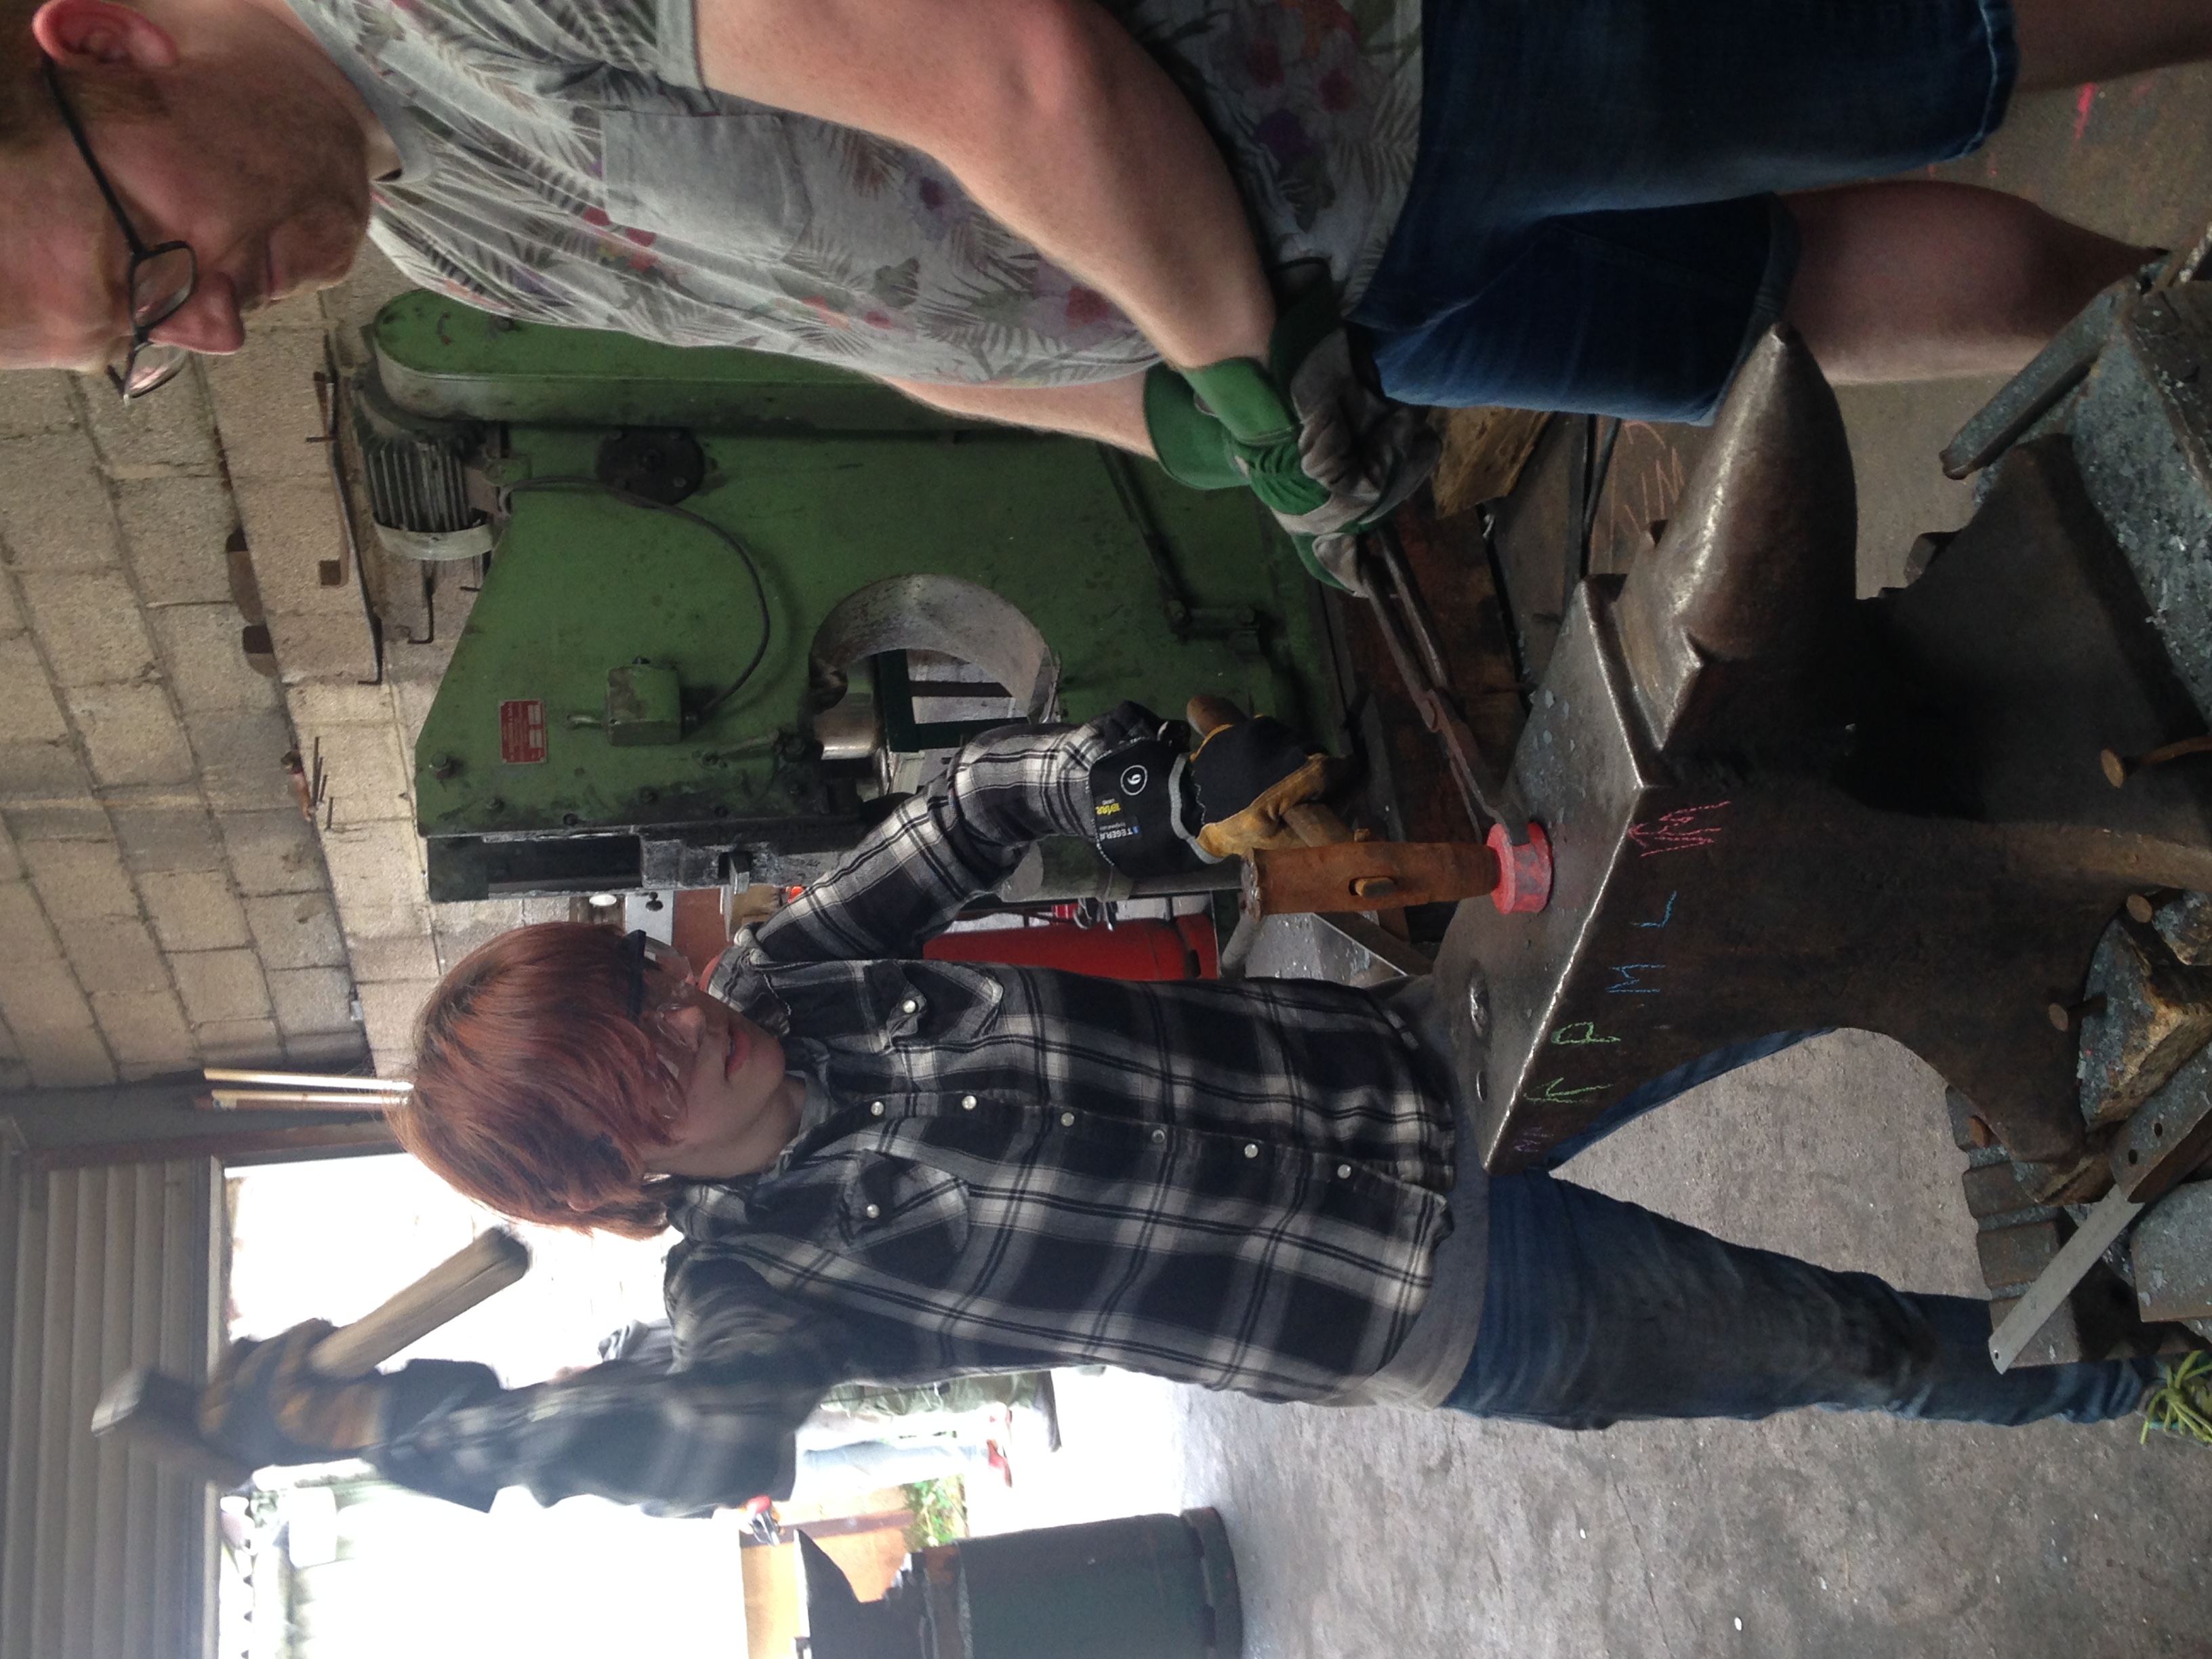
We started by forging nails to learn basic skills such are making points, drawing, cornering, and making heads. Cornering is done by heating the metal then hammering at the end of the piece with a slight angle and rotating the piece at 90 degree angles to create a square point at the end. Drawing involves heating again and hammering the piece while slowing moving the piece away from the direction you want to draw it under the hammer. Drawing lengthens and narrows the piece. Cornering it done by heating and hammering in line with the side of the anvil in order to create a corner in between sections of a piece. To create the head of the nail, we cut the nail off by heating it and hammering it over the hardy then snapping it off in the heading tool. before snapping the nail off the rod that its being forged out of it is important to make sure the head is hot enough because the heading tool sucks heat out of the nail and you need enough time to hammer out the head. Once the nail in the heading tool you place the nail in the hardy hole and hammer where the cut was in order to create a flat head.
Cross Guard
Work on the sword started with it cross guard. We stared with a square rod of low carbon steel (less than 1% carbon) and marked out an 80mm section, a 30mm section, and another 80mm section. We then drew one of the 80mm sections. We cut at the end of the other 80mm section the same way we cut the nails off their rods. We then drew out the other 80mm section. We used calipers to find the center of the piece after we drew it and marked the center. We then heated it and used a chisel to create the slot for the blade in the center if the guard. We had to use to different kinds of chisel to get the right shaped hole.
Blade
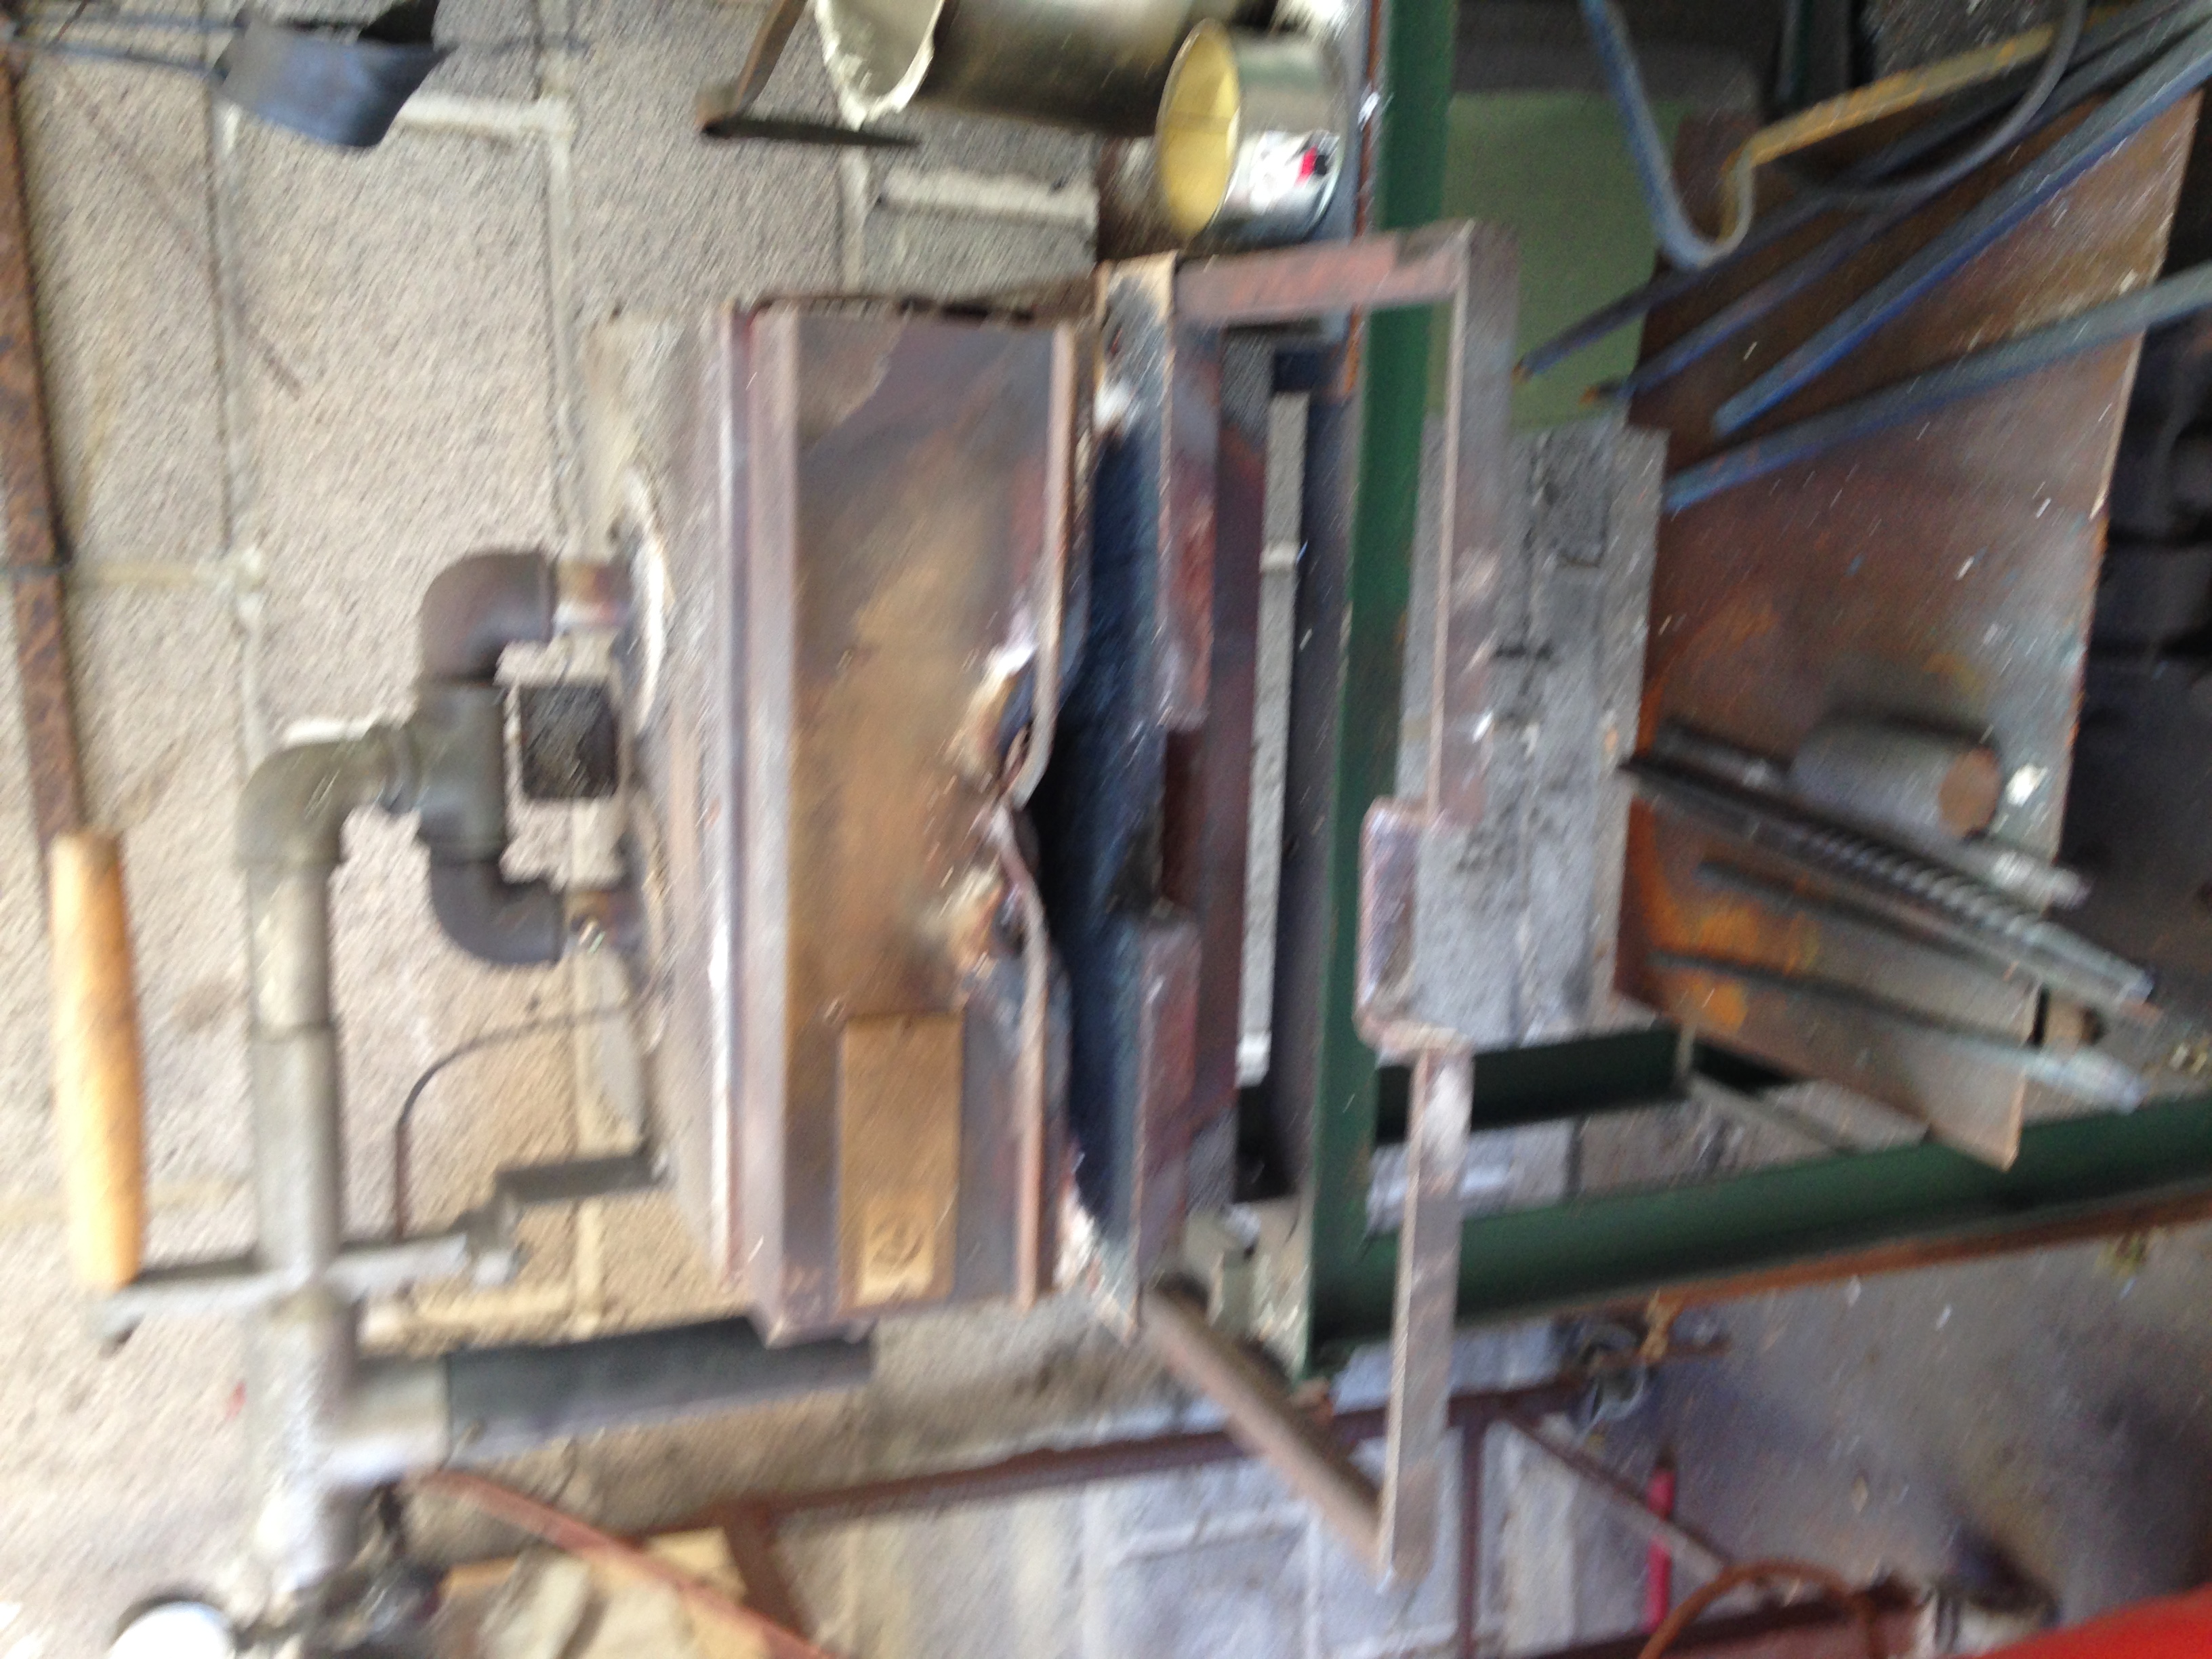
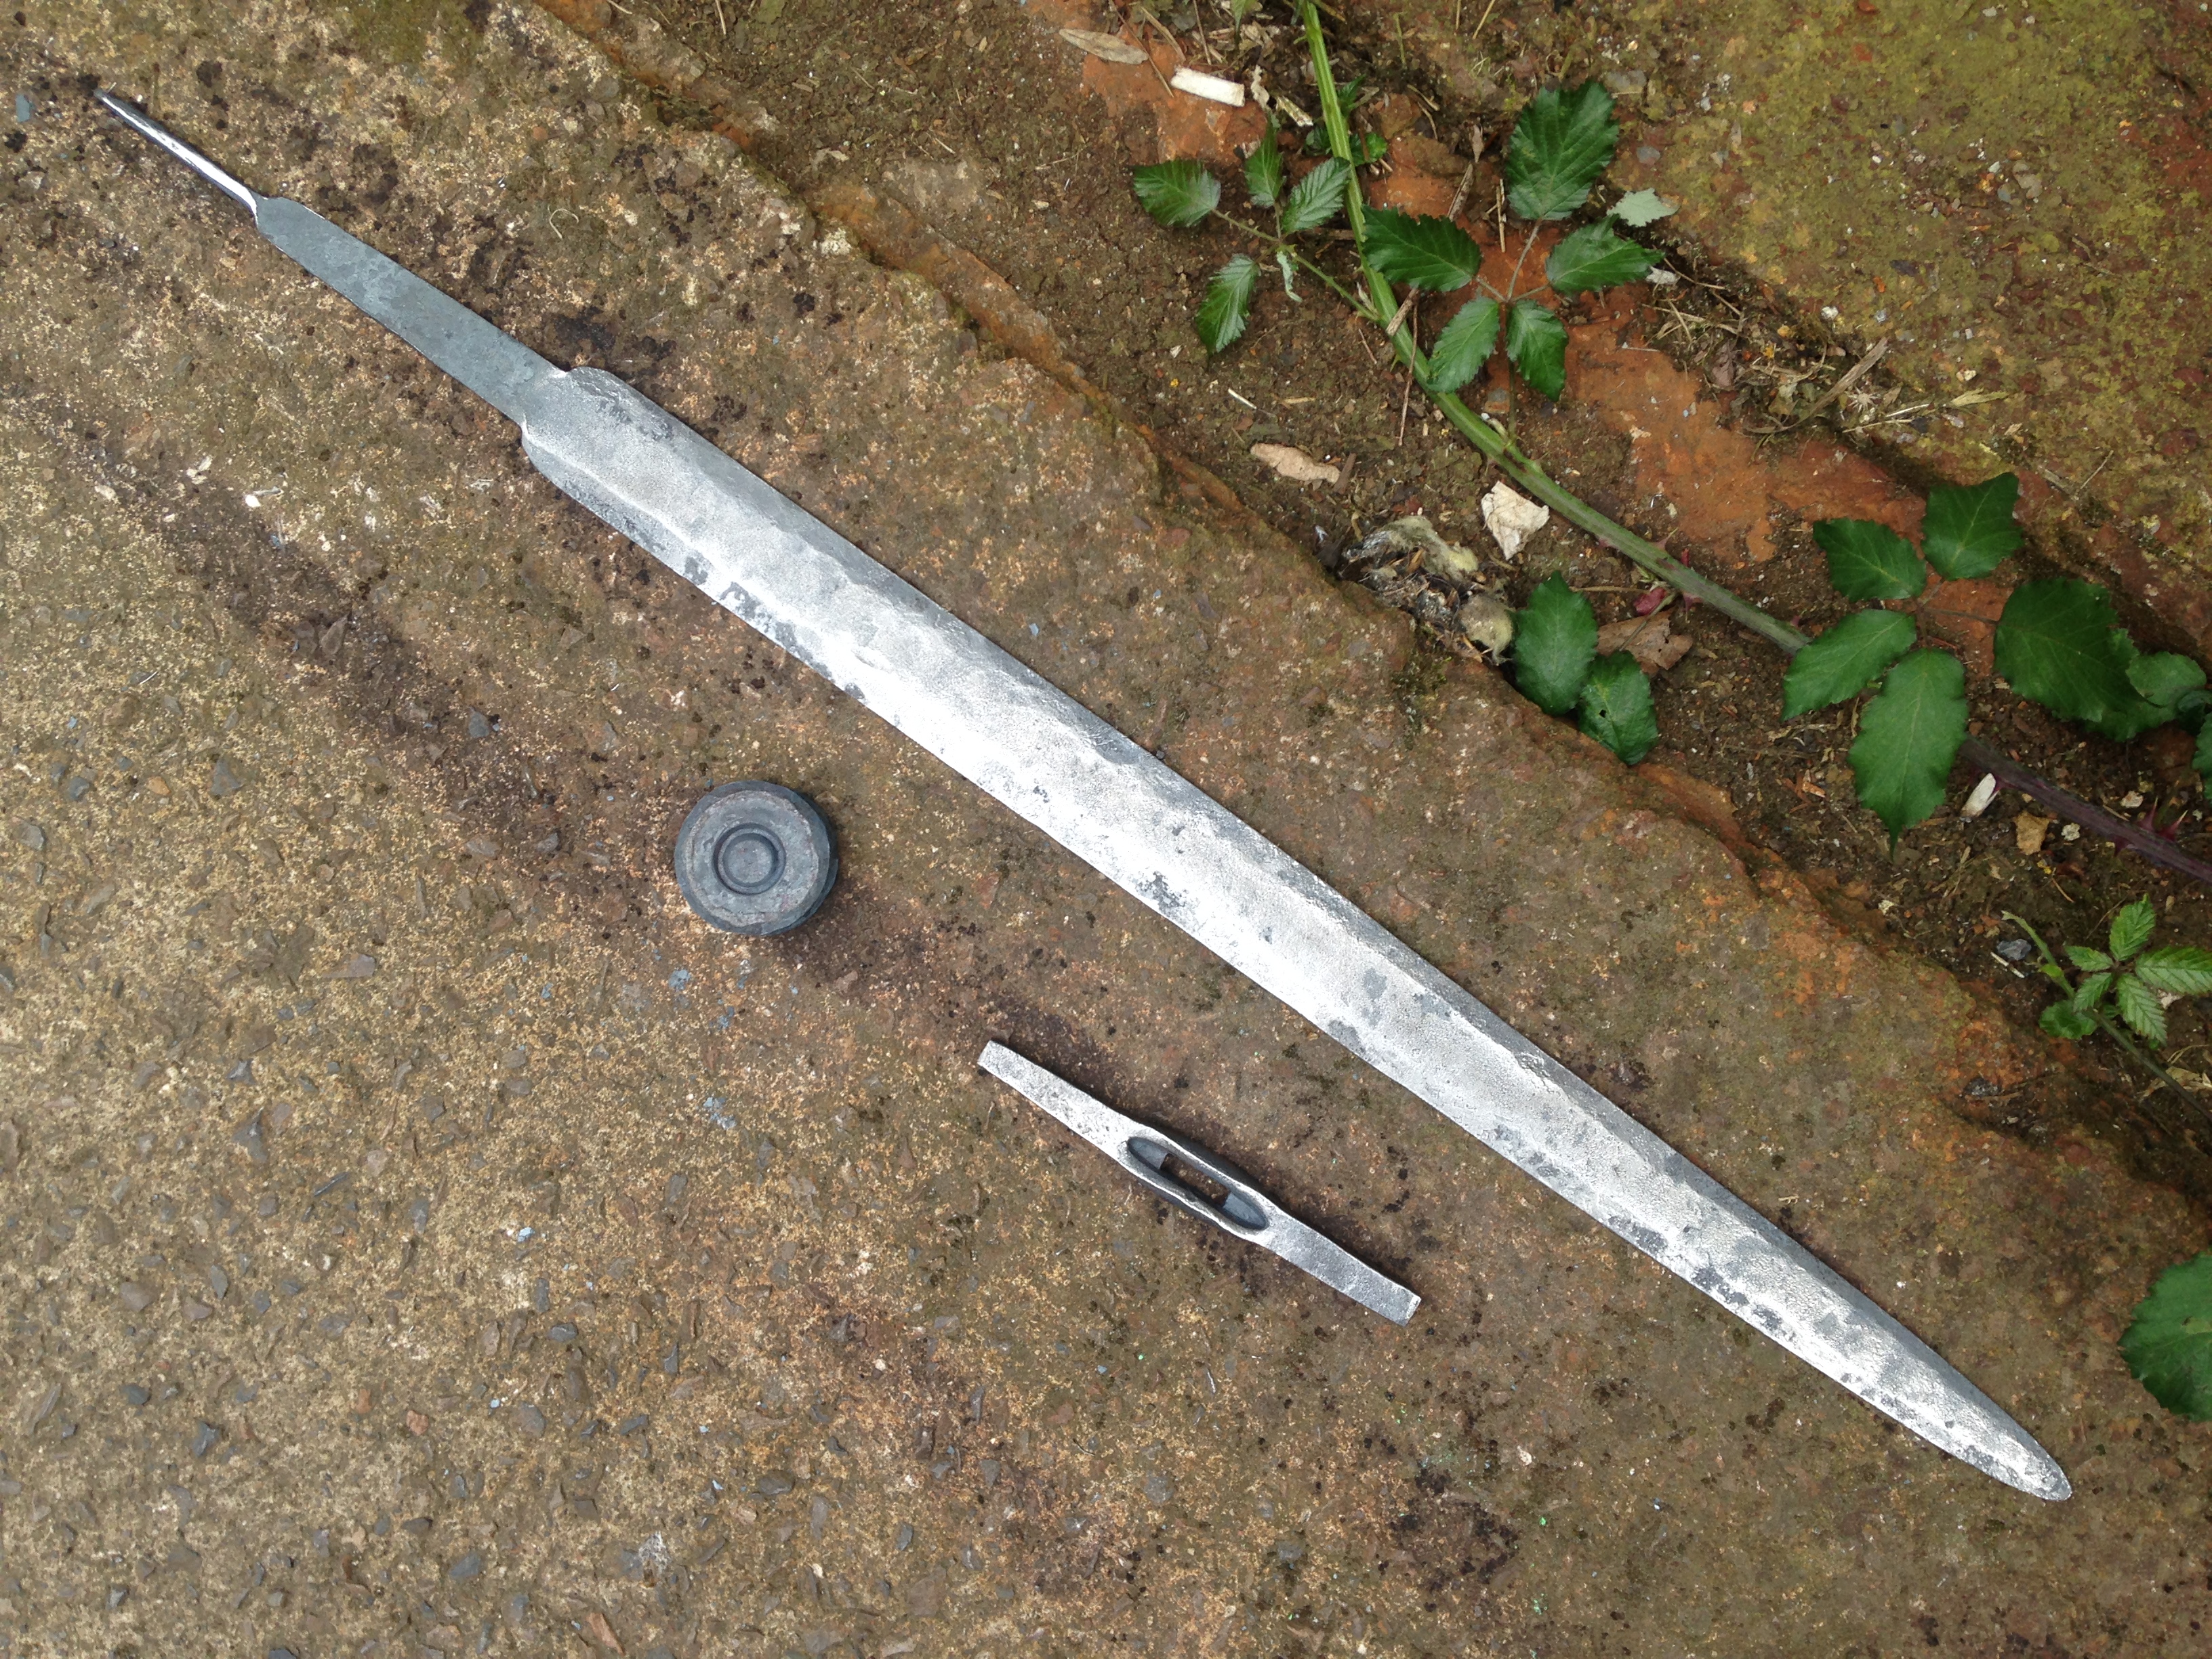
The blade was created next. We started with some flat rod cut at a 45-degree angle of high carbon steel (about 7% carbon). We created points on both ends by heating them and hammering the 45 degree angles down. Once the point was shaped we chose our favorite one to became the point of the blade. we then drew that end of the blade out so it would have a taper. To create the tang, we marked a point 140 mm away from the end of the blade then Richard used a spring loaded press in order to corner the section of the tang that would fit into the cross guard. The spring loaded press was also used to draw out blade out more. we then marked about 3/4 of an inch up from our mark and drew out the section after that by hand. the spring loaded press was used again in order to further draw that section out and corner it again. We had to round the last section of the blade by hand. We also had to add a bevel to the edges of the blade. this was done by hammering at an angle until the end fit in the sizing tool. Through all these steps we had to brush the blade with a wire brush to keep oxidized chunks of steel called hammer scales from getting pounded into the blade
Pommel
Next we started work on the pommel. We started with a round chunk of rod and heated it. We had to pound off and cutting marks and oxidants. We then rounded the corners of the rod. the final step was using a special tool and a hammer to create a circle in the middle of the pommel. Brushing was required for this piece too. We used a drill press in order to make a hole for the tang to go through. we then heated one end of the pommel and used a chisel to give one hole a rectangular dent so the pommel would not rotate on the blade.
Assembly
Hammer scales where removed from all the pieces using a variety of sanders and a special hammer was used to dig them out of the blade. The Pommel was then test fitted to the tang and extra material was cut off of the tang. The cut was made about 1/2 inch from where the pommel ended. The blade was grinded down using a belt sander to give it a nice finish. The blade, cross guard and pommel were them assembled and the rivet to hole the pommel on was made by heating the end of the tang with a blow torch and hammering down the 1/2 inch of material that was left before. We then tightened the cross guard by hitting it with a hammer.
Handle
The last step was making the handle. This was done by measuring the exposed bit of the tang and cutting two bits of wood to fit that section. A slot was made for the tang in each piece by marking the wood then cutting it with a box cutter and a chisel. The wood was then sanded to create a handle shape and glued to the tang. We then glue leather over the wood and that concluded the sword making.
Results
Forging the sword was difficult even with the help of modern technology. There are a lot of imperfections in the blade due to hammer scales getting pounded into the metal despite the brushing and the decorative circle in the pommel is slightly off center. Otherwise it is a functional sword.
Conclusion
The main function of art in medieval swords was to give the sword power via divine favor or magic. Swords we also had makers marks in order to tell who made it. They could also have names or reminders to be brave in battle written on them. Smith's also tried to replicate Damascus steel. Damascus steel was sought after due to legendary hardness and flexibility and created a distinctive wave pattern in the blade. Pattern welded steels became common. They were made by alternating layers of low and high carbon steel then twisting and folding them while forging to get various patterns. Patterning in the blade was mainly for decorative purposes. Making a sword is very difficult even with modern day machines such as belt sanders, spring loaded presses, ban saws, and drill presses. Smiths would have needed a great amount of skill to forge swords with decoration. A Future area of study could be in the History of Damascus steels and how they shaped sword forging past the medieval time period.
External Links
Forge of Avalon Website: http://www.forgeofavalon.com/index2.php
References
- ↑ Durand-Charre, M. (2014). Damascus and pattern-welded steels forging blades since the iron age. Les Ulis (Essonne): EDP sciences.
- ↑ Worley, J., Wagner, T. (2013) How to make swords talk: an interdisciplinary approach to understanding medieval swords and their inscriptions. Waffen- und Kostümkunde, 55(2): 113-132
- ↑ Durand-Charre, M. (2014). Damascus and pattern-welded steels forging blades since the iron age. Les Ulis (Essonne): EDP sciences.
- ↑ Attributed to Rich Bowen from Lexington, KY, USA (Damascus steel hunting knife) [CC BY 2.0 (http://creativecommons.org/licenses/by/2.0)], via Wikimedia Commons
- ↑ Durand-Charre, M. (2014). Damascus and pattern-welded steels forging blades since the iron age. Les Ulis (Essonne): EDP sciences.
- ↑ Photographed by: York Museums Trust Staff [CC BY-SA 4.0 (http://creativecommons.org/licenses/by-sa/4.0)], via Wikimedia Commons
- ↑ Worley, J., Wagner, T. (2013) How to make swords talk: an interdisciplinary approach to understanding medieval swords and their inscriptions. Waffen- und Kostümkunde, 55(2): 113-132
- ↑ Worley, J., Wagner, T. (2013) How to make swords talk: an interdisciplinary approach to understanding medieval swords and their inscriptions. Waffen- und Kostümkunde, 55(2): 113-132
- ↑ Nickel, H. (1969). A Knightly Sword with Presentation Inscriptions. Metropolitan Museum Journal, 2, 209-210. doi:10.2307/1512593
- ↑ Nickel, H. (1969). A Knightly Sword with Presentation Inscriptions. Metropolitan Museum Journal, 2, 209-210. doi:10.2307/1512593
- ↑ Worley, J., Wagner, T. (2013) How to make swords talk: an interdisciplinary approach to understanding medieval swords and their inscriptions. Waffen- und Kostümkunde, 55(2): 113-132
- ↑ Worley, J., Wagner, T. (2013) How to make swords talk: an interdisciplinary approach to understanding medieval swords and their inscriptions. Waffen- und Kostümkunde, 55(2): 113-132
- ↑ Durand-Charre, M. (2014). Damascus and pattern-welded steels forging blades since the iron age. Les Ulis (Essonne): EDP sciences.
- ↑ Durand-Charre, M. (2014). Damascus and pattern-welded steels forging blades since the iron age. Les Ulis (Essonne): EDP sciences.
- ↑ Durand-Charre, M. (2014). Damascus and pattern-welded steels forging blades since the iron age. Les Ulis (Essonne): EDP sciences.
- ↑ By Søren Niedziella from Denmark (Albion_Baron_Medieval_Sword_2) [CC BY 2.0 (http://creativecommons.org/licenses/by/2.0)], via Wikimedia Commons
- ↑ Durand-Charre, M. (2014). Damascus and pattern-welded steels forging blades since the iron age. Les Ulis (Essonne): EDP sciences.
