Difference between revisions of "A Mosaic of Mosaics"
From Londonhua WIKI
| (76 intermediate revisions by 2 users not shown) | |||
| Line 1: | Line 1: | ||
=A Mosaic of Mosaics= | =A Mosaic of Mosaics= | ||
by [[User:Nbloniarz|Natalie Bloniarz]]<br> | by [[User:Nbloniarz|Natalie Bloniarz]]<br> | ||
| − | [[ | + | {{Infobox |
| + | | title = A Mosaic of Mosaics | ||
| + | | bodystyle = width:40em | ||
| + | | image=[[Image:NBMosaic_V1.png]] | ||
| + | | label1= '''Artist:''' | ||
| + | | data1= [[User:Nbloniarz|Natalie Bloniarz]] | ||
| + | }} | ||
__TOC__ | __TOC__ | ||
=Abstract= | =Abstract= | ||
| − | The aim of this project | + | The aim of this project was to develop an understand the techniques and materials needed to create a mosaic and apply that to a new digital medium. Using my skills from AR 1101, Digital Imaging and Computer Art, and my experience from high school using the Adobe Suite, I aimed to create a modern mosaic in a digital format. Throughout this milestone I learned that much of the origins of mosaics are unknown and that mosaics can be made of '''virtually''' any material. The experience of creating the mosaic was enlightening into how difficult creating a cohesive and well structured mosaic could be. |
<br><br> | <br><br> | ||
=Introduction= | =Introduction= | ||
<br> | <br> | ||
| − | A Mosaic of Mosaics takes the traditional art of mosaics and then applies it to a digital setting. Unlike a collage that just mashes photos together, the mosaic created is based on mosaics that I have observed across London. As opposed to creating a traditional mosaic I chose to experiment with a digital medium to see how the process would differ and what challenges this new method could create. I chose to use Photoshop to create the mosaic because of prior experience and I knew it would lend itself well to the functions needed for this project: cloning, resizing, compressing, and reshaping. I used my previous knowledge of photography to capture the mosaics that would make up my mosaic, but I used my newfound knowledge of mosaic techniques to create the mosaic. | + | A mosaic is, "something resembling such a picture or decoration in composition, especially in being made up of diverse elements."<ref>the definition of mosaic. (2017). Dictionary.com. Retrieved 14 June 2017, from http://www.dictionary.com/browse/mosaic</ref> From that definition, a mosaic is a decorative element or image made of just a few simple components: some form of tile made of any material, a base surface for the mosaic to rest on, and an adhesive to hold to mosaic to the base. |
| + | <br><br> | ||
| + | A Mosaic of Mosaics takes the traditional art of mosaics and then applies it to a digital setting. This involved looking into the elements needed to create a physical mosaic and what kind of properties make them effective materials. It also required a discussion of techniques needed to create a mosaic, and how they are used. Unlike a collage that just mashes photos together, the mosaic created is based on mosaics that I have observed across London to create "such a picture or decoration in composition".<ref>the definition of mosaic. (2017). Dictionary.com. Retrieved 14 June 2017, from http://www.dictionary.com/browse/mosaic</ref> As opposed to creating a traditional mosaic I chose to experiment with a digital medium to see how the process would differ and what challenges this new method could create. I chose to use Photoshop to create the mosaic because of prior experience and I knew it would lend itself well to the functions needed for this project: cloning, resizing, compressing, and reshaping. I used my previous knowledge of photography to capture the mosaics that would make up my mosaic, but I used my newfound knowledge of mosaic techniques to create the mosaic. | ||
<br><br> | <br><br> | ||
=Section 1: Background= | =Section 1: Background= | ||
==Materials== | ==Materials== | ||
| + | <br> | ||
===Tiling=== | ===Tiling=== | ||
| − | |||
<br> | <br> | ||
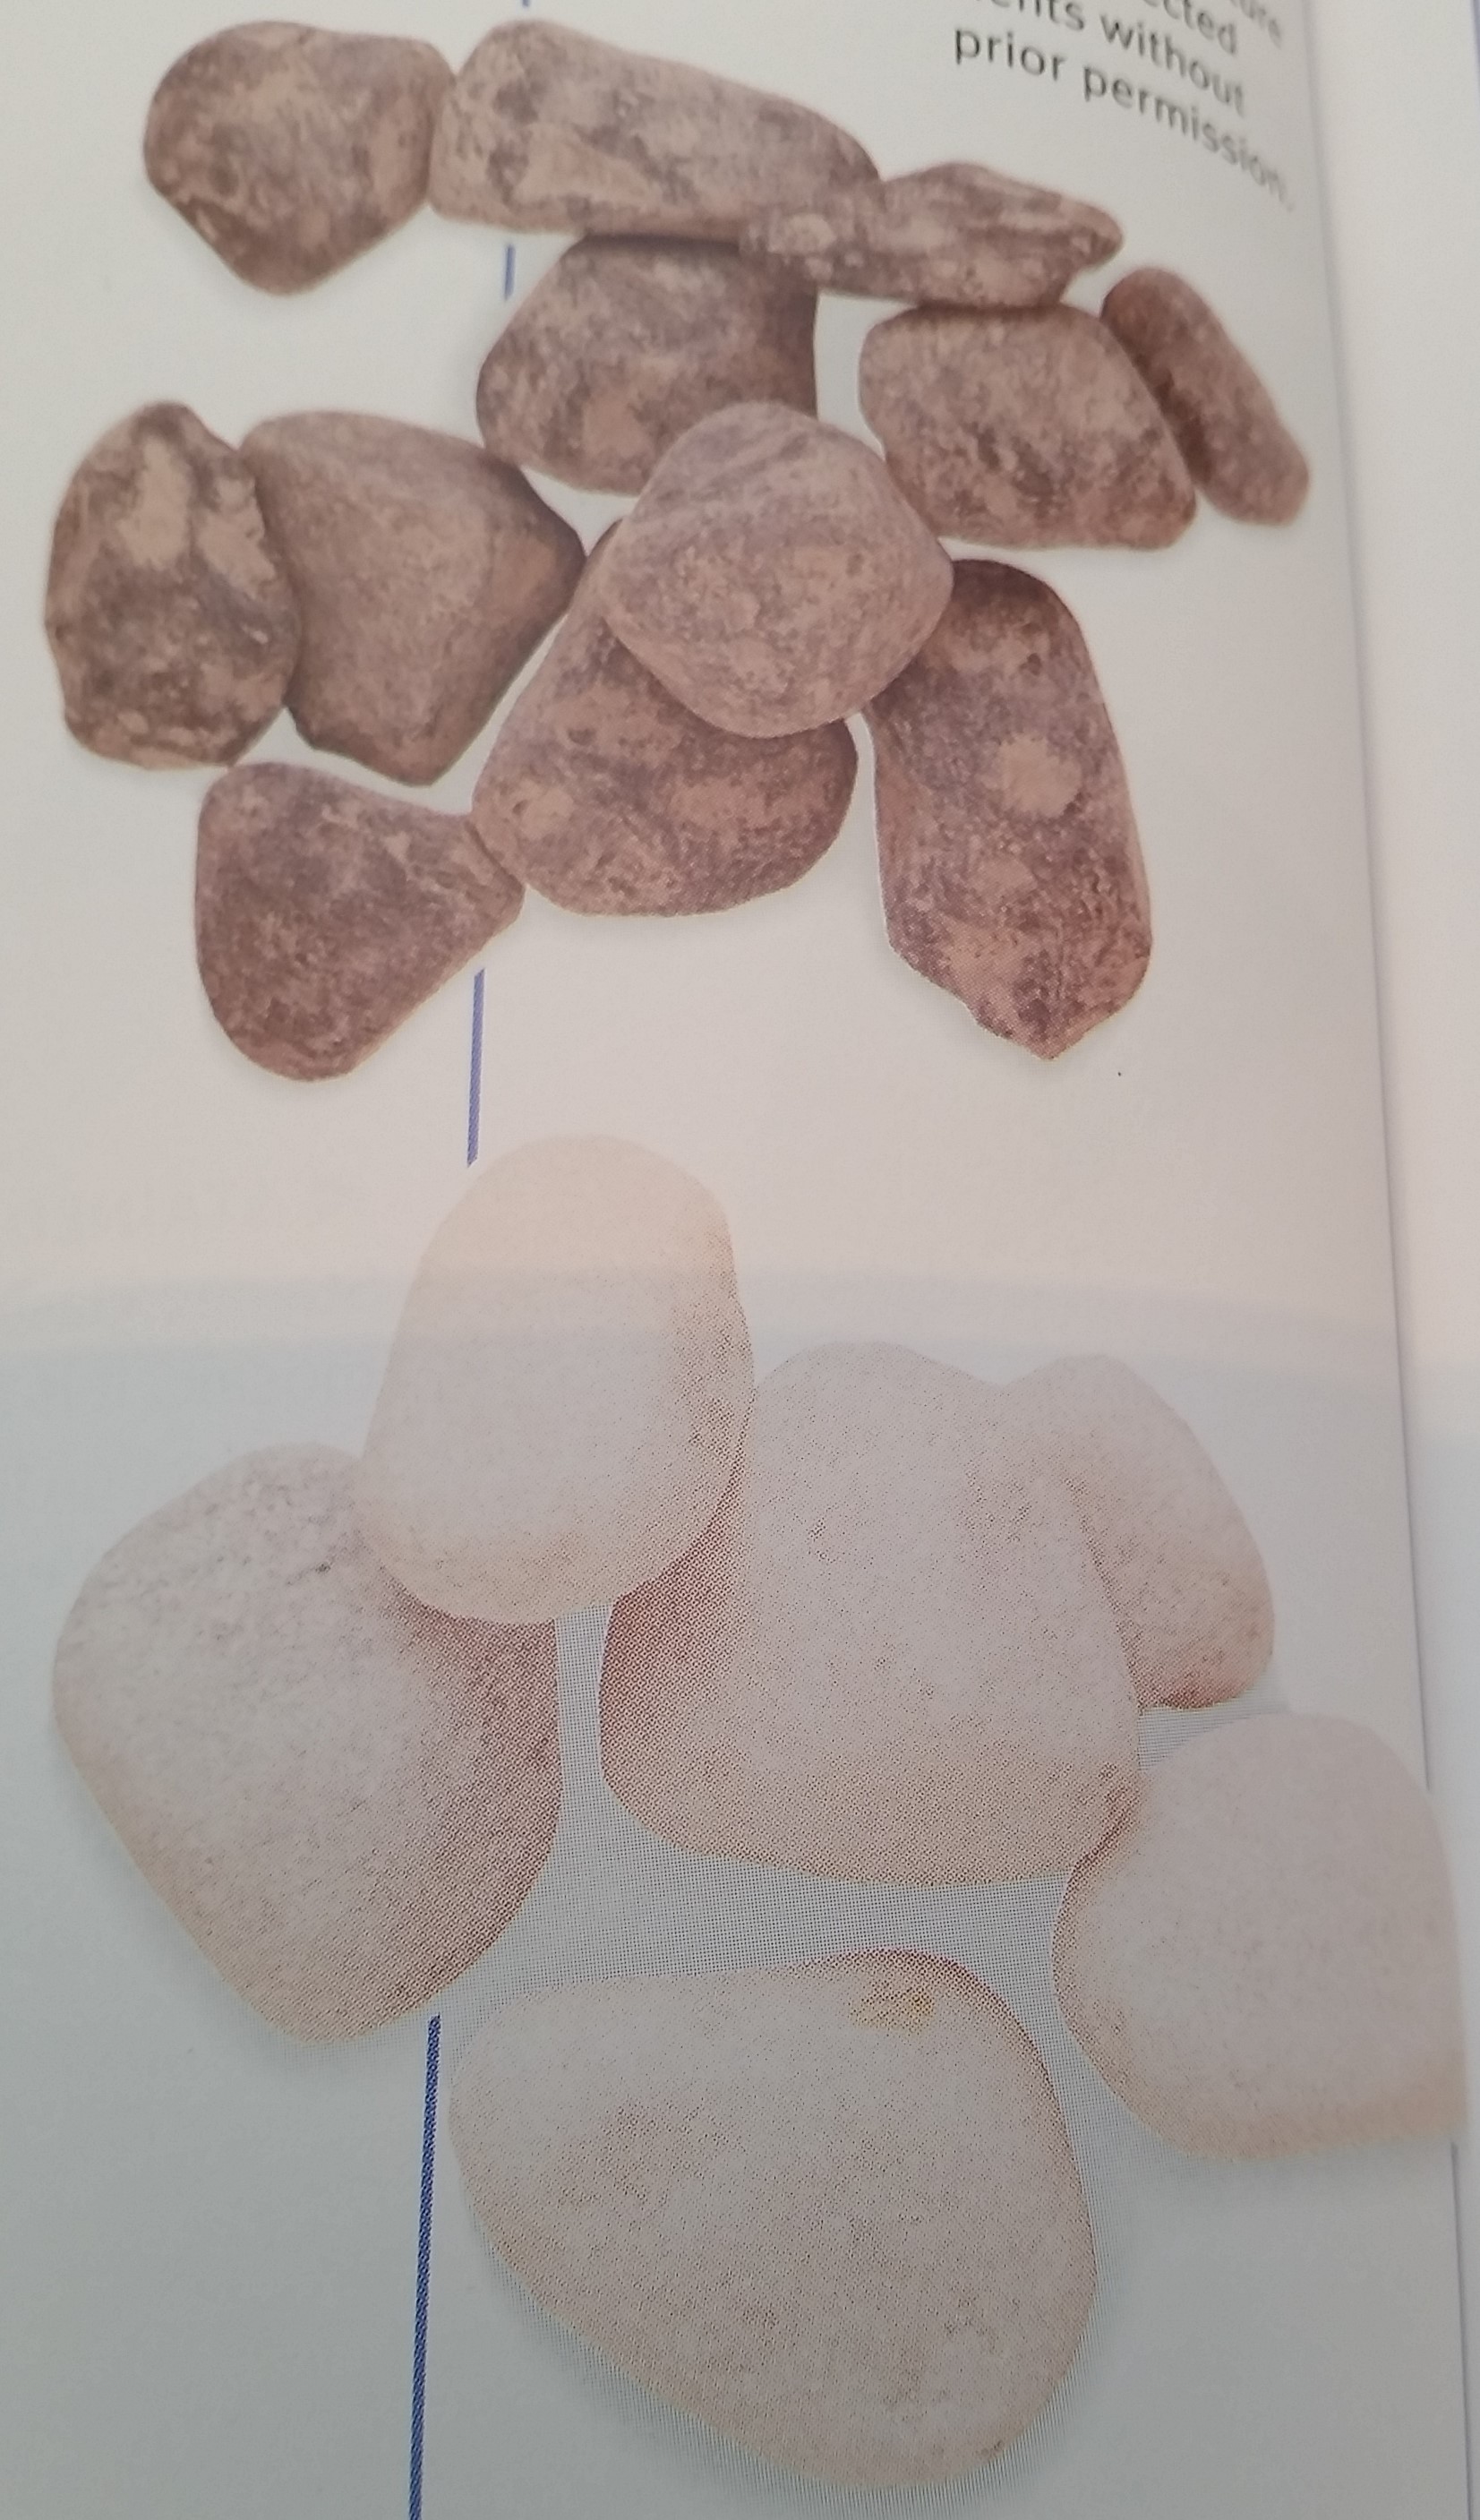
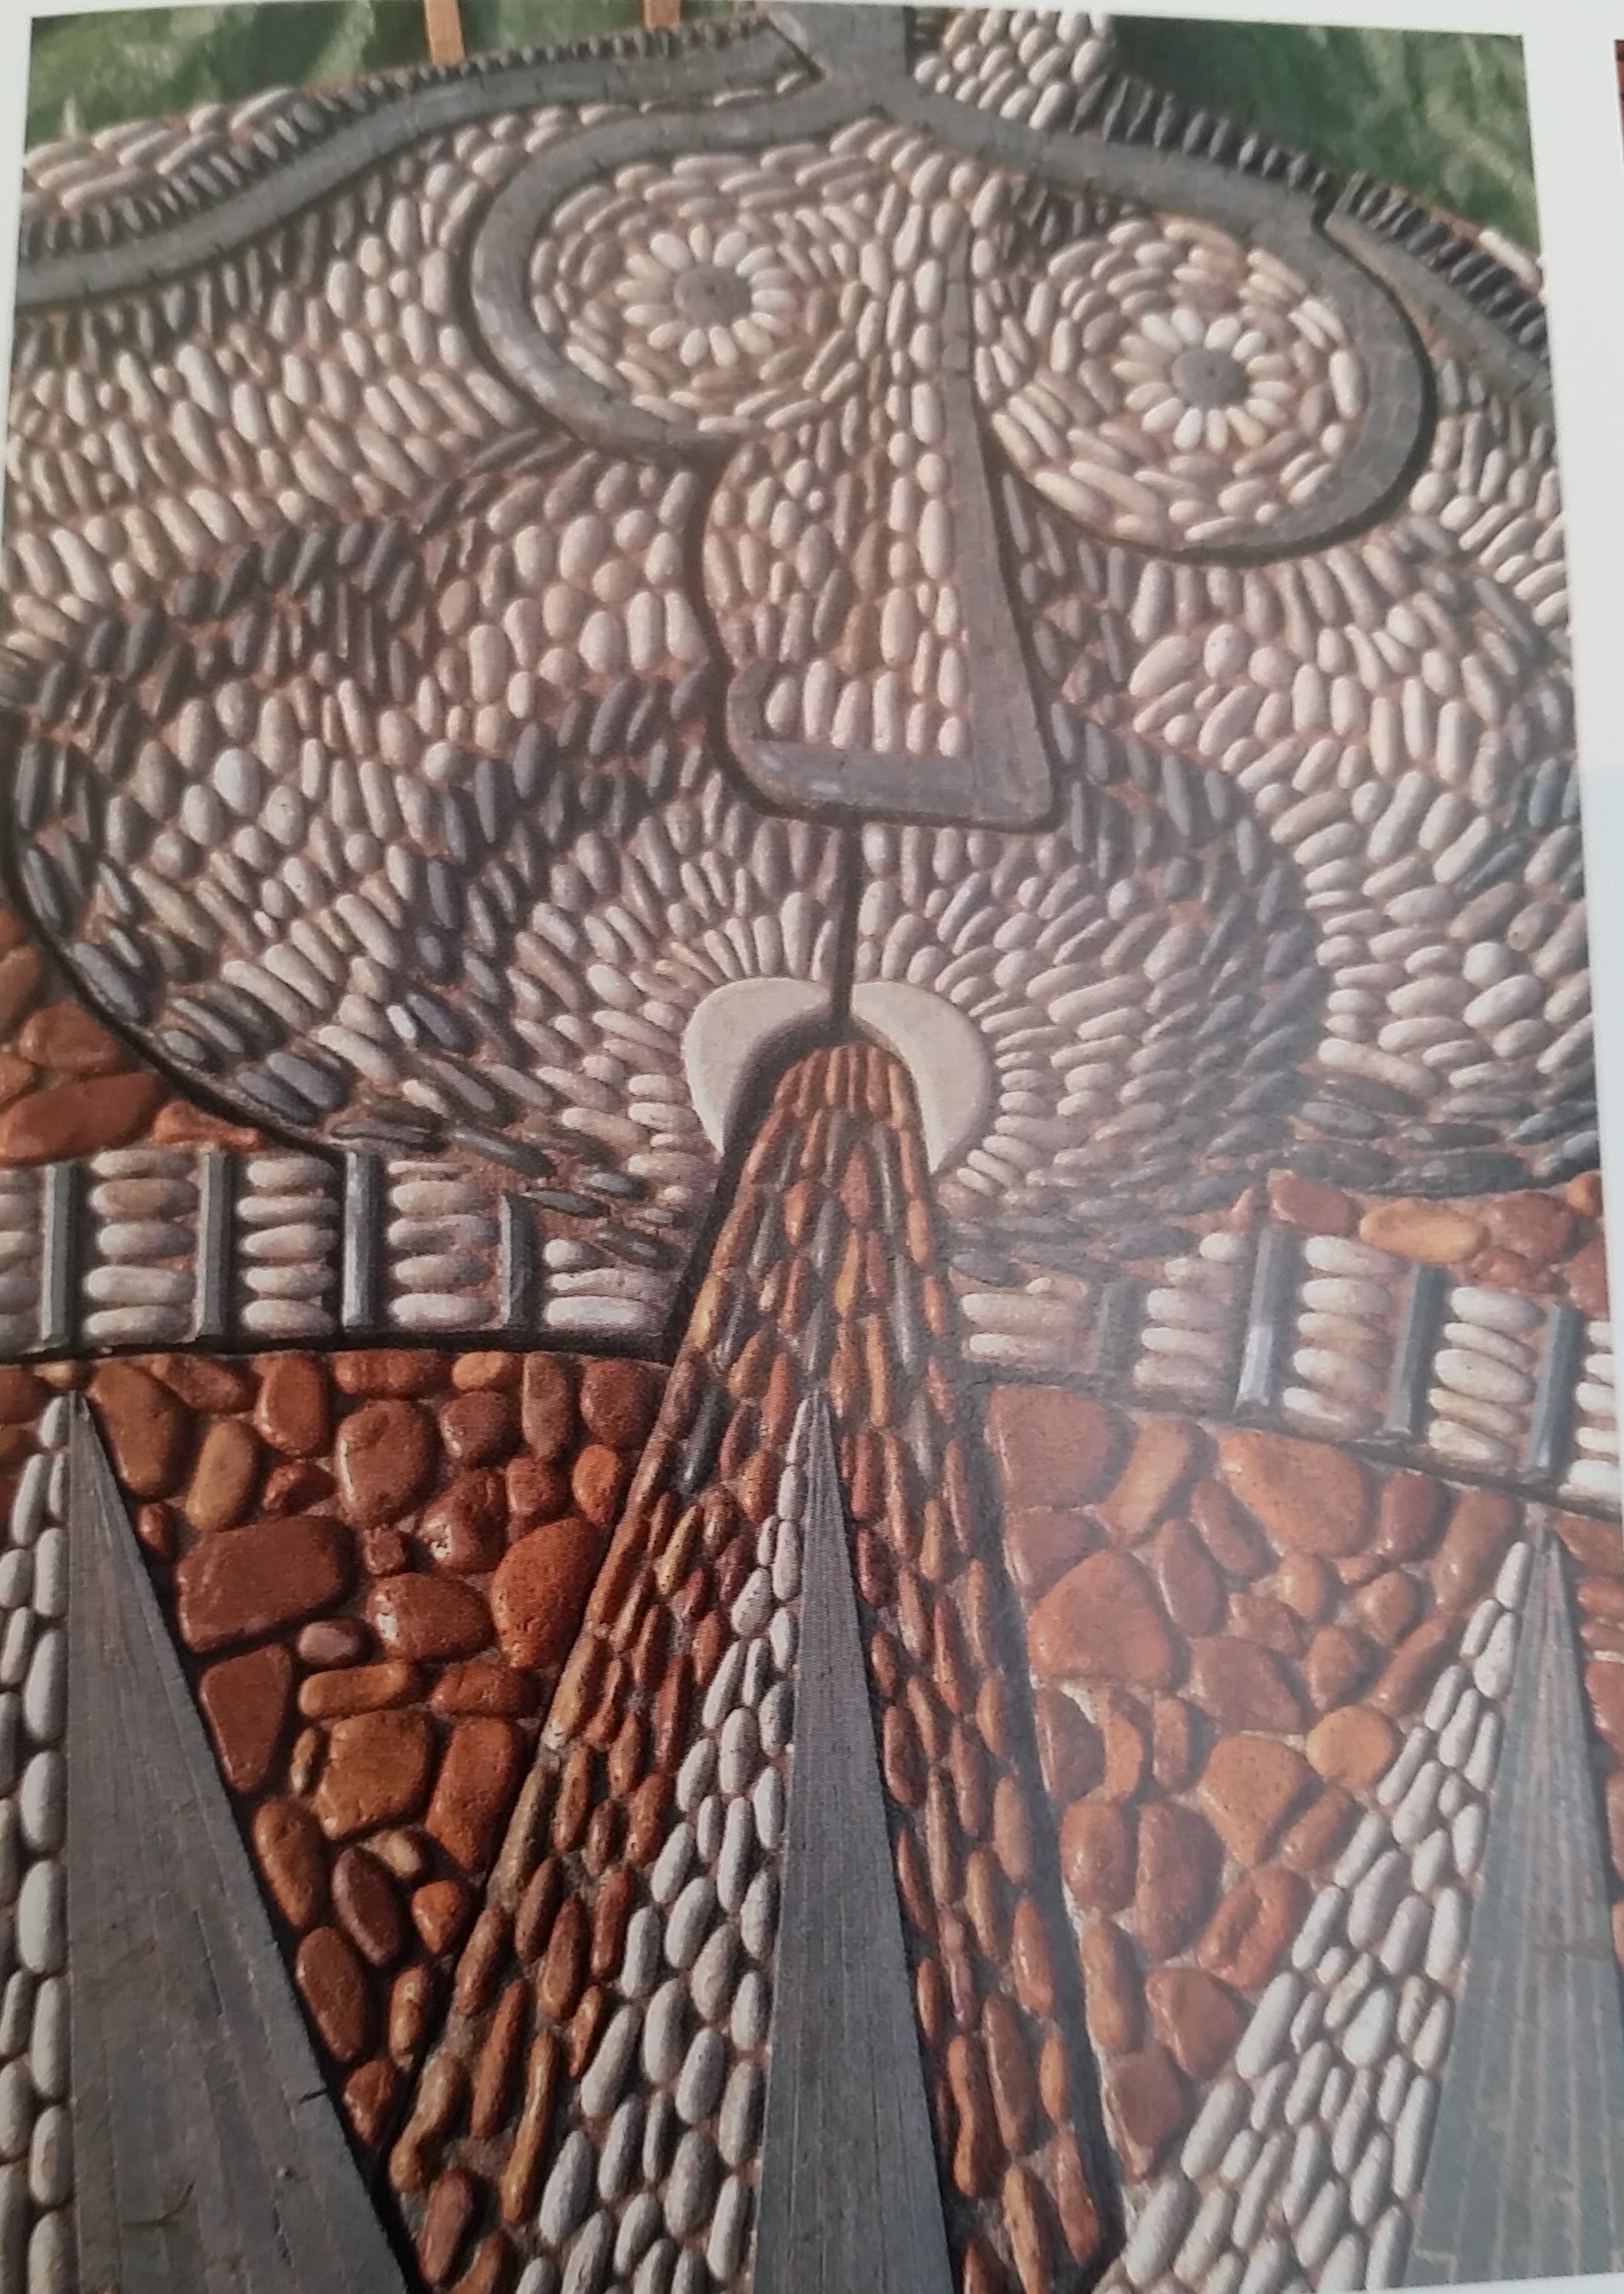
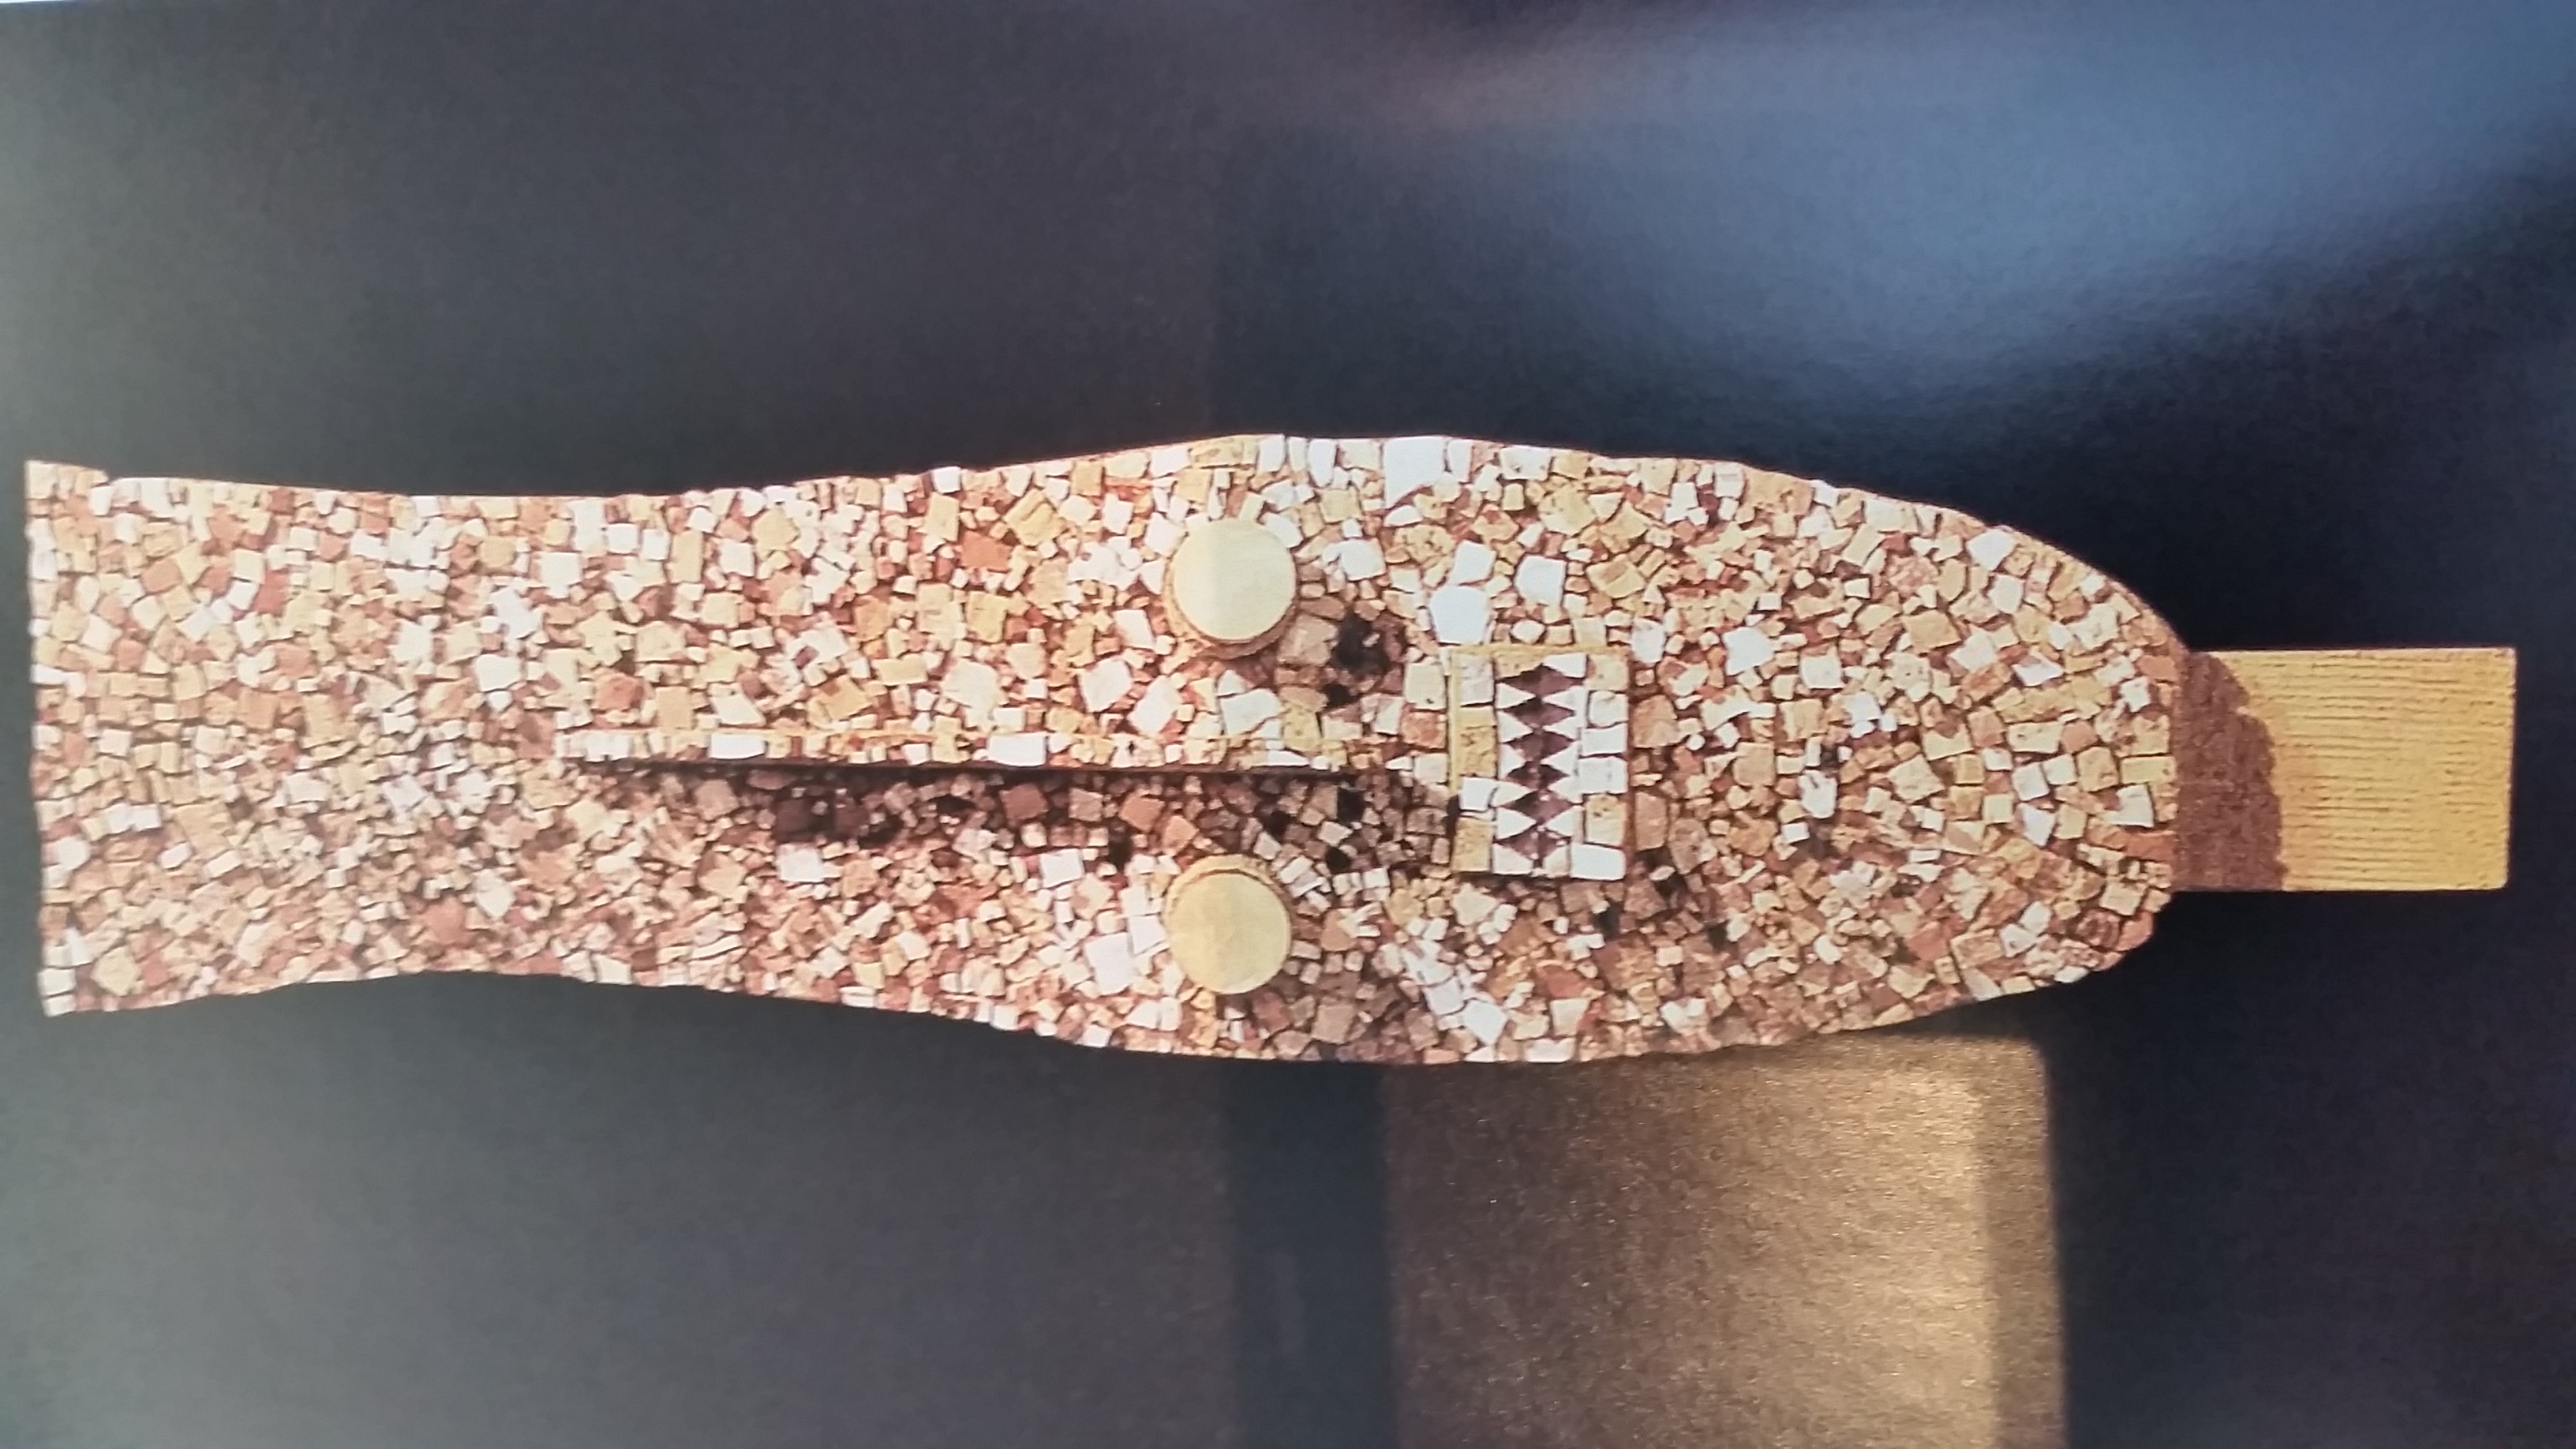
| − | <gallery mode= | + | This is the most important portion of the mosaic, as it is the most visible part of the mosaic. Tiling is the individual pieces of a chosen, or a variety of chosen materials, that are cut and then typically shaped into rough squares. These squares are then adhered to a base to create an image or design. The oldest known mosaics were created from smooth pebbles of varying sizes, but this limited the precision of the artist to the available stones; pebble mosaics were popular with the Greeks and many of their mosaics were made from pebbles.<ref>Dunbabin, K. (2012). Mosaics of the Greek and Roman world (1st ed., pp. 5-17). New York: Cambridge University Press.</ref> Eventually the Romans popularized ''tesserae'', the style of mosaic made of individual square cut pieces of stone and shell.<ref>Dunbabin, K. (2012). Mosaics of the Greek and Roman world (1st ed., pp. 18). New York: Cambridge University Press.</ref> Tesserae can be made of a variety of materials and have been as time has passed, and it is now how the majority of mosaic tile materials are sold. Stone was a popular choice of the Romans and is more durable than other materials and it can have natural variance within the tiles; though stone is durable, it is hard to create the tesserae. |
| − | File:NBPebble.jpg|''An example of pebbles'' | + | <br> |
| − | File:NBStone.jpg|''An example of stone'' | + | <gallery mode=packed> |
| + | File:NBPebble.jpg|<small>''An example of pebbles</small><ref>Biggs, E. (2003). Mosaic techniques (1st ed., pp. 32). London: Cassell Illustrated.</ref>'' | ||
| + | File:NBPebbleExample.jpg|<small>''A pebble mosaic</small><ref>Howarth, M. (1992). Compass & Winds.</ref>'' | ||
| + | File:NBStone.jpg|<small>''An example of stone</small><ref>Biggs, E. (2003). Mosaic techniques (1st ed., pp. 30). London: Cassell Illustrated.</ref>'' | ||
| + | File:NBStoneExample.jpg|<small>''A stone mosaic</small><ref>Bison, I. (2000). African Mask.</ref>'' | ||
</gallery> | </gallery> | ||
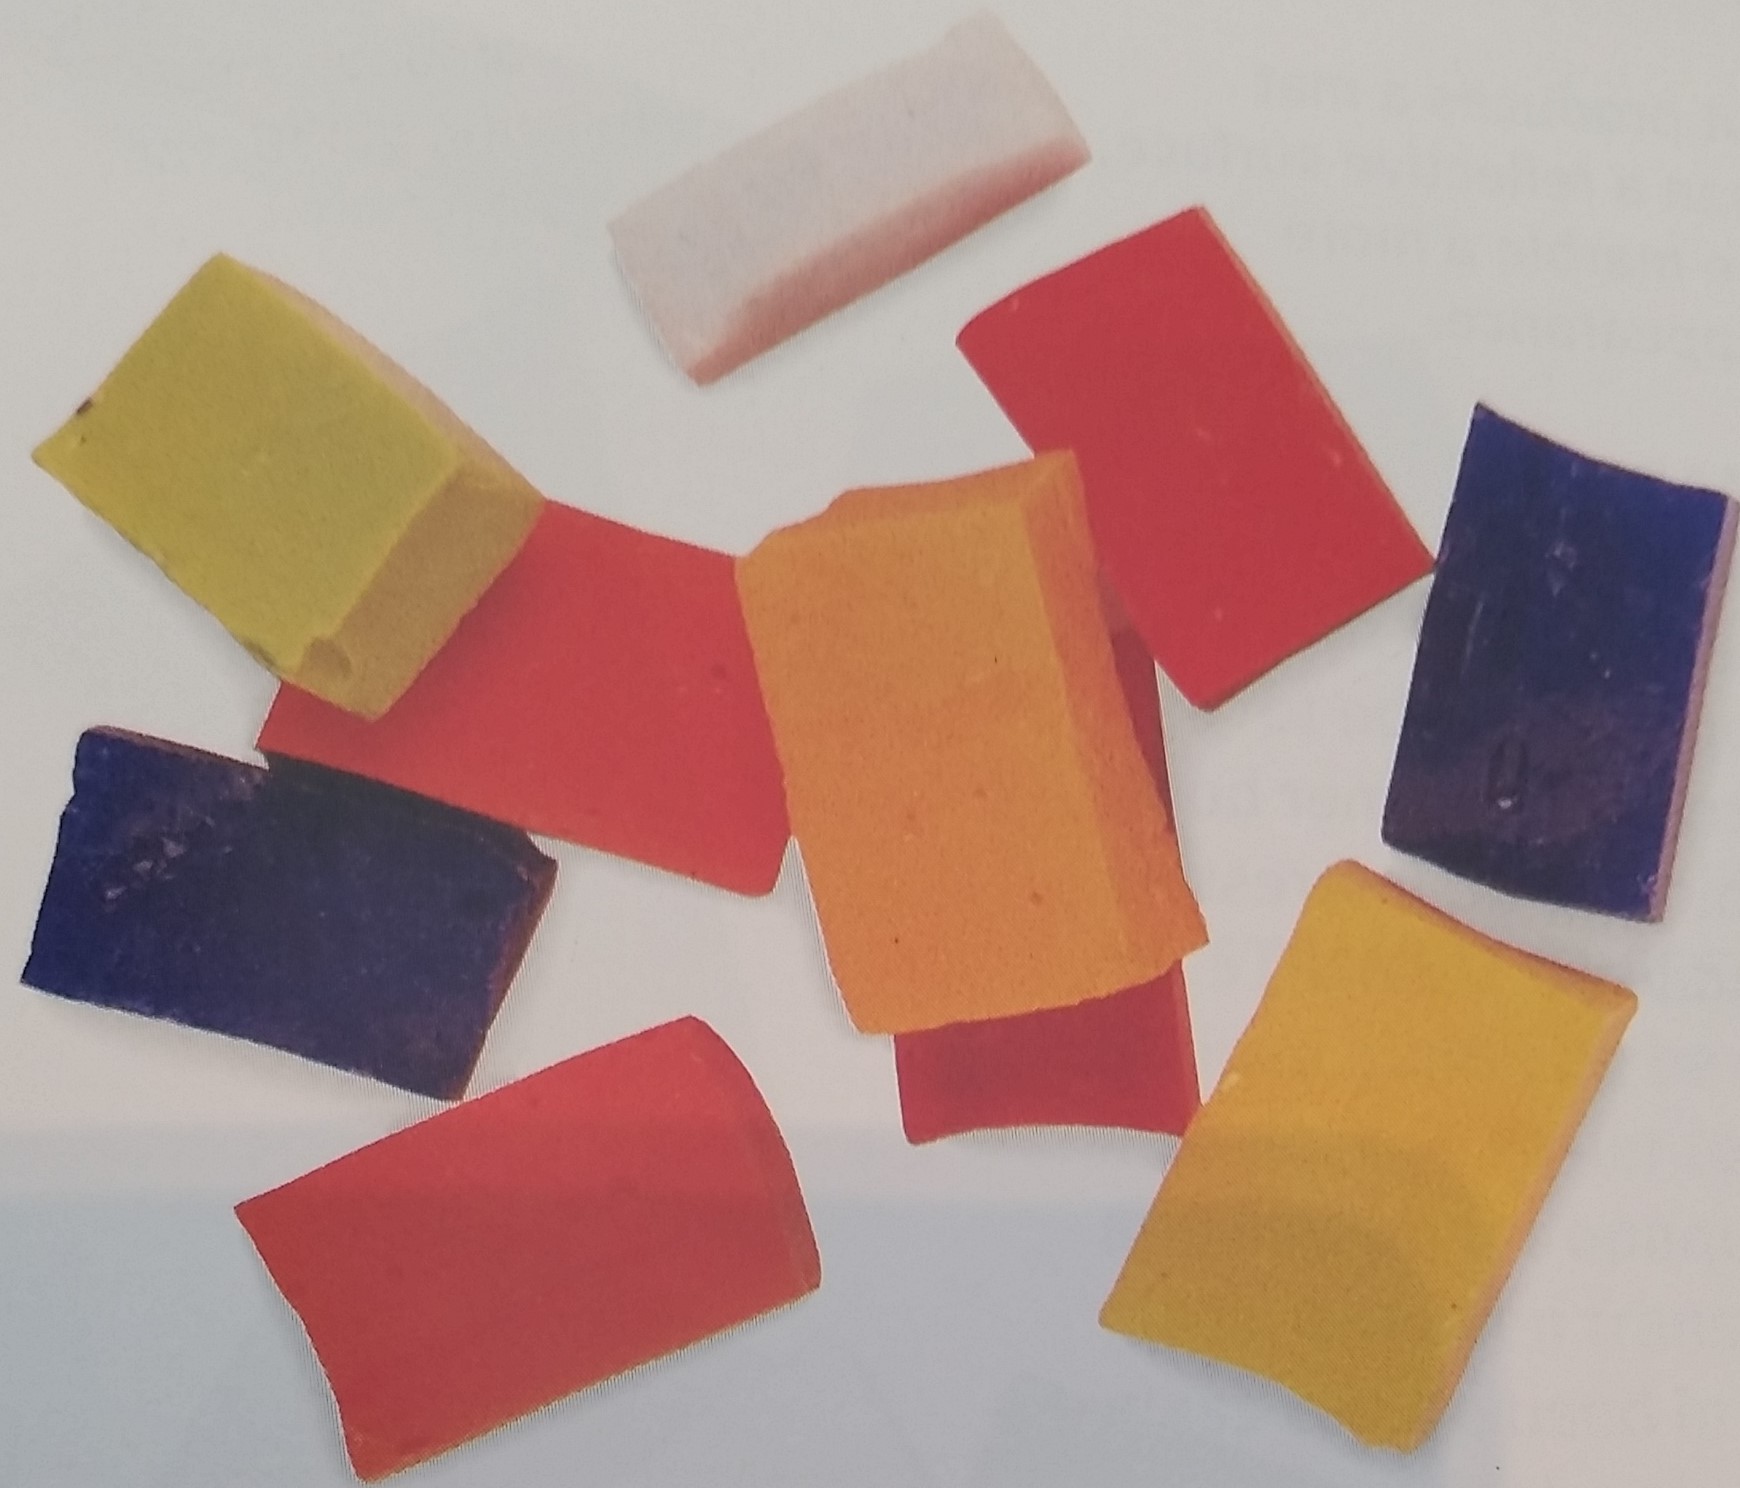
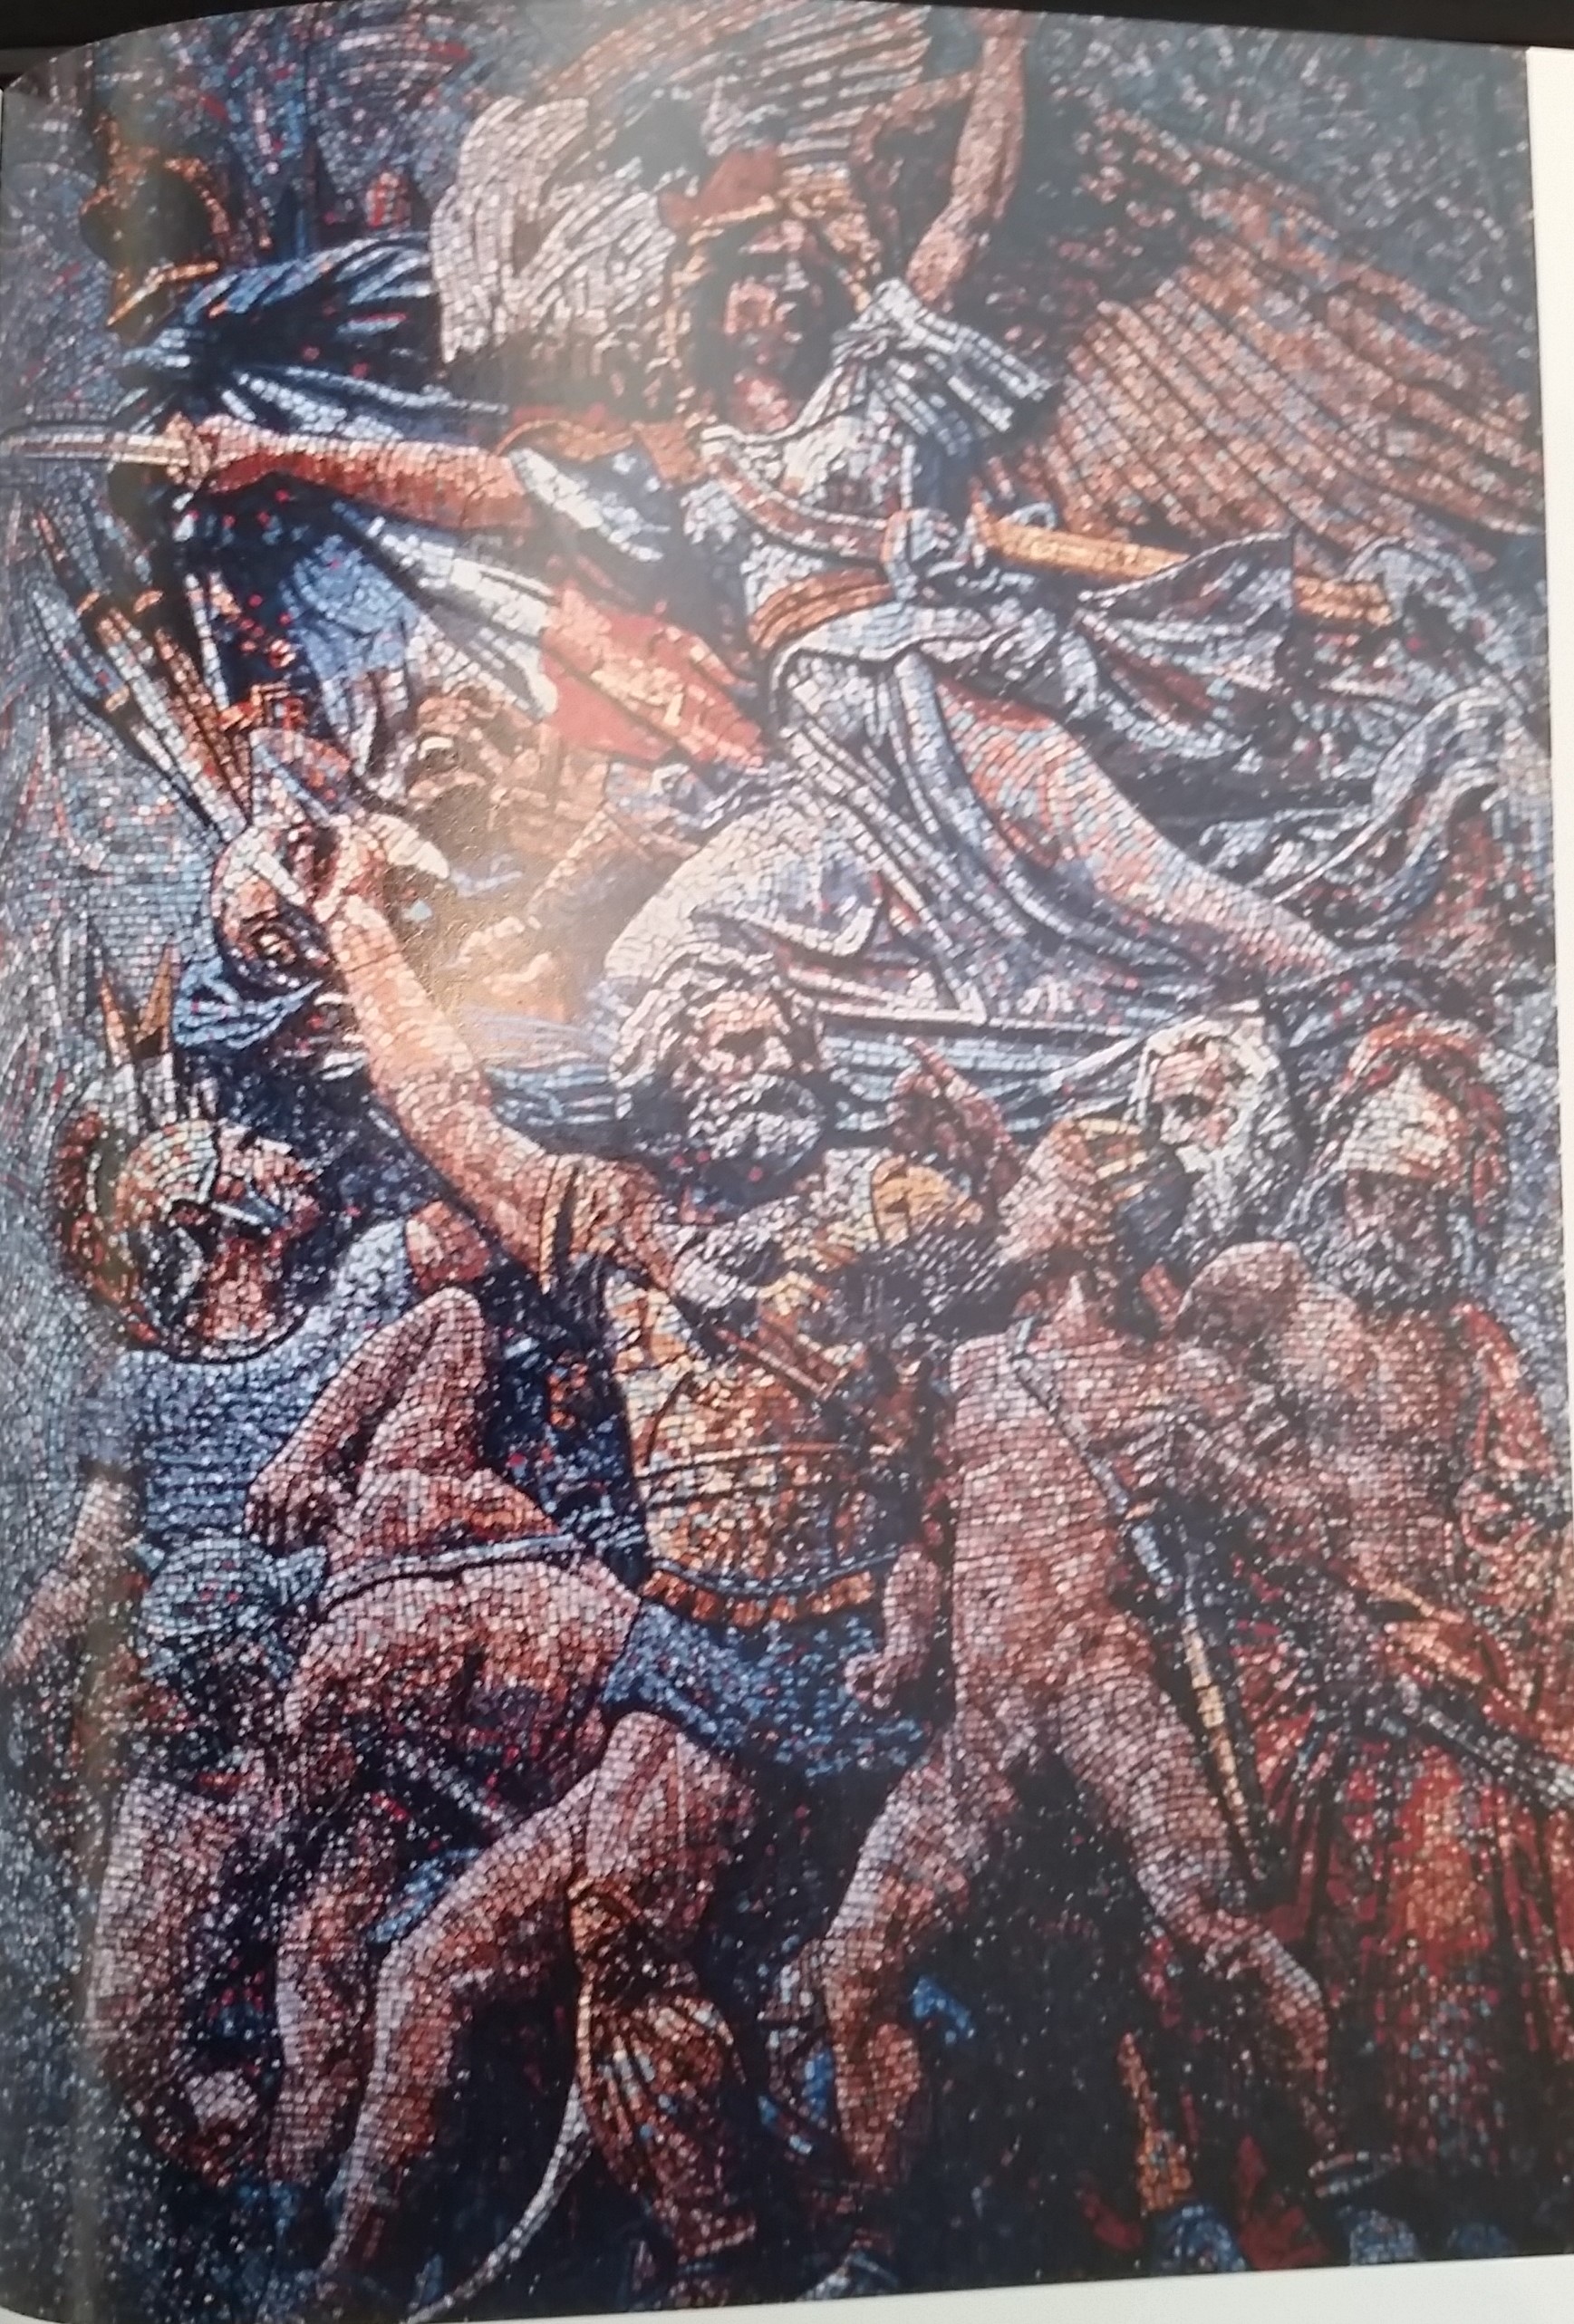
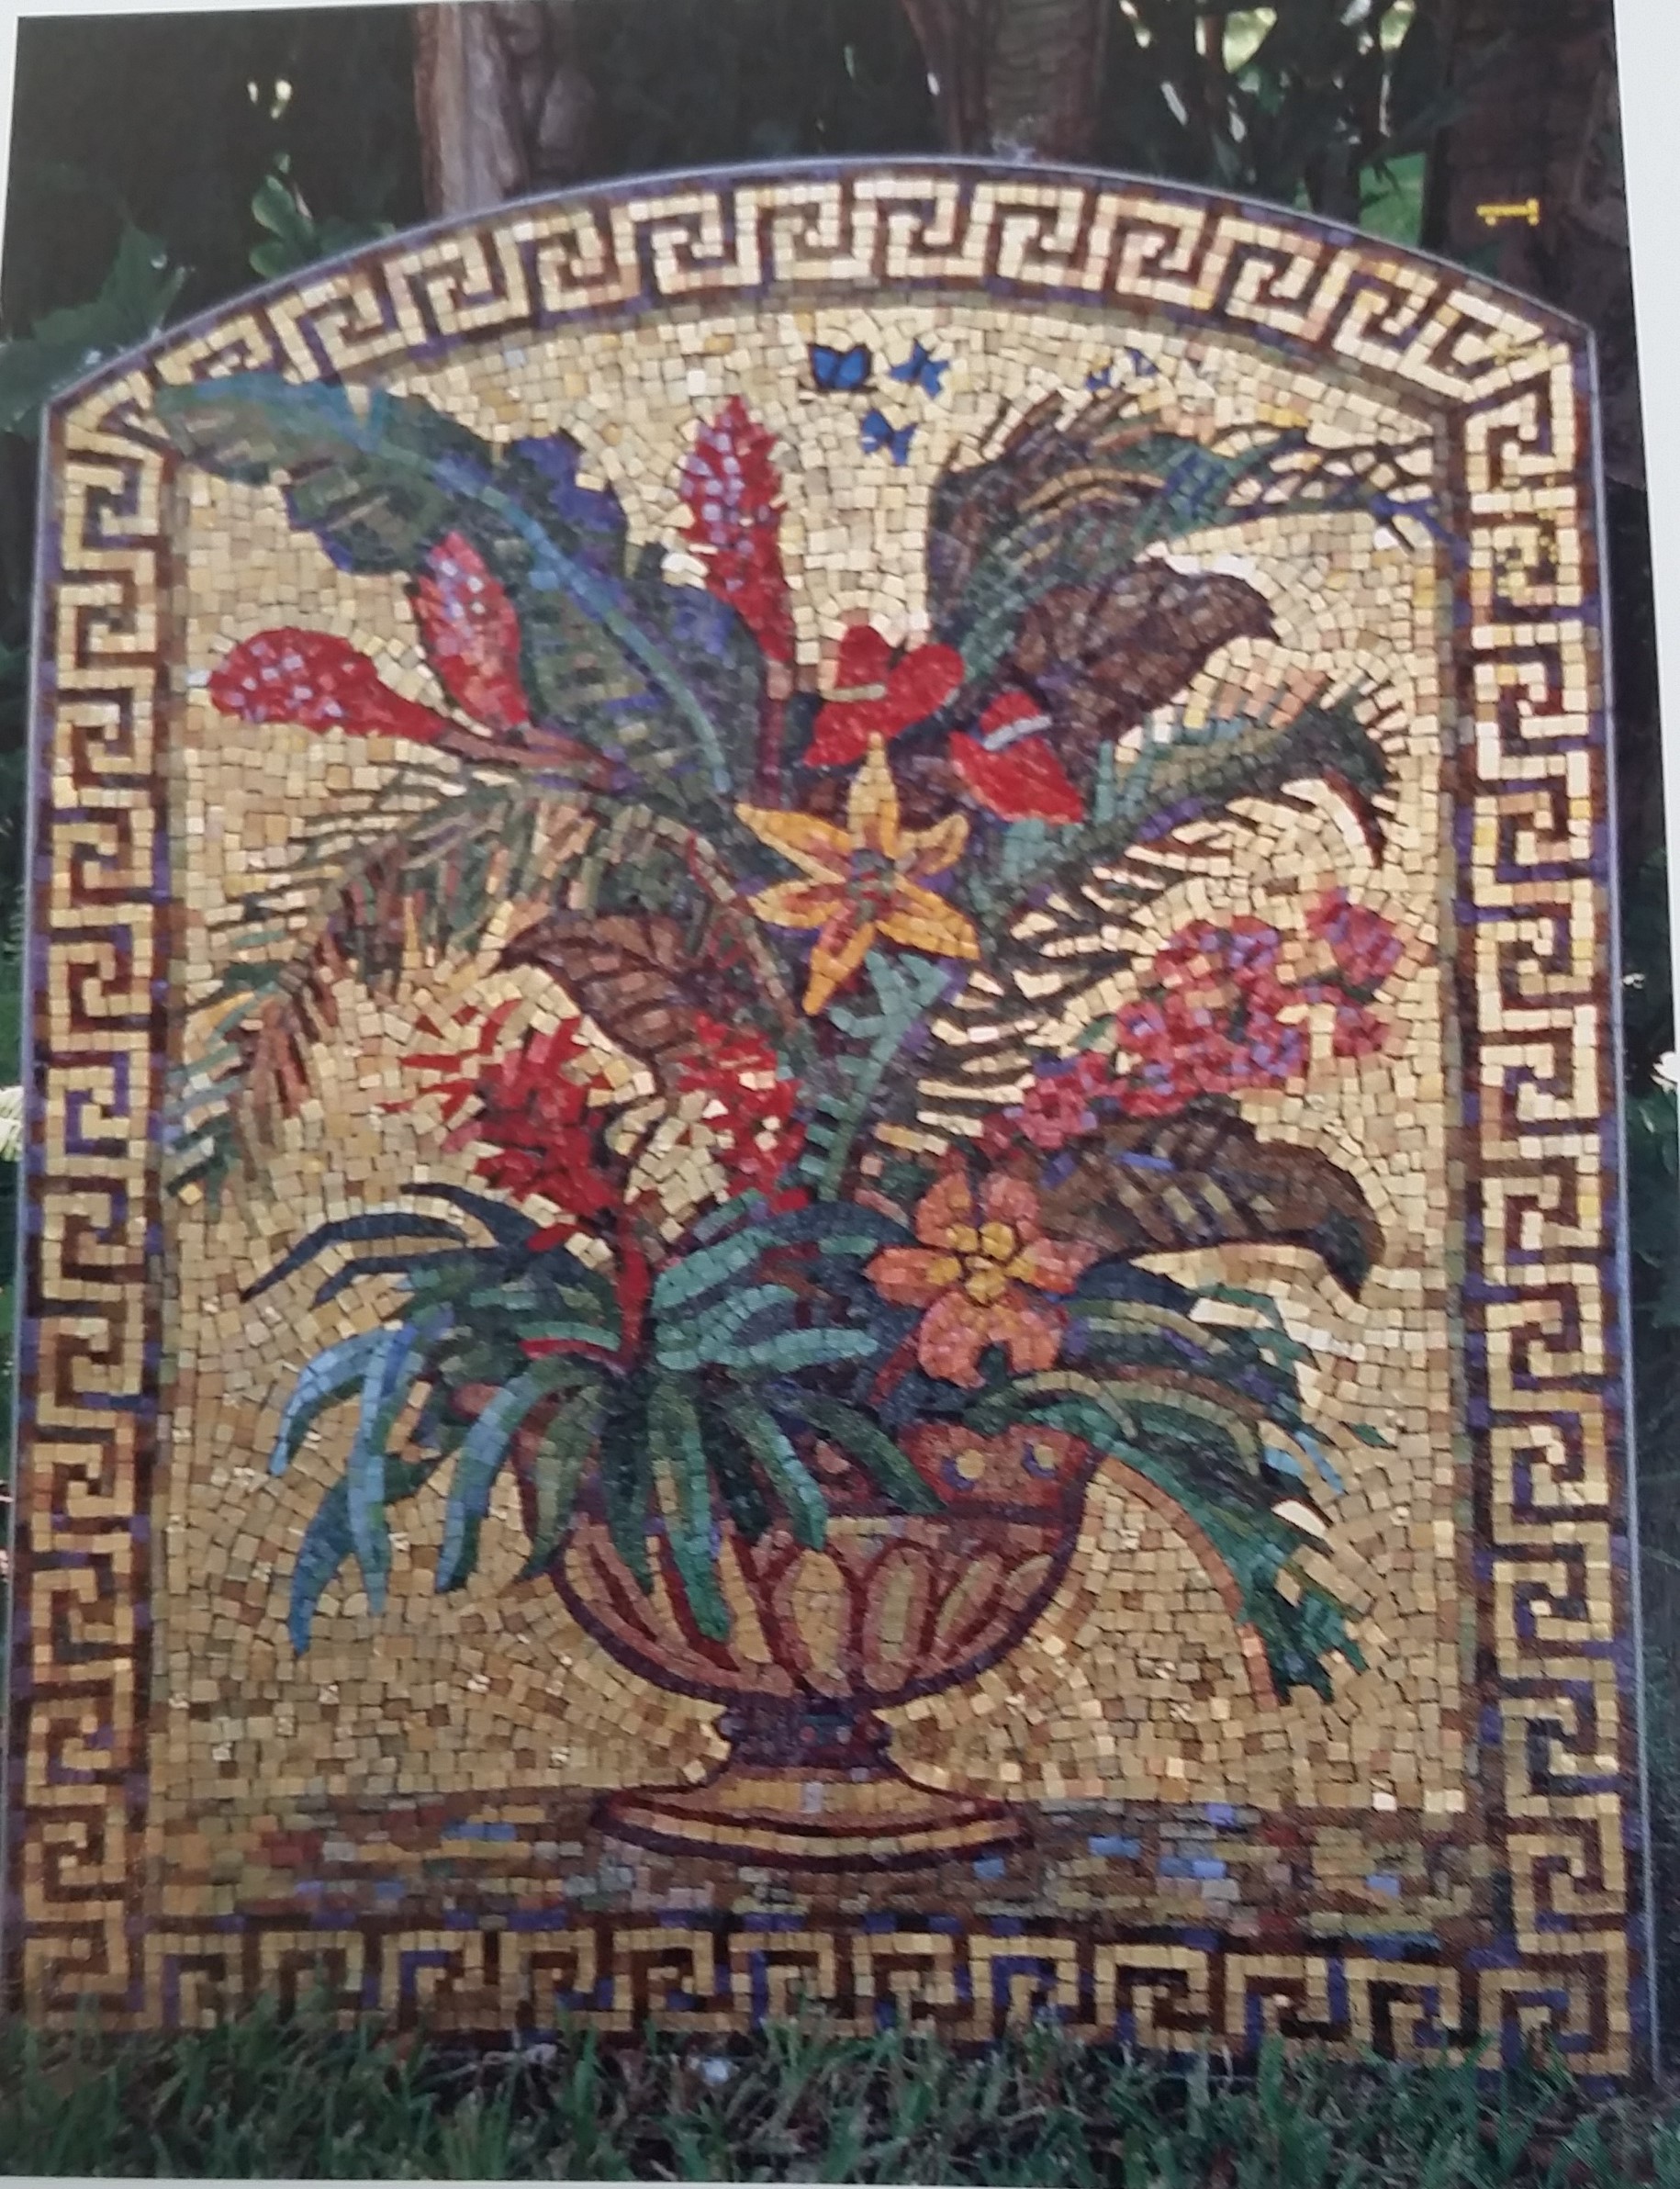
The Byzantine Empire was known to use smalti, a type of enameled glass with pure opaque colors, a uneven texture, and it reflects light very well. Smalti is made by sandwiching two pieces of enameled glass together. A separate form of smalti is gold smalti, which consists of gold sandwiched between the two glass plates, it can also have many different textures, colors, and levels of reflective strength. | The Byzantine Empire was known to use smalti, a type of enameled glass with pure opaque colors, a uneven texture, and it reflects light very well. Smalti is made by sandwiching two pieces of enameled glass together. A separate form of smalti is gold smalti, which consists of gold sandwiched between the two glass plates, it can also have many different textures, colors, and levels of reflective strength. | ||
<br> | <br> | ||
| − | <gallery mode= | + | <gallery mode=packed> |
| − | File: | + | File:NBSmalti1.jpg|<small>''An example of smalti</small><ref>Biggs, E. (2003). Mosaic techniques (1st ed., pp. 29). London: Cassell Illustrated.</ref>'' |
| − | File:NBGoldSmalti.jpg|''An example of gold smalti'' | + | File:NBSmaltiExample.jpg|<small>''A smalti mosaic</small><ref>Cohen, C. (1976). La Marseillaise.</ref>'' |
| + | File:NBGoldSmalti.jpg|<small>''An example of gold smalti</small><ref>Biggs, E. (2003). Mosaic techniques (1st ed., pp. 32). London: Cassell Illustrated.</ref>'' | ||
| + | File:NBGoldSmaltiExample.jpg|<small>''A gold smalti mosaic</small><ref>Fishman, G. (2000). Tropical Bouquet.</ref>'' | ||
</gallery> | </gallery> | ||
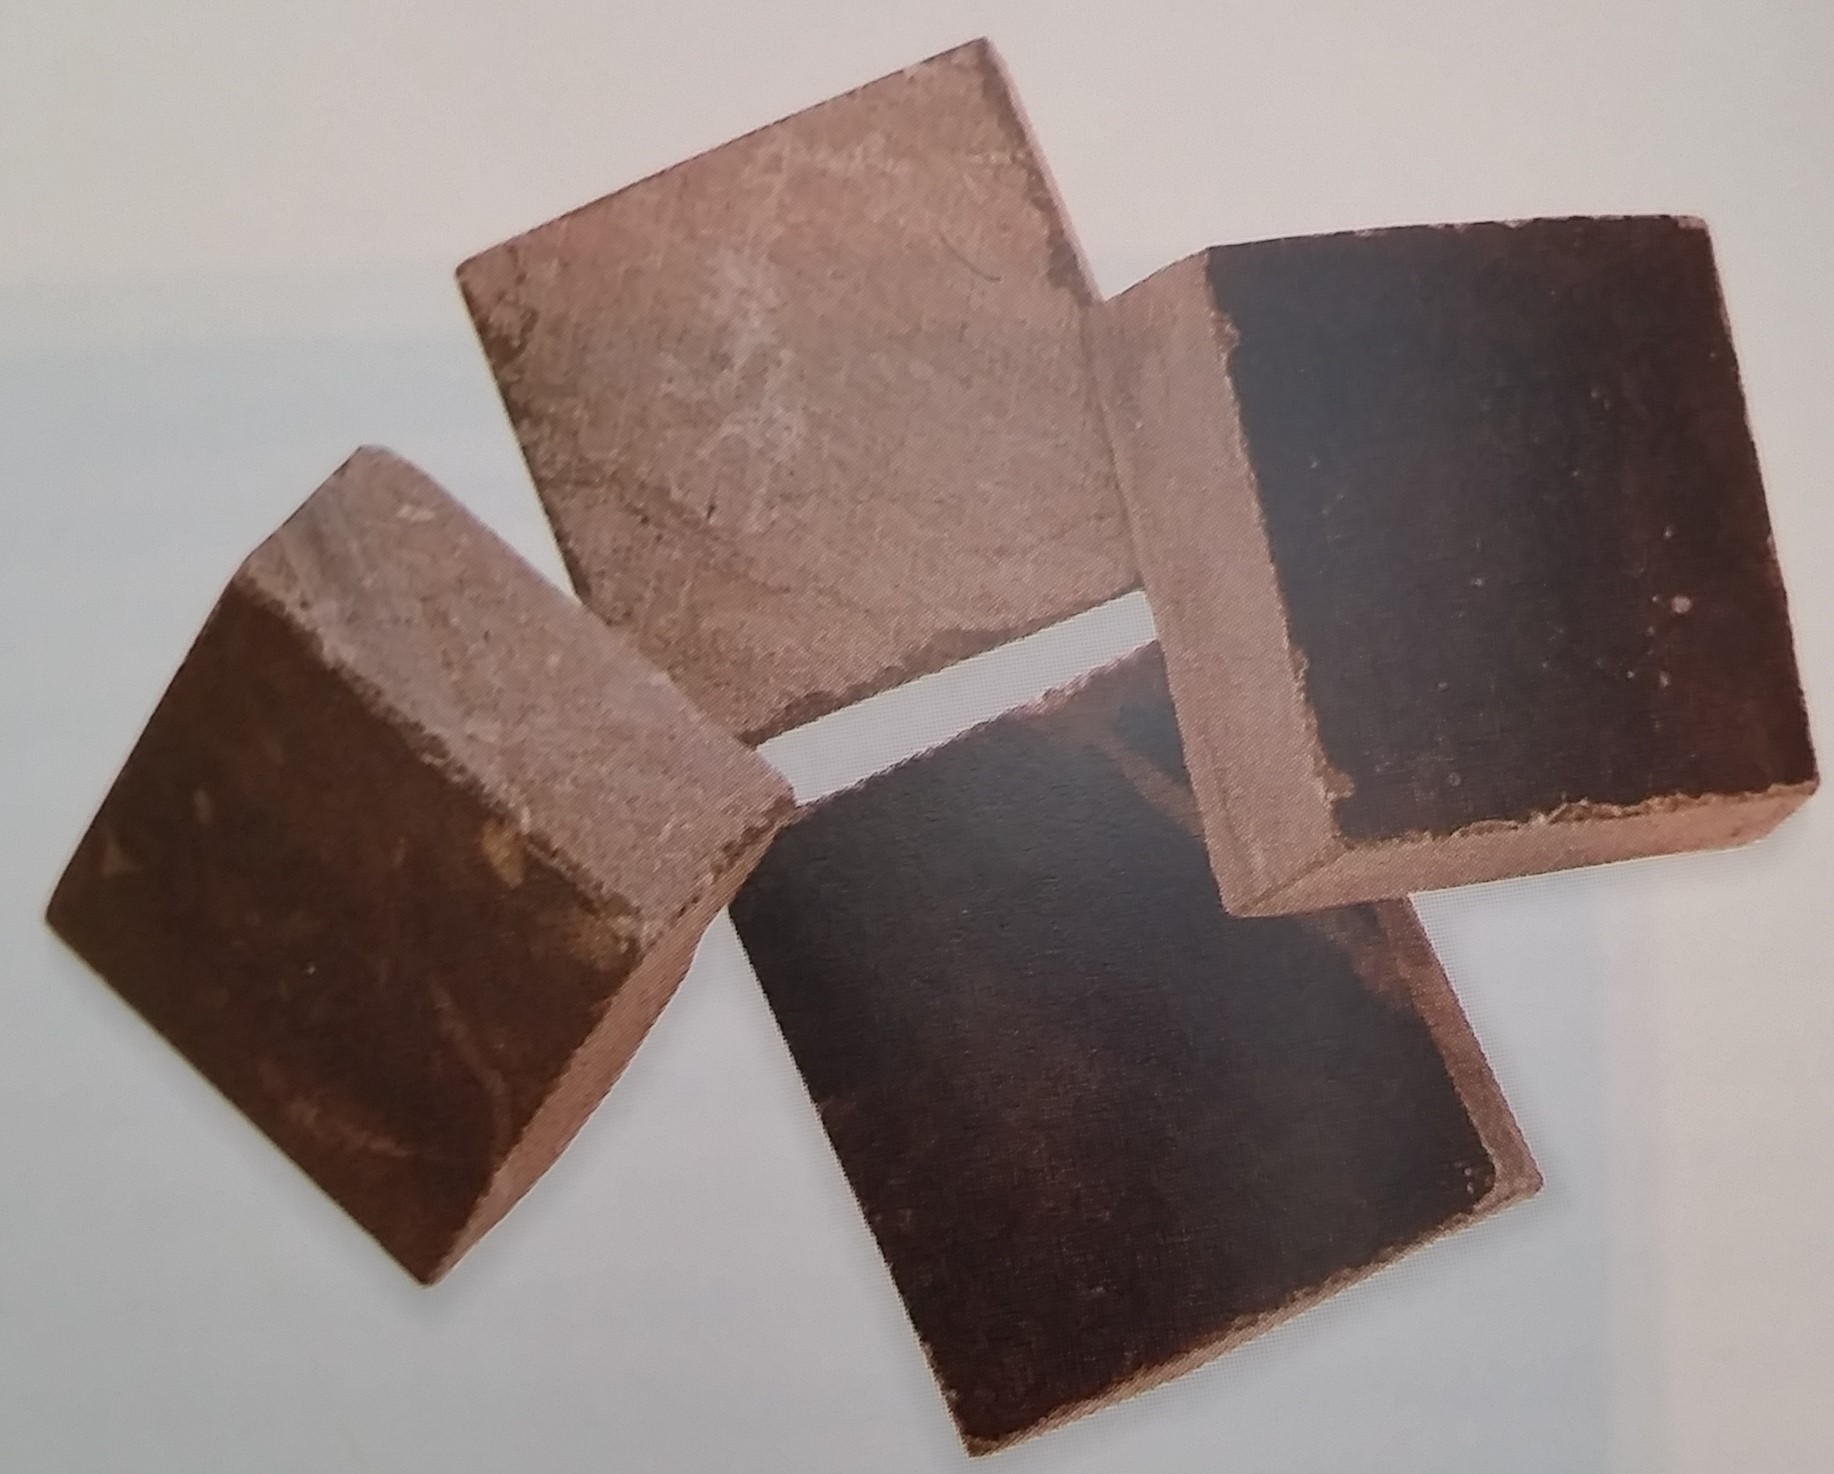
| − | Another material is Venetian (Vitreous) glass, which has less intense colors than smalti and a constantly smooth surface on one side and groves on the other. Venetian glass is often used for more mundane works such as pools and bathrooms than the Byzantine smalti, and typically comes in a standard thickness. Ceramic tile is great for outdoor use, for when it is glazed it is incredibly weather resistant, and the tile comes in a variety of colors and can be made with specialized designed within the tiles. There are four main types of ceramic tiles: unglazed, glazed, patterned, and decorative<ref>Fitzgerald, B. Complete guide to mosaic technique (1st ed., pp. 12-13). London: Quarto Publishing plc.</ref> | + | Another material is Venetian (Vitreous) glass, which has less intense colors than smalti and a constantly smooth surface on one side and groves on the other. Venetian glass is often used for more mundane works such as pools and bathrooms than the Byzantine smalti, and typically comes in a standard thickness. Ceramic tile is another type of tile that is great for outdoor use, for when it is glazed it is incredibly weather resistant, and the tile comes in a variety of colors and can be made with specialized designed within the tiles. There are four main types of ceramic tiles: unglazed, glazed, patterned, and decorative.<ref>Fitzgerald, B. Complete guide to mosaic technique (1st ed., pp. 12-13). London: Quarto Publishing plc.</ref> |
<br> | <br> | ||
| − | <gallery mode= | + | <gallery mode=packed> |
| − | File:NBVenetian.jpg|''An example of Venetian glass'' | + | File:NBVenetian.jpg|<small>''An example of Venetian glass</small><ref>Biggs, E. (2003). Mosaic techniques (1st ed., pp. 28). London: Cassell Illustrated.</ref>'' |
| − | File:NBCeramic.jpg|''An example of ceramic'' | + | File:NBVenetianExample.jpg|<small>''A Venetian glass mosaic</small><ref>Hunkin, T. (2000). Vegetables.</ref>'' |
| + | File:NBCeramic.jpg|<small>''An example of ceramic</small><ref>Biggs, E. (2003). Mosaic techniques (1st ed., pp. 28-29). London: Cassell Illustrated.</ref>'' | ||
| + | File:NBCeramicExample.jpg|<small>''A ceramic mosaic</small><ref>Bahouth, C. (2000). Mosaic Chair No. 2.</ref>'' | ||
</gallery> | </gallery> | ||
| − | A more modern tile choice would be broken china, "Pique Assiette" a French saying that means 'one who eats from others' plates'<ref>Fitzgerald, B. Complete guide to mosaic technique (1st ed., pp. 23). London: Quarto Publishing plc.</ref> | + | A more modern mosaic tile choice would be broken china, "Pique Assiette" a French saying that means 'one who eats from others' plates'.<ref>Fitzgerald, B. Complete guide to mosaic technique (1st ed., pp. 23). London: Quarto Publishing plc.</ref> This style is unlike most tesserae because it is not often in a regular shape and size. Stained glass is another option that resembles the Byzantine smalti, though is typically transparent as opposed to opaque; this can lead to the surface of the background to show through and it is a relatively fragile material depending on the thickness. The glass can come in a variety of levels of opacity, thickness, and textures making it a versatile tiling option. Mirror is an interesting material for mosaics because of its unique pure reflective quality, but it can be subject to tarnishing/patina over time diminishing its main quality. Aside from these main tiling materials there are many alternative options that can be experimented with like shell and recycled materials like buttons.<ref>King, S. (2006). Mosaic techniques & traditions (1st ed., pp. 65-72). New York: Sterling.</ref><ref>Biggs, E. (2003). Mosaic techniques (1st ed., pp. 28-33). London: Cassell Illustrated.</ref><ref>Fitzgerald, B. Complete guide to mosaic technique (1st ed., pp. 9-25). London: Quarto Publishing plc.</ref> A mosaic can be made out of any material the artist desires, it depends solely on the desired appearance of the final product. |
<gallery mode=packed> | <gallery mode=packed> | ||
| − | File:NBChina.jpg|''An example of broken china'' | + | File:NBChina.jpg|<small>''An example of broken china</small><ref>Biggs, E. (2003). Mosaic techniques (1st ed., pp. 33). London: Cassell Illustrated.</ref>'' |
| − | File:NBStainedGlass.jpg|''An example of stained glass'' | + | File:NBChinaExample.jpg|<small>''A china mosaic</small><ref>Zanelli, C. (2001). My Shower.</ref>'' |
| − | File:NBMirror.jpg|''An example of mirror'' | + | File:NBStainedGlass.jpg|<small>''An example of stained glass</small><ref>Biggs, E. (2003). Mosaic techniques (1st ed., pp. 31). London: Cassell Illustrated.</ref>'' |
| + | File:NBStainedGlassExample.jpg|<small>''A stained glass mosaic</small><ref>Cohen, J. Tigers.</ref>'' | ||
| + | File:NBMirror.jpg|<small>''An example of mirror</small><ref>Biggs, E. (2003). Mosaic techniques (1st ed., pp. 31). London: Cassell Illustrated.</ref>'' | ||
| + | File:NBMirrorExample.jpg|<small>''A mirror mosaic</small><ref>Taylor, A. Golden Retriever.</ref>'' | ||
</gallery> | </gallery> | ||
<br> | <br> | ||
===Base=== | ===Base=== | ||
| − | |||
<br> | <br> | ||
| + | The tiling must sit on a surface for it to be stable and the different options for bases can have effects on the artist's choice of tiling and adhesive. For mosaics that would be indoors, plywood or Medium Density Fiberboard (MDF) would be a good choice because they are readily available. Furniture can also be used as a base for a mosaic, but the shape, material, and structural integrity must be taken into account to see if it can support the weight of the mosaic and if it is possible to adhere the tile to the furniture. Pottery, cement, and cement backer board are great for outdoor projects due to their durability. Metal can be used for both outdoor and indoor mosaics but warping can occur when placed outdoors due to temperature variation. The porosity of the base material will have an affect of the type of adhesives that can be used, and that must be kept in mind when choosing a base; porosity also has a strong affect on how waterproof/weatherproof the base material will be. These are just a few example base materials, but others such as glass or mesh, can be used to create a more custom work of art.<ref>King, S. (2006). Mosaic techniques & traditions (1st ed., pp. 72-73). New York: Sterling.</ref><ref>Biggs, E. (2003). Mosaic techniques (1st ed., pp. 38-39). London: Cassell Illustrated.</ref> Similar to choosing a specific tile type to use, the base choice depends on the desired appearance of the mosaic. | ||
| + | <br> | ||
| + | <gallery mode=packed caption="Some Possible Base Materials" heights=x100px> | ||
| + | Image:NBPlywood.JPG|<small>Plywood</small> | ||
| + | Image:NBMDF.jpg|<small>MDF</small> | ||
| + | Image:NBFurniture.png|<small>Furniture</small> | ||
| + | Image:NBPottery.jpg|<small>Pottery</small> | ||
| + | </gallery> | ||
| + | |||
===Adhesive=== | ===Adhesive=== | ||
| − | |||
<br> | <br> | ||
| + | This is the material that will determine if the mosaic will last across the testament of time. Location is a major factor when determining the adhesive, because the strength of the adhesive must change dependent on what the mosaic will be exposed to: water, physical weathering, temperature changes, and other forms of weathering and erosion. A cement based adhesive is one of the most versatile options, as it has a variety of setting times based on composition and forms a waterproof bond. Silicone is a good adhesive choice for materials such as glass, mirror, and other non porous tiling options. It is especially good for mirror mosaics because silicone is clear and will not damage the silvering on the mirror tiles, protecting the mirror from patina. Tile mastic is another form of adhesive that can be used for vertical mosaics because of its strong bond that occurs rapidly after placement, though it can break under pressure and exposure to moisture. Craft glue, such as school glue or PVA, comes in two formulas. The water-soluble formulas of craft glue are good for mosaics made using the [[A Mosaic of Mosaics#The Indirect method|indirect method]], and the non-water-soluble formulas are good for interior mosaics only, as the bond between the tile and the base would disolve upon exposure to high humility or rain. Thin-set is a common adhesive option, and is mortar made of portland cement, silica, sand, and other moisture absorbing materials; it has adhesive properties similar to cement, needing only a thin layer to create a strong bond and that it is waterproof.<ref>King, S. (2006). Mosaic techniques & traditions (1st ed., pp. 73-75). New York: Sterling.</ref><ref>Biggs, E. (2003). Mosaic techniques (1st ed., pp. 40-41). London: Cassell Illustrated.</ref><ref>Fitzgerald, B. Complete guide to mosaic technique (1st ed., pp. 102-103). London: Quarto Publishing plc.</ref> | ||
| + | <br><br> | ||
===Tools=== | ===Tools=== | ||
| − | The final items needed to construct a mosaic are the tools. Planning tools such as paper, pencils, t-squares, and compasses can be used both before the | + | <br> |
| + | The final items needed to construct a mosaic are the tools. Planning tools such as paper, pencils, t-squares, and compasses can be used both before the starting the assembly of the mosaic to illustrate a design, and during assembly to help create guides and notes on the base about placement and coloring. Tile nippers and cutters are vital for shaping and trimming the tesserae and contingent on the design, as the tesserae may need to be manipulated into different sizes and edge shapes. A scoring tool is another item that can be used to cut tiles. The method used to break tile using the scoring tool is done in two parts, the first part is creating a line for the tile to break across, then applying pressure to crack the weakened tile. Screwdrivers, tweezers, and potter's needles, can be used to maneuver singular tiles and not disturb the surrounding area. Aside from these basic tools, many other tools or household items can be used and it is up to the creator of the mosaic to determine what tools to use.<ref>Biggs, E. (2003). Mosaic techniques (1st ed., pp. 36-37). London: Cassell Illustrated.</ref><ref>King, S. (2006). Mosaic techniques & traditions (1st ed., pp. 75-79). New York: Sterling.</ref><ref>Biggs, E. (2003). Mosaic techniques (1st ed., pp. 42-45). London: Cassell Illustrated.</ref> | ||
| + | <br> | ||
| + | <gallery mode=packed caption=Tools> | ||
| + | Image:NBTileNippers.jpg|<small>Tile Nippers</small> | ||
| + | Image:NBScorer.jpg|<small>Scoring Tool</small> | ||
| + | </gallery> | ||
<br><br> | <br><br> | ||
==Techniques== | ==Techniques== | ||
| + | <br> | ||
===Direct Method=== | ===Direct Method=== | ||
| − | Now | + | [[Image:NBDirect.jpg|x200px|right|thumb|<small>''An example of the direct method</small><ref>Biggs, E. (2003). Mosaic techniques (1st ed., pp. 75). London: Cassell Illustrated.</ref>'']] |
| + | <br> | ||
| + | Now moving on from the materials needed to the assembly methods of the mosaic. The easier of the two main assembly techniques, the direct method, involves pressing and adhering the tesserae directly onto the base material. This is best for mosaics that require the face of the tesserae that will be facing away from the base to be visible to the artist such as mosaics that use intricate shading, as the level of precision needed is incredibly high. The texture of the mosaic can be easily manipulated using the direct method as the tile pieces do not need to be completely identical heights, textures, or sizes to ensure a secure application; this is because the tesserae are being adhered individually and any height or size adjustments needed can be made as the tile is placed. This method is also useful for three dimensional mosaics to allow the artist to compensate for the curves and lines of the base. The direct method also allows for immediate results to be visible, creating an easy way to measure progress.<ref>King, S. (2006). Mosaic techniques & traditions (1st ed., pp. 110-115). New York: Sterling.</ref><ref>Biggs, E. (2003). Mosaic techniques (1st ed., pp. 74-79). London: Cassell Illustrated.</ref><ref>Fitzgerald, B. Complete guide to mosaic technique (1st ed., pp. 86-89). London: Quarto Publishing plc.</ref> A common practice is to complete the direct method onto mesh if the base is unavailable, so that the mosaic can then be adhered to the base via the mesh rather than the tile by tile. This can help to eliminate any difficulty that may arise from adhering the chosen base material and tiling material, such as the bond not solidifying.<ref>Biggs, E. (2003). Mosaic techniques (1st ed., pp. 78-79). London: Cassell Illustrated.</ref> | ||
| + | <br> | ||
<br> | <br> | ||
===Indirect Method=== | ===Indirect Method=== | ||
| − | This method is useful for larger designs, as the artist can create sections of the piece and just have to assemble the larger pieces at the end. The indirect method also allows for a controlled environment when creating a mosaic that will be outdoors rather than being limited by factors such as temperature and humidity | + | [[Image:NBIndirect.jpg|x200px|right|thumb|<small>''An example of the product of the indirect method</small><ref>Biggs, E. (2003). Mosaic techniques (1st ed., pp. 82). London: Cassell Illustrated.</ref>'']] |
| + | <br> | ||
| + | The indirect method takes a different approach to assembly than the direct method in that the final assembly is more like completing a puzzle, fitting all of the predetermined pieces together. This method is useful for larger designs, as the artist can create sections of the piece and just have to assemble the larger pieces at the end. The indirect method also allows for a controlled environment when creating a mosaic that will be displayed outdoors rather than being limited by factors such as temperature and humidity. It also allows for modification of sections of the mosaic before the finalized design is complete; this is possible because of the adhesive applied to each section of mosaic is removable, allowing for easy deconstruction of the miniature mosaic. The base for this assembly method is typically paper or mesh, the mesh option allowing for more flexibility in the design because it is easy to cut away any undesirable pieces. The mesh differs from other materials used for the indirect method in that the tiles are placed finished side up, allowing the artist to view the final design like the direct method. This can also be done with the face tape method that uses clear tape to hold the mosaic together, with the finished side visible until it needs to be adhered. The reverse method is the more complicated of the indirect method techniques as it involves working in reverse, therefore creating a mirror image of the design. The tesserae are placed onto a surface with the face that will be visible placed facing the surface and then adhered together from behind to a temporary base. The mosaic is then flipped and applied to the base, and then the temporary base is removed. <ref>King, S. (2006). Mosaic techniques & traditions (1st ed., pp. 116-123). New York: Sterling.</ref><ref>Biggs, E. (2003). Mosaic techniques (1st ed., pp. 80-83). London: Cassell Illustrated.</ref><ref>Fitzgerald, B. Complete guide to mosaic technique (1st ed., pp. 90-101). London: Quarto Publishing plc.</ref> | ||
<br> | <br> | ||
<br> | <br> | ||
| Line 66: | Line 106: | ||
=Section 2: Deliverable= | =Section 2: Deliverable= | ||
<br> | <br> | ||
| + | ==About the Mosaic== | ||
| + | For my mosaic I decided to use a completely digital medium, akin to a collage. The tiles of my mosaic are photos of mosaics, one taken by me and the other three from the internet, that have been shrunken down to a relatively consistent size. I then took my digital tesserae and using Photoshop I created the image above. The digital medium I used allowed for more experimentation than would have been allowed by the traditional physical mosaic media, as I could move photos whenever I wanted and constantly undo my mistakes. I also had an unlimited supply of tile possibilities at my fingertips via the world wide web if I needed a new tile. I also used a combination of the two techniques as some of my designs such as the leaf design I created separately on a separate layer and placed them into the piece; I used the direct method for the outermost set of white tiles directly placing each tile in its position. A digital medium also provides the advantage of creating a clone of an image allowing me to speed up the creation of my mosaic, by only having to create half of it, or even a quarter, and then duplicating and mirroring the image. One other major advantage was the lack of precision needed to accurately shape the tiles; Photoshop can ensure that my tiles are even and shaped exactly to fit the shape of the hole it was being put into. I used a monochrome palate inspired by the mosaics on the floor of the [[Victoria and Albert Museum]] and around the city. This also inspired my heavy use of geometric patterns like the concentric circles and the repeated use of right angles. | ||
| + | <br> | ||
| + | |||
==A Modern Mosaic== | ==A Modern Mosaic== | ||
[[Image:NBMosaic_V1.png]] | [[Image:NBMosaic_V1.png]] | ||
| + | <br><br> | ||
| + | |||
| + | ==A Comparison== | ||
| + | Unlike a physical medium, a digital medium has limitless possibilities. For this mosaic my tiling is made up of pictures of mosaics. The pictures used for this mosaic specifically are of monochromatic mosaics similar to a Roman stone mosaic. I chose these pictures because of their color schemes, especially the pure white and black images, to be able to create a sharp contrast. | ||
| + | [[Image:NBLeafZoom.png|right]] | ||
| + | [[Image:NBConcentricZoom.png|right|x210px]] The final image in the gallery of images I used to create this mosaic was my main inspiration for this mosaic, as it has a simple geometric pattern and a monochromatic color palette. I have seen mosaics similar to that final gallery image across London, from museum walls and floors to store entryways; because of the common appearance of this style of mosaic, I tried to replicate the elements I observed: a dark and thick border, repeating shapes, and large sections of a singular color. These were the specific elements I chose to focus on in my design. For this design, I chose the size of my tiles to be different in each major section to create movement and a stronger division of each section. The border is darker than the surrounding tiles, but not the darkest element of the mosaic; I kept the border at a medium darkness to have a wider range of shades of grey, rather than a pure black and white mosaic. In terms of repeating shapes I decided to create a leaf shape and concentric circles. The leaf pattern pays homage to the mosaics on the stairs of the [[Victoria and Albert Museum]] and I thought an irregular shape would add more complexity to a relatively simplistic design. The concentric circles are a reference to the first image in the gallery of images I used, as it has a clearly defined circle and then a circular element inside of that circle. I chose to create large sections of solid color blocks to achieve the same effect of the mosaics I observed, which were harsh visual contrast and subdivision of the areas in the mosaic. | ||
| + | <br> | ||
| + | To move onto the base, I chose to use a grey background for my tiles to rest upon. I chose this color to replicate the appearance of concrete, which is visible in some of the more worn mosaics I have seen. The base rectangle is only visible in a few places because I personally favor a tightly packed mosaic over one with a larger space and therefore more base visible between the tiles. Another reason for my choice of base was that for the sections with small gaps between the tiles it would mock the appearance of grout. The adhesive holding the mosaic together is the merging of each individual image layer in Photoshop; this is almost as permanent as a physical adhesive due to the, albeit large, limit to the number of times a user can undo an action. To shape my tiles I used the crop tool in Photoshop, not unlike using tile cutters to shape and resize tiles. All of the tools I deem necessary to create a digital mosaic can be found in Photoshop: crop, clone, and merge. Photoshop served as my entire studio when creating this mosaic in that it held all of my tools and materials, in a clean and organized manner. | ||
| + | <br><br> | ||
| + | In terms of techniques, the digital and physical methods of creating mosaics are very similar. For the border portion of the mosaic, I created it in a separate file and later placed that file into the main mosaic. This is a direct translation of the indirect method from physical to digital, as the physical method involves creating the mosaic offsite and then placing the pre-created piece into place. The remaining portion of the mosaic was created using the direct method, adding image by image into the file, placing them in the correct position, and then merging the layers to cement the mosaic together. I tried two techniques to create the concentric circles the first of the two was rotating the tiles to create the illusion of a curve. This option was inefficient and I did not have enough skill to achieve the desired effect, so I decided to maximize my digital advantage by creating a rectangular block and cutting the circle from that block. The latter attempt to create the circles allowed me to achieve a perfectly round edge to my tiles, a task that would be incredibly difficult by hand. | ||
<br> | <br> | ||
| − | + | <gallery mode="packed" caption="Images used in the mosaic"> | |
| − | == | ||
| − | |||
| − | |||
| − | |||
| − | |||
File:NBTile1.jpg | File:NBTile1.jpg | ||
File:NBTile2.jpg | File:NBTile2.jpg | ||
File:NBTile3.jpg | File:NBTile3.jpg | ||
File:NBTile4.JPG | File:NBTile4.JPG | ||
| + | </gallery> | ||
| + | <br> | ||
| + | <gallery mode="packed" caption="Images used as inspiration for the mosaic"> | ||
| + | File:NBMI1.jpg | ||
| + | File:NBMI2.jpg | ||
| + | File:NBMI3.jpg | ||
| + | File:NBMI4.jpg | ||
| + | File:NBMI5.jpg | ||
| + | File:NBMI6.jpg | ||
| + | File:NBMI7.jpg | ||
</gallery> | </gallery> | ||
<br><br> | <br><br> | ||
| Line 84: | Line 143: | ||
=Conclusion= | =Conclusion= | ||
<br> | <br> | ||
| − | Throughout this milestone I learned about | + | Throughout this milestone I learned about mosaics, and the materials and tools needed to create one. I then applied this knowledge to a digital setting (Photoshop) and compared how it is different from the traditional methods. I can confidently say that the process of creating a digital mosaic is much more forgiving than a physical mosaic. I would have loved to use more of my own photos, but due to having to look up or down at most of the mosaics the distortion made the tiles appear lopsided and pure colors were impossible to find. It would be interesting to make a physical mosaic and be able to compare those experiences in a more than theoretical setting. It would also be interesting to see how digital enhancement of the images used to create the mosaic or a change in the color palate could change the mood of the piece. |
| − | |||
| − | |||
| − | |||
| − | |||
<br><br> | <br><br> | ||
=References= | =References= | ||
| − | |||
| − | |||
| − | |||
| − | |||
[[Category: Art Projects]] | [[Category: Art Projects]] | ||
[[Category: 2017]] | [[Category: 2017]] | ||
Latest revision as of 08:51, 22 June 2017
A Mosaic of Mosaics
 | |
| Artist: | Natalie Bloniarz |
|---|---|
Contents
Abstract
The aim of this project was to develop an understand the techniques and materials needed to create a mosaic and apply that to a new digital medium. Using my skills from AR 1101, Digital Imaging and Computer Art, and my experience from high school using the Adobe Suite, I aimed to create a modern mosaic in a digital format. Throughout this milestone I learned that much of the origins of mosaics are unknown and that mosaics can be made of virtually any material. The experience of creating the mosaic was enlightening into how difficult creating a cohesive and well structured mosaic could be.
Introduction
A mosaic is, "something resembling such a picture or decoration in composition, especially in being made up of diverse elements."[1] From that definition, a mosaic is a decorative element or image made of just a few simple components: some form of tile made of any material, a base surface for the mosaic to rest on, and an adhesive to hold to mosaic to the base.
A Mosaic of Mosaics takes the traditional art of mosaics and then applies it to a digital setting. This involved looking into the elements needed to create a physical mosaic and what kind of properties make them effective materials. It also required a discussion of techniques needed to create a mosaic, and how they are used. Unlike a collage that just mashes photos together, the mosaic created is based on mosaics that I have observed across London to create "such a picture or decoration in composition".[2] As opposed to creating a traditional mosaic I chose to experiment with a digital medium to see how the process would differ and what challenges this new method could create. I chose to use Photoshop to create the mosaic because of prior experience and I knew it would lend itself well to the functions needed for this project: cloning, resizing, compressing, and reshaping. I used my previous knowledge of photography to capture the mosaics that would make up my mosaic, but I used my newfound knowledge of mosaic techniques to create the mosaic.
Section 1: Background
Materials
Tiling
This is the most important portion of the mosaic, as it is the most visible part of the mosaic. Tiling is the individual pieces of a chosen, or a variety of chosen materials, that are cut and then typically shaped into rough squares. These squares are then adhered to a base to create an image or design. The oldest known mosaics were created from smooth pebbles of varying sizes, but this limited the precision of the artist to the available stones; pebble mosaics were popular with the Greeks and many of their mosaics were made from pebbles.[3] Eventually the Romans popularized tesserae, the style of mosaic made of individual square cut pieces of stone and shell.[4] Tesserae can be made of a variety of materials and have been as time has passed, and it is now how the majority of mosaic tile materials are sold. Stone was a popular choice of the Romans and is more durable than other materials and it can have natural variance within the tiles; though stone is durable, it is hard to create the tesserae.
The Byzantine Empire was known to use smalti, a type of enameled glass with pure opaque colors, a uneven texture, and it reflects light very well. Smalti is made by sandwiching two pieces of enameled glass together. A separate form of smalti is gold smalti, which consists of gold sandwiched between the two glass plates, it can also have many different textures, colors, and levels of reflective strength.
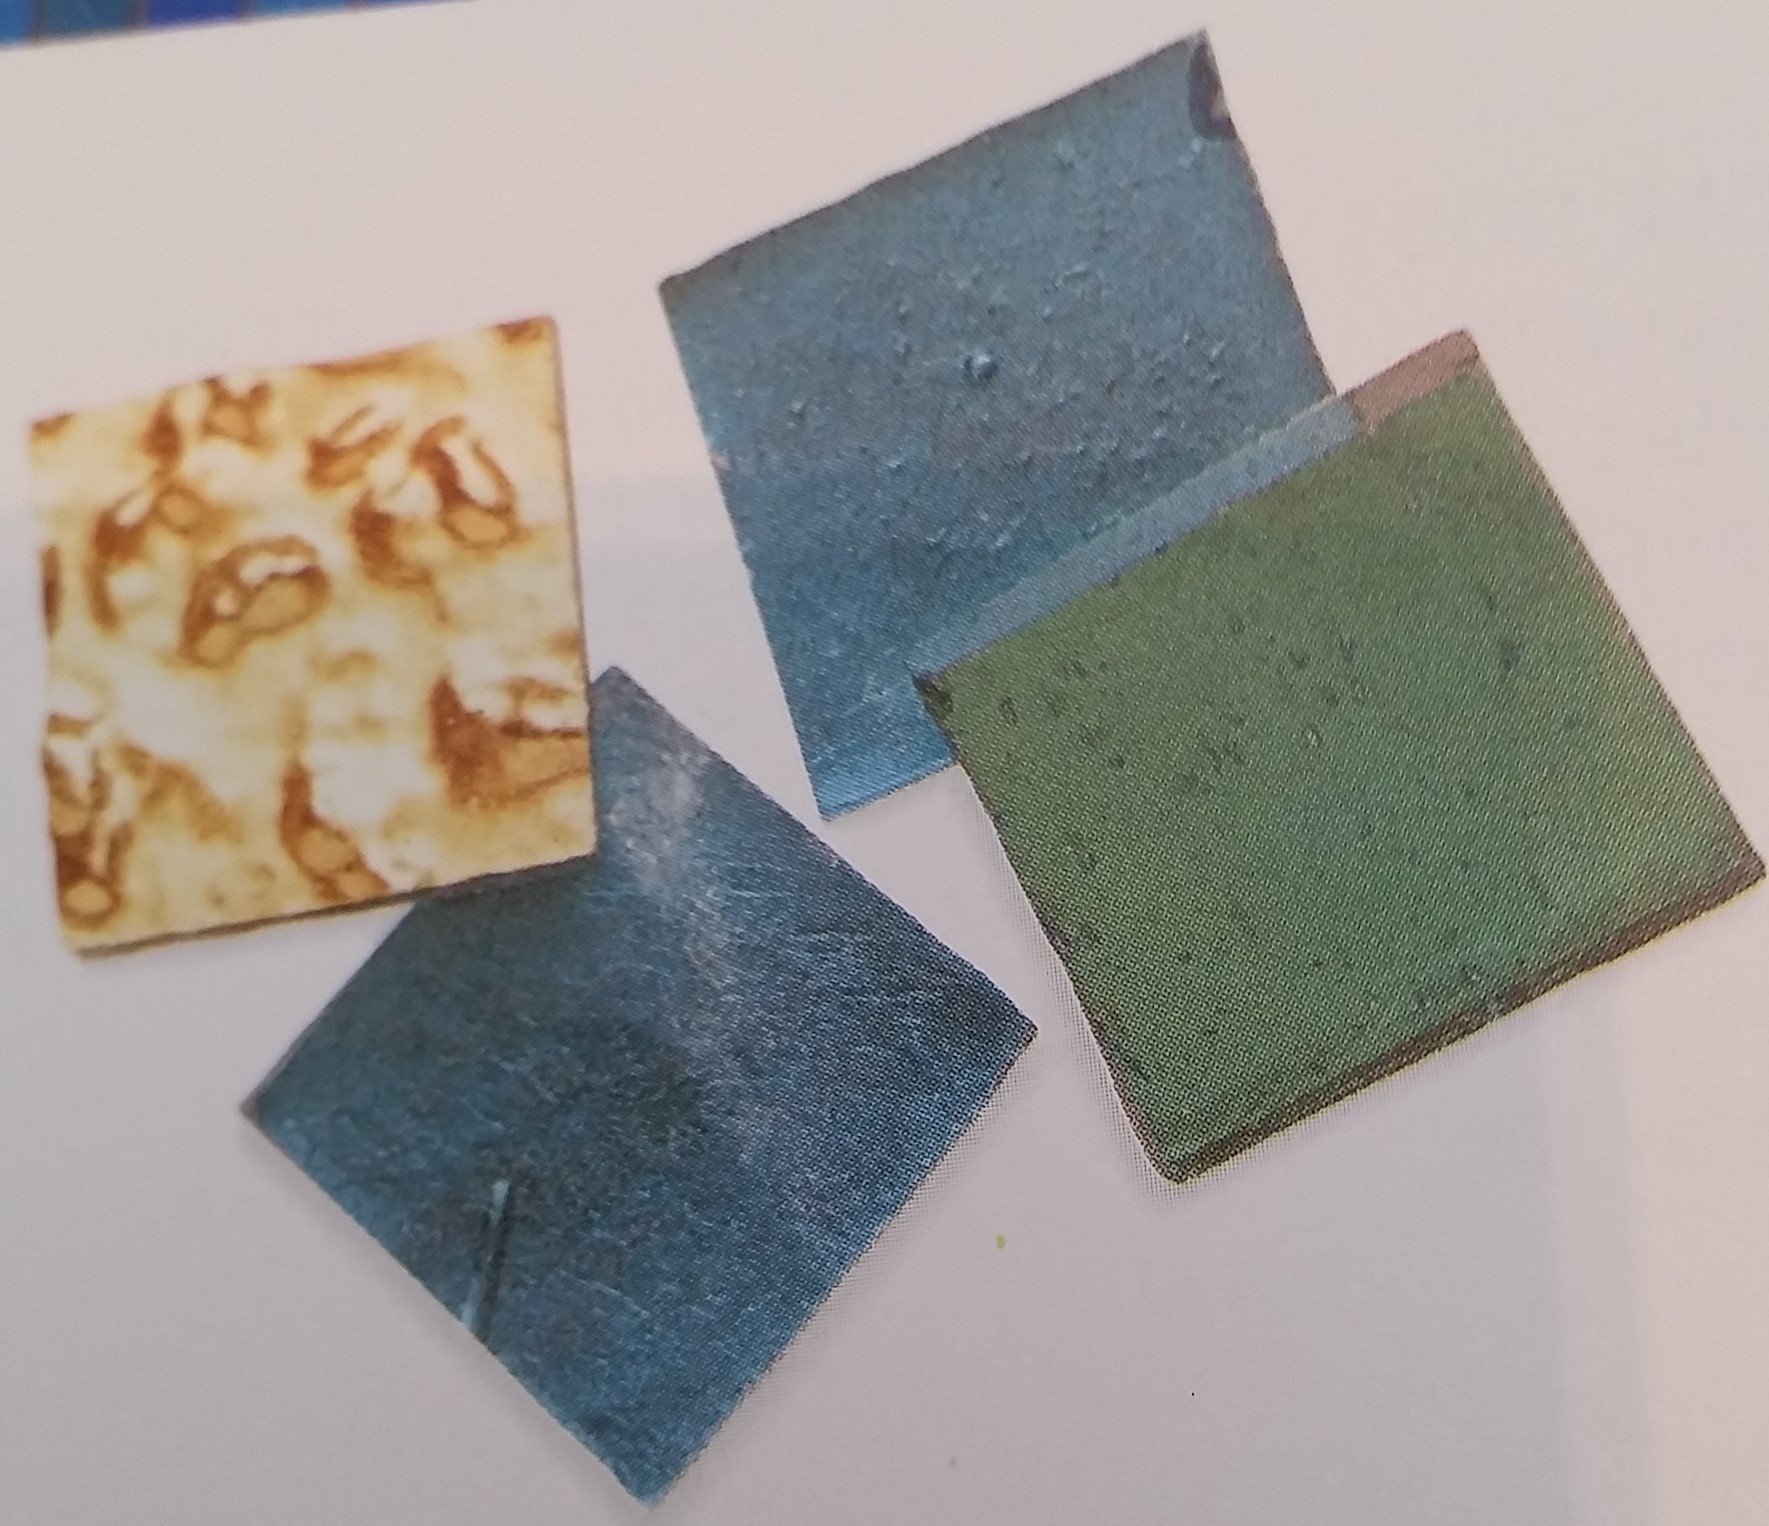
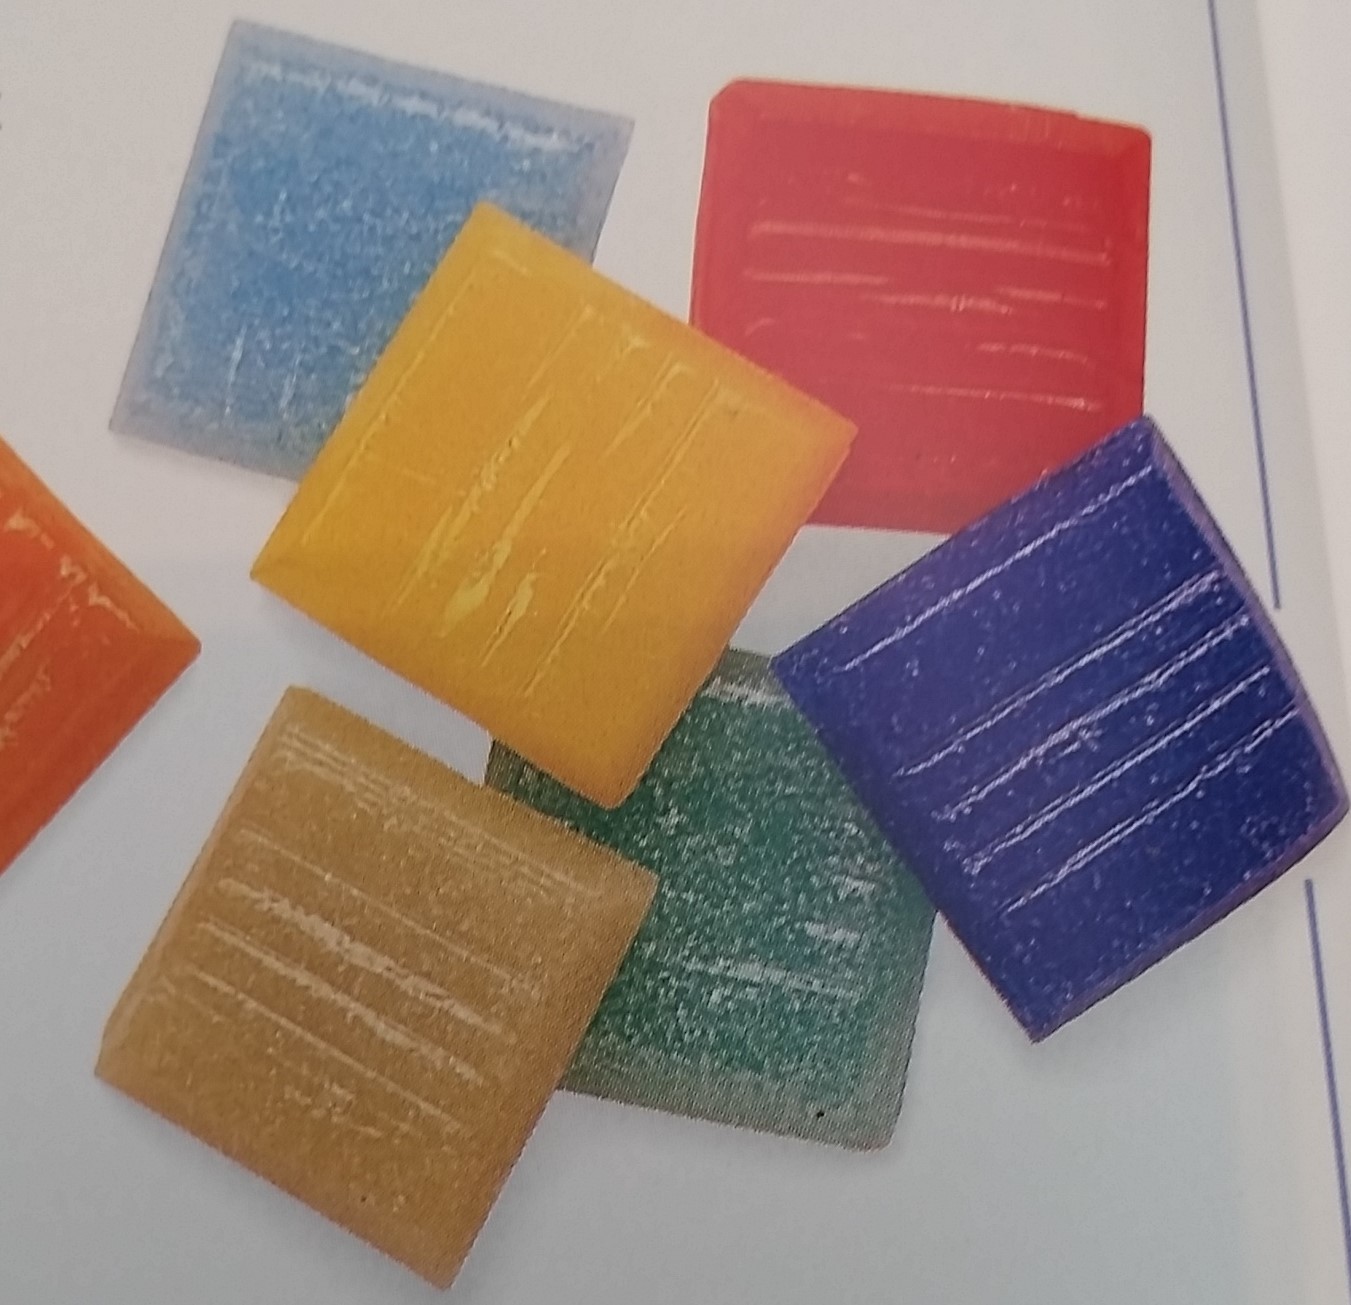
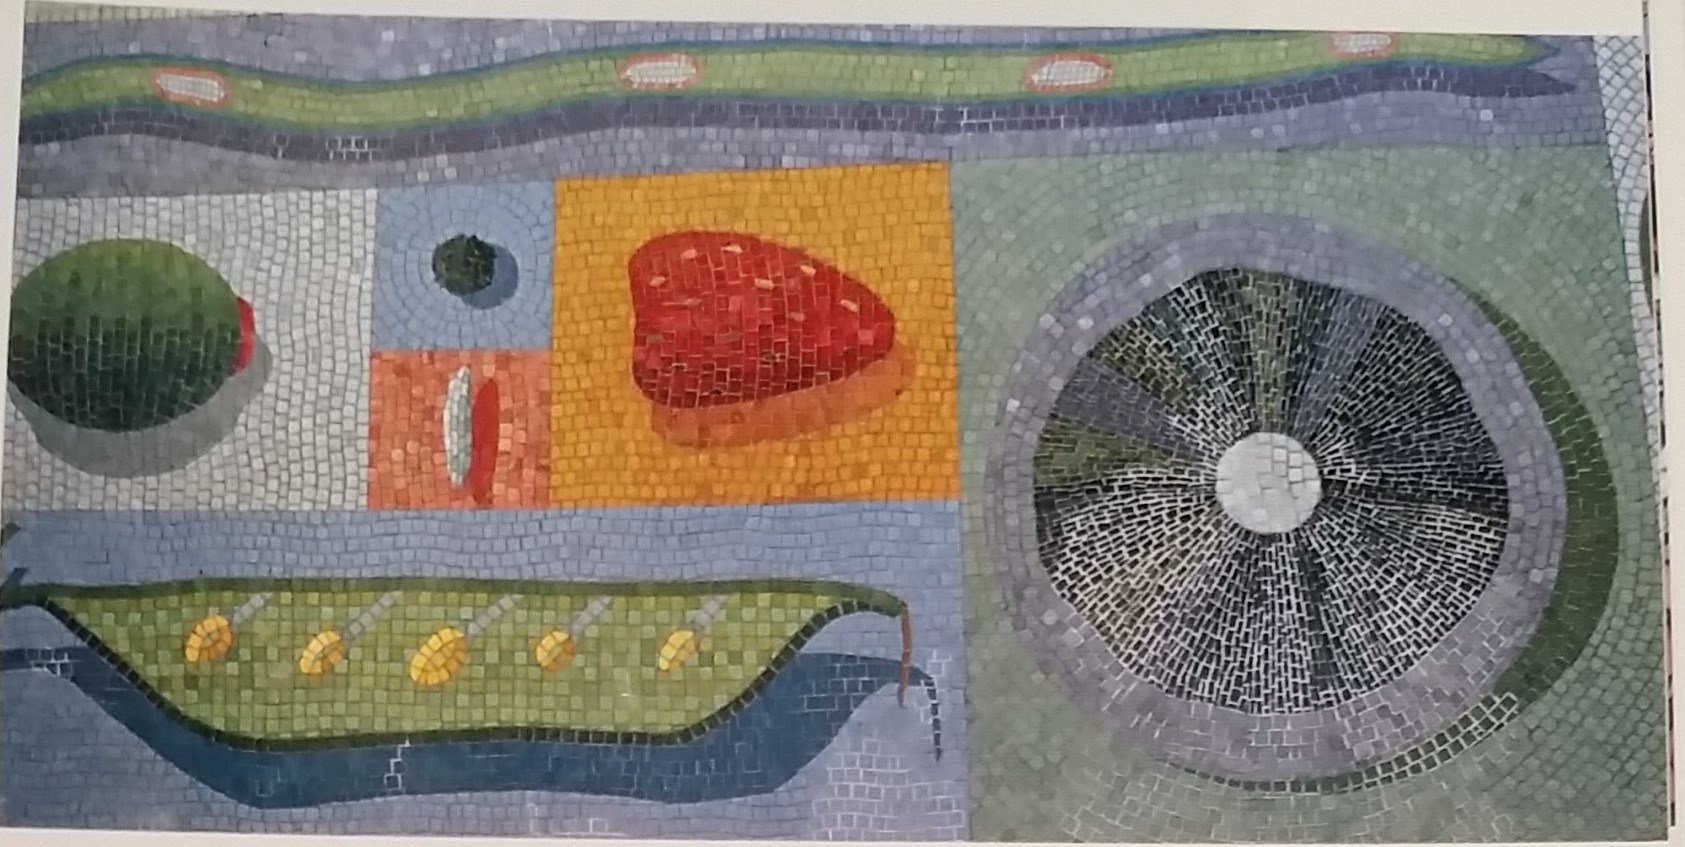
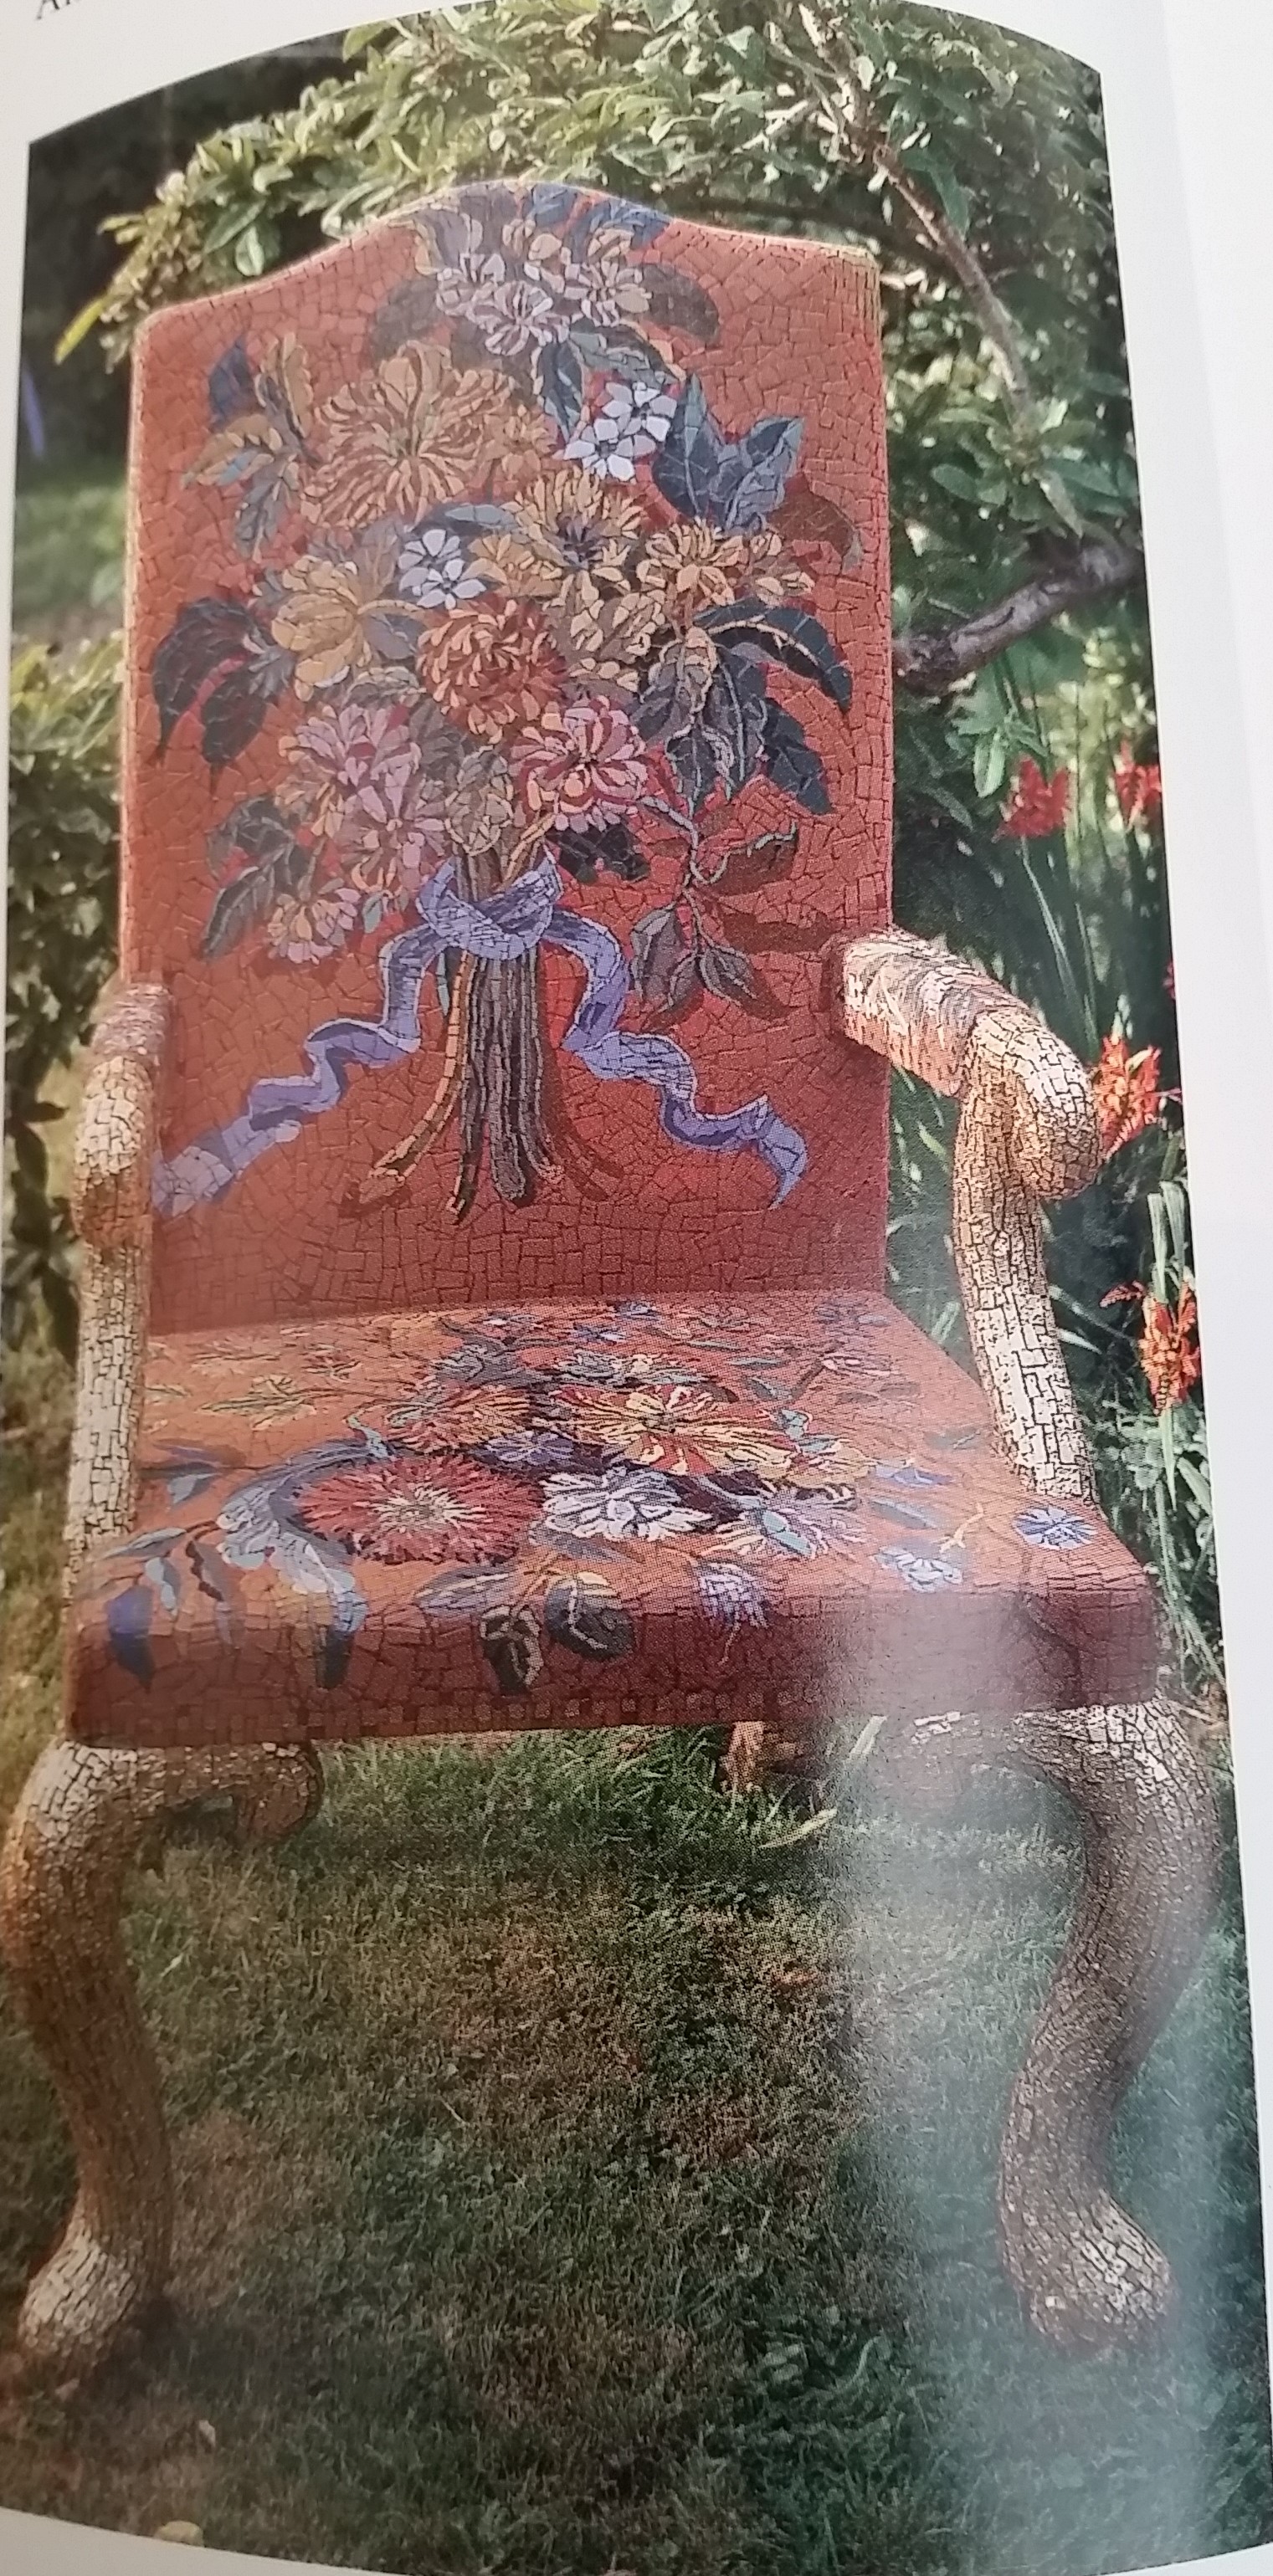
Another material is Venetian (Vitreous) glass, which has less intense colors than smalti and a constantly smooth surface on one side and groves on the other. Venetian glass is often used for more mundane works such as pools and bathrooms than the Byzantine smalti, and typically comes in a standard thickness. Ceramic tile is another type of tile that is great for outdoor use, for when it is glazed it is incredibly weather resistant, and the tile comes in a variety of colors and can be made with specialized designed within the tiles. There are four main types of ceramic tiles: unglazed, glazed, patterned, and decorative.[13]
An example of Venetian glass[14]
A Venetian glass mosaic[15]
An example of ceramic[16]
A ceramic mosaic[17]
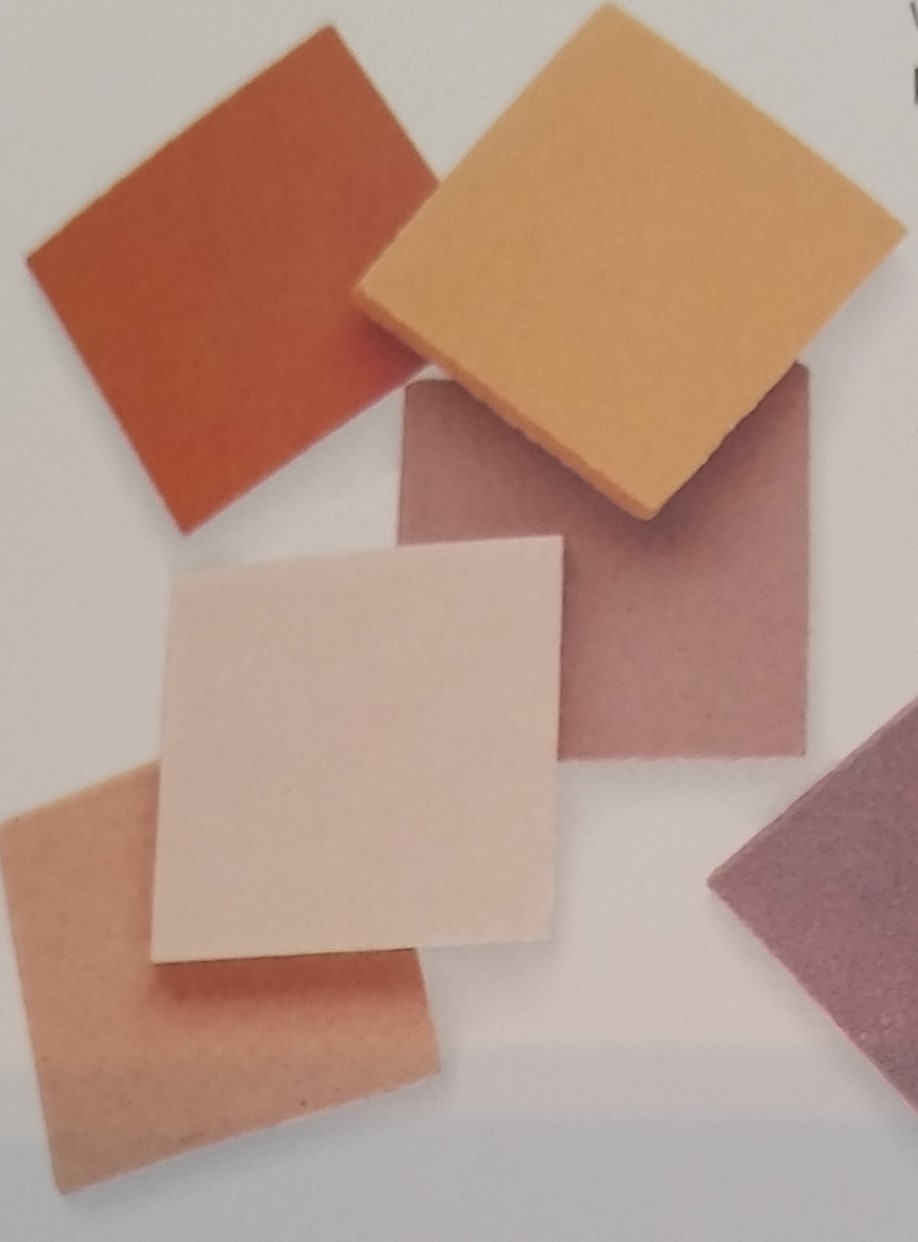
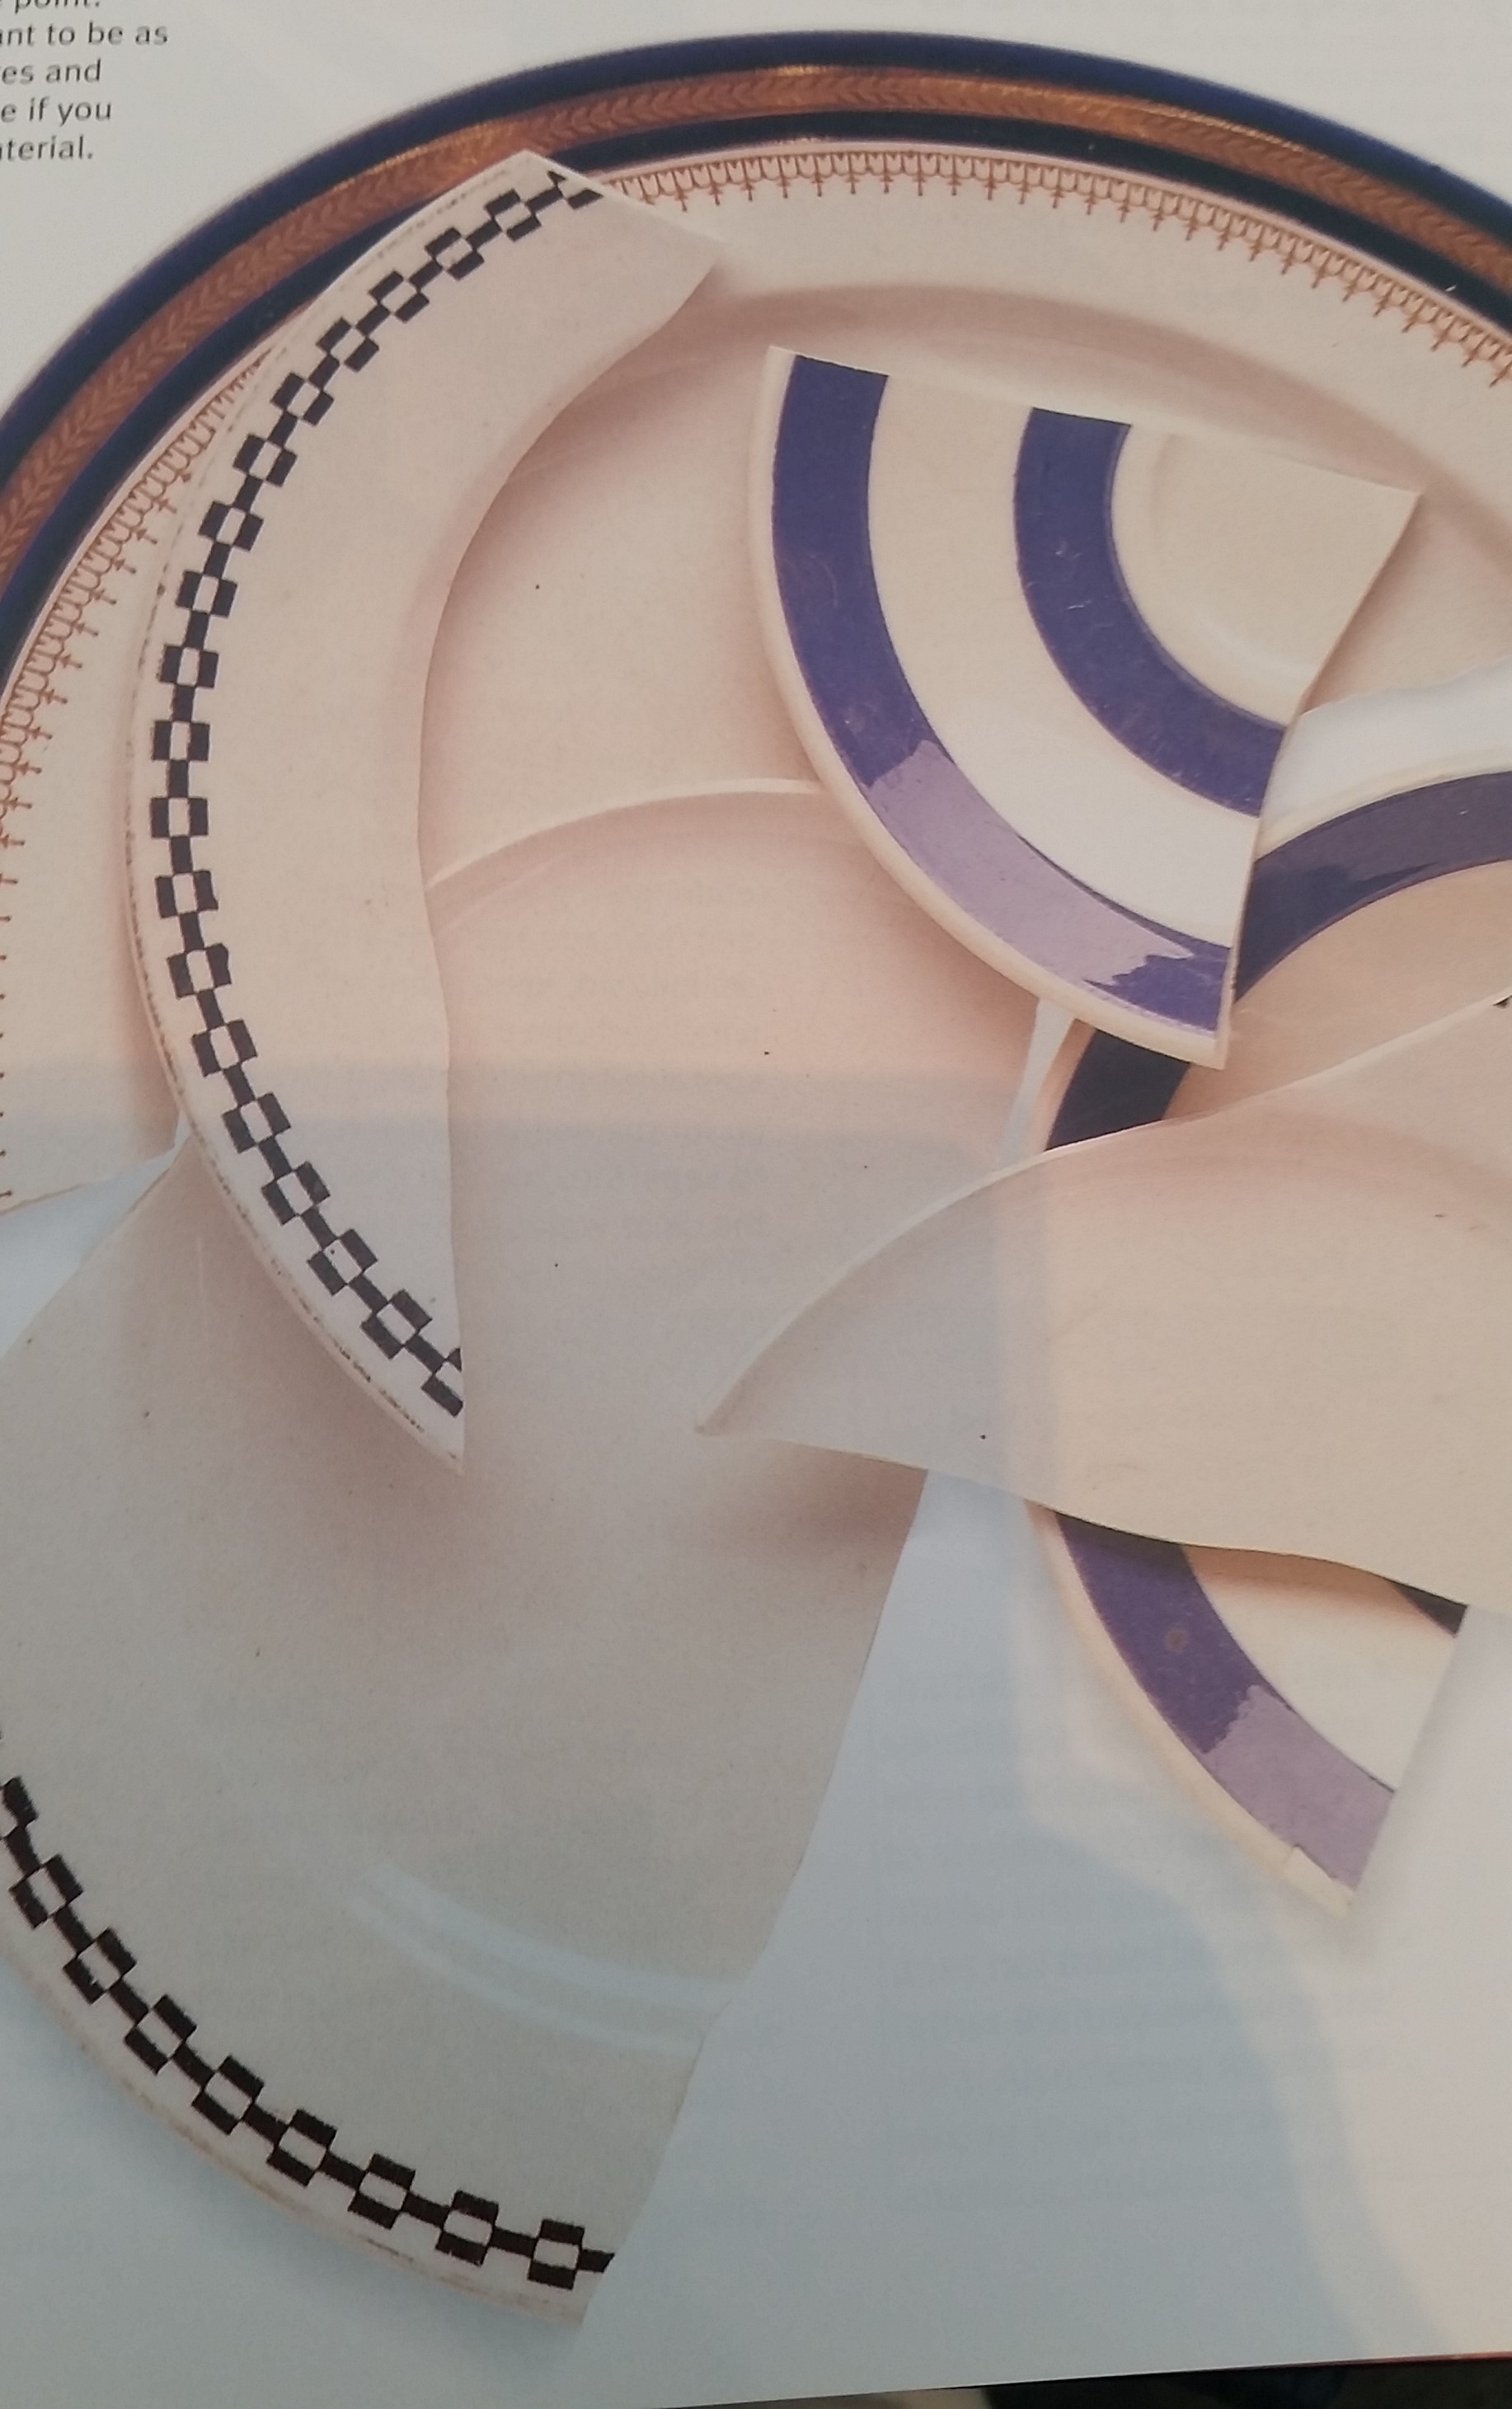
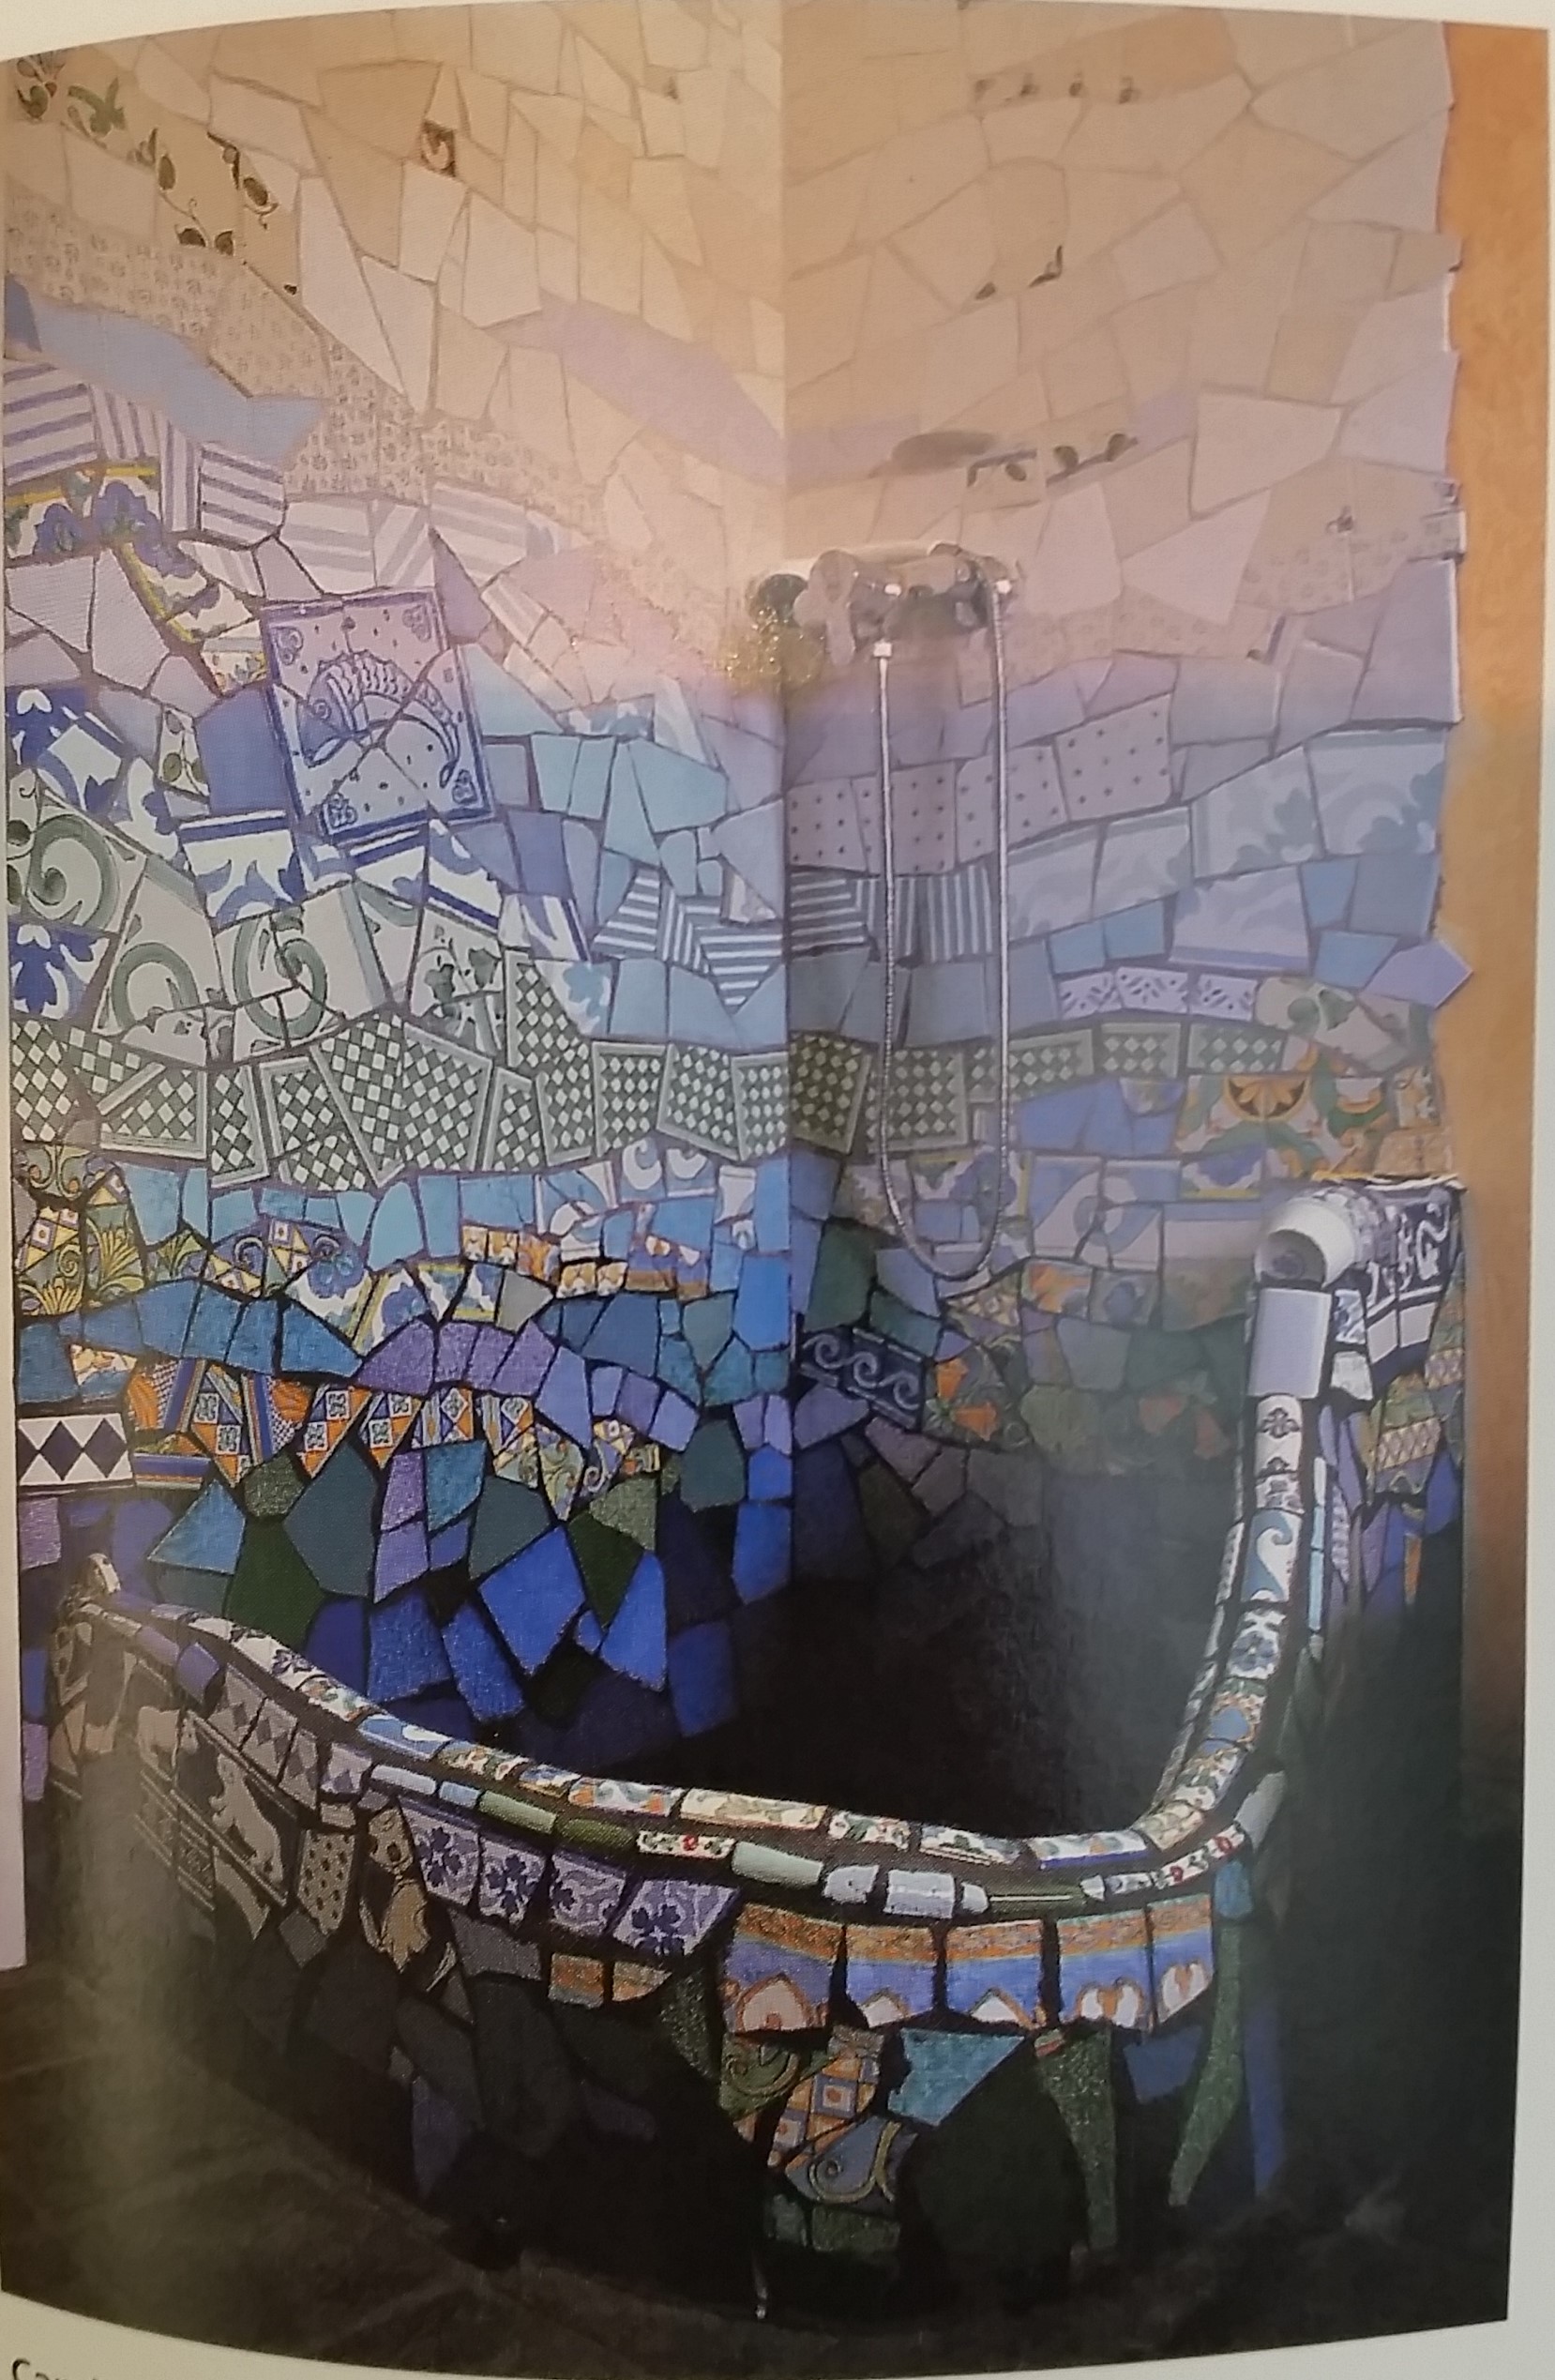
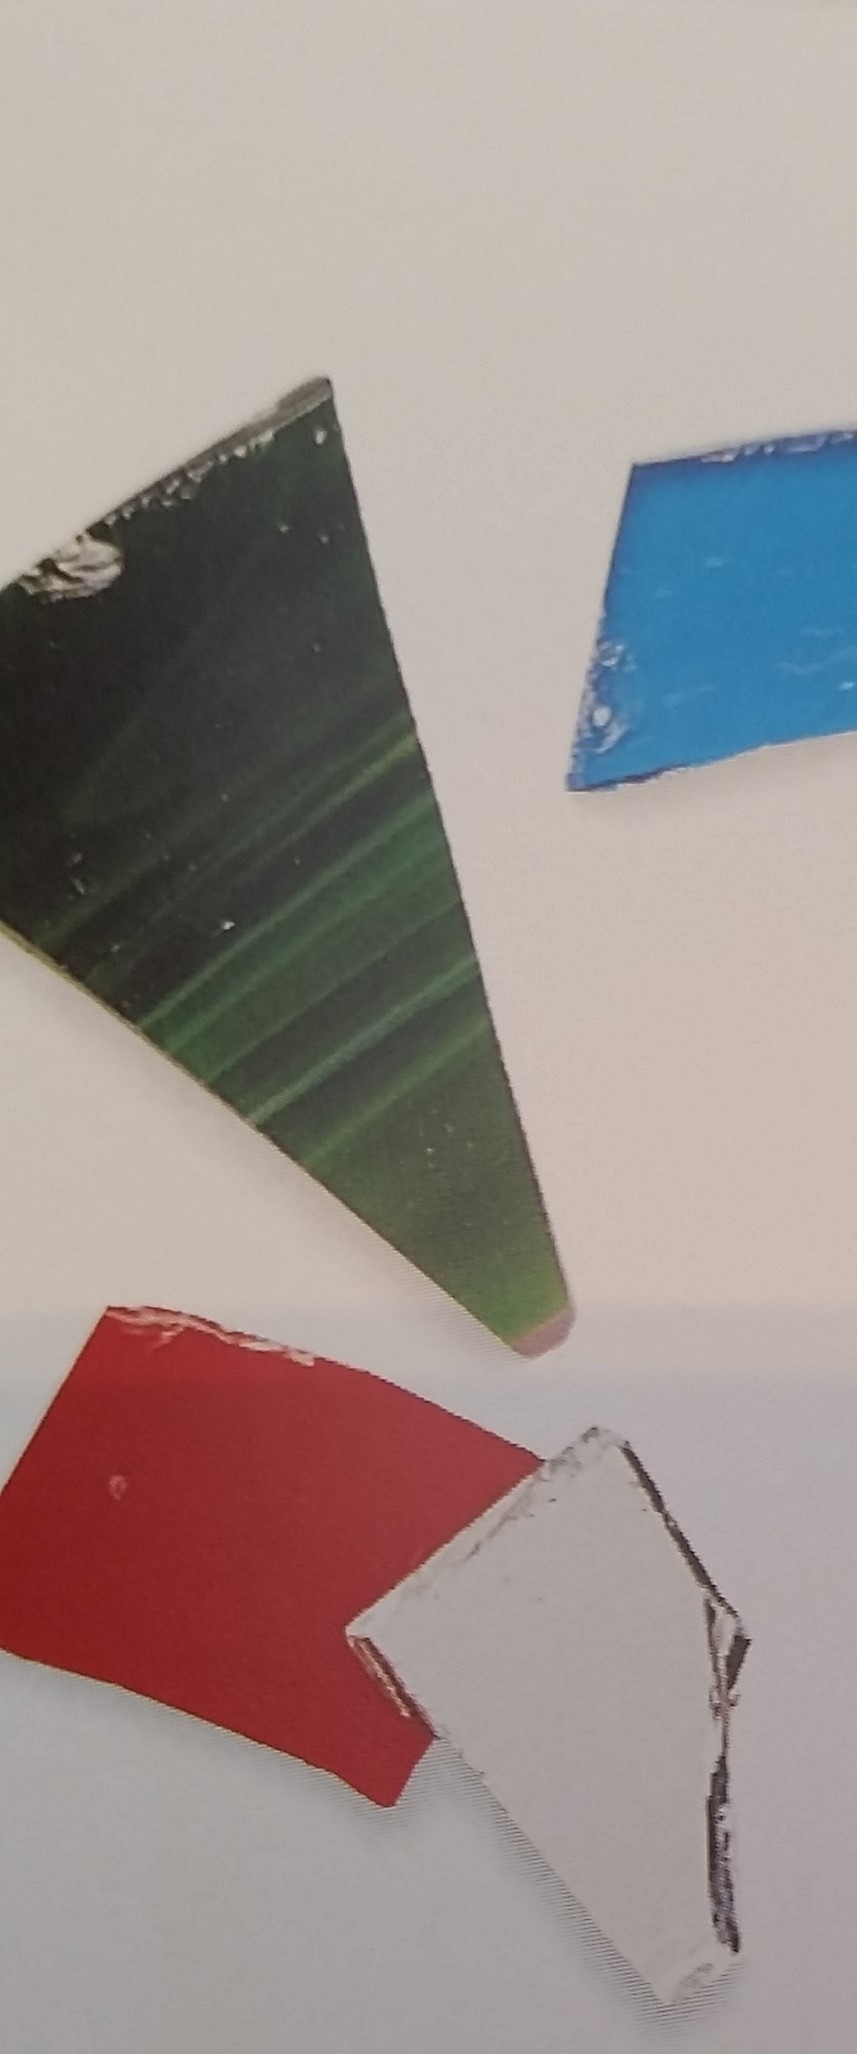
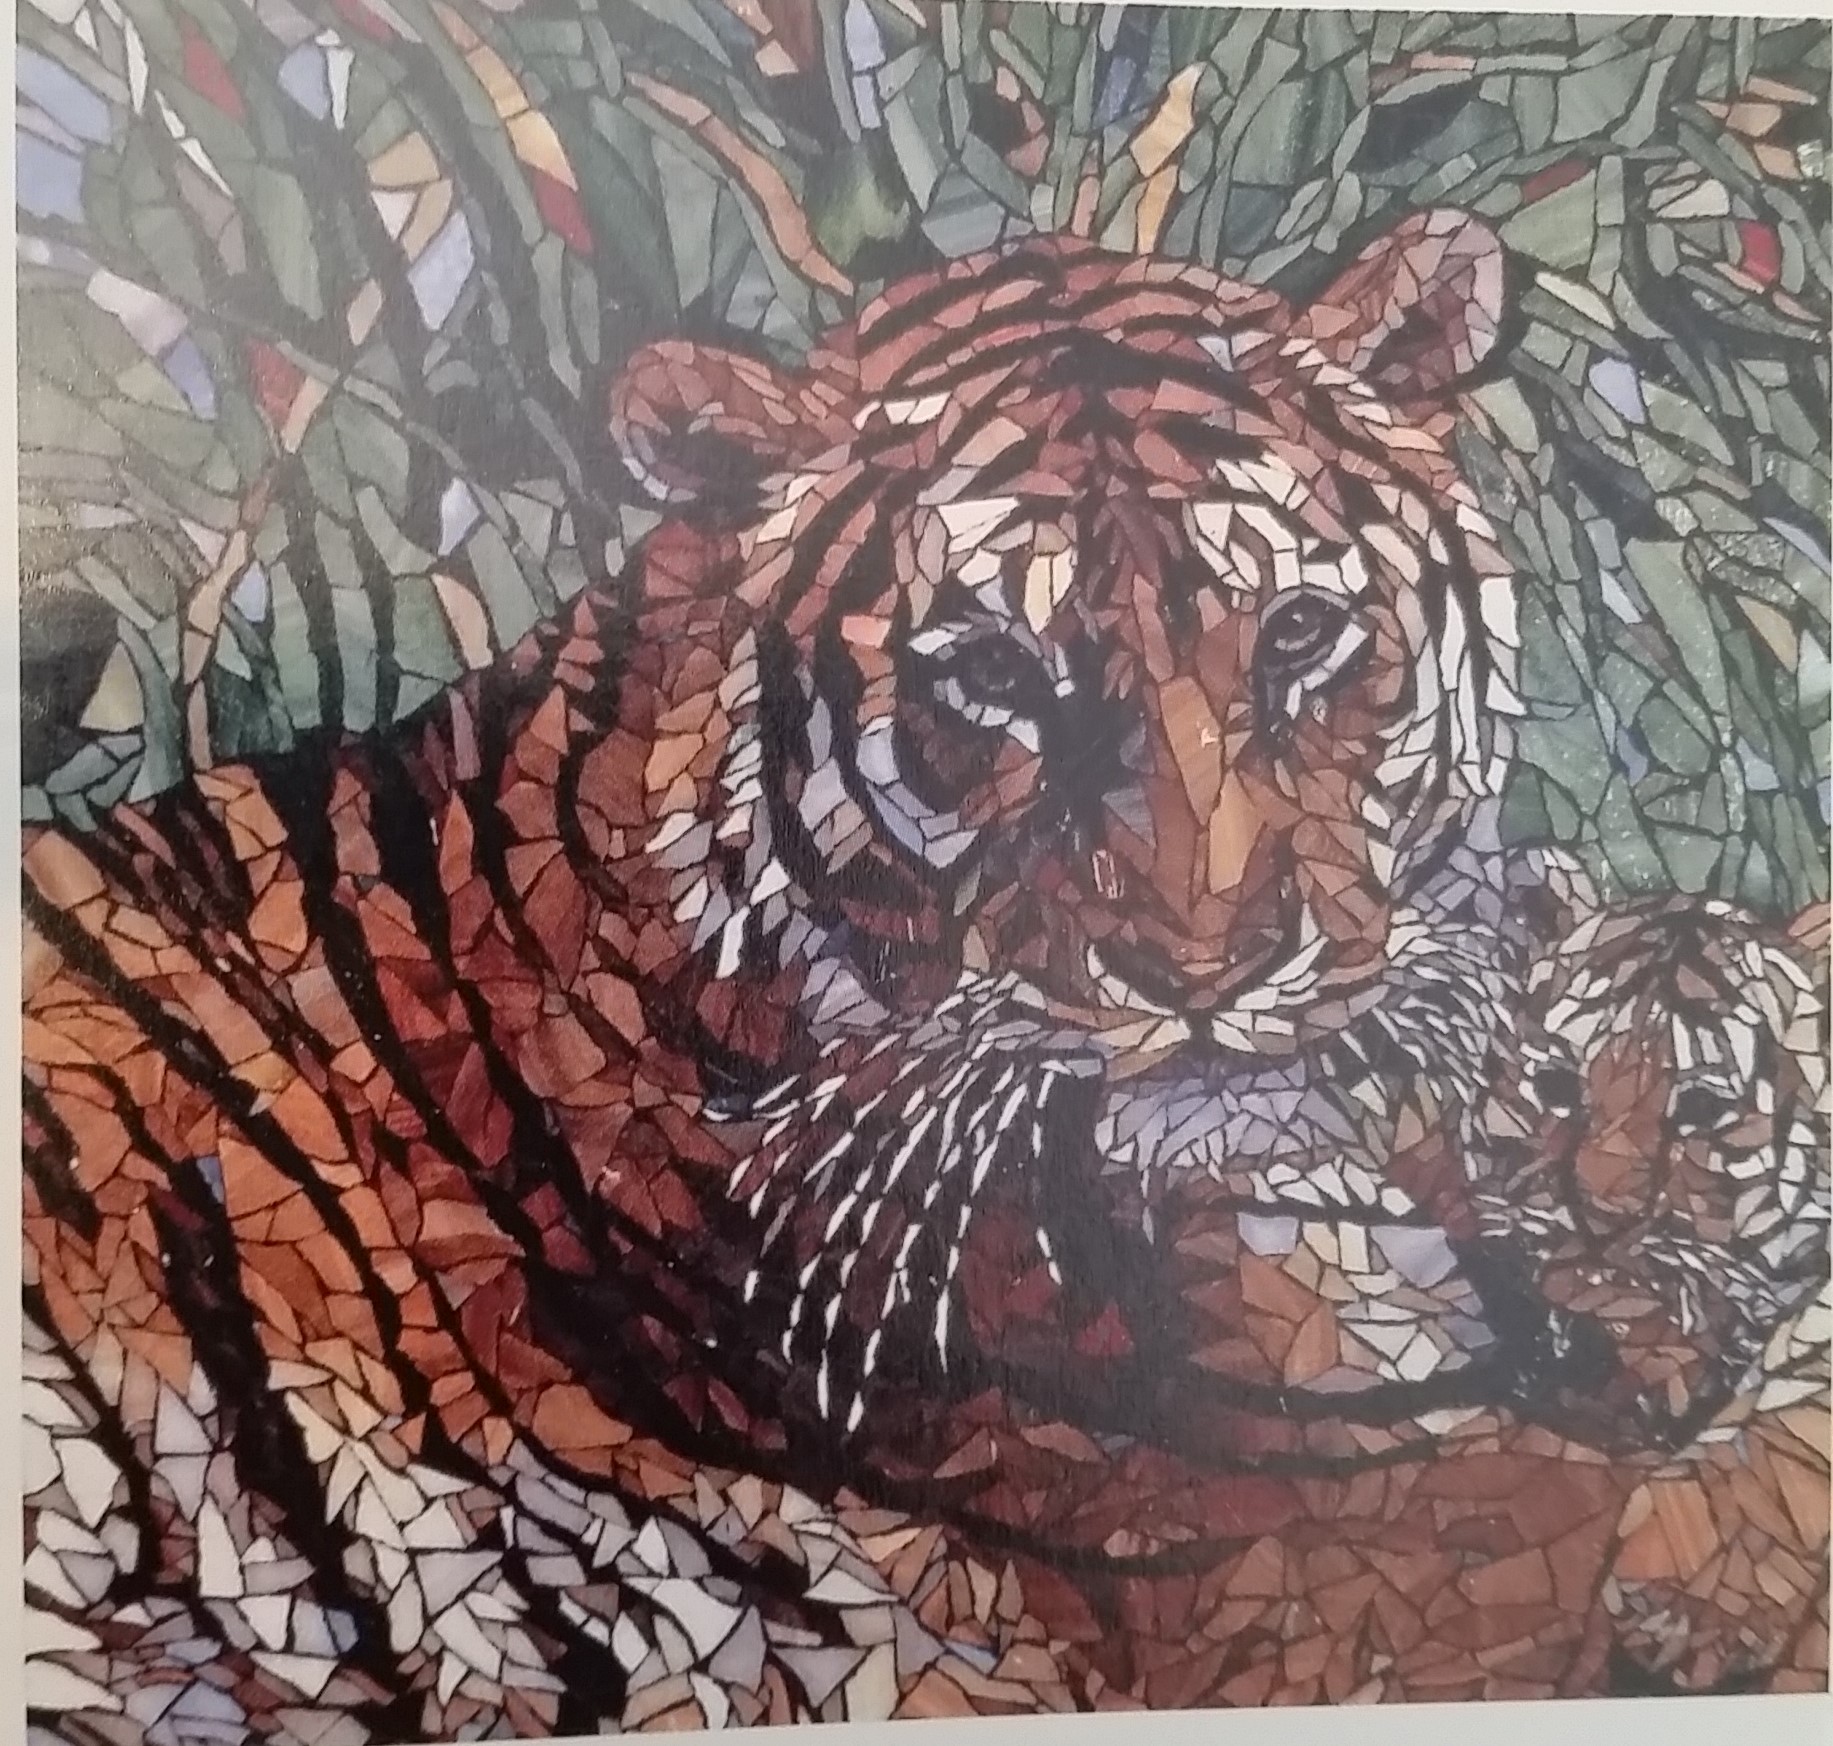
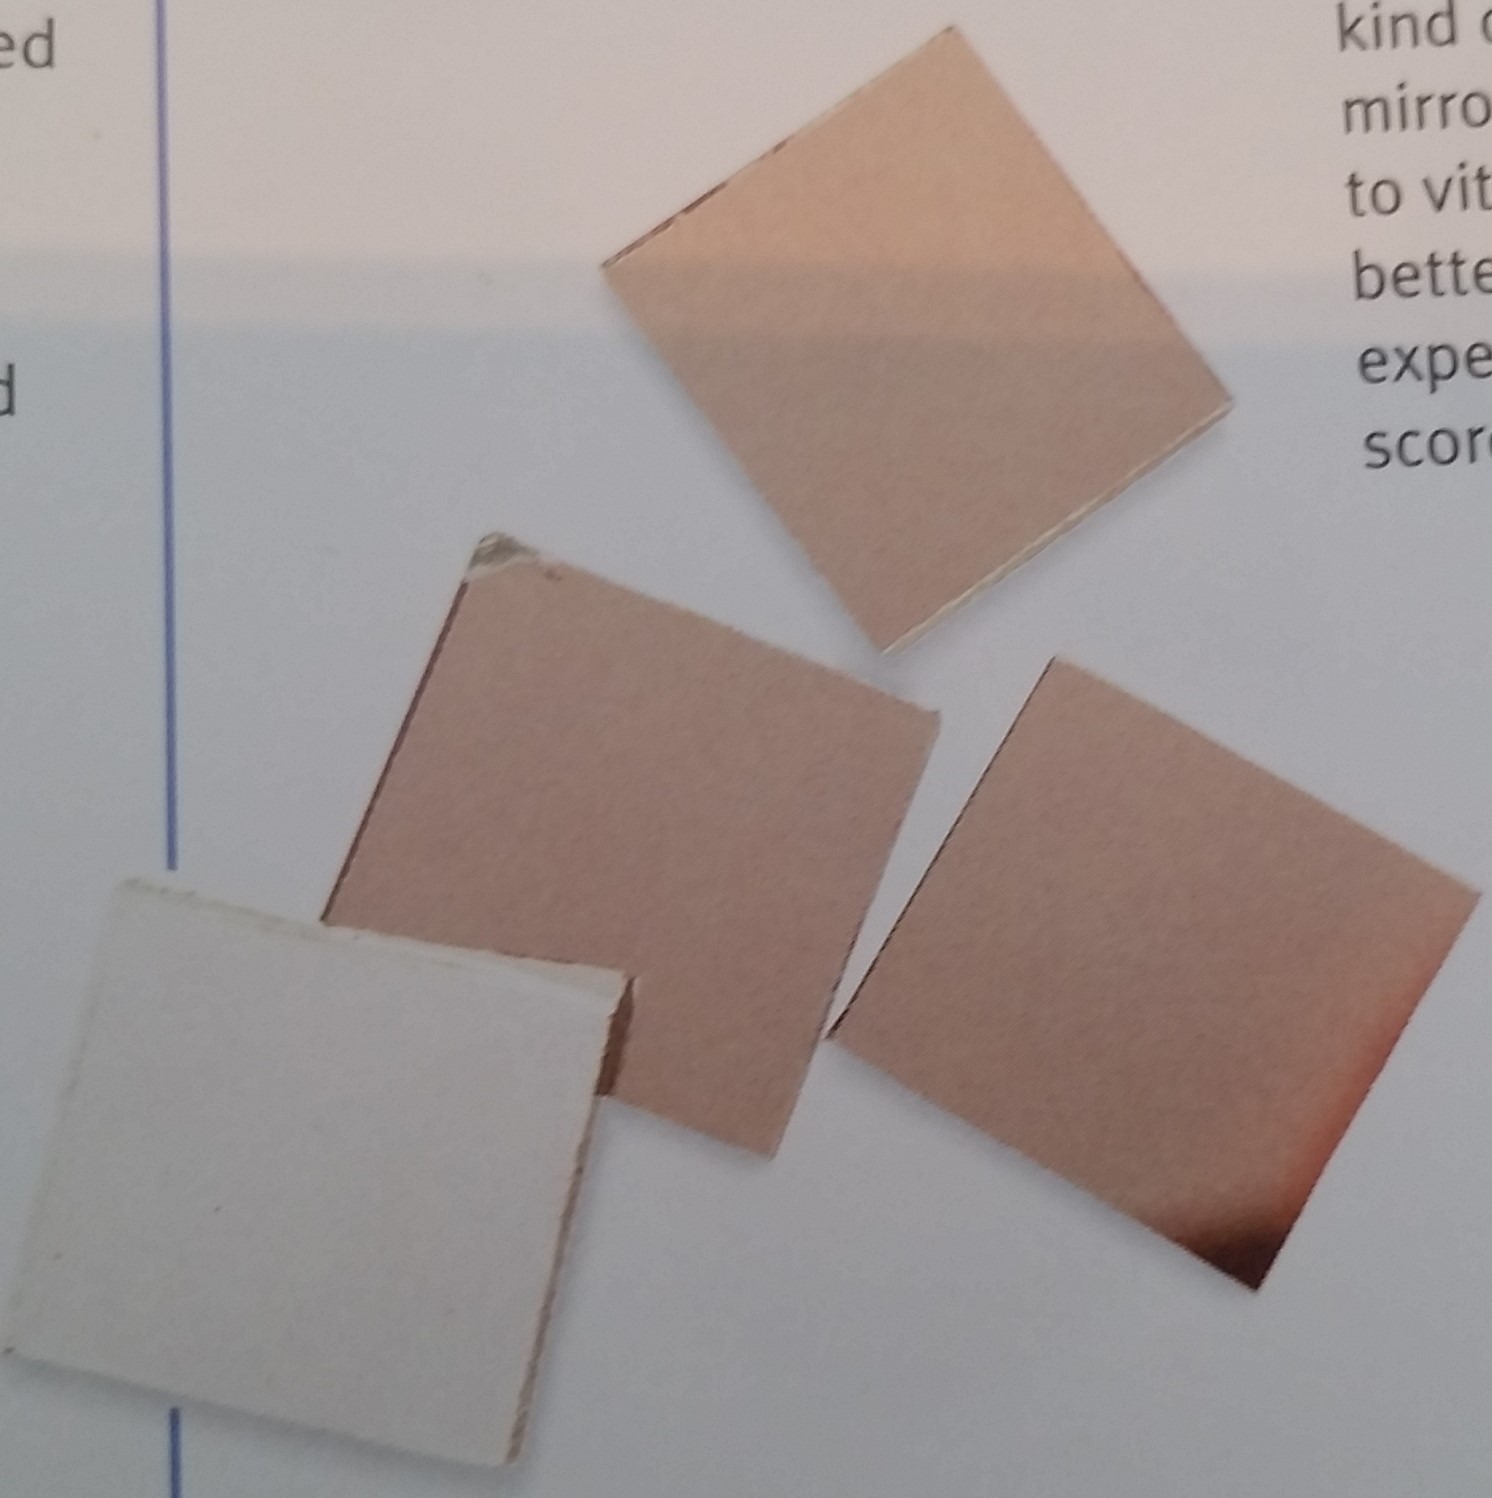
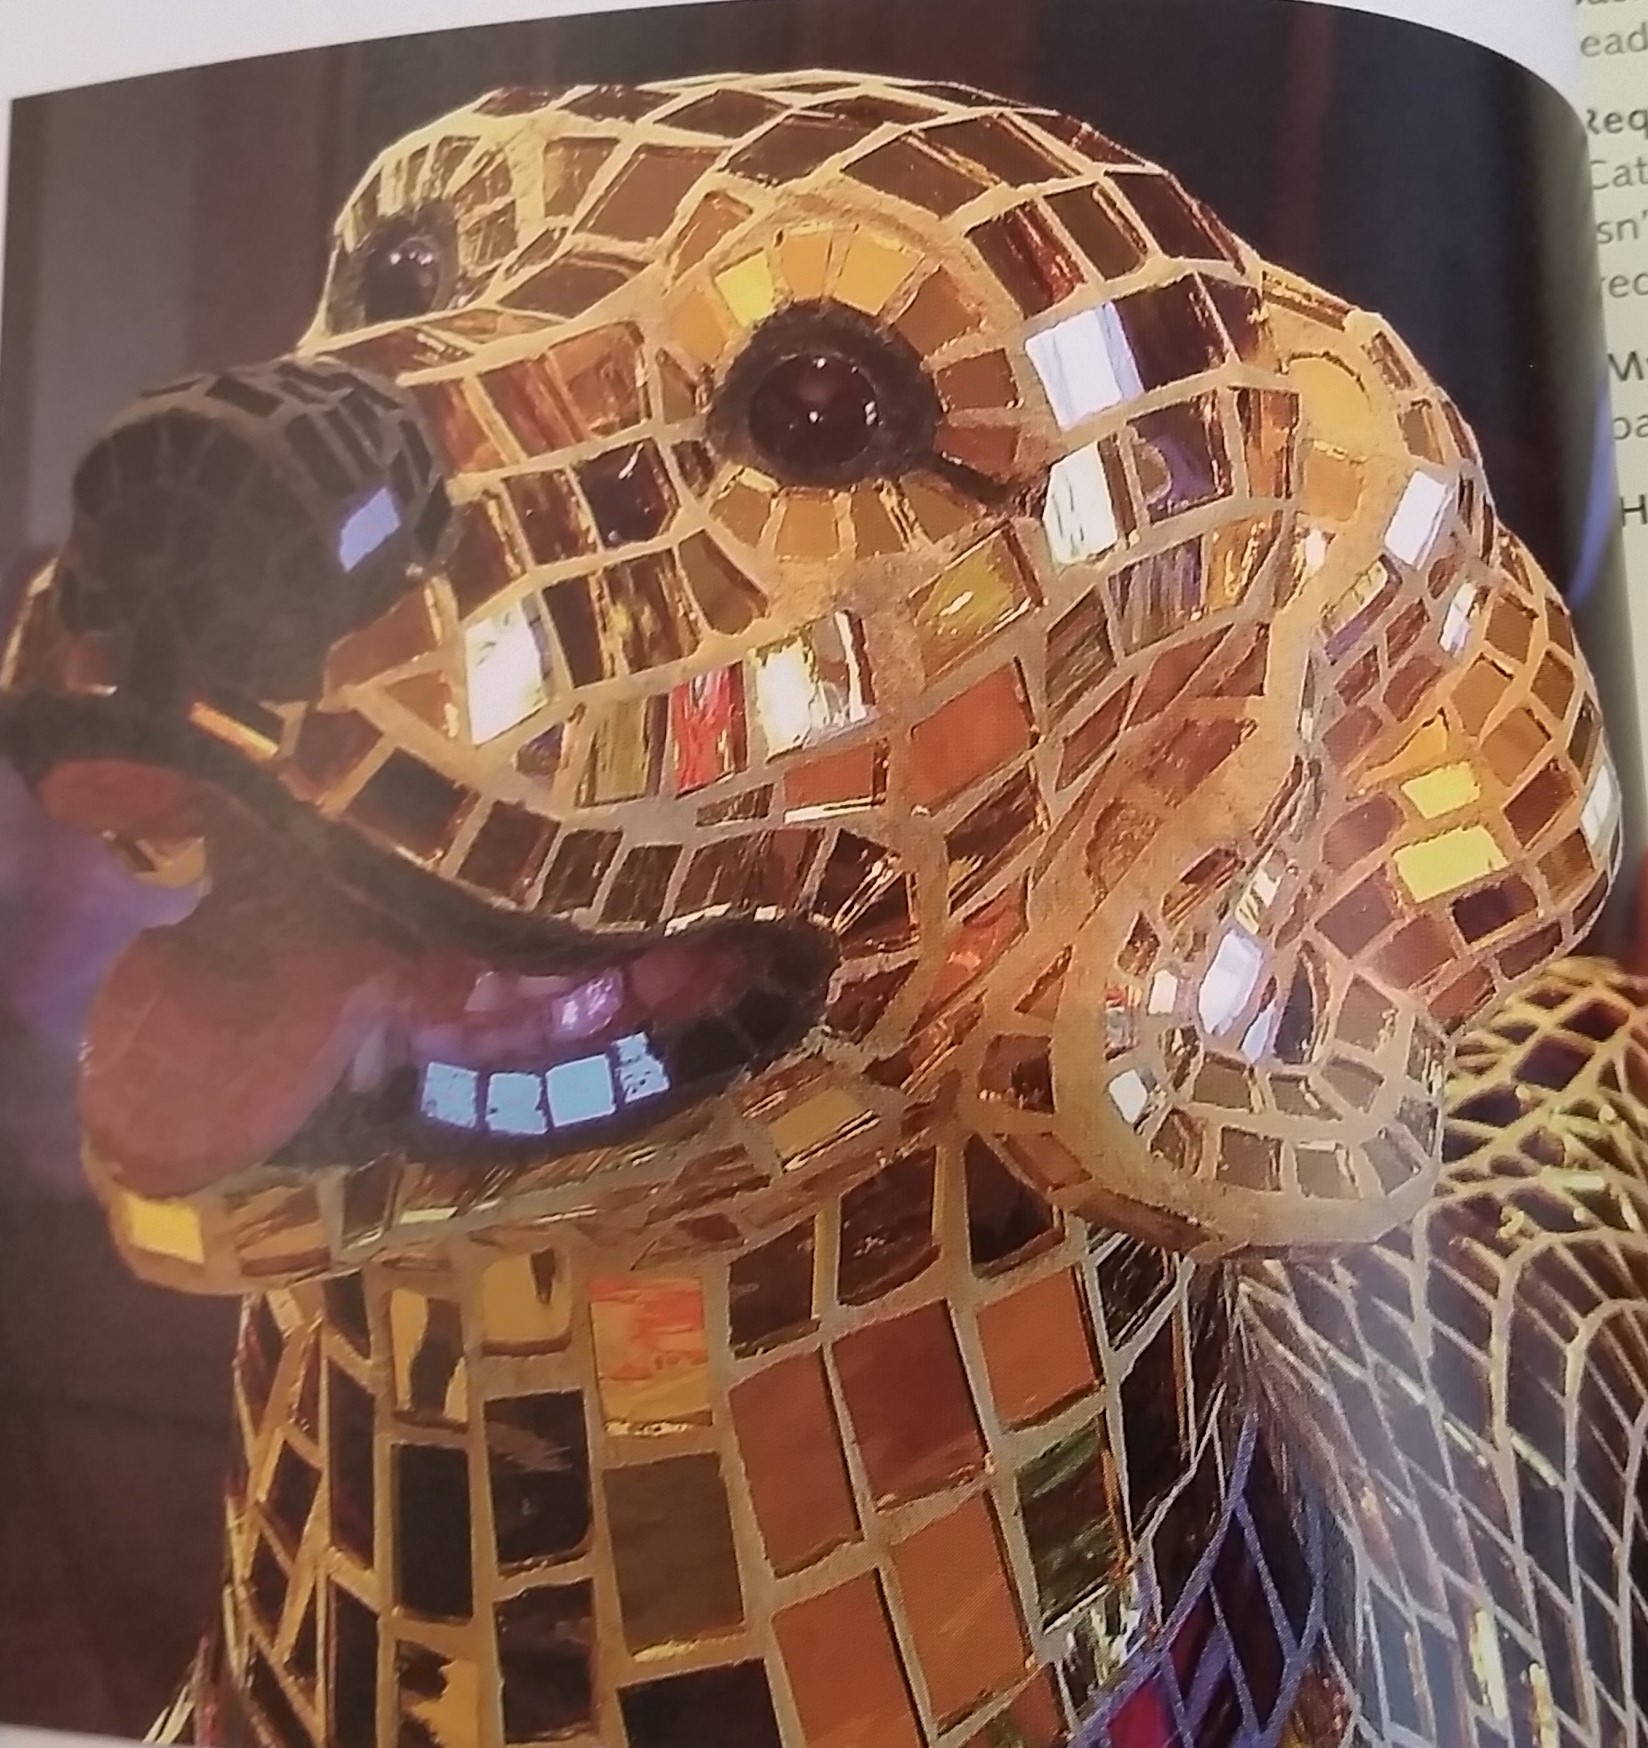
A more modern mosaic tile choice would be broken china, "Pique Assiette" a French saying that means 'one who eats from others' plates'.[18] This style is unlike most tesserae because it is not often in a regular shape and size. Stained glass is another option that resembles the Byzantine smalti, though is typically transparent as opposed to opaque; this can lead to the surface of the background to show through and it is a relatively fragile material depending on the thickness. The glass can come in a variety of levels of opacity, thickness, and textures making it a versatile tiling option. Mirror is an interesting material for mosaics because of its unique pure reflective quality, but it can be subject to tarnishing/patina over time diminishing its main quality. Aside from these main tiling materials there are many alternative options that can be experimented with like shell and recycled materials like buttons.[19][20][21] A mosaic can be made out of any material the artist desires, it depends solely on the desired appearance of the final product.
An example of broken china[22]
A china mosaic[23]
An example of stained glass[24]
A stained glass mosaic[25]
An example of mirror[26]
A mirror mosaic[27]
Base
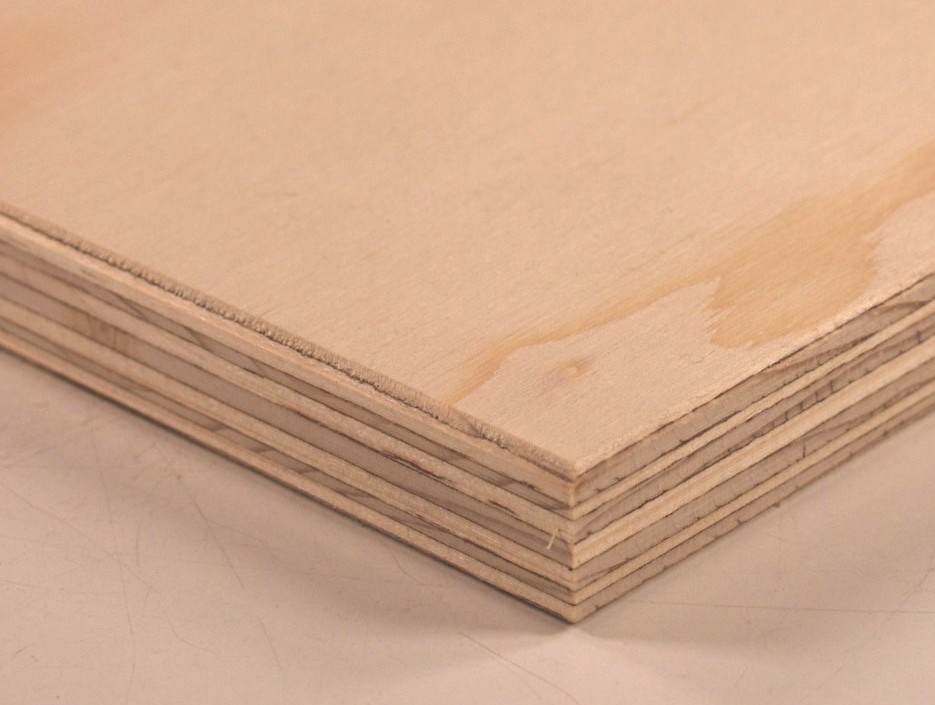
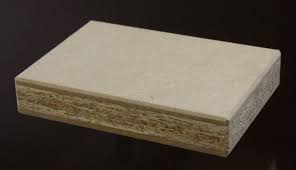
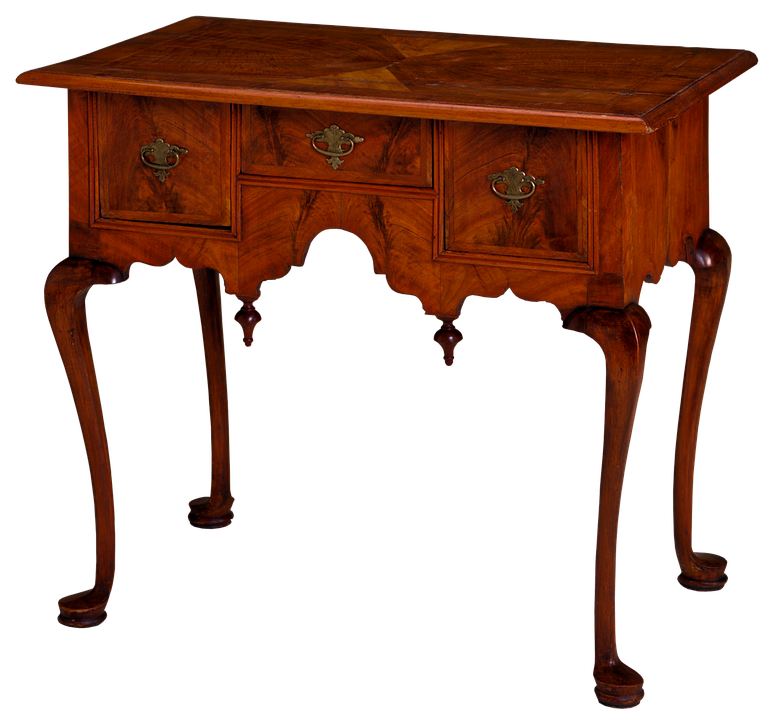
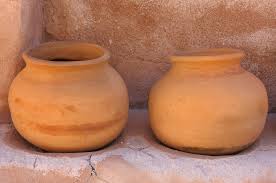
The tiling must sit on a surface for it to be stable and the different options for bases can have effects on the artist's choice of tiling and adhesive. For mosaics that would be indoors, plywood or Medium Density Fiberboard (MDF) would be a good choice because they are readily available. Furniture can also be used as a base for a mosaic, but the shape, material, and structural integrity must be taken into account to see if it can support the weight of the mosaic and if it is possible to adhere the tile to the furniture. Pottery, cement, and cement backer board are great for outdoor projects due to their durability. Metal can be used for both outdoor and indoor mosaics but warping can occur when placed outdoors due to temperature variation. The porosity of the base material will have an affect of the type of adhesives that can be used, and that must be kept in mind when choosing a base; porosity also has a strong affect on how waterproof/weatherproof the base material will be. These are just a few example base materials, but others such as glass or mesh, can be used to create a more custom work of art.[28][29] Similar to choosing a specific tile type to use, the base choice depends on the desired appearance of the mosaic.
- Some Possible Base Materials
Adhesive
This is the material that will determine if the mosaic will last across the testament of time. Location is a major factor when determining the adhesive, because the strength of the adhesive must change dependent on what the mosaic will be exposed to: water, physical weathering, temperature changes, and other forms of weathering and erosion. A cement based adhesive is one of the most versatile options, as it has a variety of setting times based on composition and forms a waterproof bond. Silicone is a good adhesive choice for materials such as glass, mirror, and other non porous tiling options. It is especially good for mirror mosaics because silicone is clear and will not damage the silvering on the mirror tiles, protecting the mirror from patina. Tile mastic is another form of adhesive that can be used for vertical mosaics because of its strong bond that occurs rapidly after placement, though it can break under pressure and exposure to moisture. Craft glue, such as school glue or PVA, comes in two formulas. The water-soluble formulas of craft glue are good for mosaics made using the indirect method, and the non-water-soluble formulas are good for interior mosaics only, as the bond between the tile and the base would disolve upon exposure to high humility or rain. Thin-set is a common adhesive option, and is mortar made of portland cement, silica, sand, and other moisture absorbing materials; it has adhesive properties similar to cement, needing only a thin layer to create a strong bond and that it is waterproof.[30][31][32]
Tools
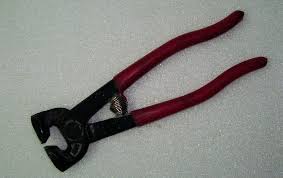
The final items needed to construct a mosaic are the tools. Planning tools such as paper, pencils, t-squares, and compasses can be used both before the starting the assembly of the mosaic to illustrate a design, and during assembly to help create guides and notes on the base about placement and coloring. Tile nippers and cutters are vital for shaping and trimming the tesserae and contingent on the design, as the tesserae may need to be manipulated into different sizes and edge shapes. A scoring tool is another item that can be used to cut tiles. The method used to break tile using the scoring tool is done in two parts, the first part is creating a line for the tile to break across, then applying pressure to crack the weakened tile. Screwdrivers, tweezers, and potter's needles, can be used to maneuver singular tiles and not disturb the surrounding area. Aside from these basic tools, many other tools or household items can be used and it is up to the creator of the mosaic to determine what tools to use.[33][34][35]
- Tools
Techniques
Direct Method
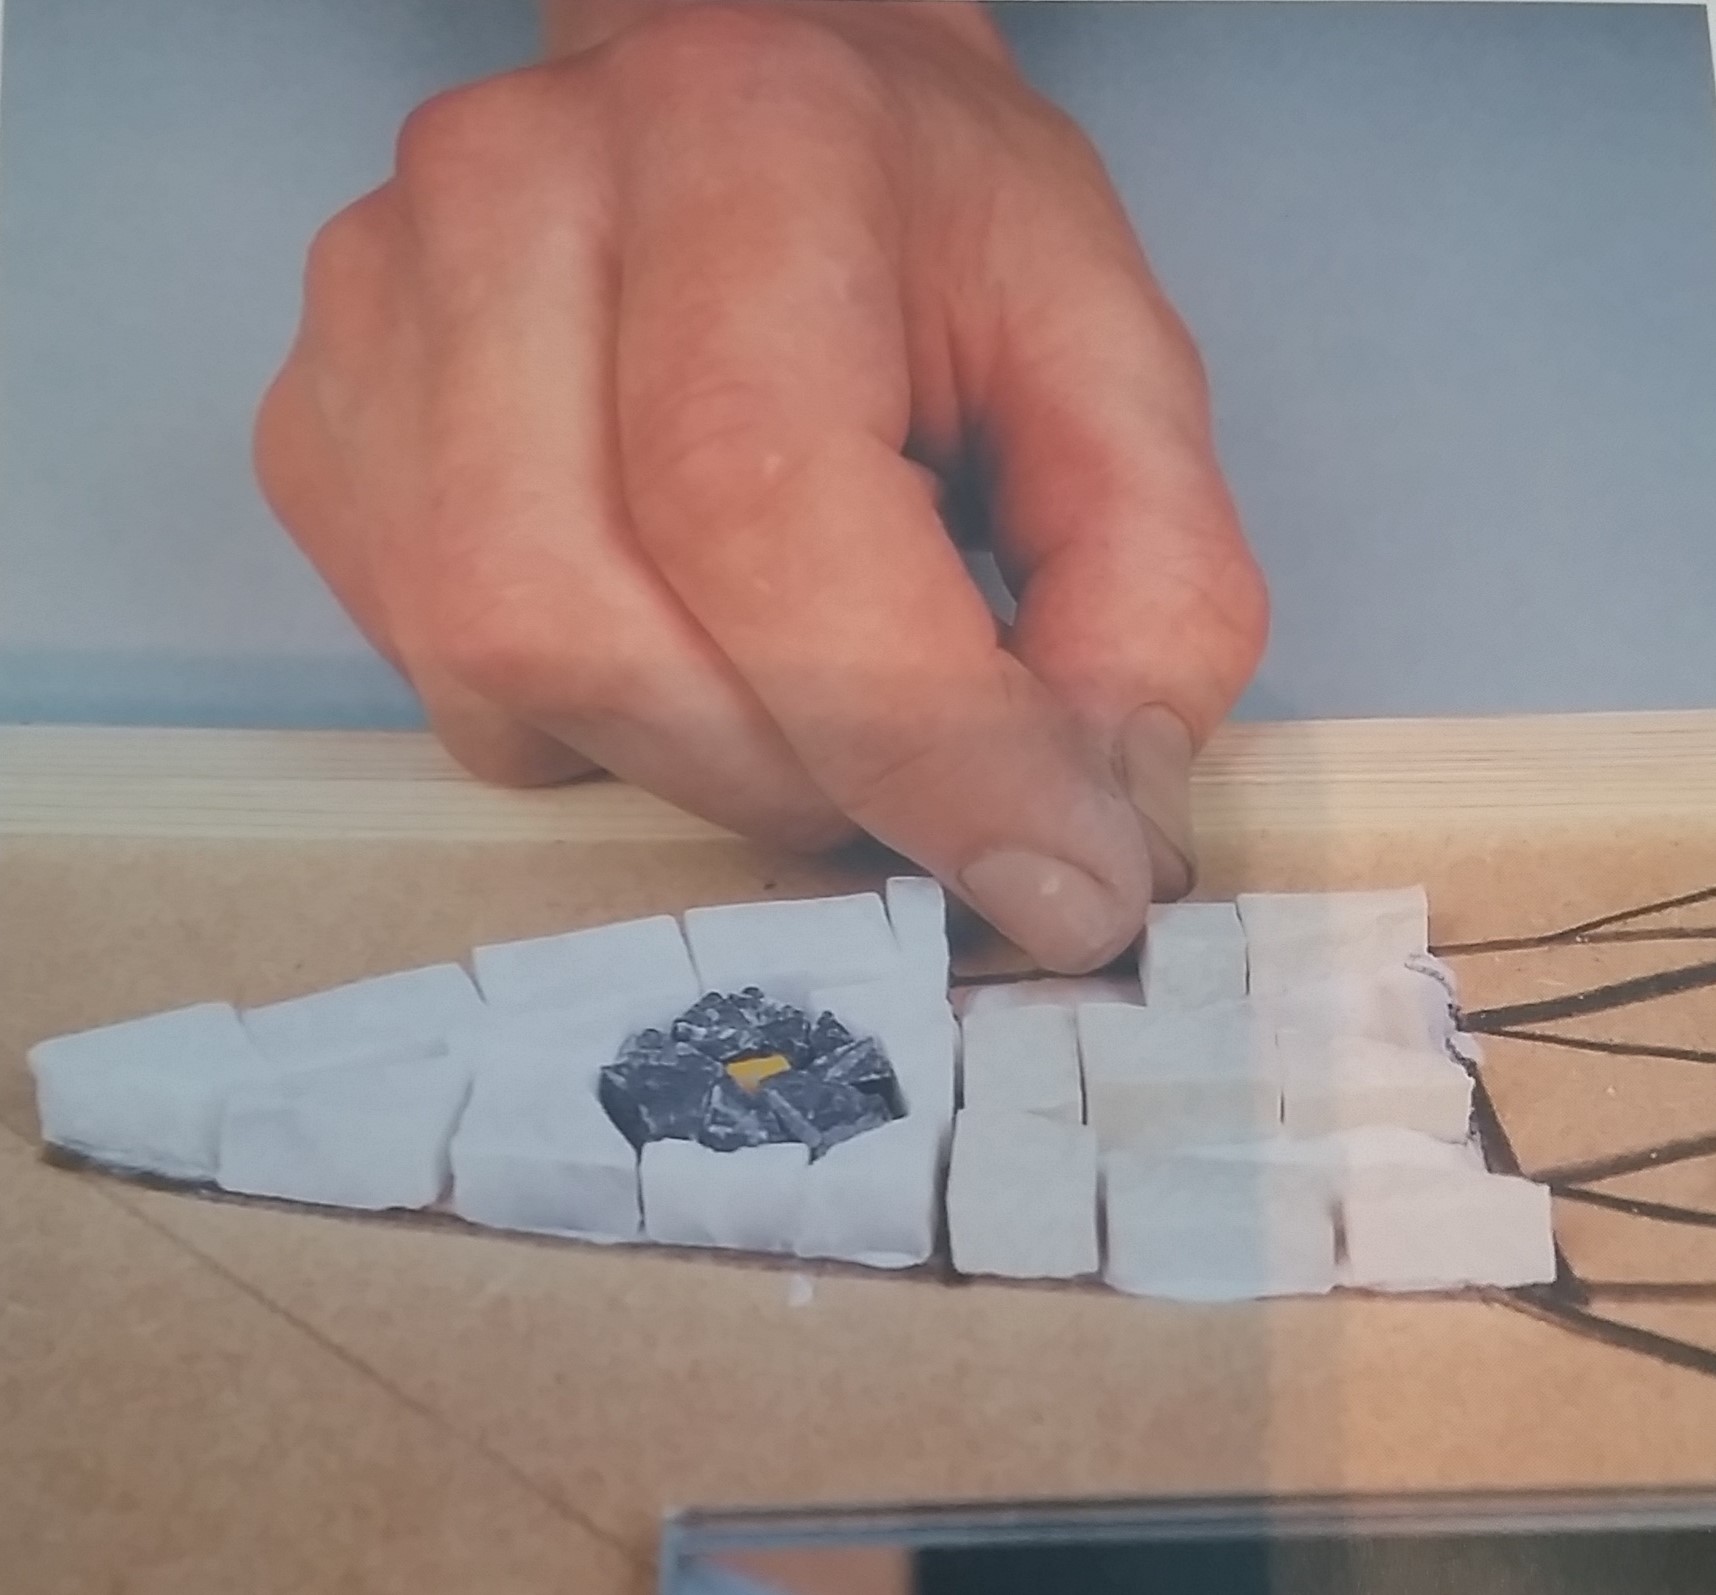
Now moving on from the materials needed to the assembly methods of the mosaic. The easier of the two main assembly techniques, the direct method, involves pressing and adhering the tesserae directly onto the base material. This is best for mosaics that require the face of the tesserae that will be facing away from the base to be visible to the artist such as mosaics that use intricate shading, as the level of precision needed is incredibly high. The texture of the mosaic can be easily manipulated using the direct method as the tile pieces do not need to be completely identical heights, textures, or sizes to ensure a secure application; this is because the tesserae are being adhered individually and any height or size adjustments needed can be made as the tile is placed. This method is also useful for three dimensional mosaics to allow the artist to compensate for the curves and lines of the base. The direct method also allows for immediate results to be visible, creating an easy way to measure progress.[37][38][39] A common practice is to complete the direct method onto mesh if the base is unavailable, so that the mosaic can then be adhered to the base via the mesh rather than the tile by tile. This can help to eliminate any difficulty that may arise from adhering the chosen base material and tiling material, such as the bond not solidifying.[40]
Indirect Method
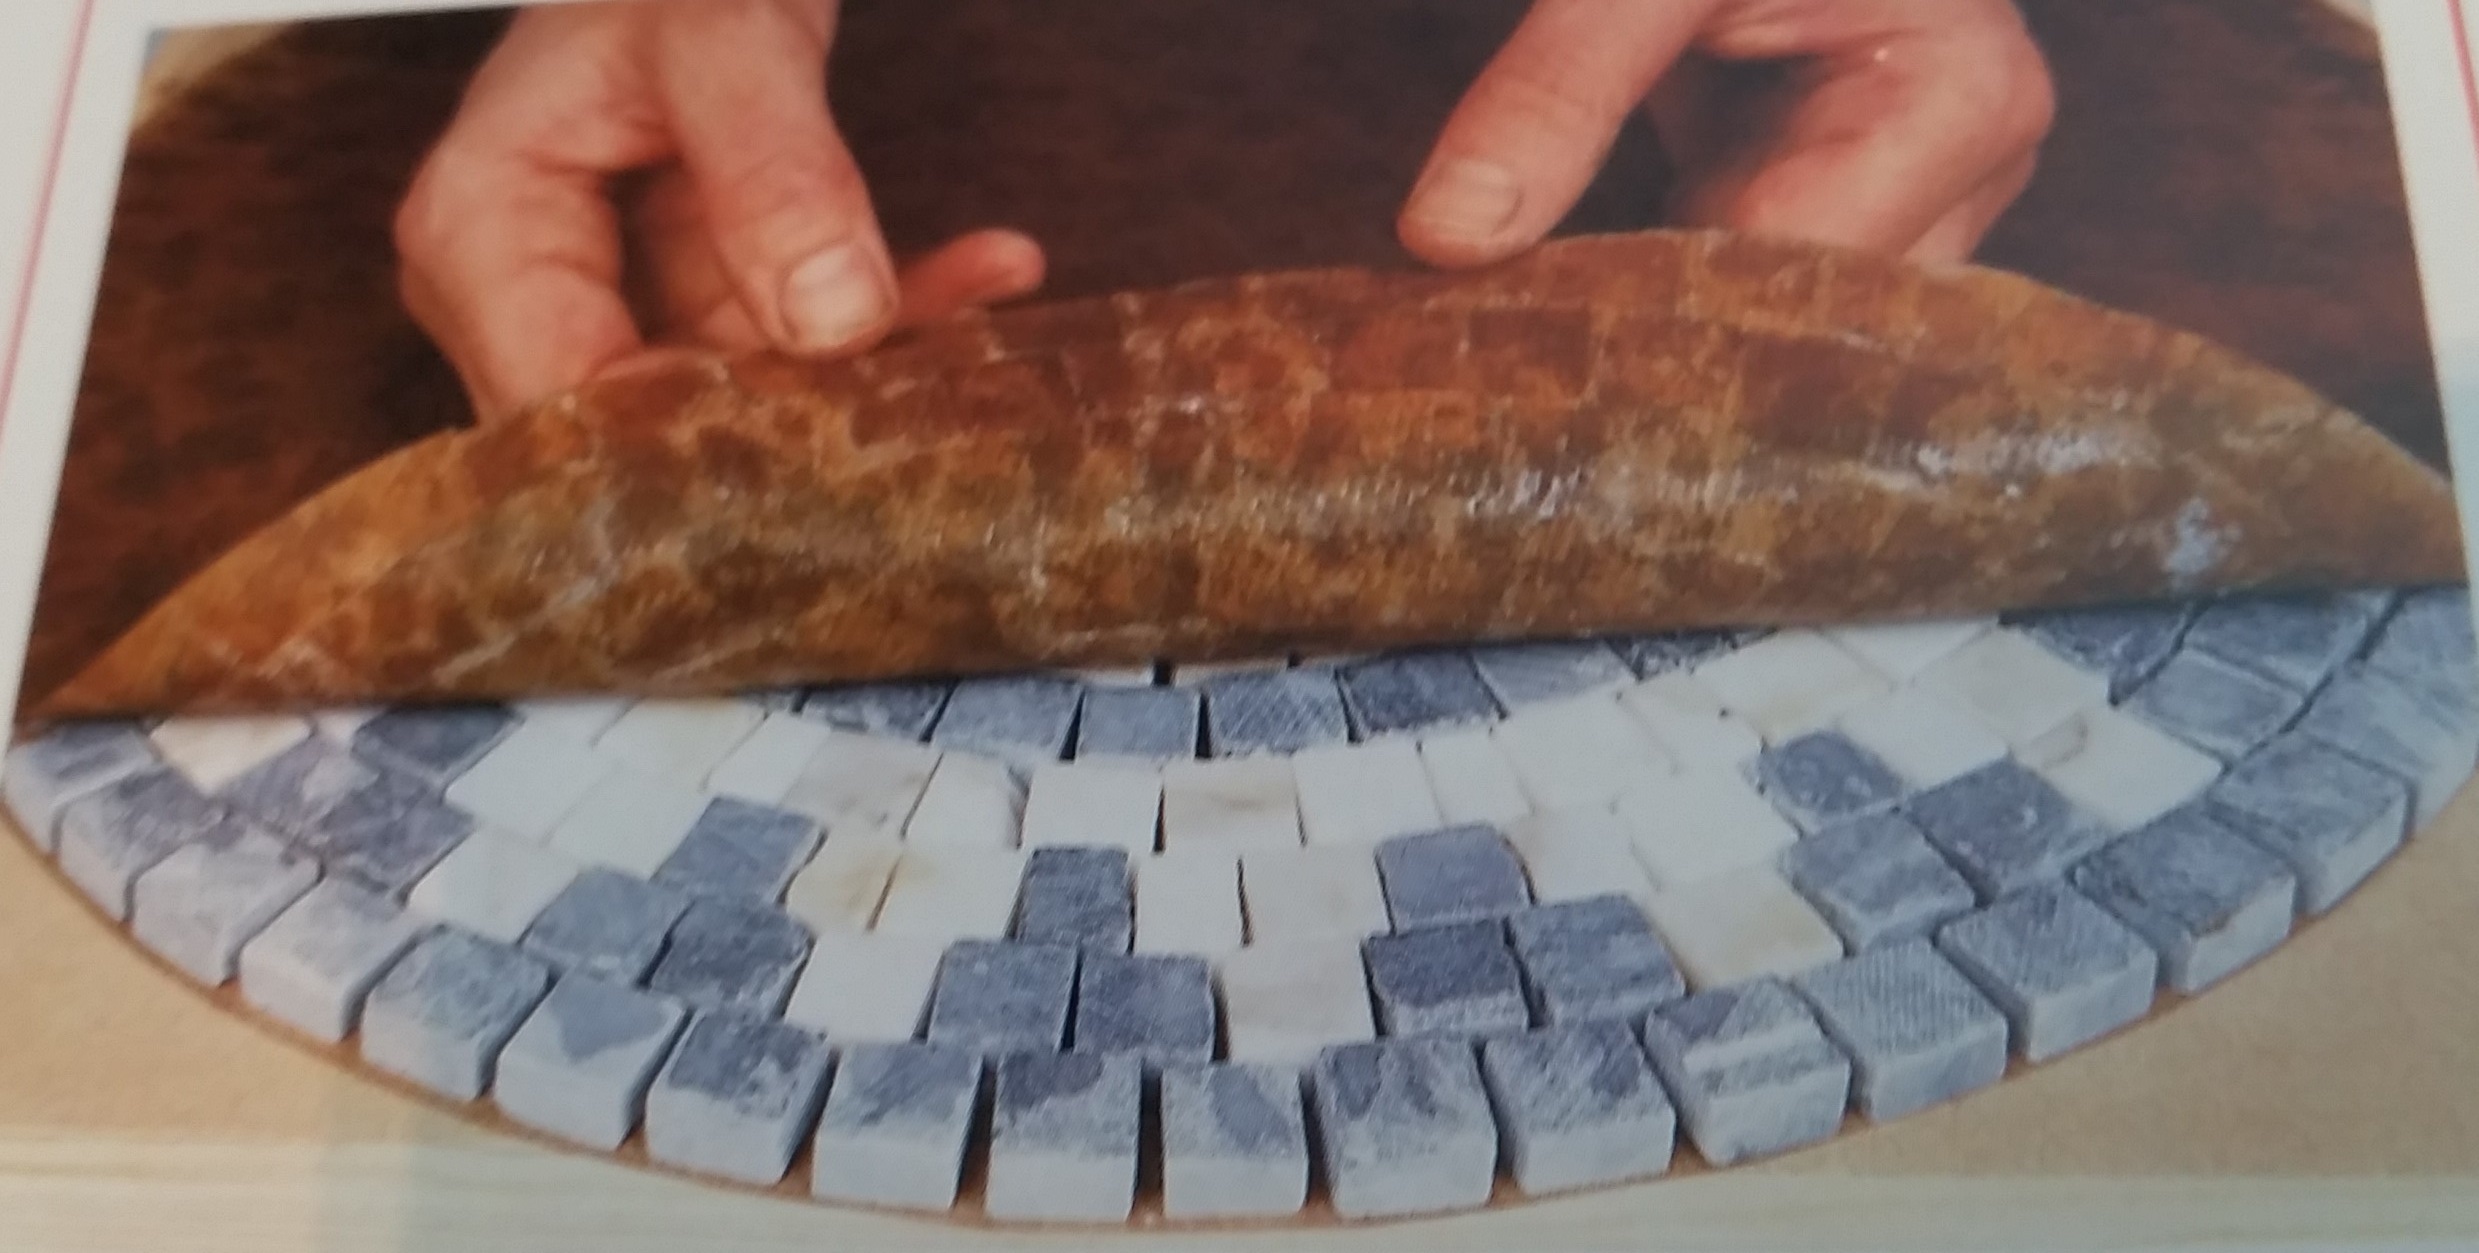
The indirect method takes a different approach to assembly than the direct method in that the final assembly is more like completing a puzzle, fitting all of the predetermined pieces together. This method is useful for larger designs, as the artist can create sections of the piece and just have to assemble the larger pieces at the end. The indirect method also allows for a controlled environment when creating a mosaic that will be displayed outdoors rather than being limited by factors such as temperature and humidity. It also allows for modification of sections of the mosaic before the finalized design is complete; this is possible because of the adhesive applied to each section of mosaic is removable, allowing for easy deconstruction of the miniature mosaic. The base for this assembly method is typically paper or mesh, the mesh option allowing for more flexibility in the design because it is easy to cut away any undesirable pieces. The mesh differs from other materials used for the indirect method in that the tiles are placed finished side up, allowing the artist to view the final design like the direct method. This can also be done with the face tape method that uses clear tape to hold the mosaic together, with the finished side visible until it needs to be adhered. The reverse method is the more complicated of the indirect method techniques as it involves working in reverse, therefore creating a mirror image of the design. The tesserae are placed onto a surface with the face that will be visible placed facing the surface and then adhered together from behind to a temporary base. The mosaic is then flipped and applied to the base, and then the temporary base is removed. [42][43][44]
Section 2: Deliverable
About the Mosaic
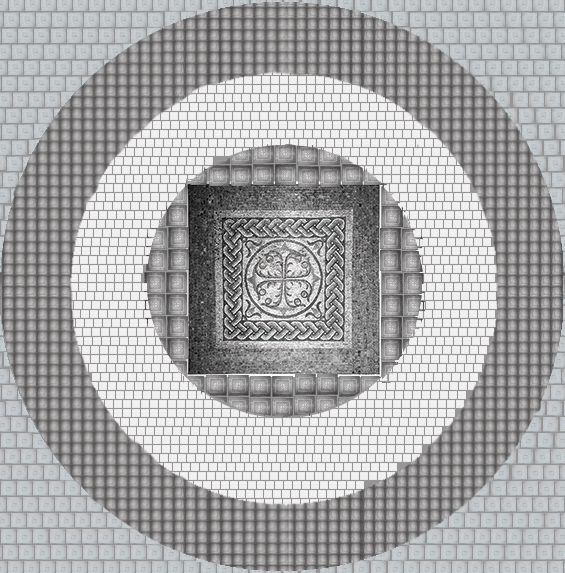
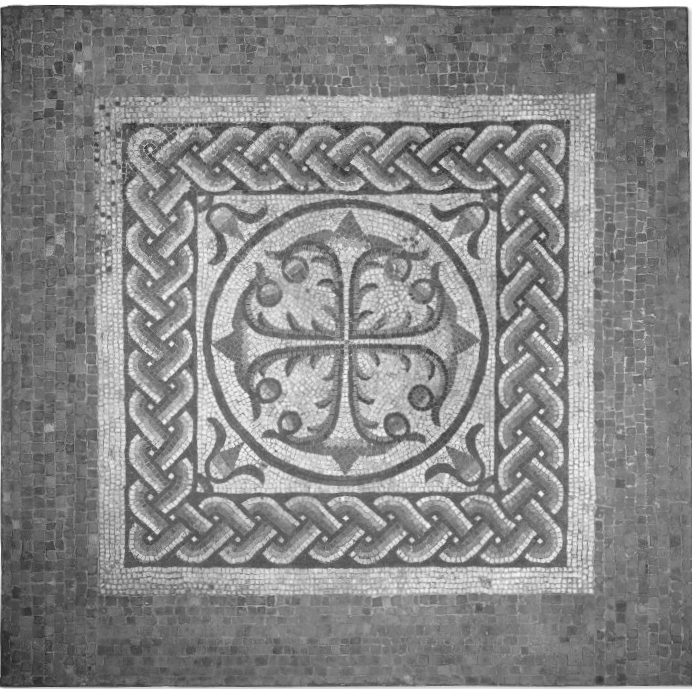
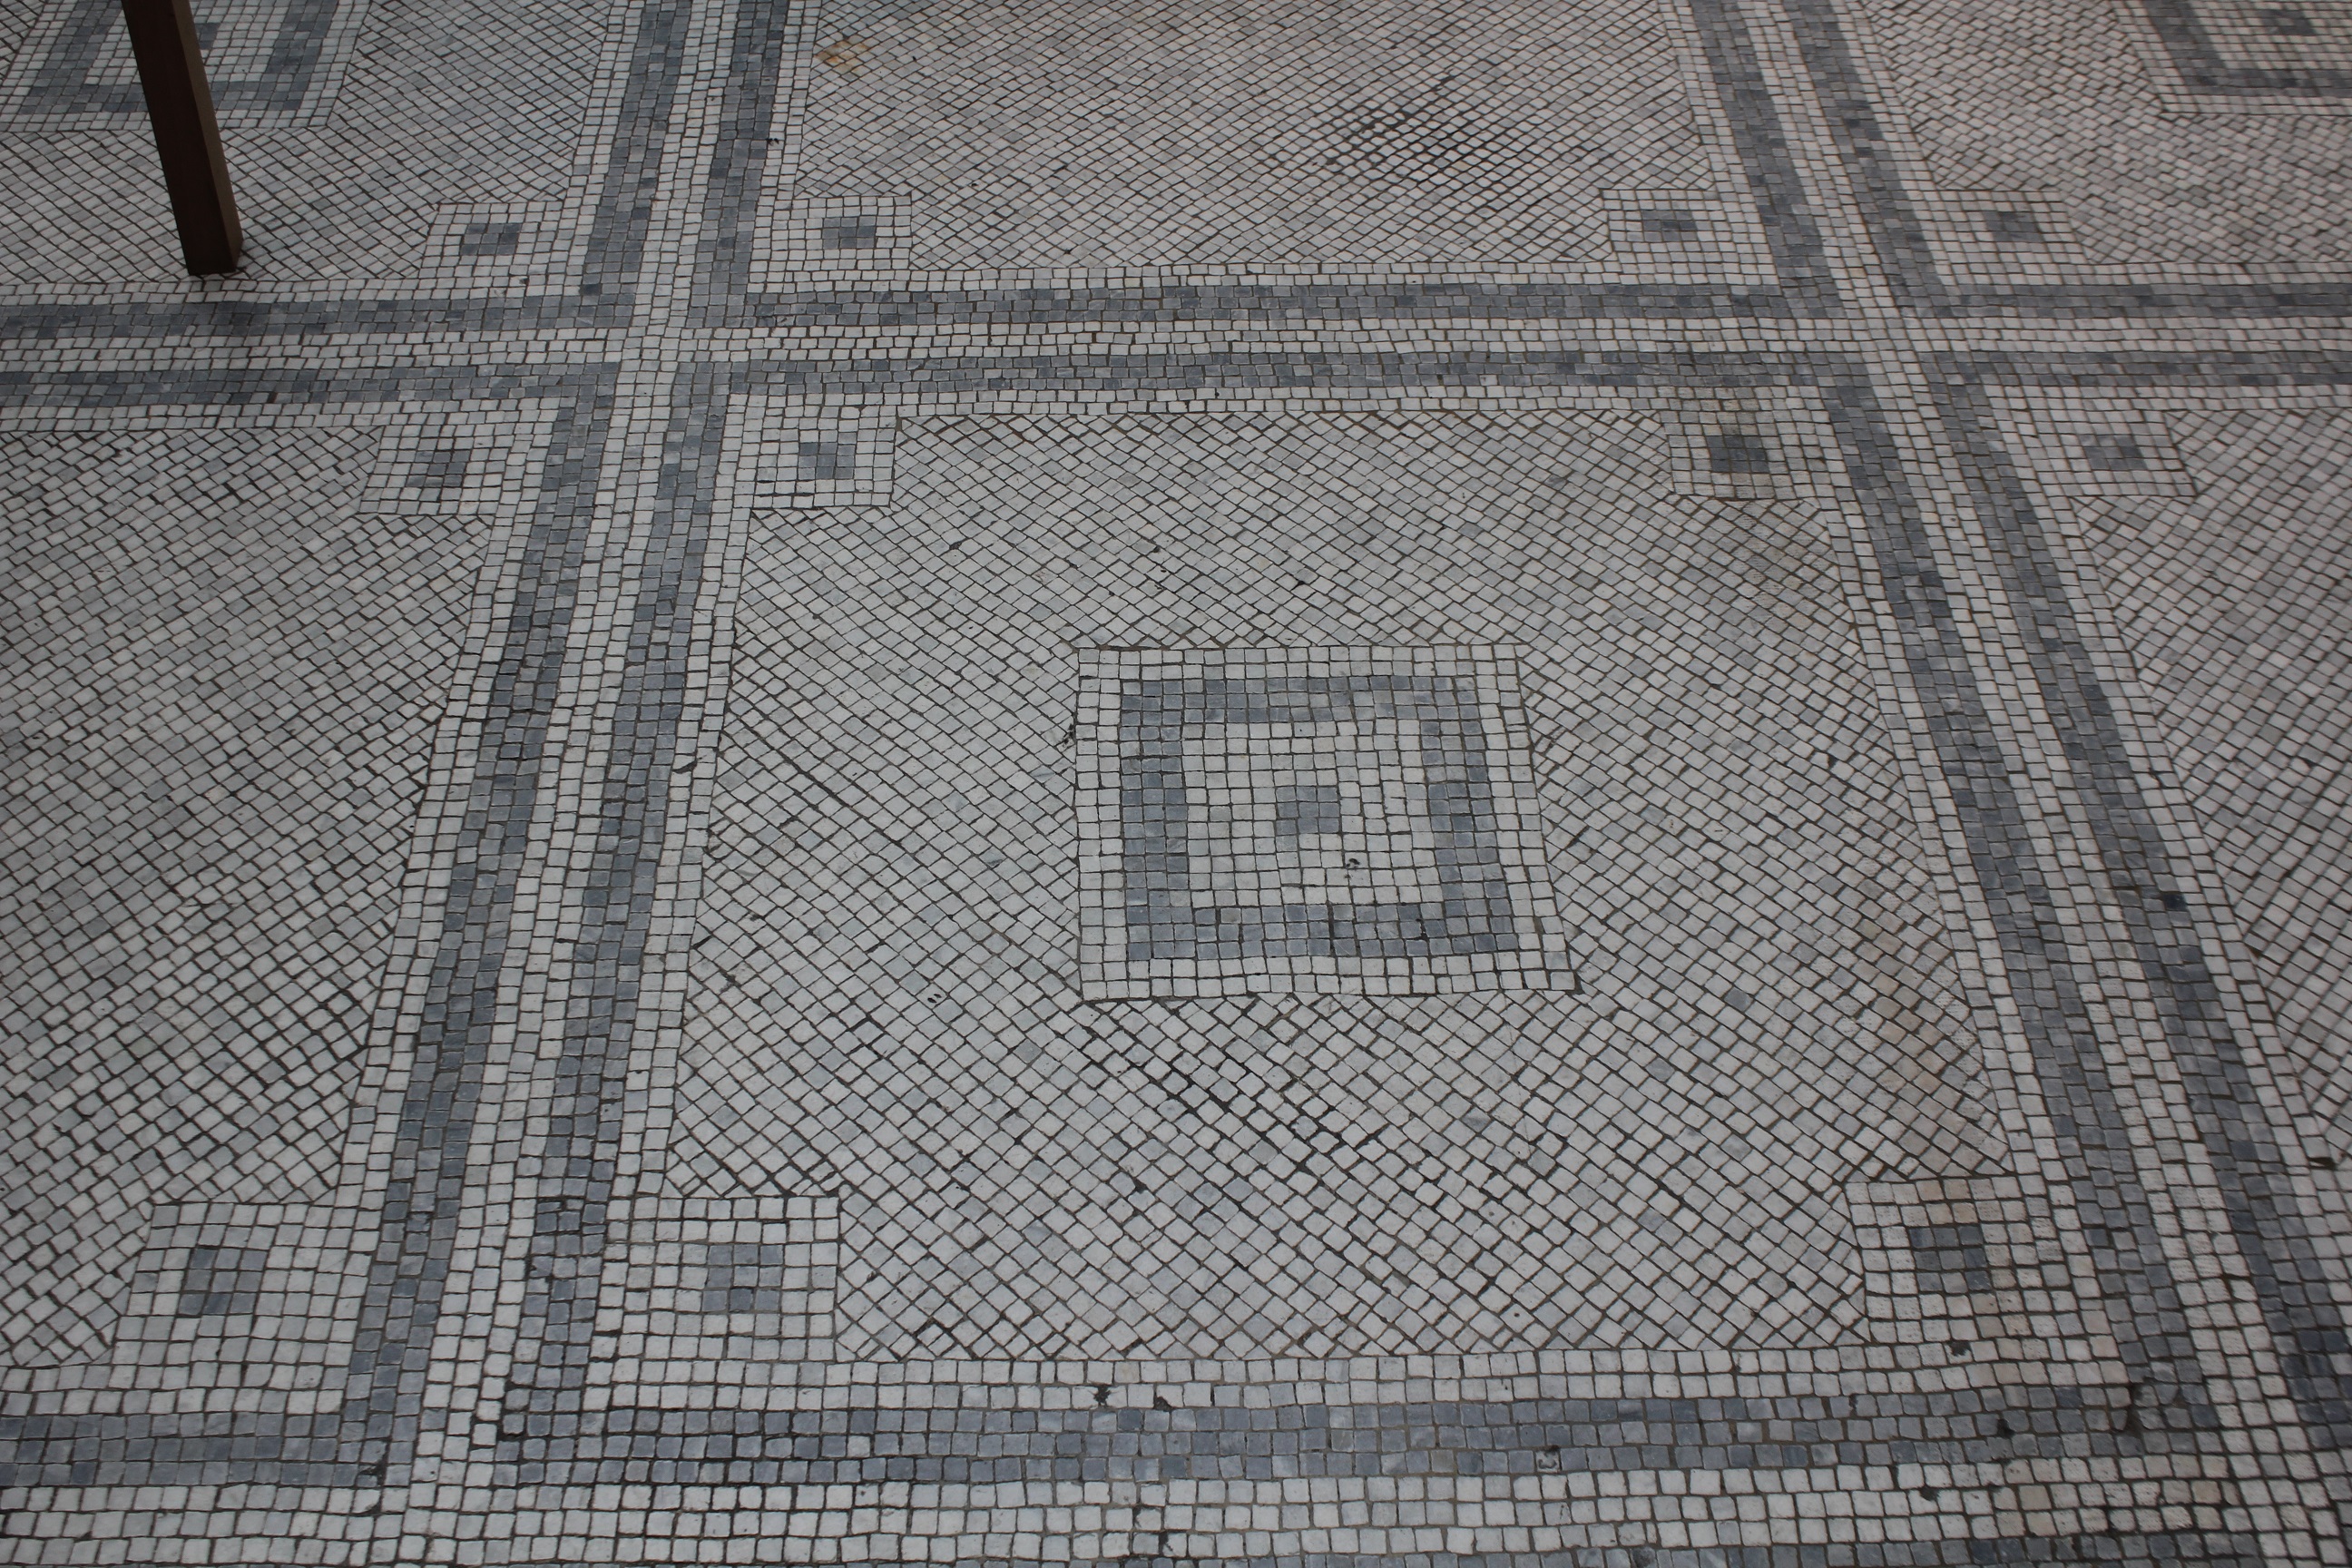
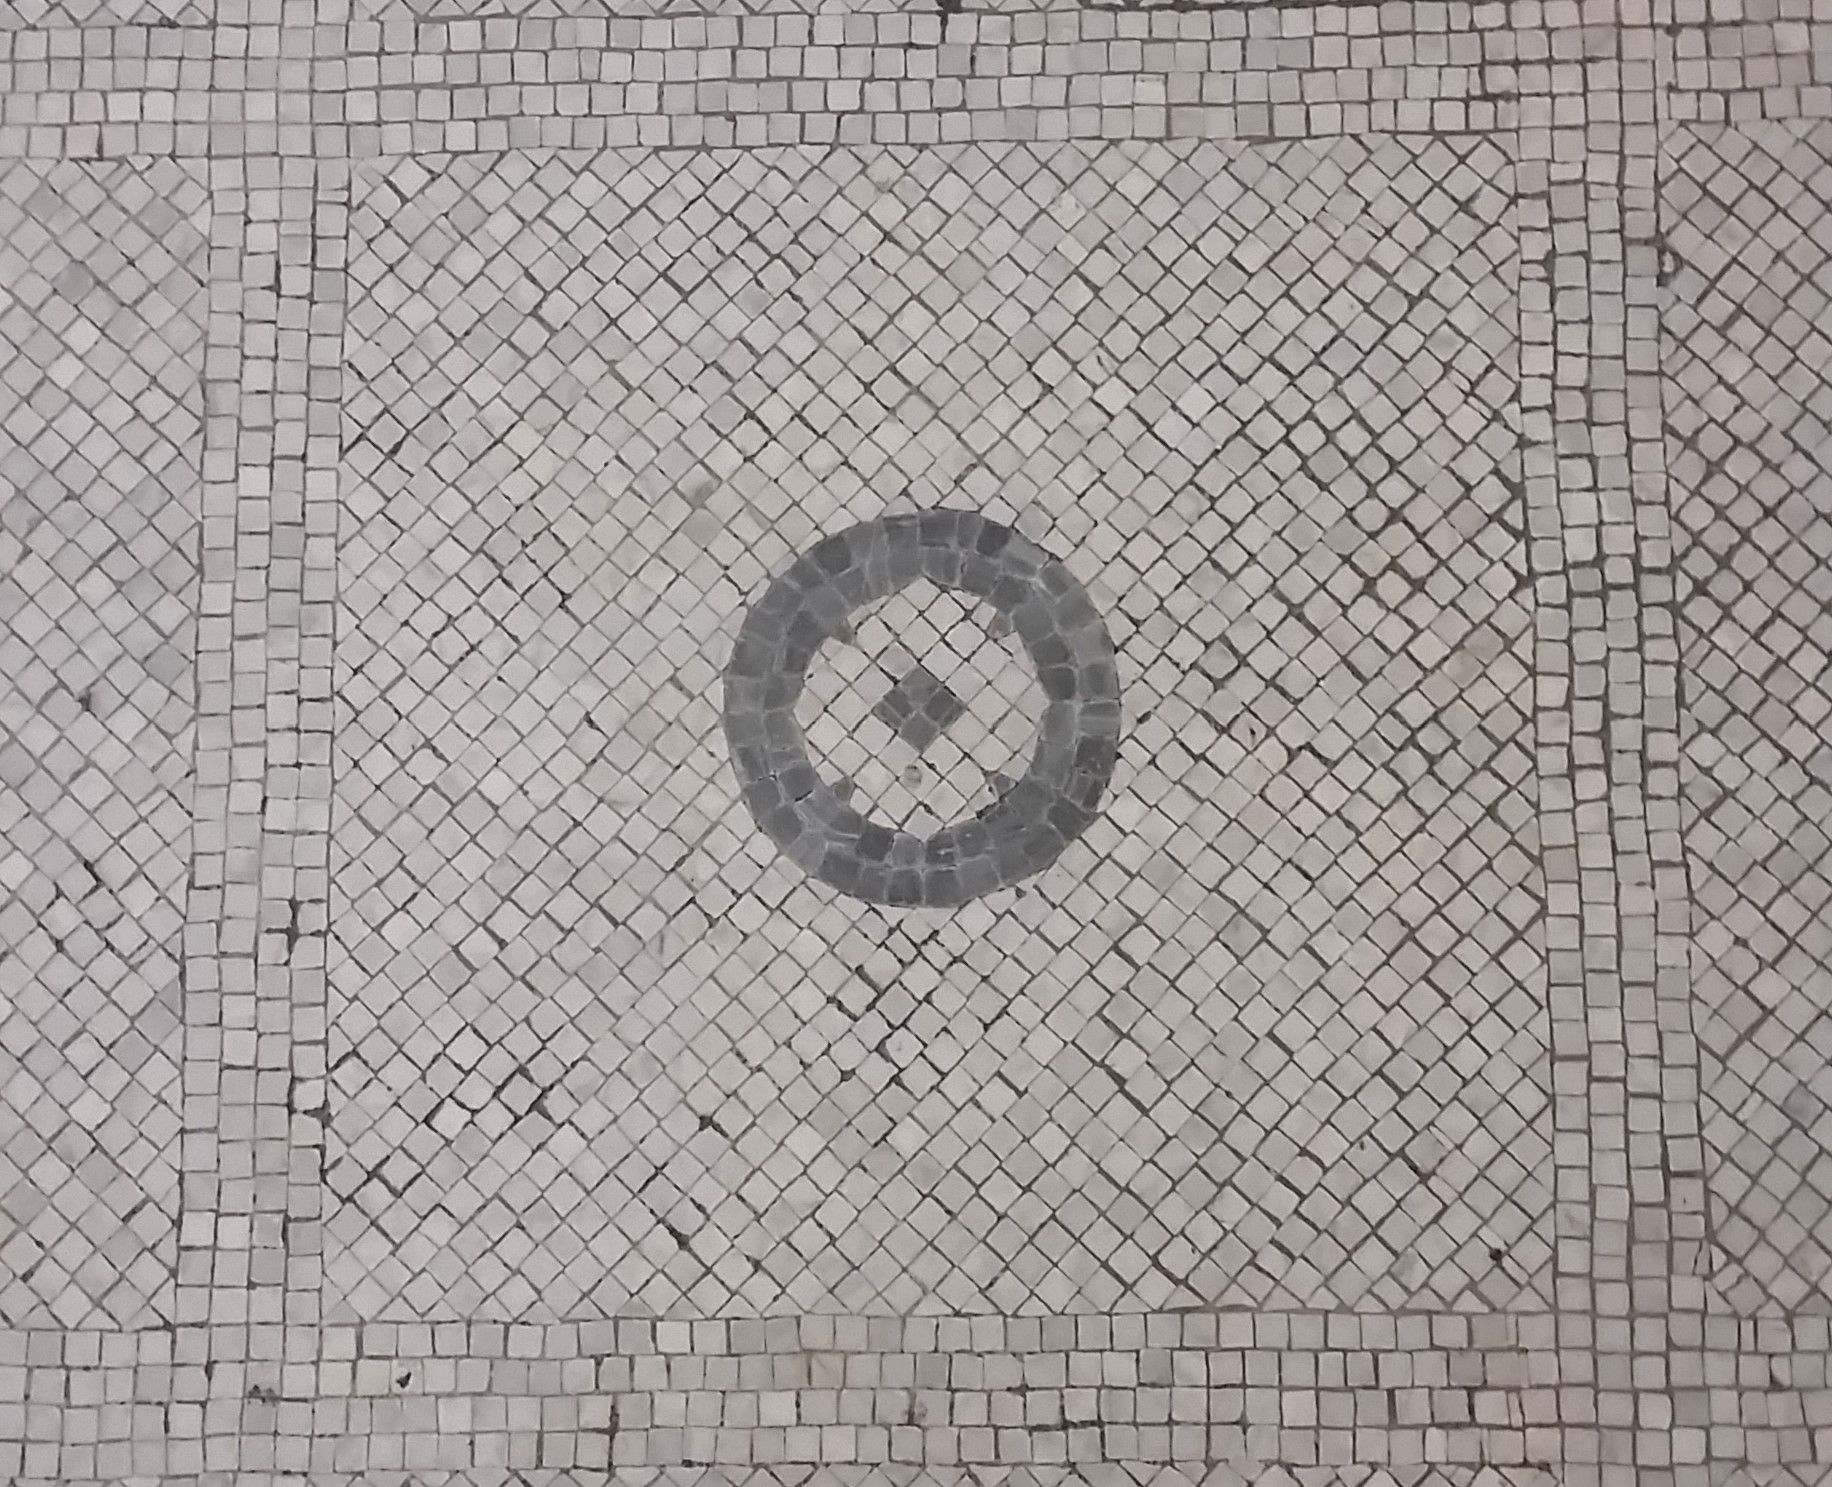
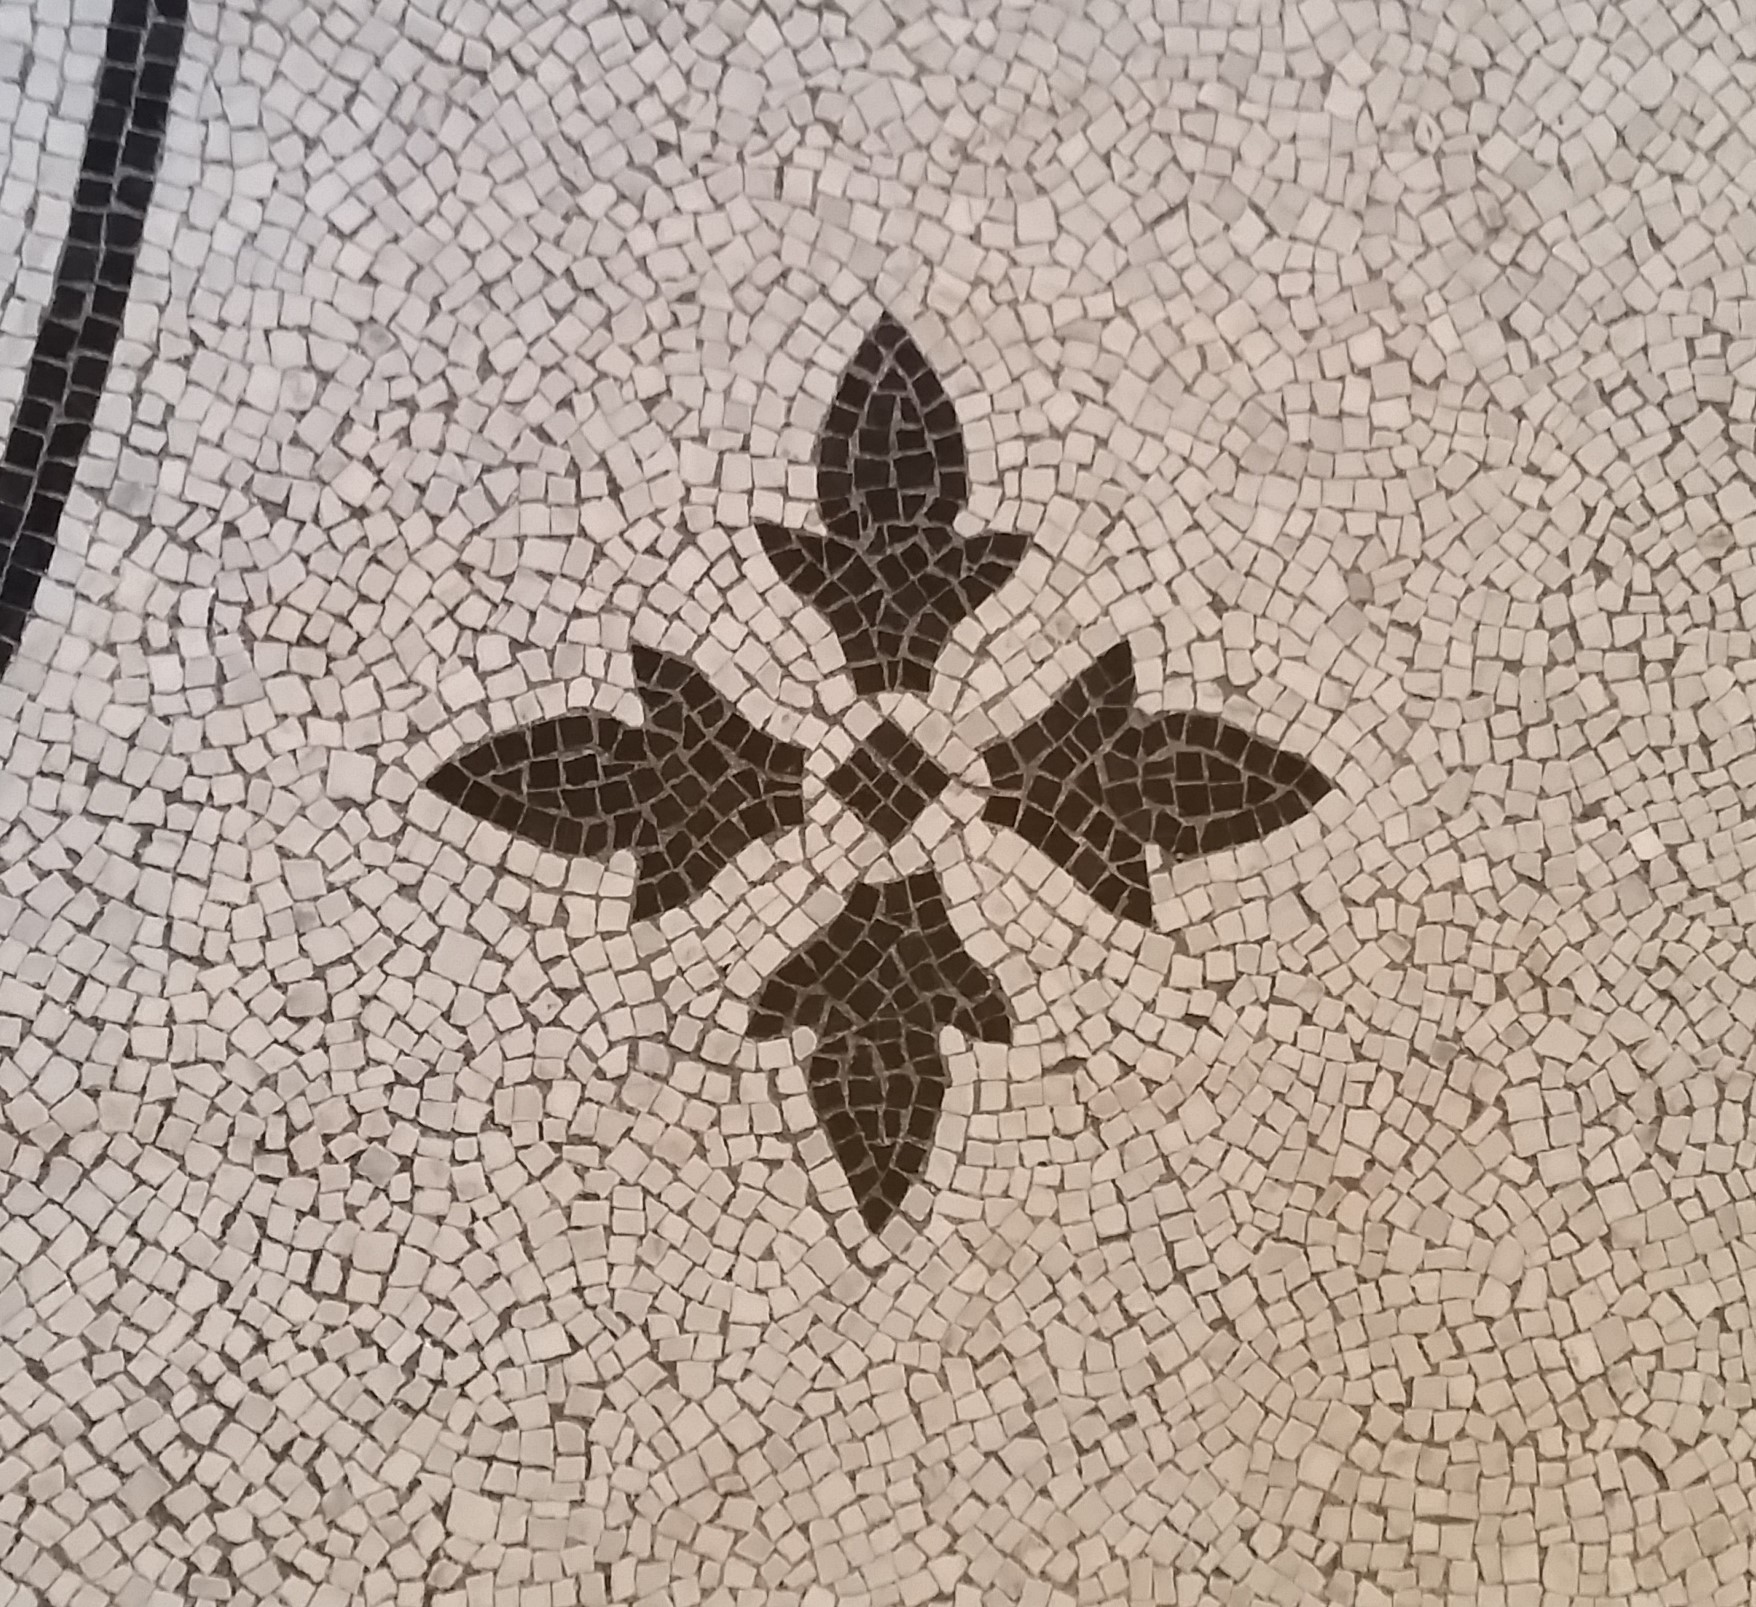
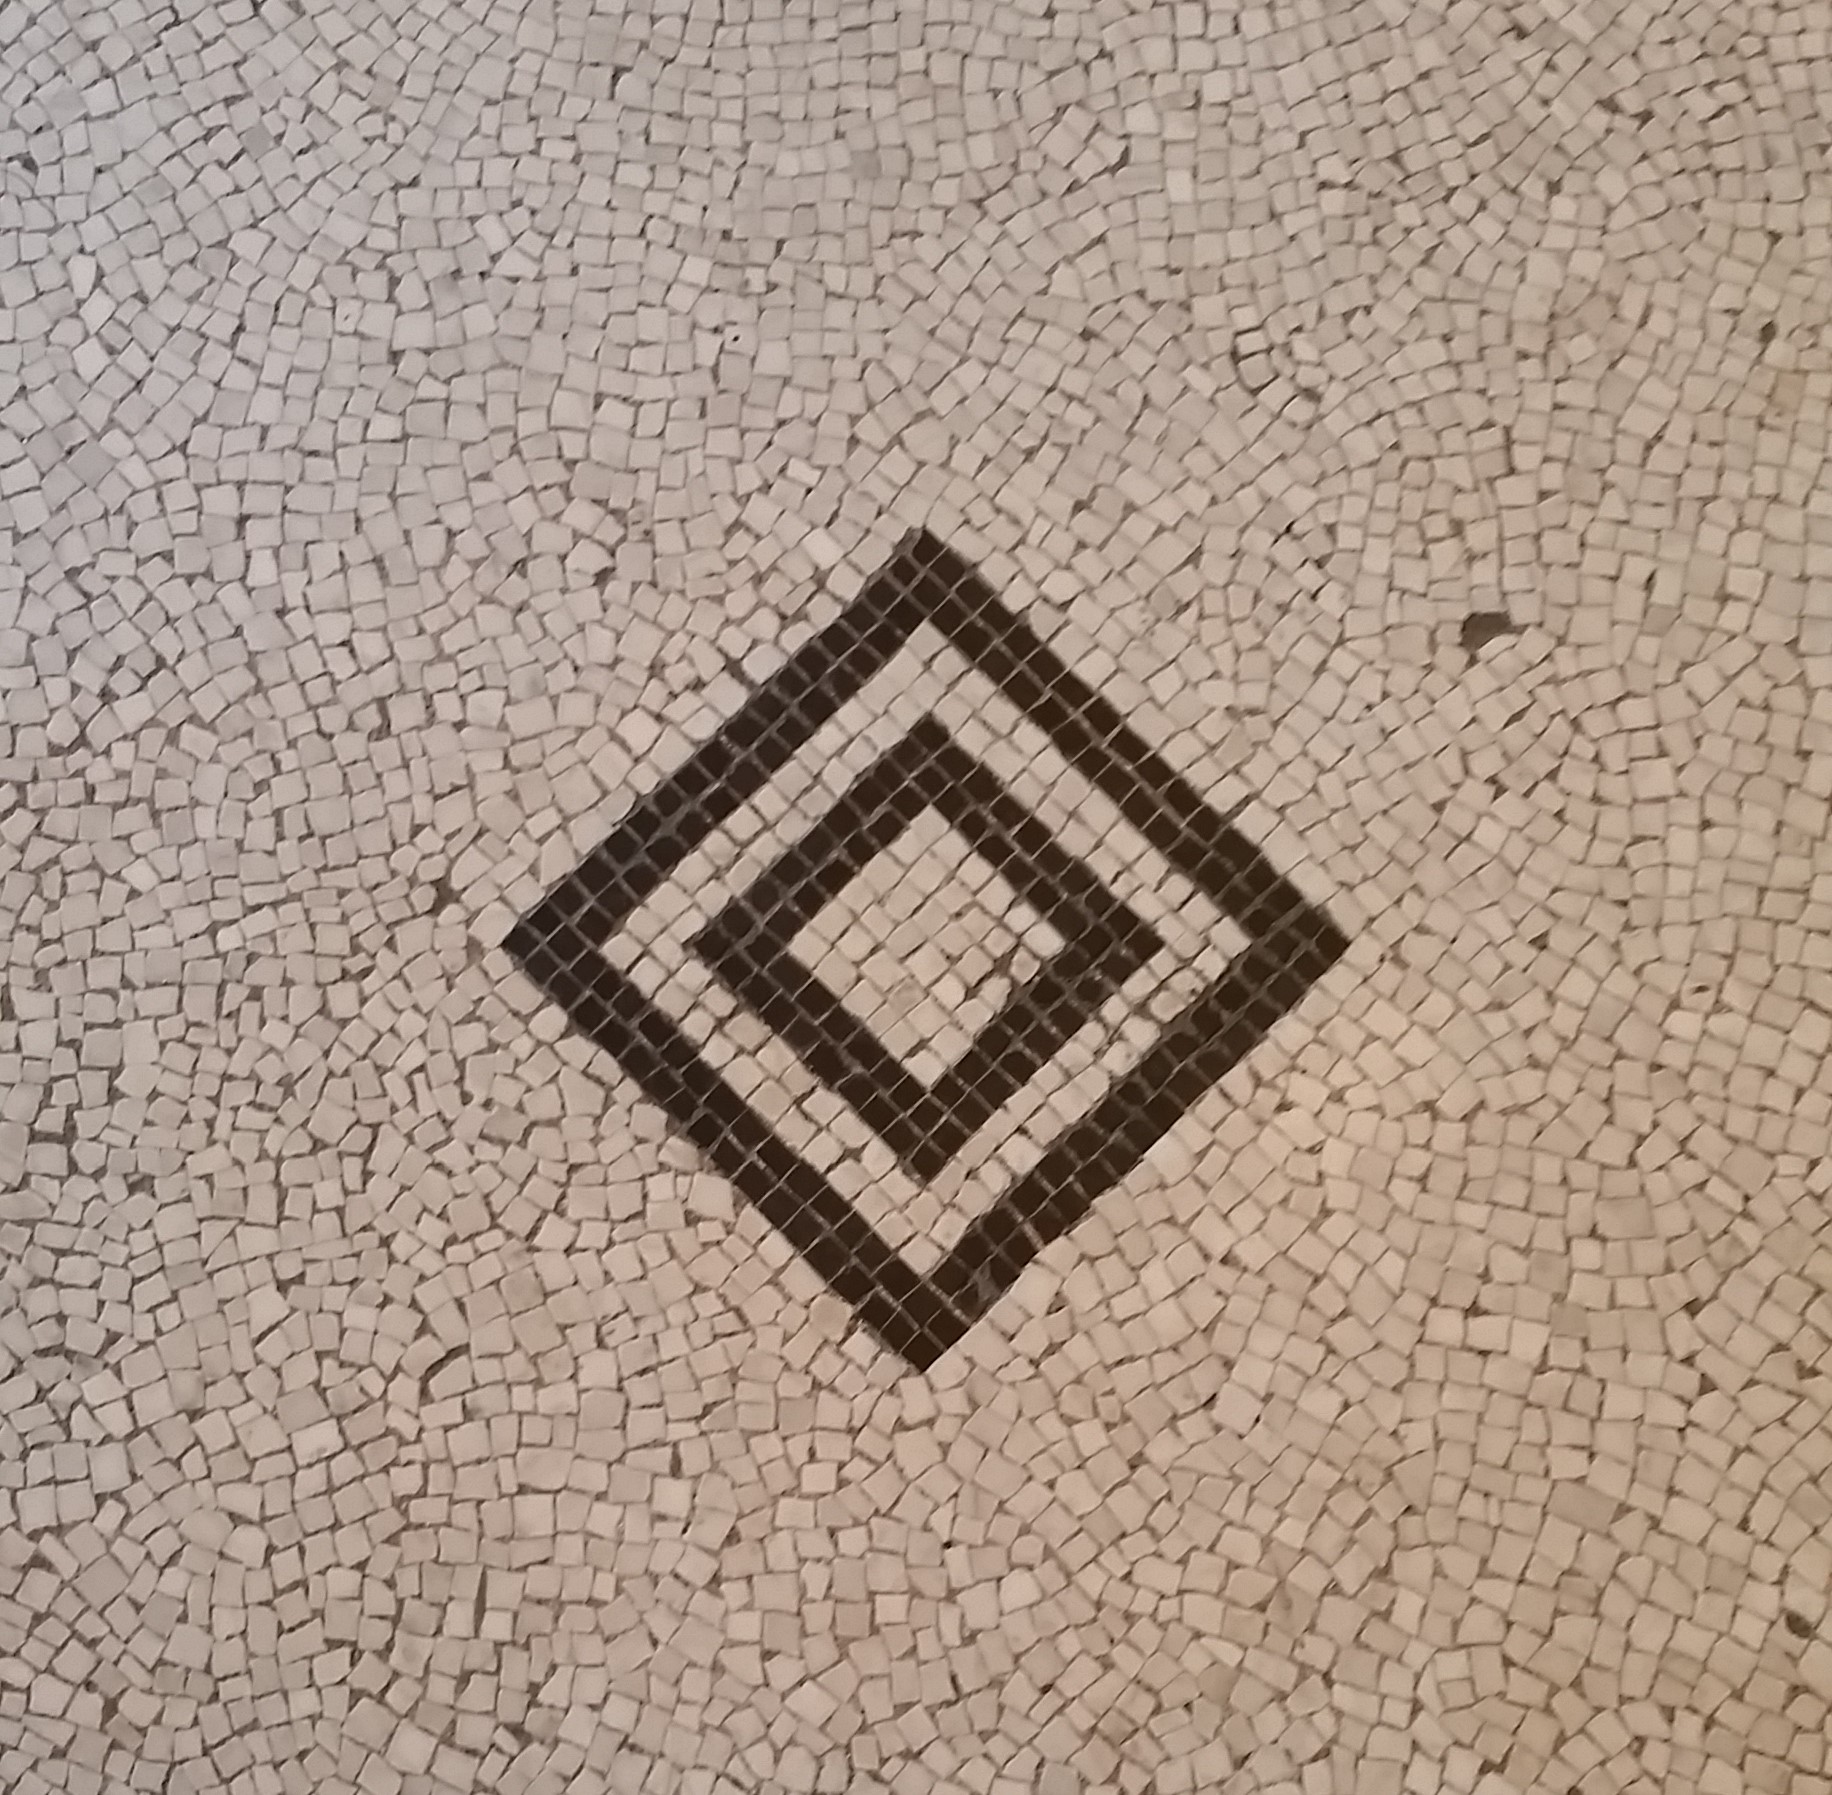
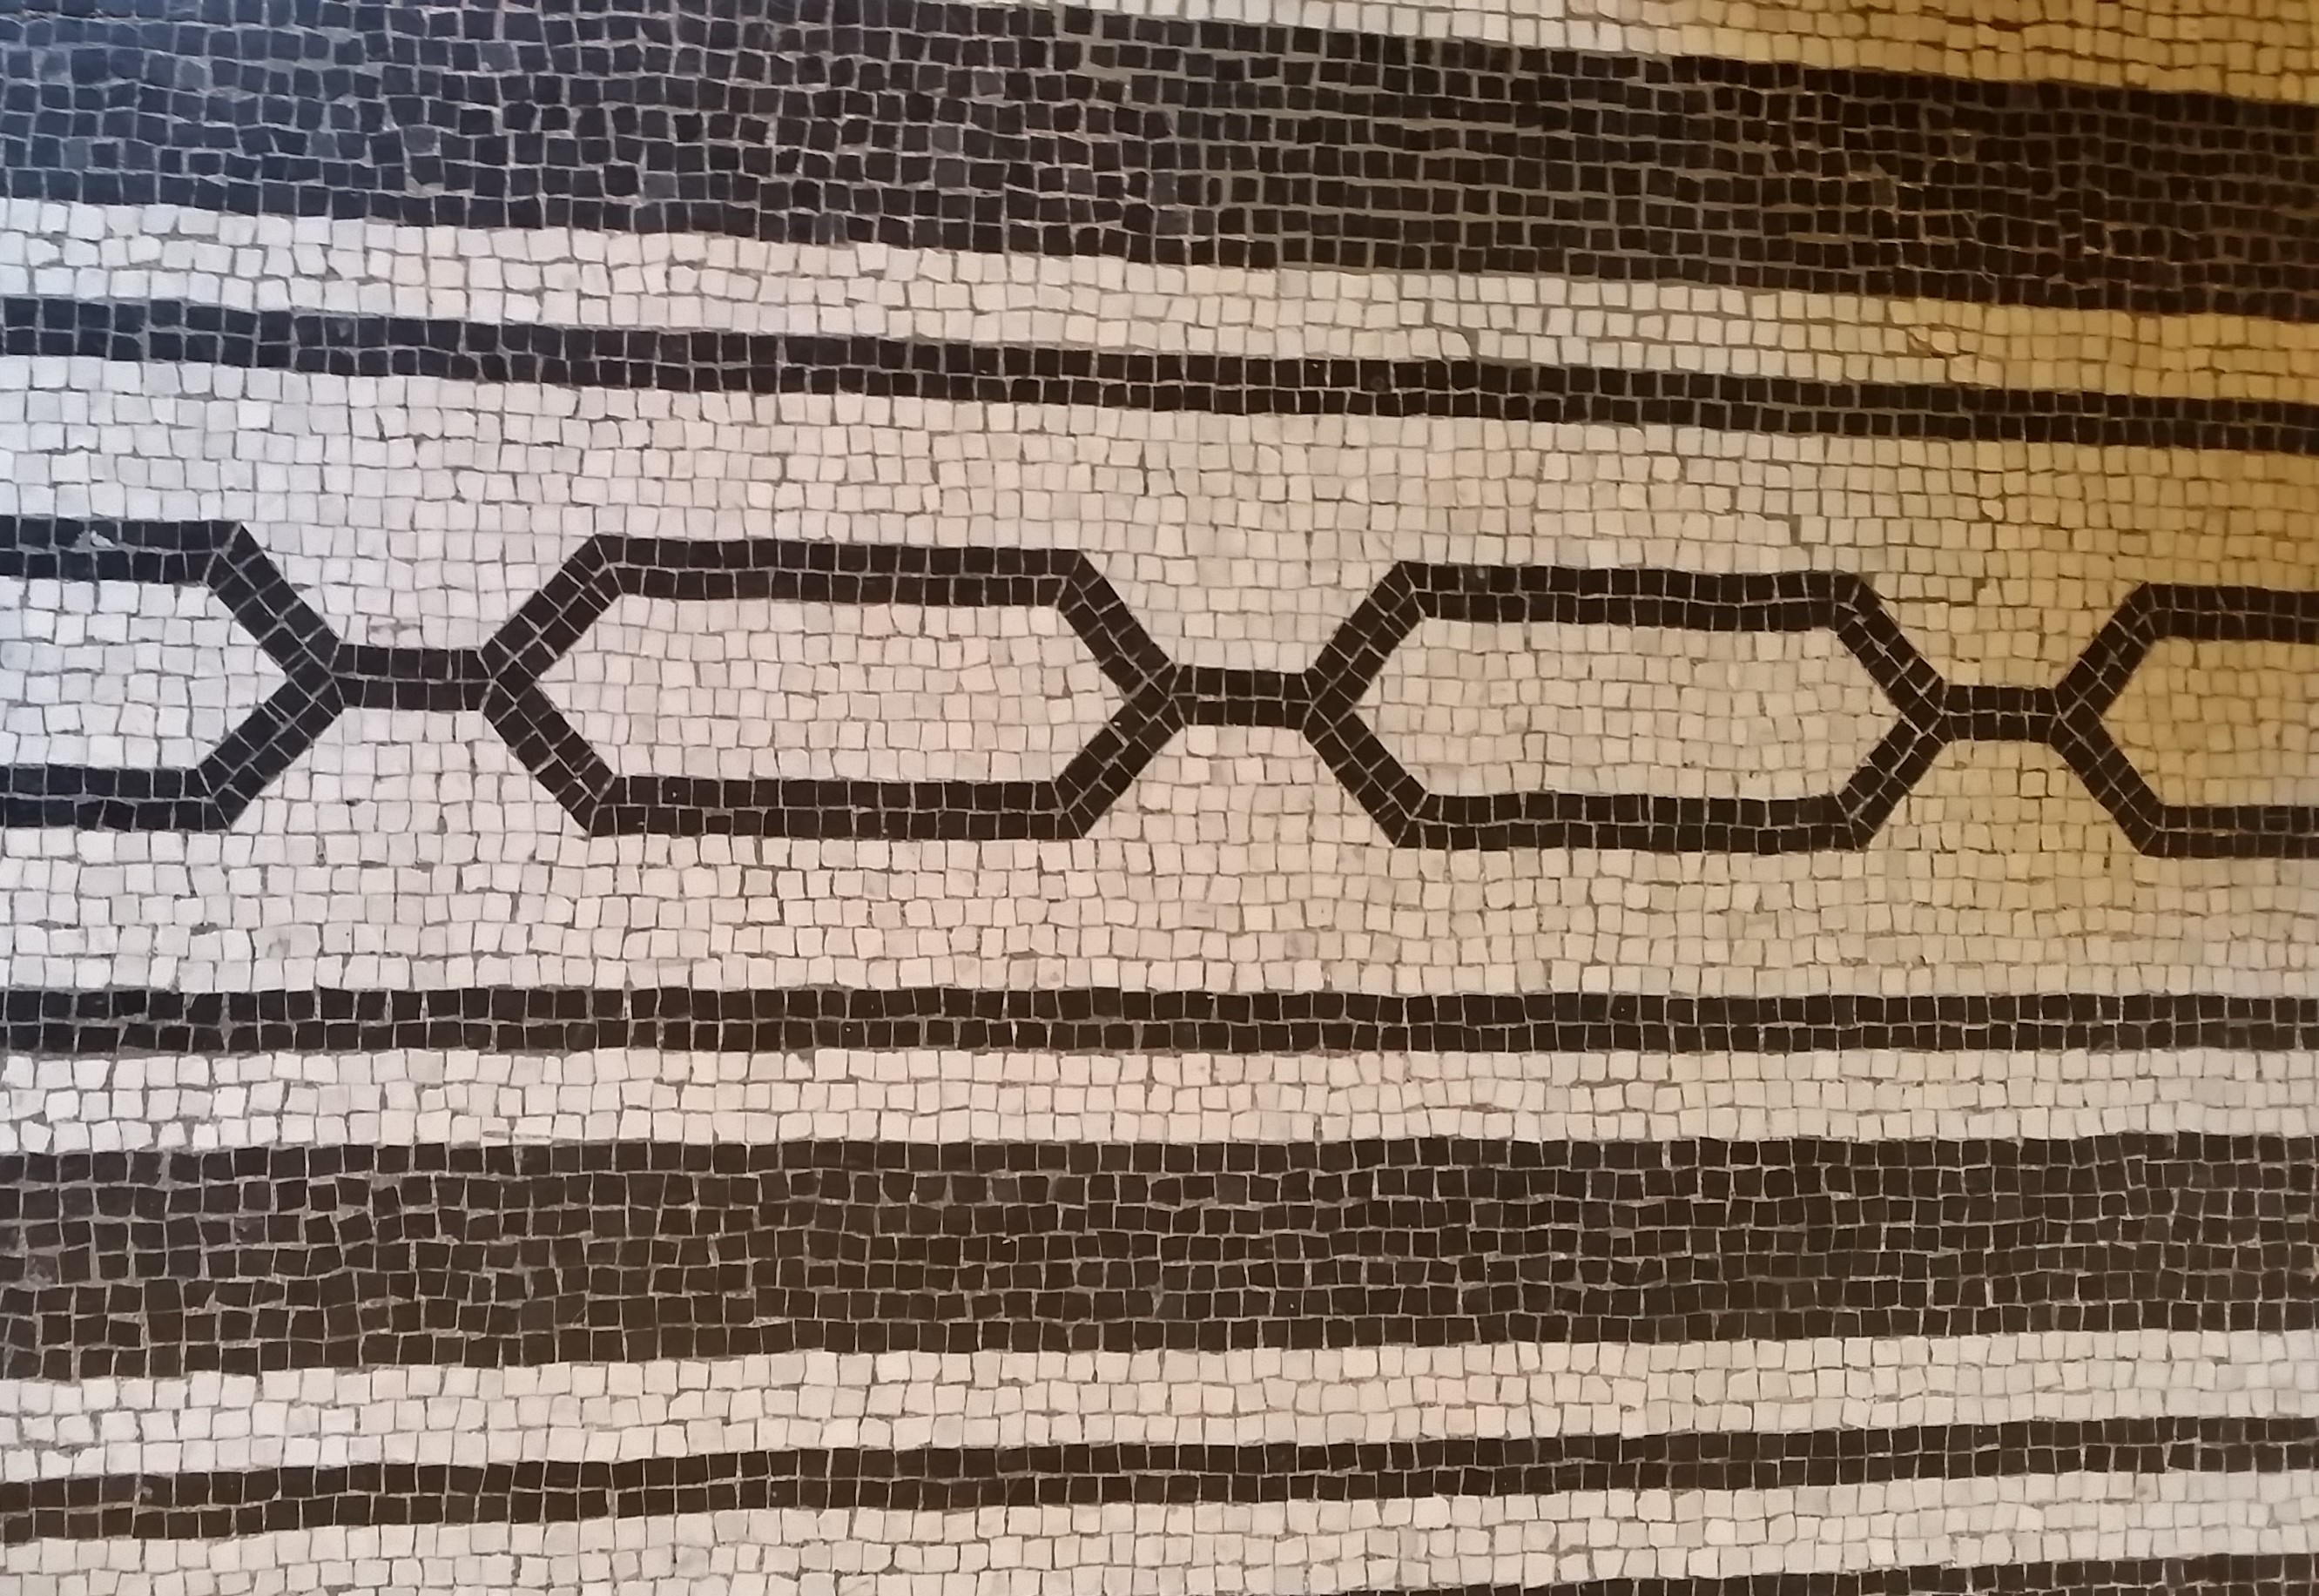
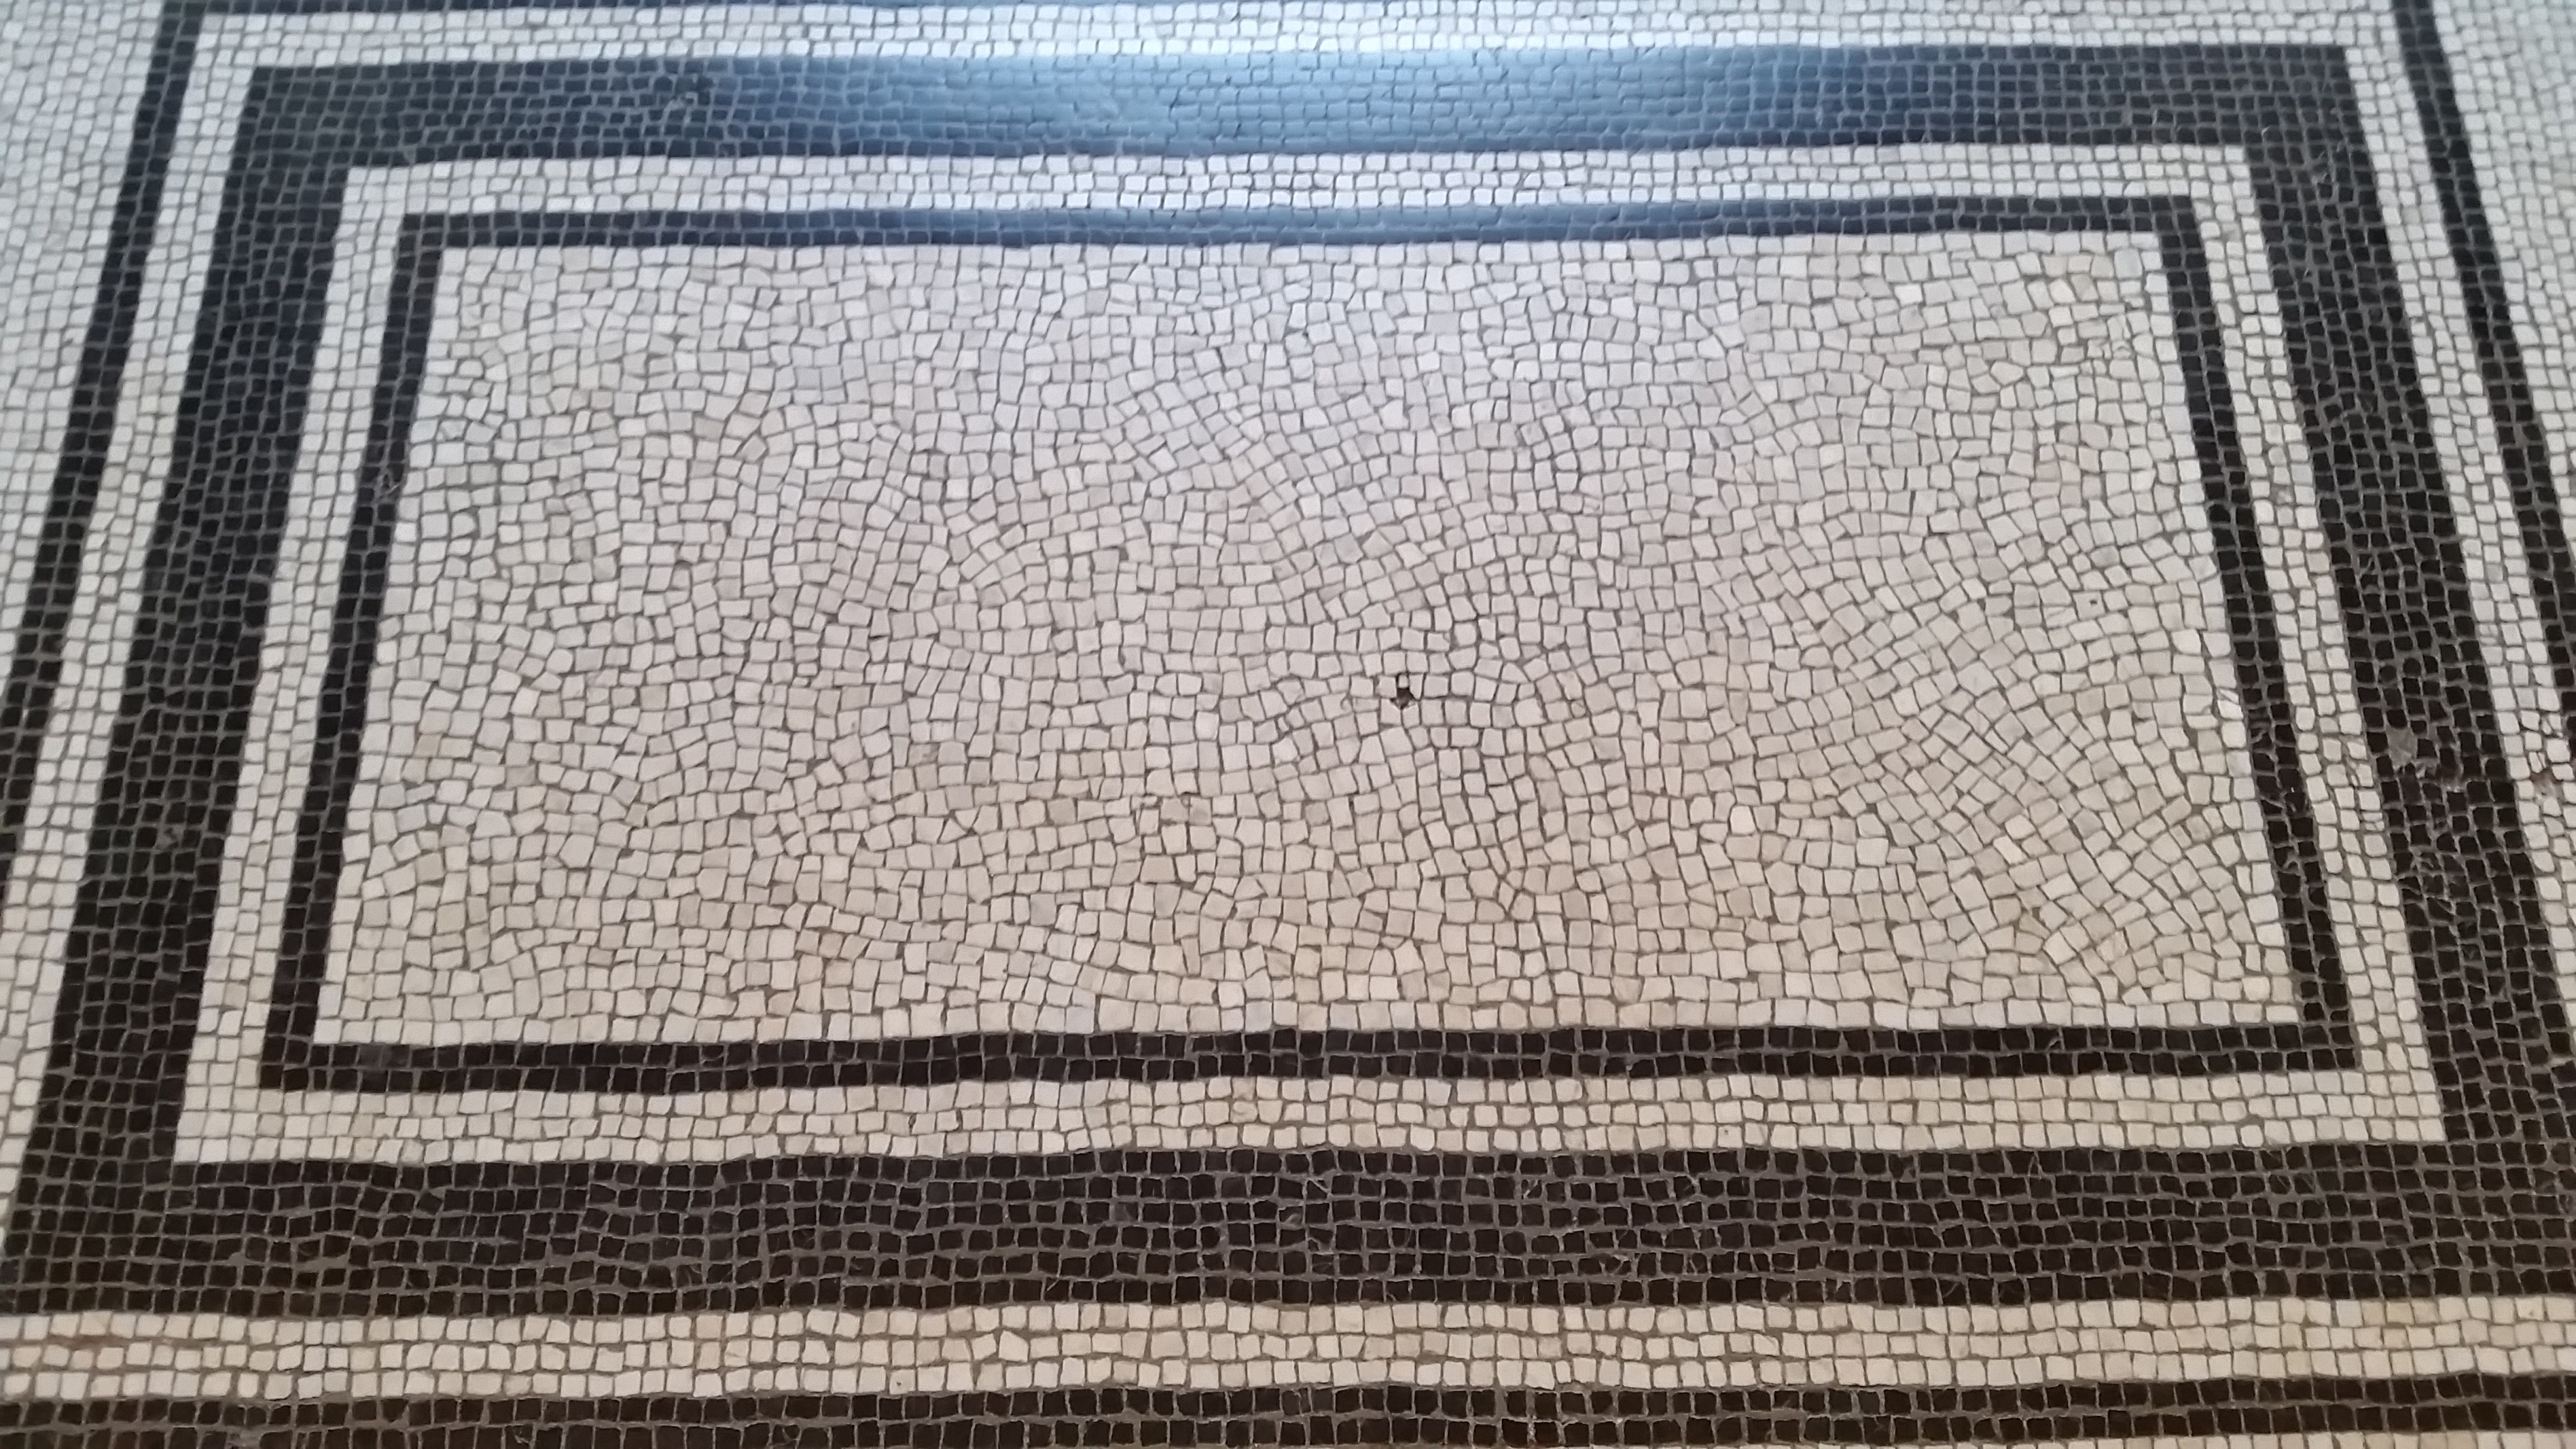
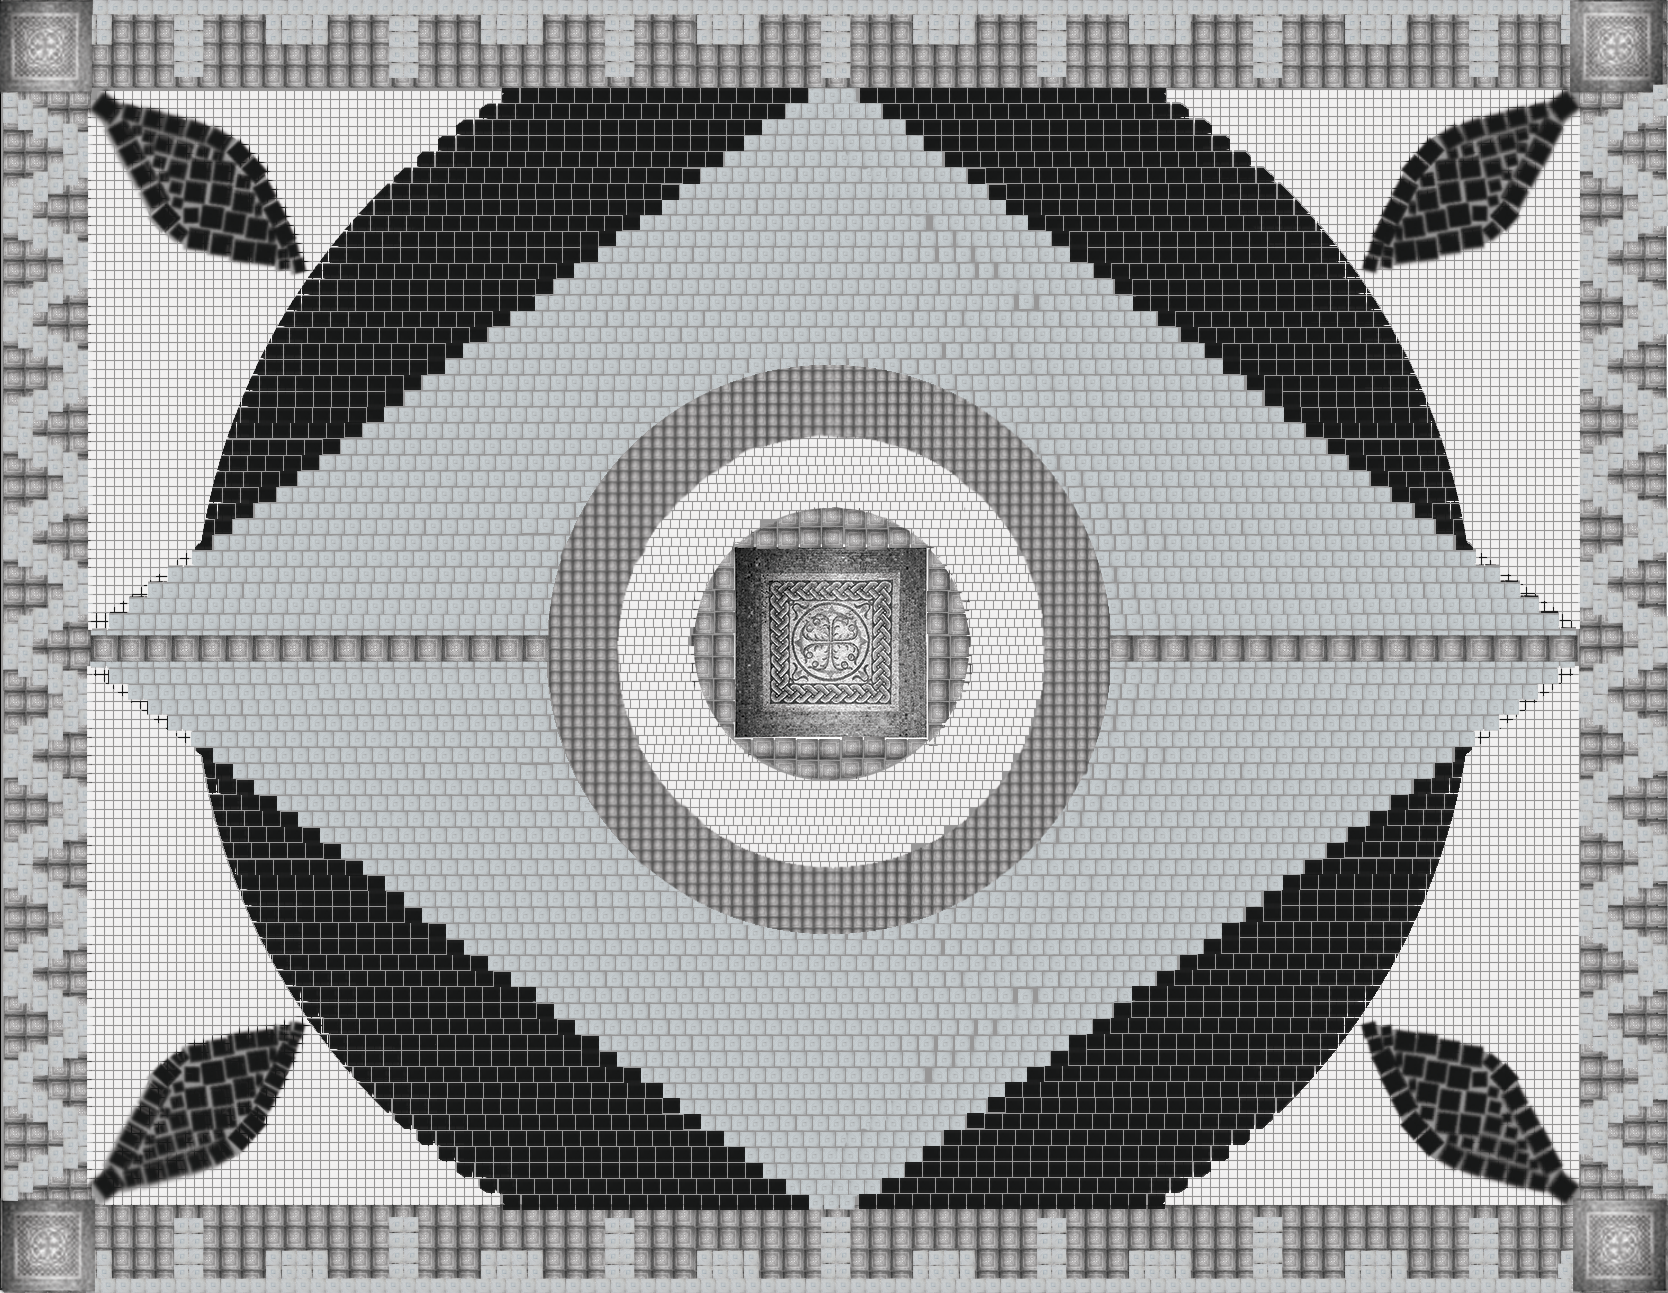
For my mosaic I decided to use a completely digital medium, akin to a collage. The tiles of my mosaic are photos of mosaics, one taken by me and the other three from the internet, that have been shrunken down to a relatively consistent size. I then took my digital tesserae and using Photoshop I created the image above. The digital medium I used allowed for more experimentation than would have been allowed by the traditional physical mosaic media, as I could move photos whenever I wanted and constantly undo my mistakes. I also had an unlimited supply of tile possibilities at my fingertips via the world wide web if I needed a new tile. I also used a combination of the two techniques as some of my designs such as the leaf design I created separately on a separate layer and placed them into the piece; I used the direct method for the outermost set of white tiles directly placing each tile in its position. A digital medium also provides the advantage of creating a clone of an image allowing me to speed up the creation of my mosaic, by only having to create half of it, or even a quarter, and then duplicating and mirroring the image. One other major advantage was the lack of precision needed to accurately shape the tiles; Photoshop can ensure that my tiles are even and shaped exactly to fit the shape of the hole it was being put into. I used a monochrome palate inspired by the mosaics on the floor of the Victoria and Albert Museum and around the city. This also inspired my heavy use of geometric patterns like the concentric circles and the repeated use of right angles.
A Modern Mosaic
A Comparison
Unlike a physical medium, a digital medium has limitless possibilities. For this mosaic my tiling is made up of pictures of mosaics. The pictures used for this mosaic specifically are of monochromatic mosaics similar to a Roman stone mosaic. I chose these pictures because of their color schemes, especially the pure white and black images, to be able to create a sharp contrast.
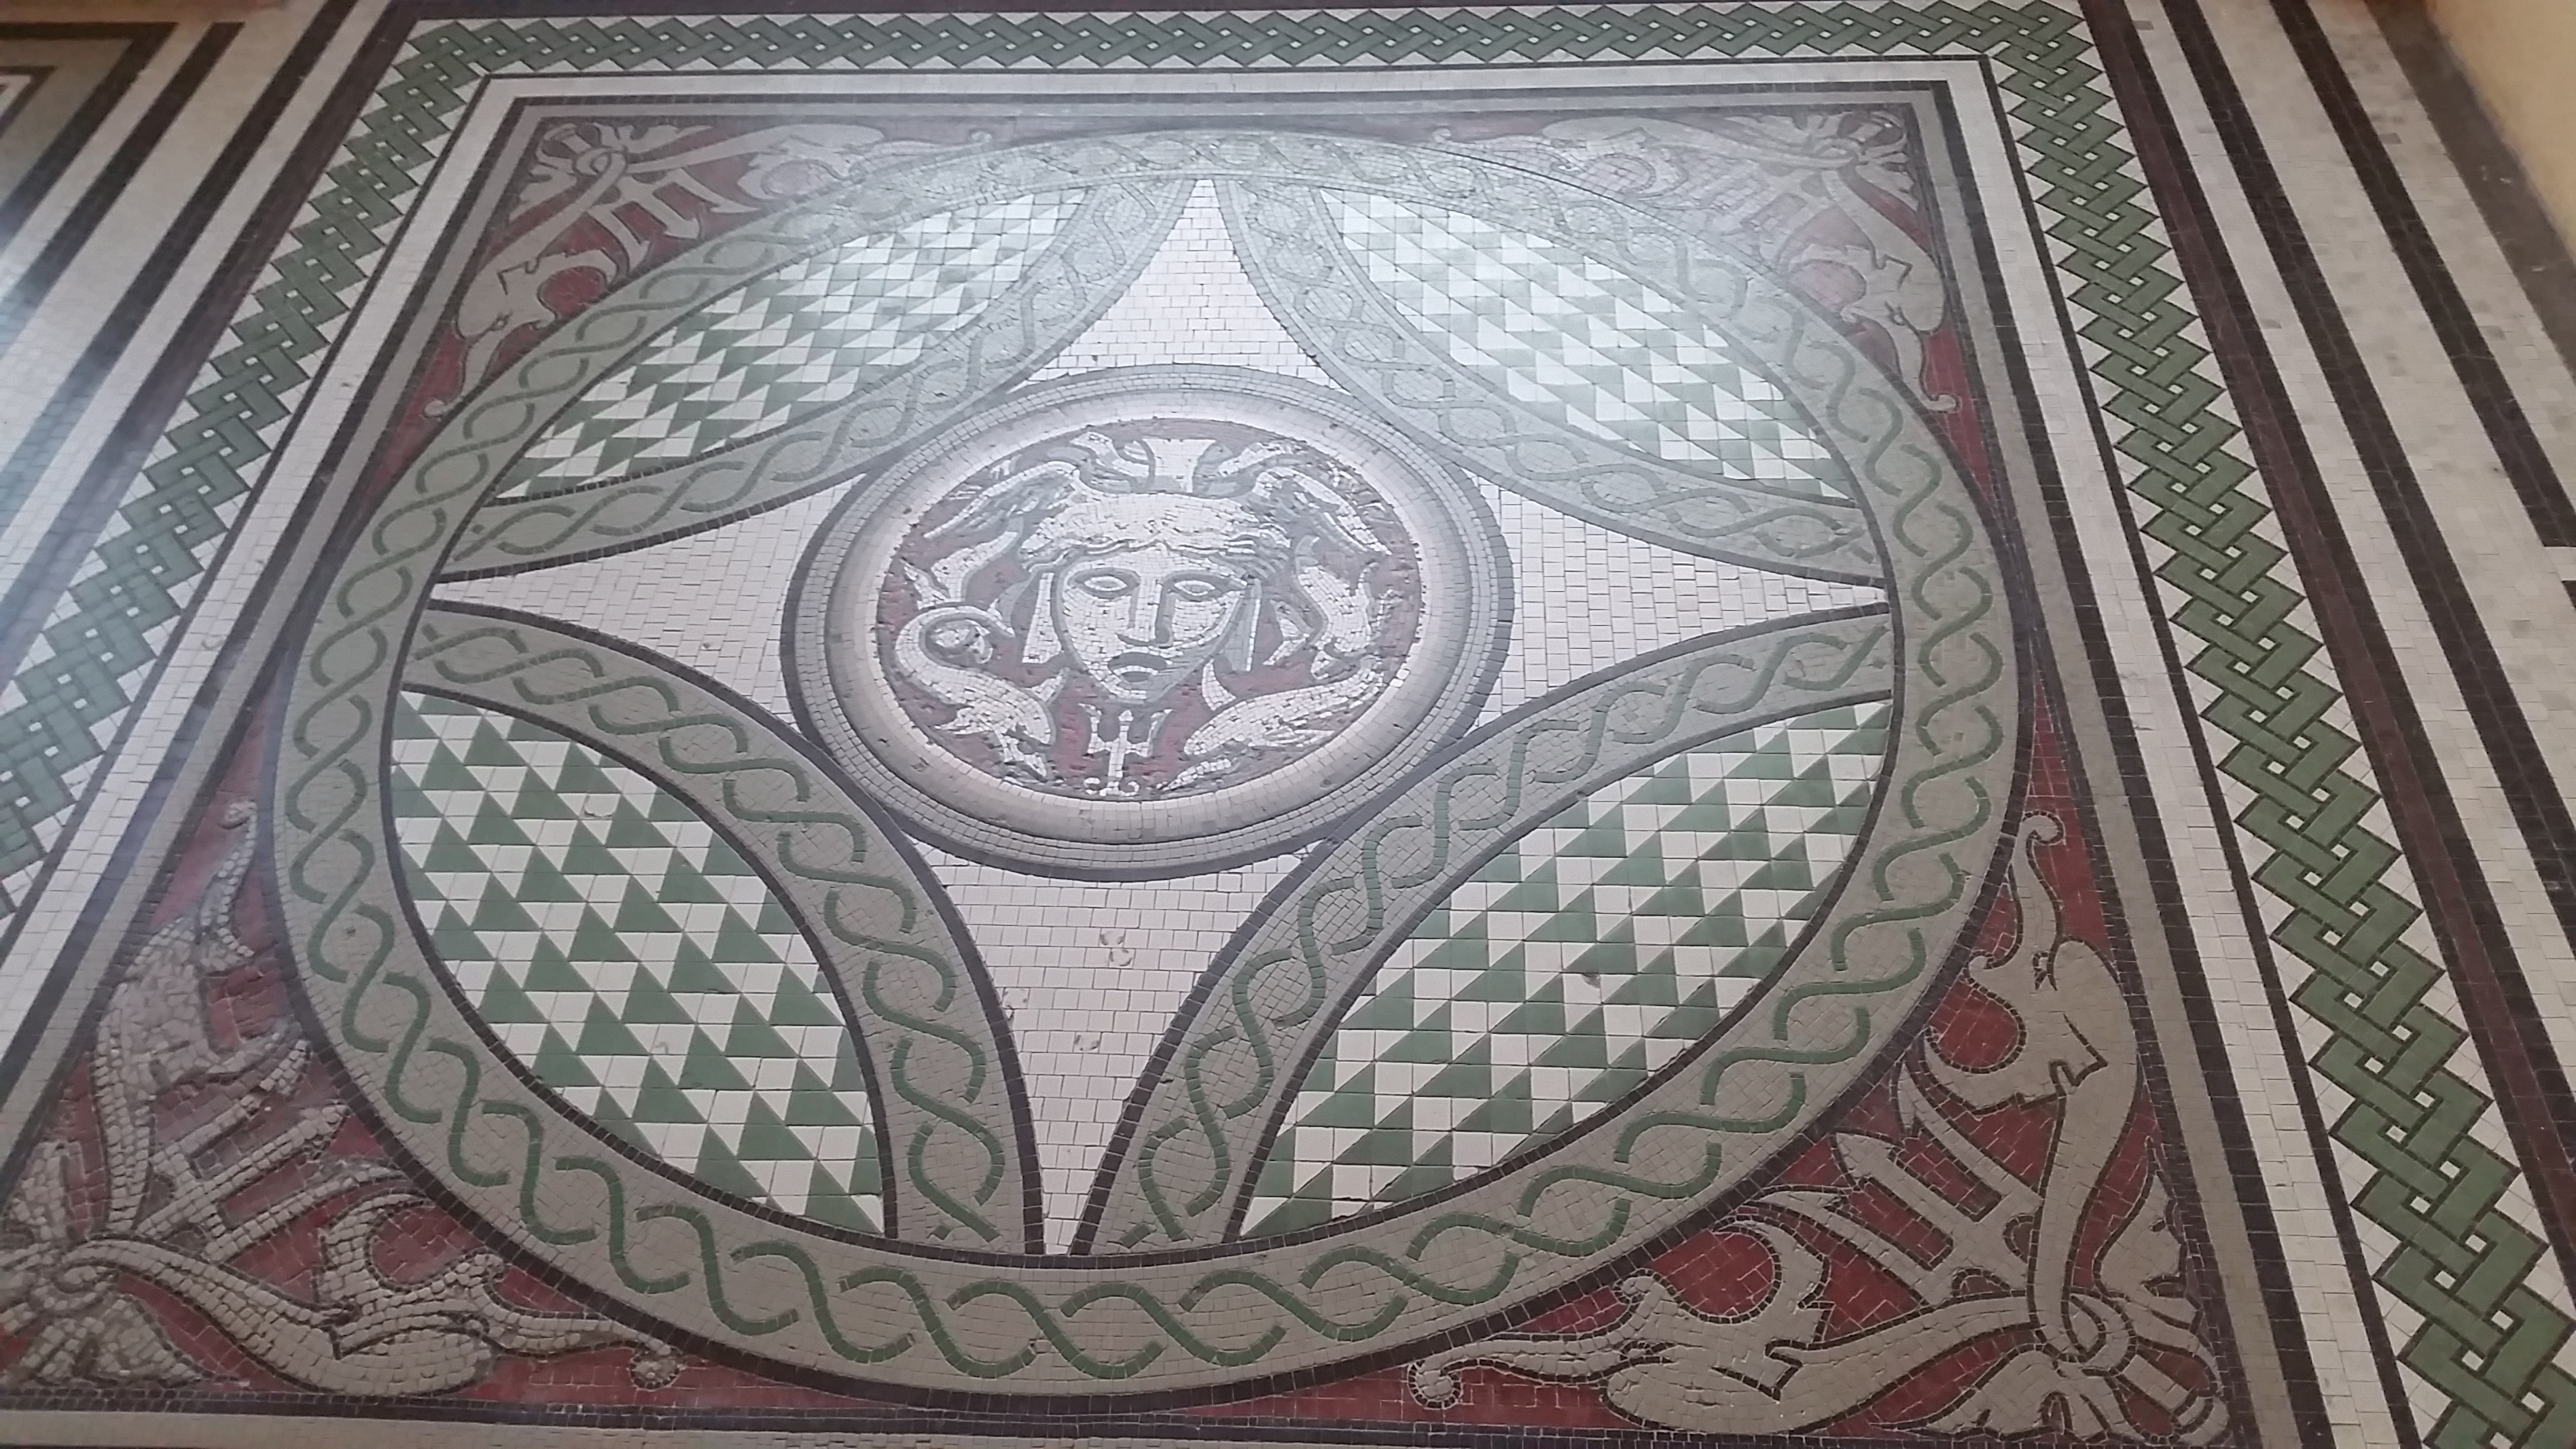
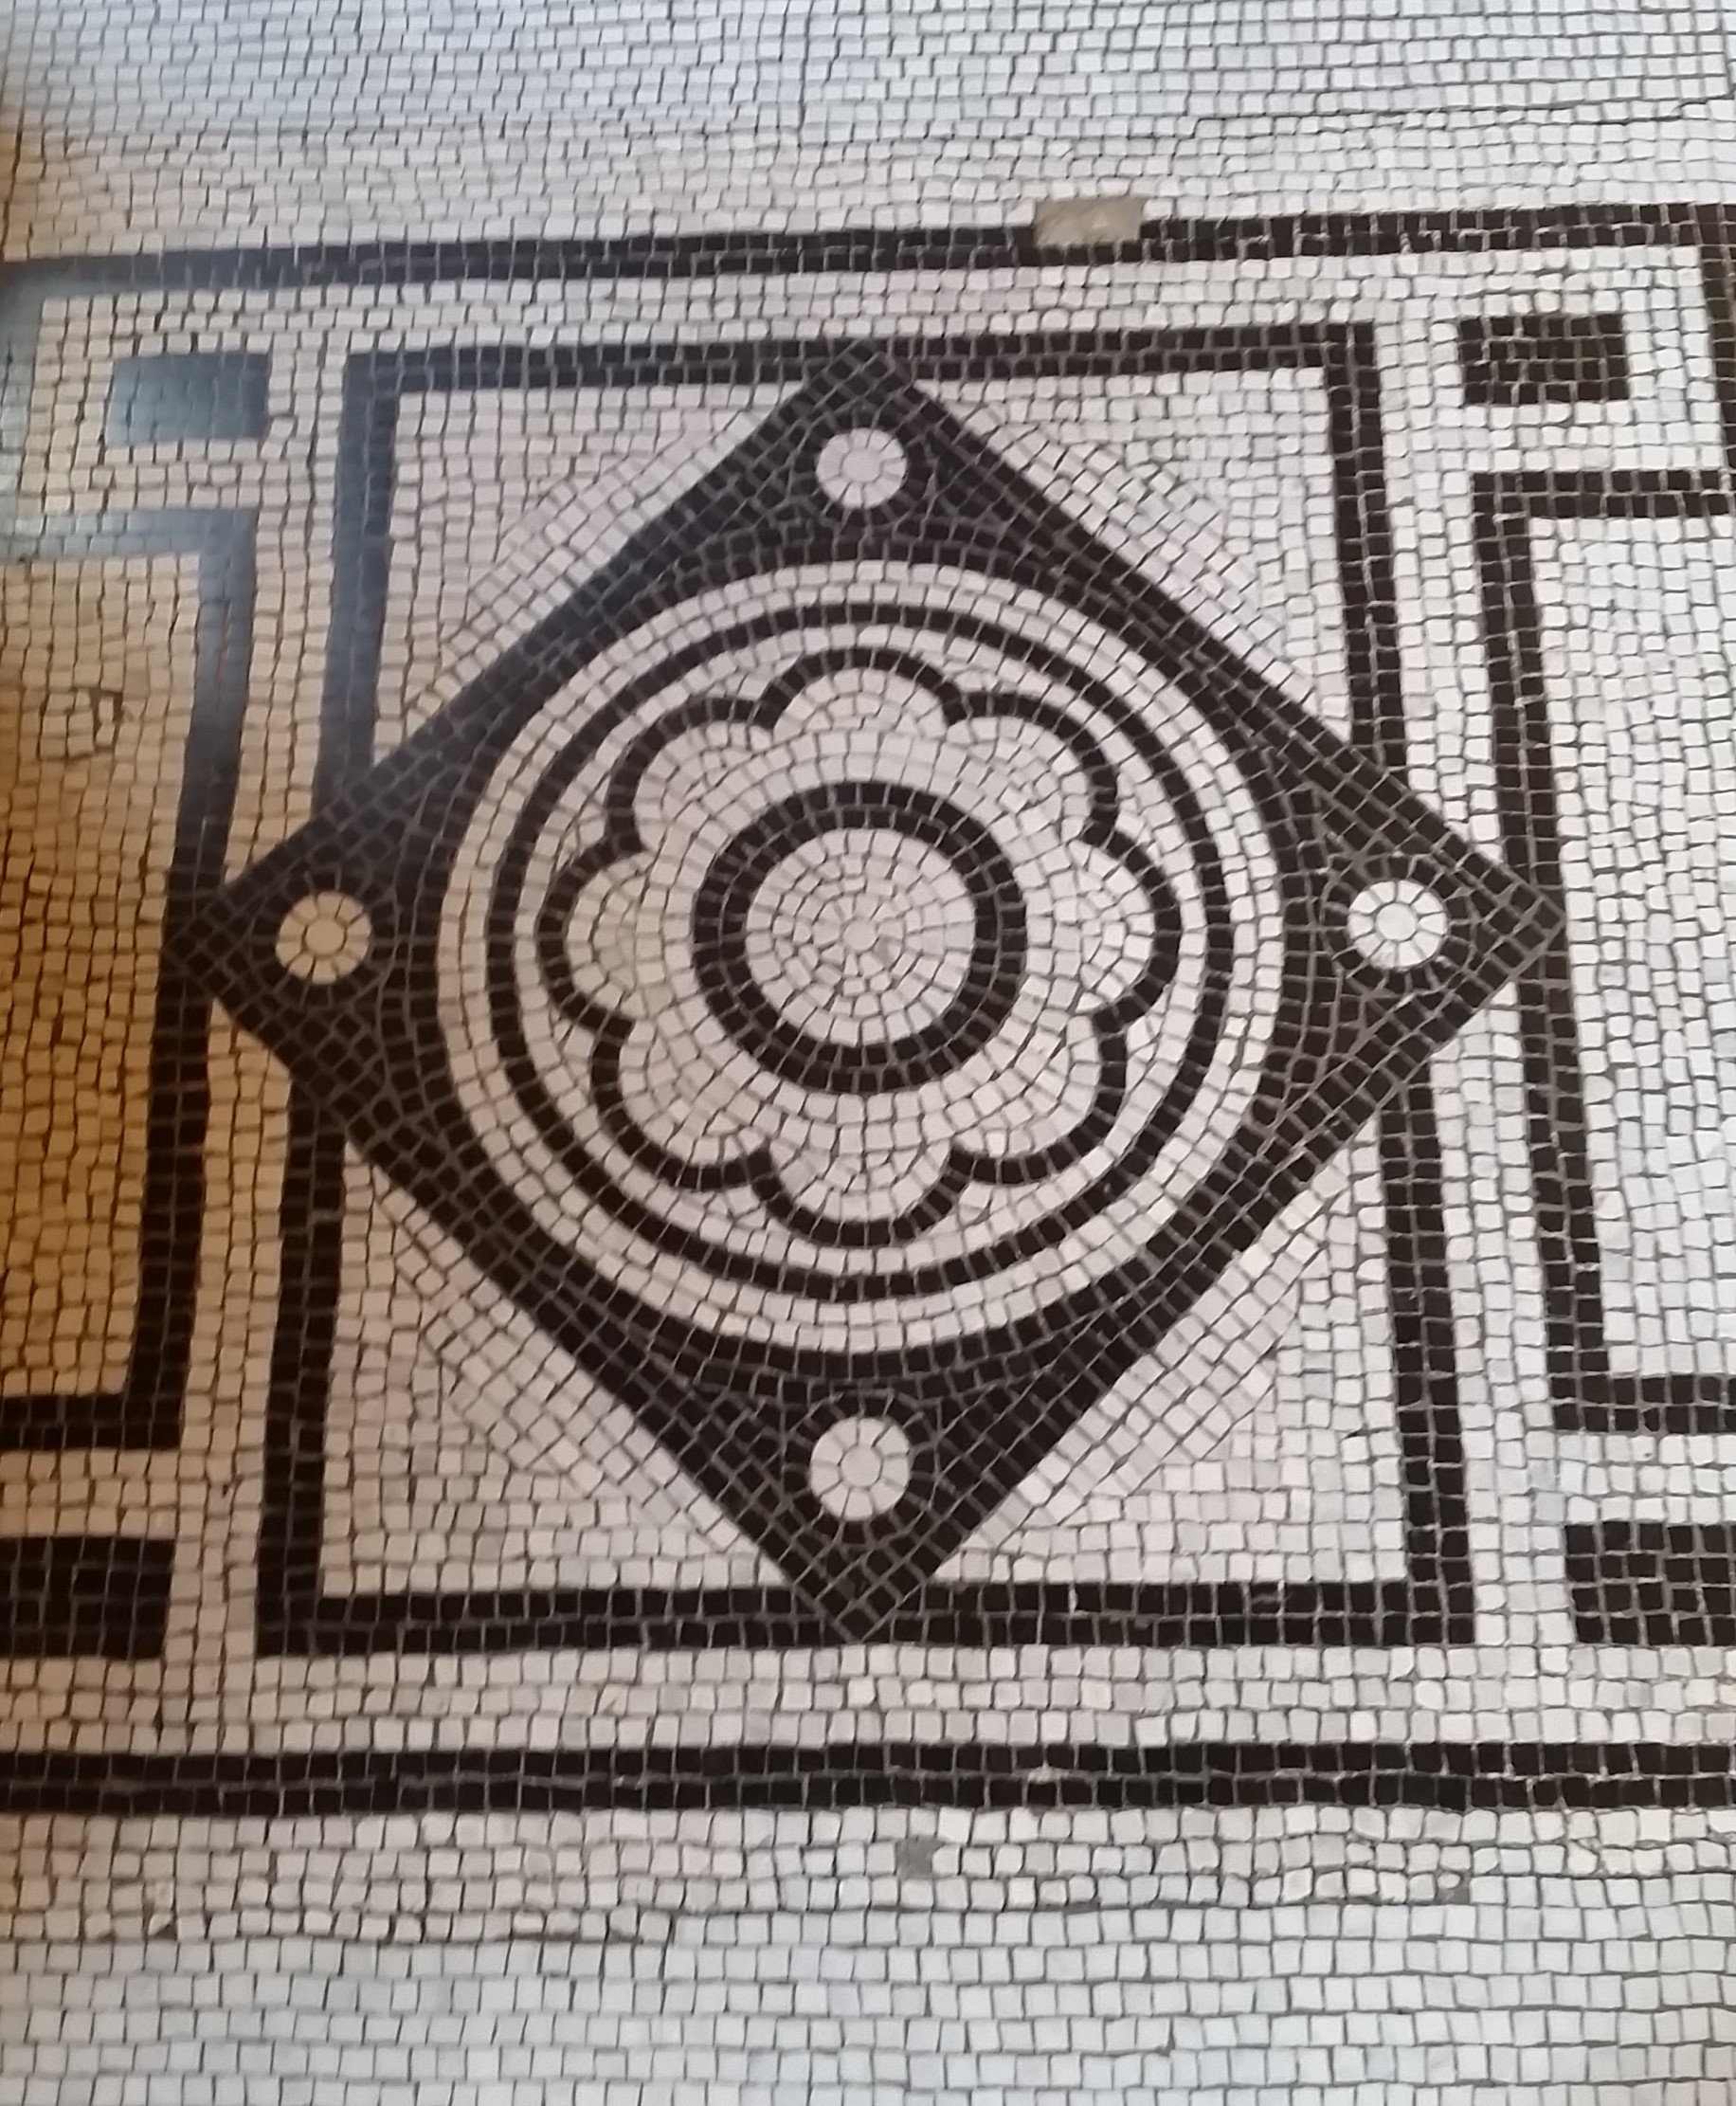
The final image in the gallery of images I used to create this mosaic was my main inspiration for this mosaic, as it has a simple geometric pattern and a monochromatic color palette. I have seen mosaics similar to that final gallery image across London, from museum walls and floors to store entryways; because of the common appearance of this style of mosaic, I tried to replicate the elements I observed: a dark and thick border, repeating shapes, and large sections of a singular color. These were the specific elements I chose to focus on in my design. For this design, I chose the size of my tiles to be different in each major section to create movement and a stronger division of each section. The border is darker than the surrounding tiles, but not the darkest element of the mosaic; I kept the border at a medium darkness to have a wider range of shades of grey, rather than a pure black and white mosaic. In terms of repeating shapes I decided to create a leaf shape and concentric circles. The leaf pattern pays homage to the mosaics on the stairs of the Victoria and Albert Museum and I thought an irregular shape would add more complexity to a relatively simplistic design. The concentric circles are a reference to the first image in the gallery of images I used, as it has a clearly defined circle and then a circular element inside of that circle. I chose to create large sections of solid color blocks to achieve the same effect of the mosaics I observed, which were harsh visual contrast and subdivision of the areas in the mosaic.
To move onto the base, I chose to use a grey background for my tiles to rest upon. I chose this color to replicate the appearance of concrete, which is visible in some of the more worn mosaics I have seen. The base rectangle is only visible in a few places because I personally favor a tightly packed mosaic over one with a larger space and therefore more base visible between the tiles. Another reason for my choice of base was that for the sections with small gaps between the tiles it would mock the appearance of grout. The adhesive holding the mosaic together is the merging of each individual image layer in Photoshop; this is almost as permanent as a physical adhesive due to the, albeit large, limit to the number of times a user can undo an action. To shape my tiles I used the crop tool in Photoshop, not unlike using tile cutters to shape and resize tiles. All of the tools I deem necessary to create a digital mosaic can be found in Photoshop: crop, clone, and merge. Photoshop served as my entire studio when creating this mosaic in that it held all of my tools and materials, in a clean and organized manner.
In terms of techniques, the digital and physical methods of creating mosaics are very similar. For the border portion of the mosaic, I created it in a separate file and later placed that file into the main mosaic. This is a direct translation of the indirect method from physical to digital, as the physical method involves creating the mosaic offsite and then placing the pre-created piece into place. The remaining portion of the mosaic was created using the direct method, adding image by image into the file, placing them in the correct position, and then merging the layers to cement the mosaic together. I tried two techniques to create the concentric circles the first of the two was rotating the tiles to create the illusion of a curve. This option was inefficient and I did not have enough skill to achieve the desired effect, so I decided to maximize my digital advantage by creating a rectangular block and cutting the circle from that block. The latter attempt to create the circles allowed me to achieve a perfectly round edge to my tiles, a task that would be incredibly difficult by hand.
- Images used in the mosaic
- Images used as inspiration for the mosaic
Conclusion
Throughout this milestone I learned about mosaics, and the materials and tools needed to create one. I then applied this knowledge to a digital setting (Photoshop) and compared how it is different from the traditional methods. I can confidently say that the process of creating a digital mosaic is much more forgiving than a physical mosaic. I would have loved to use more of my own photos, but due to having to look up or down at most of the mosaics the distortion made the tiles appear lopsided and pure colors were impossible to find. It would be interesting to make a physical mosaic and be able to compare those experiences in a more than theoretical setting. It would also be interesting to see how digital enhancement of the images used to create the mosaic or a change in the color palate could change the mood of the piece.
References
- ↑ the definition of mosaic. (2017). Dictionary.com. Retrieved 14 June 2017, from http://www.dictionary.com/browse/mosaic
- ↑ the definition of mosaic. (2017). Dictionary.com. Retrieved 14 June 2017, from http://www.dictionary.com/browse/mosaic
- ↑ Dunbabin, K. (2012). Mosaics of the Greek and Roman world (1st ed., pp. 5-17). New York: Cambridge University Press.
- ↑ Dunbabin, K. (2012). Mosaics of the Greek and Roman world (1st ed., pp. 18). New York: Cambridge University Press.
- ↑ Biggs, E. (2003). Mosaic techniques (1st ed., pp. 32). London: Cassell Illustrated.
- ↑ Howarth, M. (1992). Compass & Winds.
- ↑ Biggs, E. (2003). Mosaic techniques (1st ed., pp. 30). London: Cassell Illustrated.
- ↑ Bison, I. (2000). African Mask.
- ↑ Biggs, E. (2003). Mosaic techniques (1st ed., pp. 29). London: Cassell Illustrated.
- ↑ Cohen, C. (1976). La Marseillaise.
- ↑ Biggs, E. (2003). Mosaic techniques (1st ed., pp. 32). London: Cassell Illustrated.
- ↑ Fishman, G. (2000). Tropical Bouquet.
- ↑ Fitzgerald, B. Complete guide to mosaic technique (1st ed., pp. 12-13). London: Quarto Publishing plc.
- ↑ Biggs, E. (2003). Mosaic techniques (1st ed., pp. 28). London: Cassell Illustrated.
- ↑ Hunkin, T. (2000). Vegetables.
- ↑ Biggs, E. (2003). Mosaic techniques (1st ed., pp. 28-29). London: Cassell Illustrated.
- ↑ Bahouth, C. (2000). Mosaic Chair No. 2.
- ↑ Fitzgerald, B. Complete guide to mosaic technique (1st ed., pp. 23). London: Quarto Publishing plc.
- ↑ King, S. (2006). Mosaic techniques & traditions (1st ed., pp. 65-72). New York: Sterling.
- ↑ Biggs, E. (2003). Mosaic techniques (1st ed., pp. 28-33). London: Cassell Illustrated.
- ↑ Fitzgerald, B. Complete guide to mosaic technique (1st ed., pp. 9-25). London: Quarto Publishing plc.
- ↑ Biggs, E. (2003). Mosaic techniques (1st ed., pp. 33). London: Cassell Illustrated.
- ↑ Zanelli, C. (2001). My Shower.
- ↑ Biggs, E. (2003). Mosaic techniques (1st ed., pp. 31). London: Cassell Illustrated.
- ↑ Cohen, J. Tigers.
- ↑ Biggs, E. (2003). Mosaic techniques (1st ed., pp. 31). London: Cassell Illustrated.
- ↑ Taylor, A. Golden Retriever.
- ↑ King, S. (2006). Mosaic techniques & traditions (1st ed., pp. 72-73). New York: Sterling.
- ↑ Biggs, E. (2003). Mosaic techniques (1st ed., pp. 38-39). London: Cassell Illustrated.
- ↑ King, S. (2006). Mosaic techniques & traditions (1st ed., pp. 73-75). New York: Sterling.
- ↑ Biggs, E. (2003). Mosaic techniques (1st ed., pp. 40-41). London: Cassell Illustrated.
- ↑ Fitzgerald, B. Complete guide to mosaic technique (1st ed., pp. 102-103). London: Quarto Publishing plc.
- ↑ Biggs, E. (2003). Mosaic techniques (1st ed., pp. 36-37). London: Cassell Illustrated.
- ↑ King, S. (2006). Mosaic techniques & traditions (1st ed., pp. 75-79). New York: Sterling.
- ↑ Biggs, E. (2003). Mosaic techniques (1st ed., pp. 42-45). London: Cassell Illustrated.
- ↑ Biggs, E. (2003). Mosaic techniques (1st ed., pp. 75). London: Cassell Illustrated.
- ↑ King, S. (2006). Mosaic techniques & traditions (1st ed., pp. 110-115). New York: Sterling.
- ↑ Biggs, E. (2003). Mosaic techniques (1st ed., pp. 74-79). London: Cassell Illustrated.
- ↑ Fitzgerald, B. Complete guide to mosaic technique (1st ed., pp. 86-89). London: Quarto Publishing plc.
- ↑ Biggs, E. (2003). Mosaic techniques (1st ed., pp. 78-79). London: Cassell Illustrated.
- ↑ Biggs, E. (2003). Mosaic techniques (1st ed., pp. 82). London: Cassell Illustrated.
- ↑ King, S. (2006). Mosaic techniques & traditions (1st ed., pp. 116-123). New York: Sterling.
- ↑ Biggs, E. (2003). Mosaic techniques (1st ed., pp. 80-83). London: Cassell Illustrated.
- ↑ Fitzgerald, B. Complete guide to mosaic technique (1st ed., pp. 90-101). London: Quarto Publishing plc.
