The Crafting of A Sword
From Londonhua WIKI
Revision as of 11:49, 22 June 2017 by Vnmercouris (talk | contribs)
Title of this Milestone
by V.J. Manzo
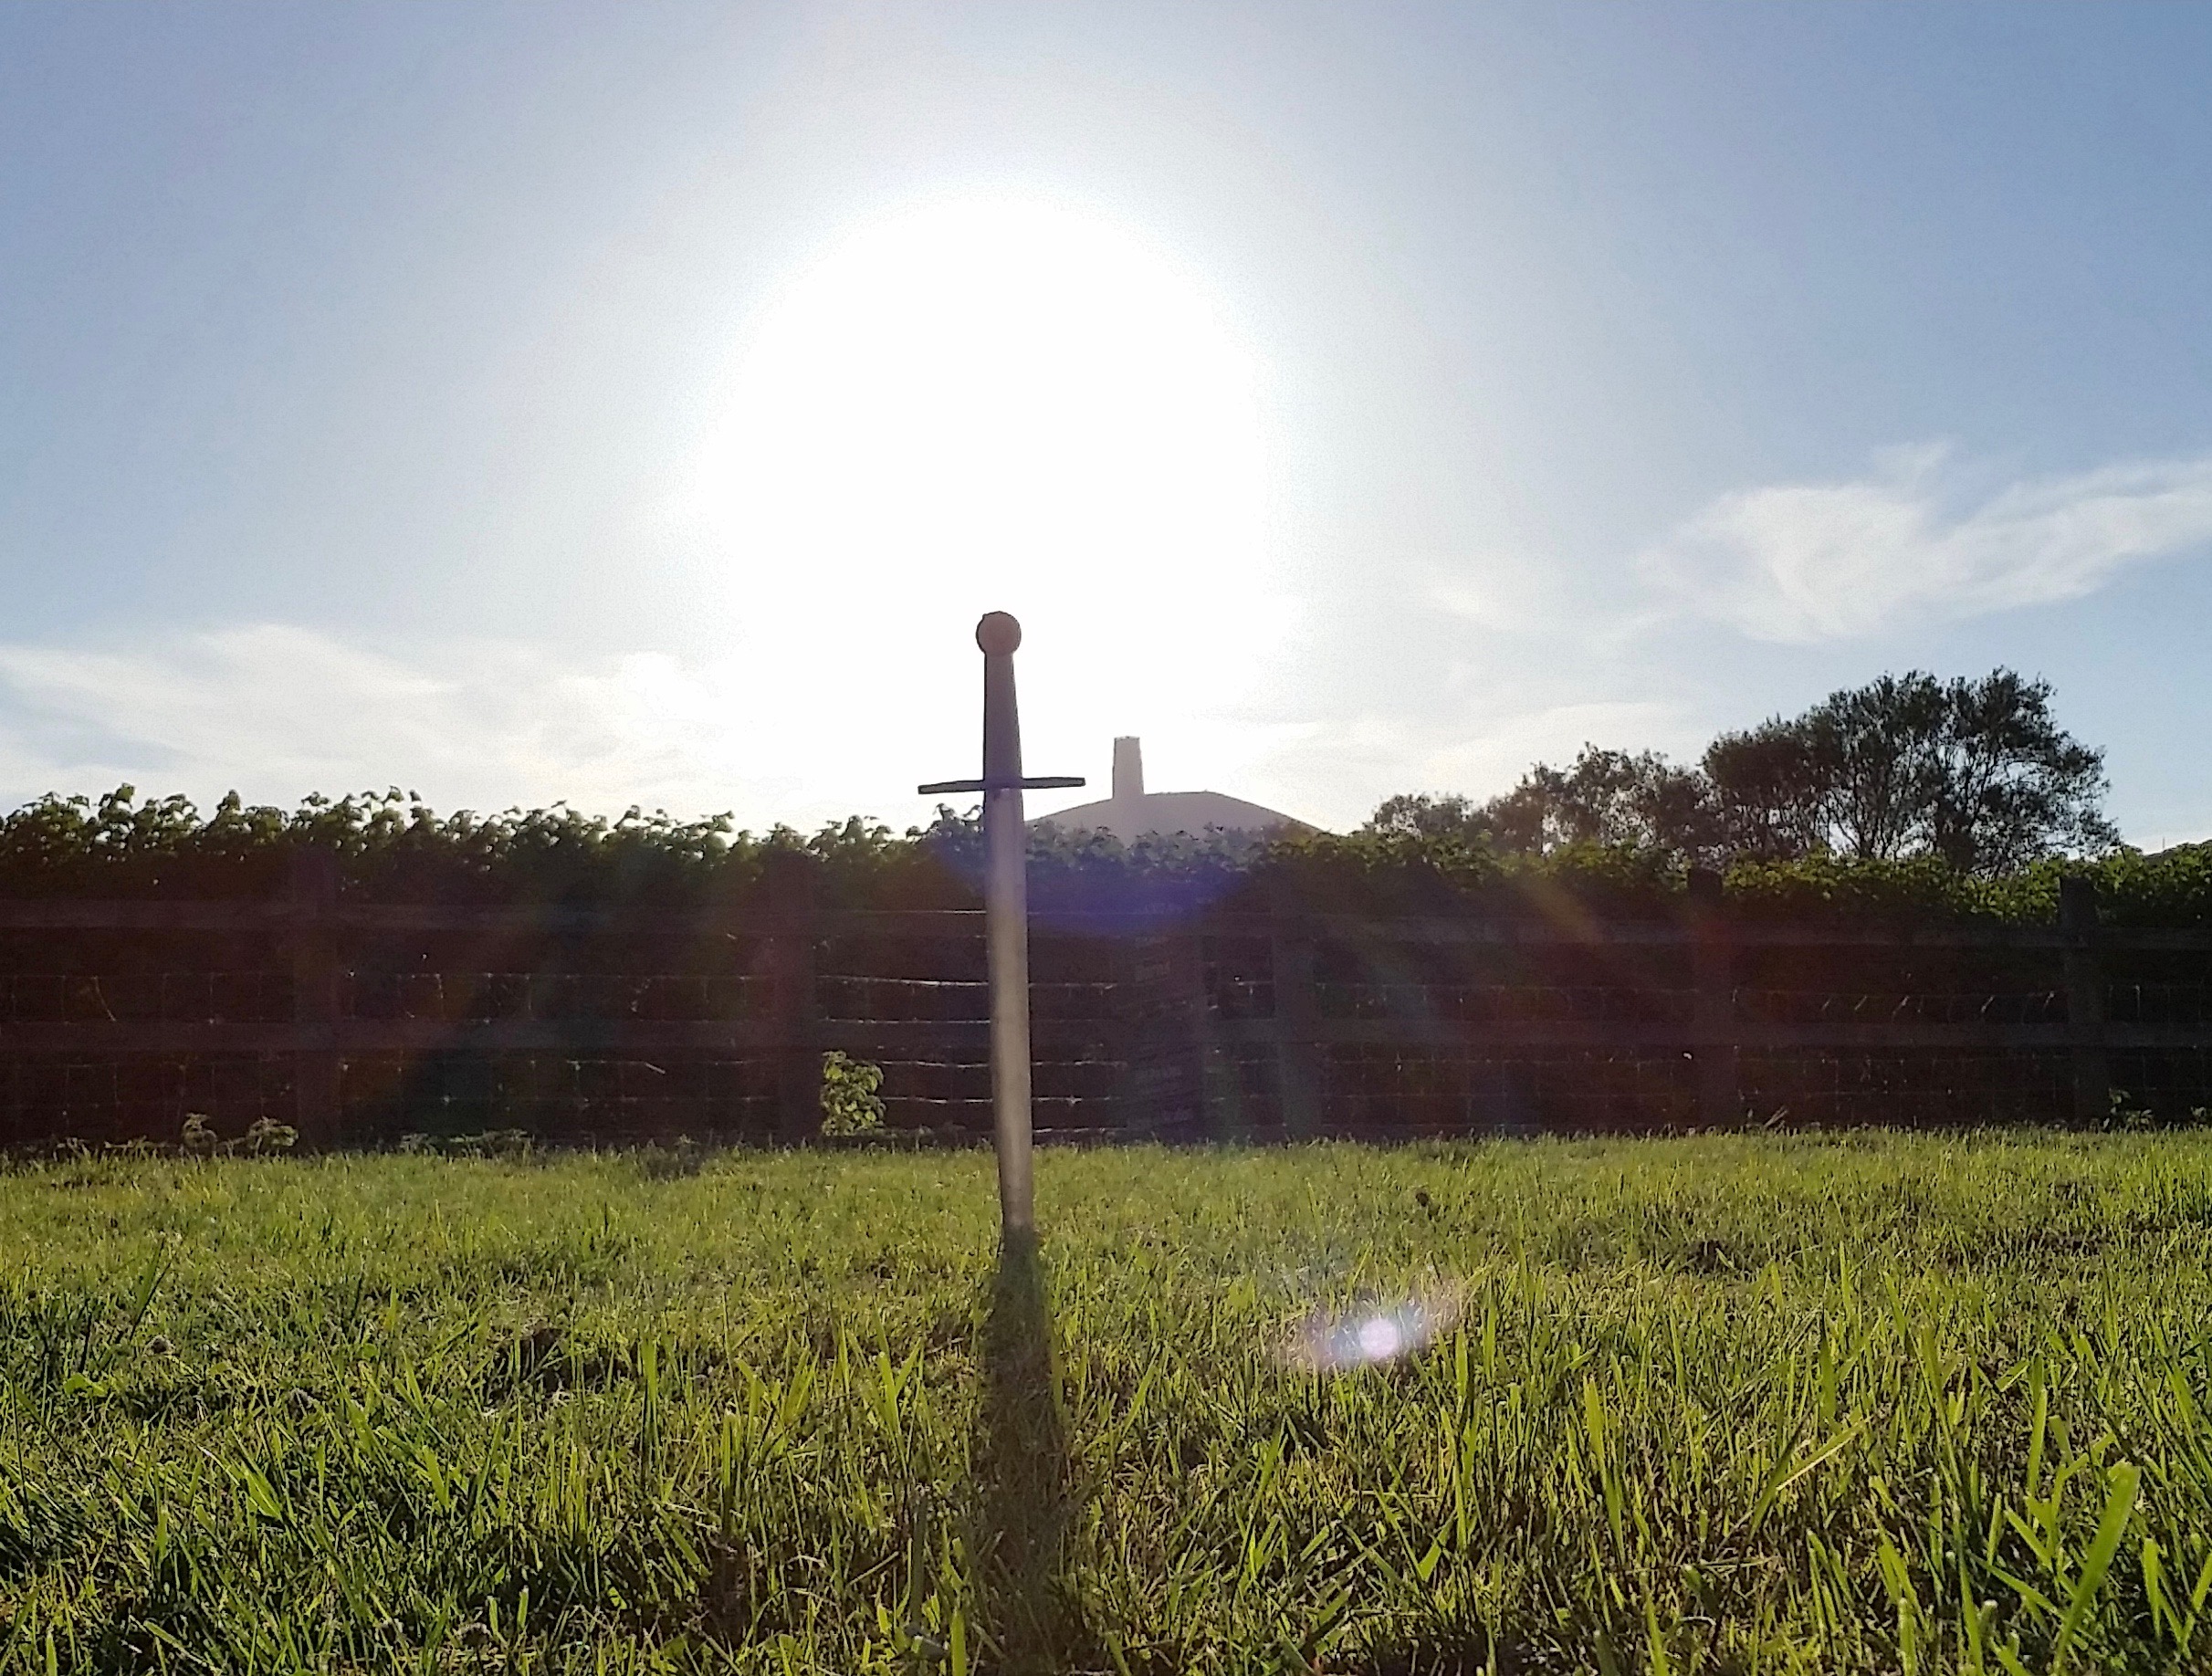 My finished sword |
It is advised that you click Actions>Edit for this document, and copy the entire contents. Then, create a new page on this site using the title of your project as the page name. Past the copied contents from this template page into your newly created page. Then, rename the "Title of this Milestone" in the top-level heading and infobox above to the name of your project or something appropriate related to your milestone. Change the User "credit" name to link to your profile page. Upload an image of your own that captures the essence of this milestone, then replace the "ProjectPicture.jpg" above with the new image name. Replace "Your Project Page Picture Caption" above with your first and last name. Delete this whole paragraph beneath the Project Title and credit up til but not including the Table of Contents tag __TOC__.
Contents
Abstract
The paragraph should give a three to five sentence abstract about your entire London HUA experience including 1) a summary of the aims of your project, 2) your prior experience with humanities and arts courses and disciplines, and 3) your major takeaways from the experience. This can and should be very similar to the paragraph you use to summarize this milestone on your Profile Page. It should contain your main Objective, so be sure to clearly state a one-sentence statement that summarizes your main objective for this milestone such as "a comparison of the text of Medieval English choral music to that of the Baroque" or it may be a question such as "to what extent did religion influence Christopher Wren's sense of design?"
Introduction
I suggest you save this section for last. Describe the essence of this project. Cover what the project is and who cares in the first two sentences. Then cover what others have done like it, how your project is different. Discuss the extent to which your strategy for completing this project was new to you, or an extension of previous HUA experiences.
As you continue to think about your project milestones, reread the "Goals" narrative on defining project milestones from the HU2900 syllabus. Remember: the idea is to have equip your milestone with a really solid background and then some sort of "thing that you do". You'll need to add in some narrative to describe why you did the "thing that you did", which you'd probably want to do anyway. You can make it easy for your advisors to give you a high grade by ensuring that your project milestone work reflects careful, considerate, and comprehensive thought and effort in terms of your background review, and insightful, cumulative, and methodical approaches toward the creative components of your project milestone deliverables.
Section 1: Background
Now you're on your own! Your milestone must include a thorough and detailed background section with detailed subsections; if additional articles are required to be referenced in this background section, create those as well and link to them (the creation of all pages is tracked by the wiki site and attributed to your username). Remember to use rich multimedia whenever possible. Consult the Help page as needed! Remember, if you don't see an article on this site that is an integral part of your project, create it! Your entire page-creating/page-editing history factors into your overall grade.
Tools of the Trade
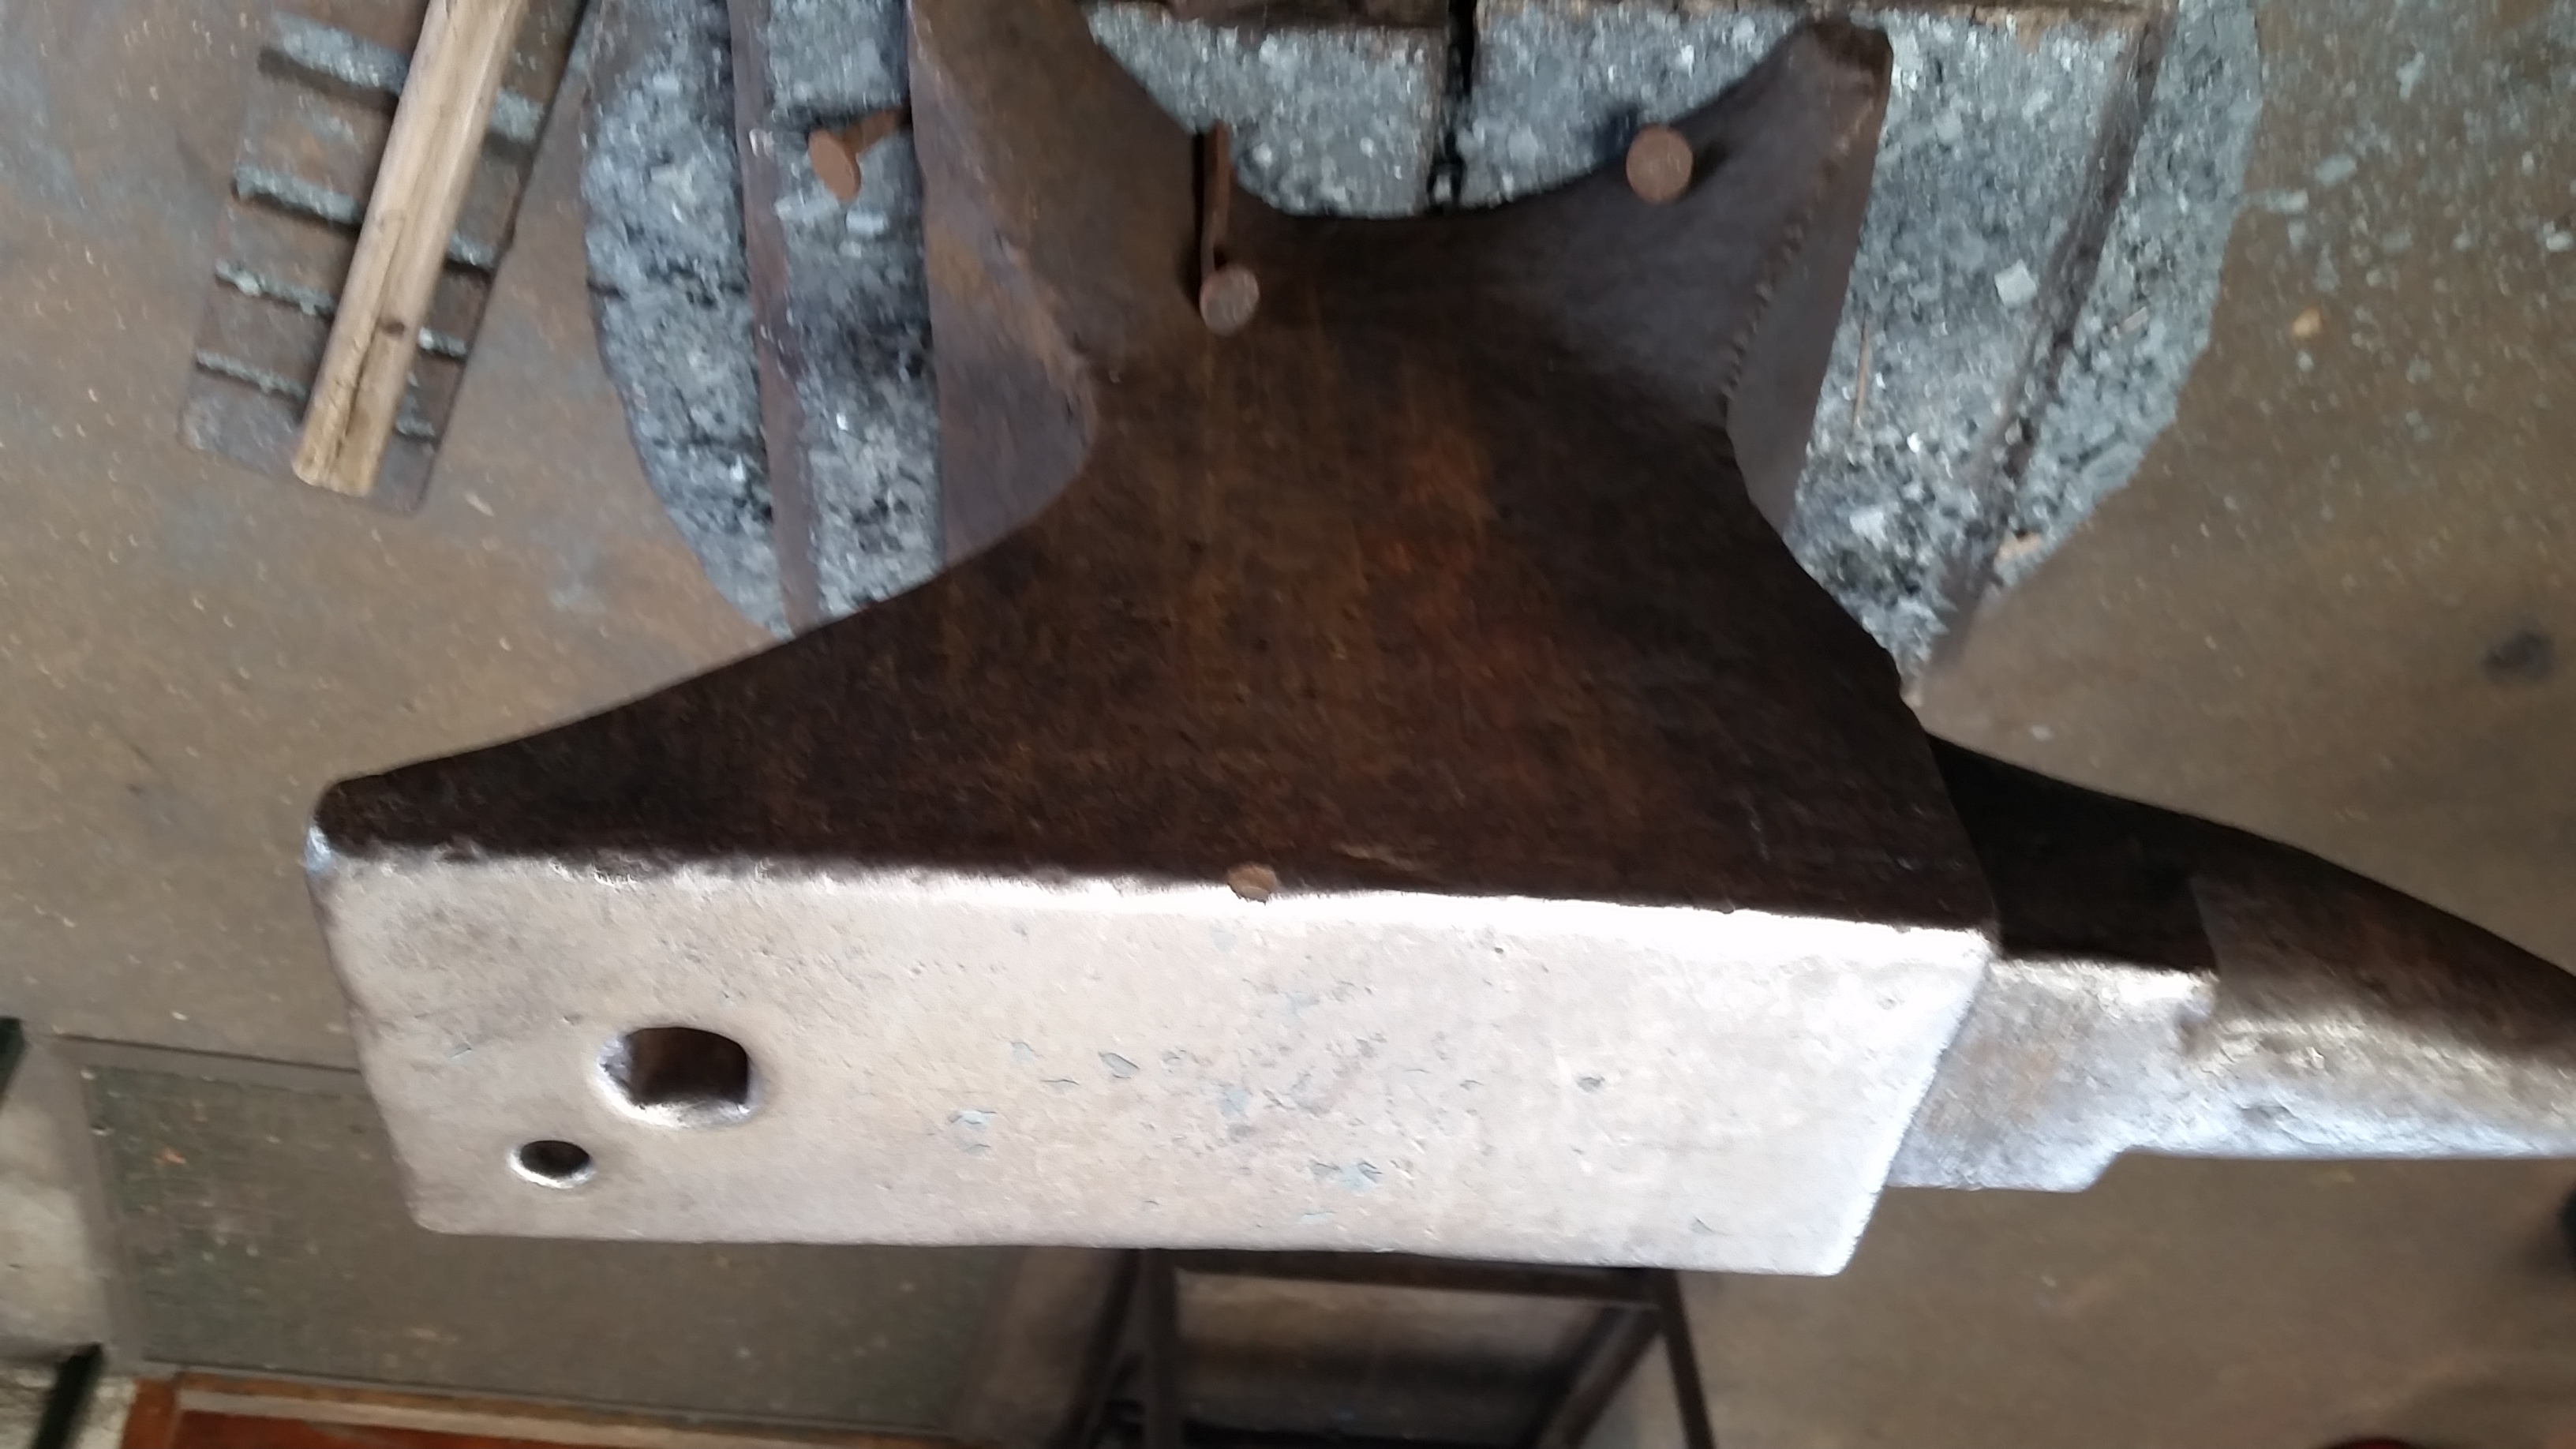
Anvil - Usually made of from a cast of low-carbon steel with a higher carbon steel face welded to onto the body. This tool serves as a surface on which an object being forged is struck. When a hammer hits on side of the object with a certain amount of force the anvil should rebound that same amount of force onto the other side of the object.
Quenching Tank - A tank that contains oil or other hardening mediums used in the heat treatment of blades. It can also just serve as a way to rapidly cool a piece of metal so that it can be quickly touched.
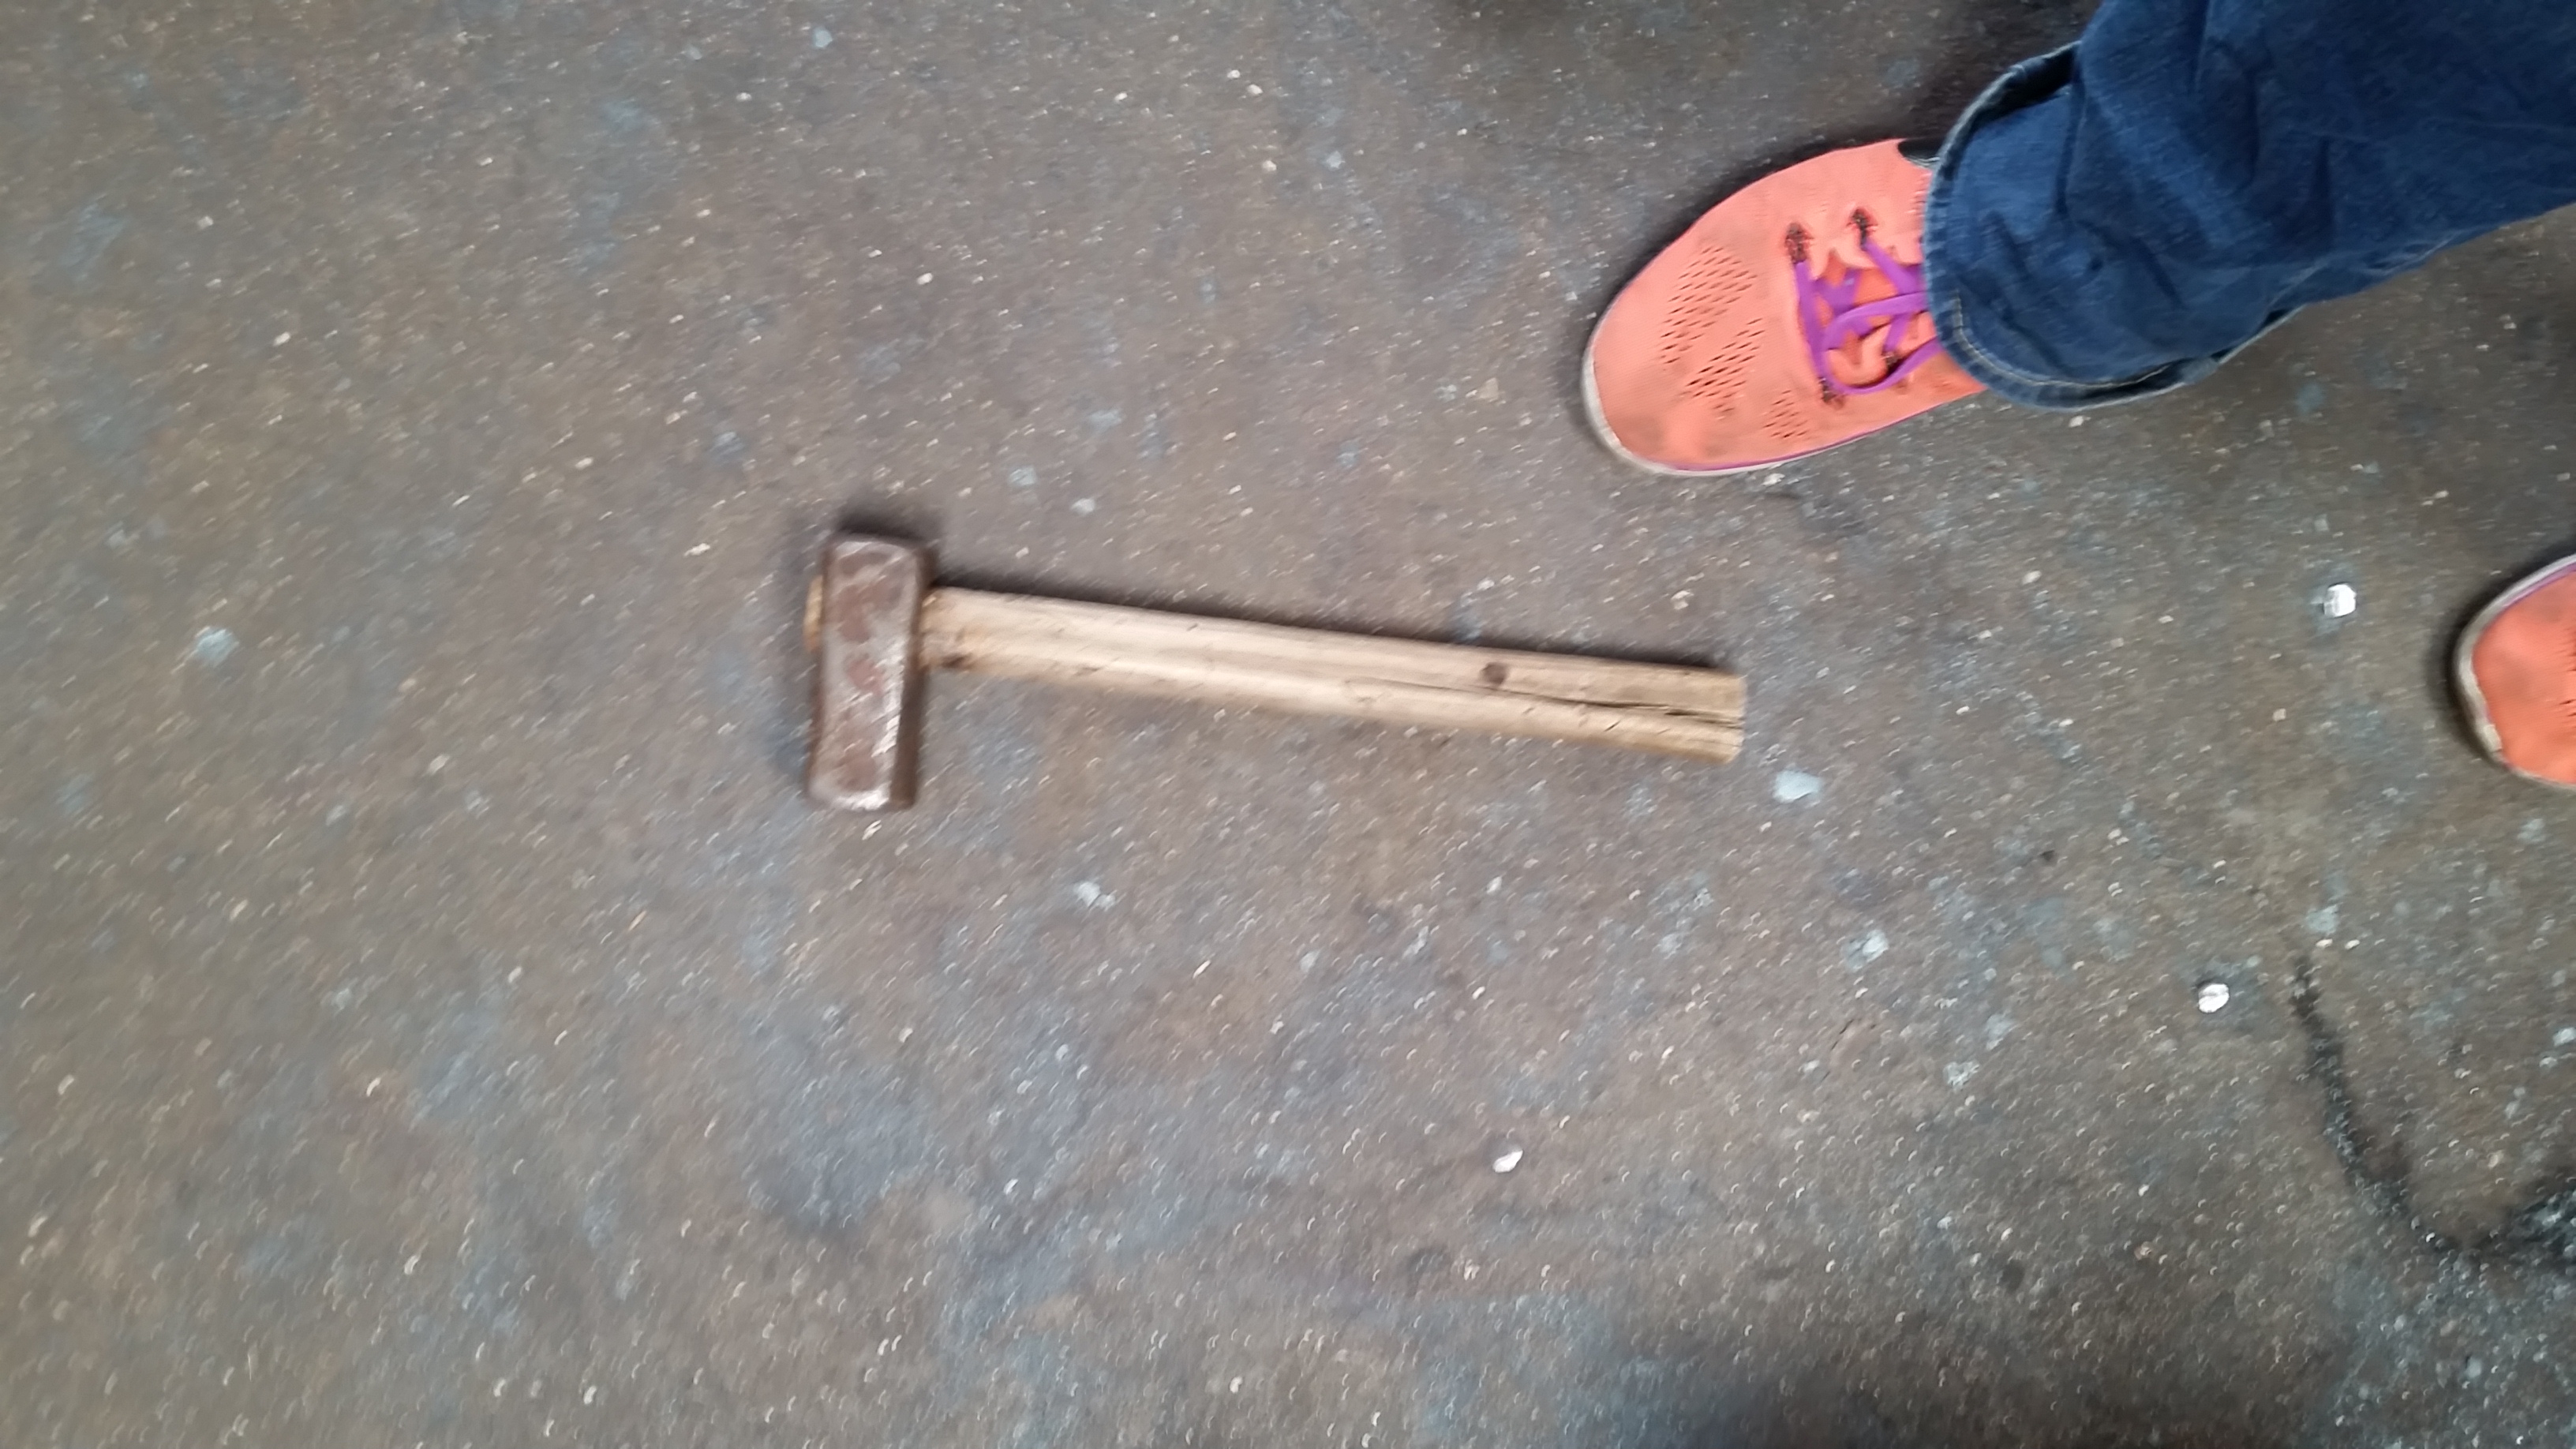
Hammer - A heavy hammer that is used in combination with an anvil to forge metal.
Hardy - A metal working tool that fits inside a square hole in the anvil. It usually refers to a chisel that when hot steel is hammered over will cut the steel.
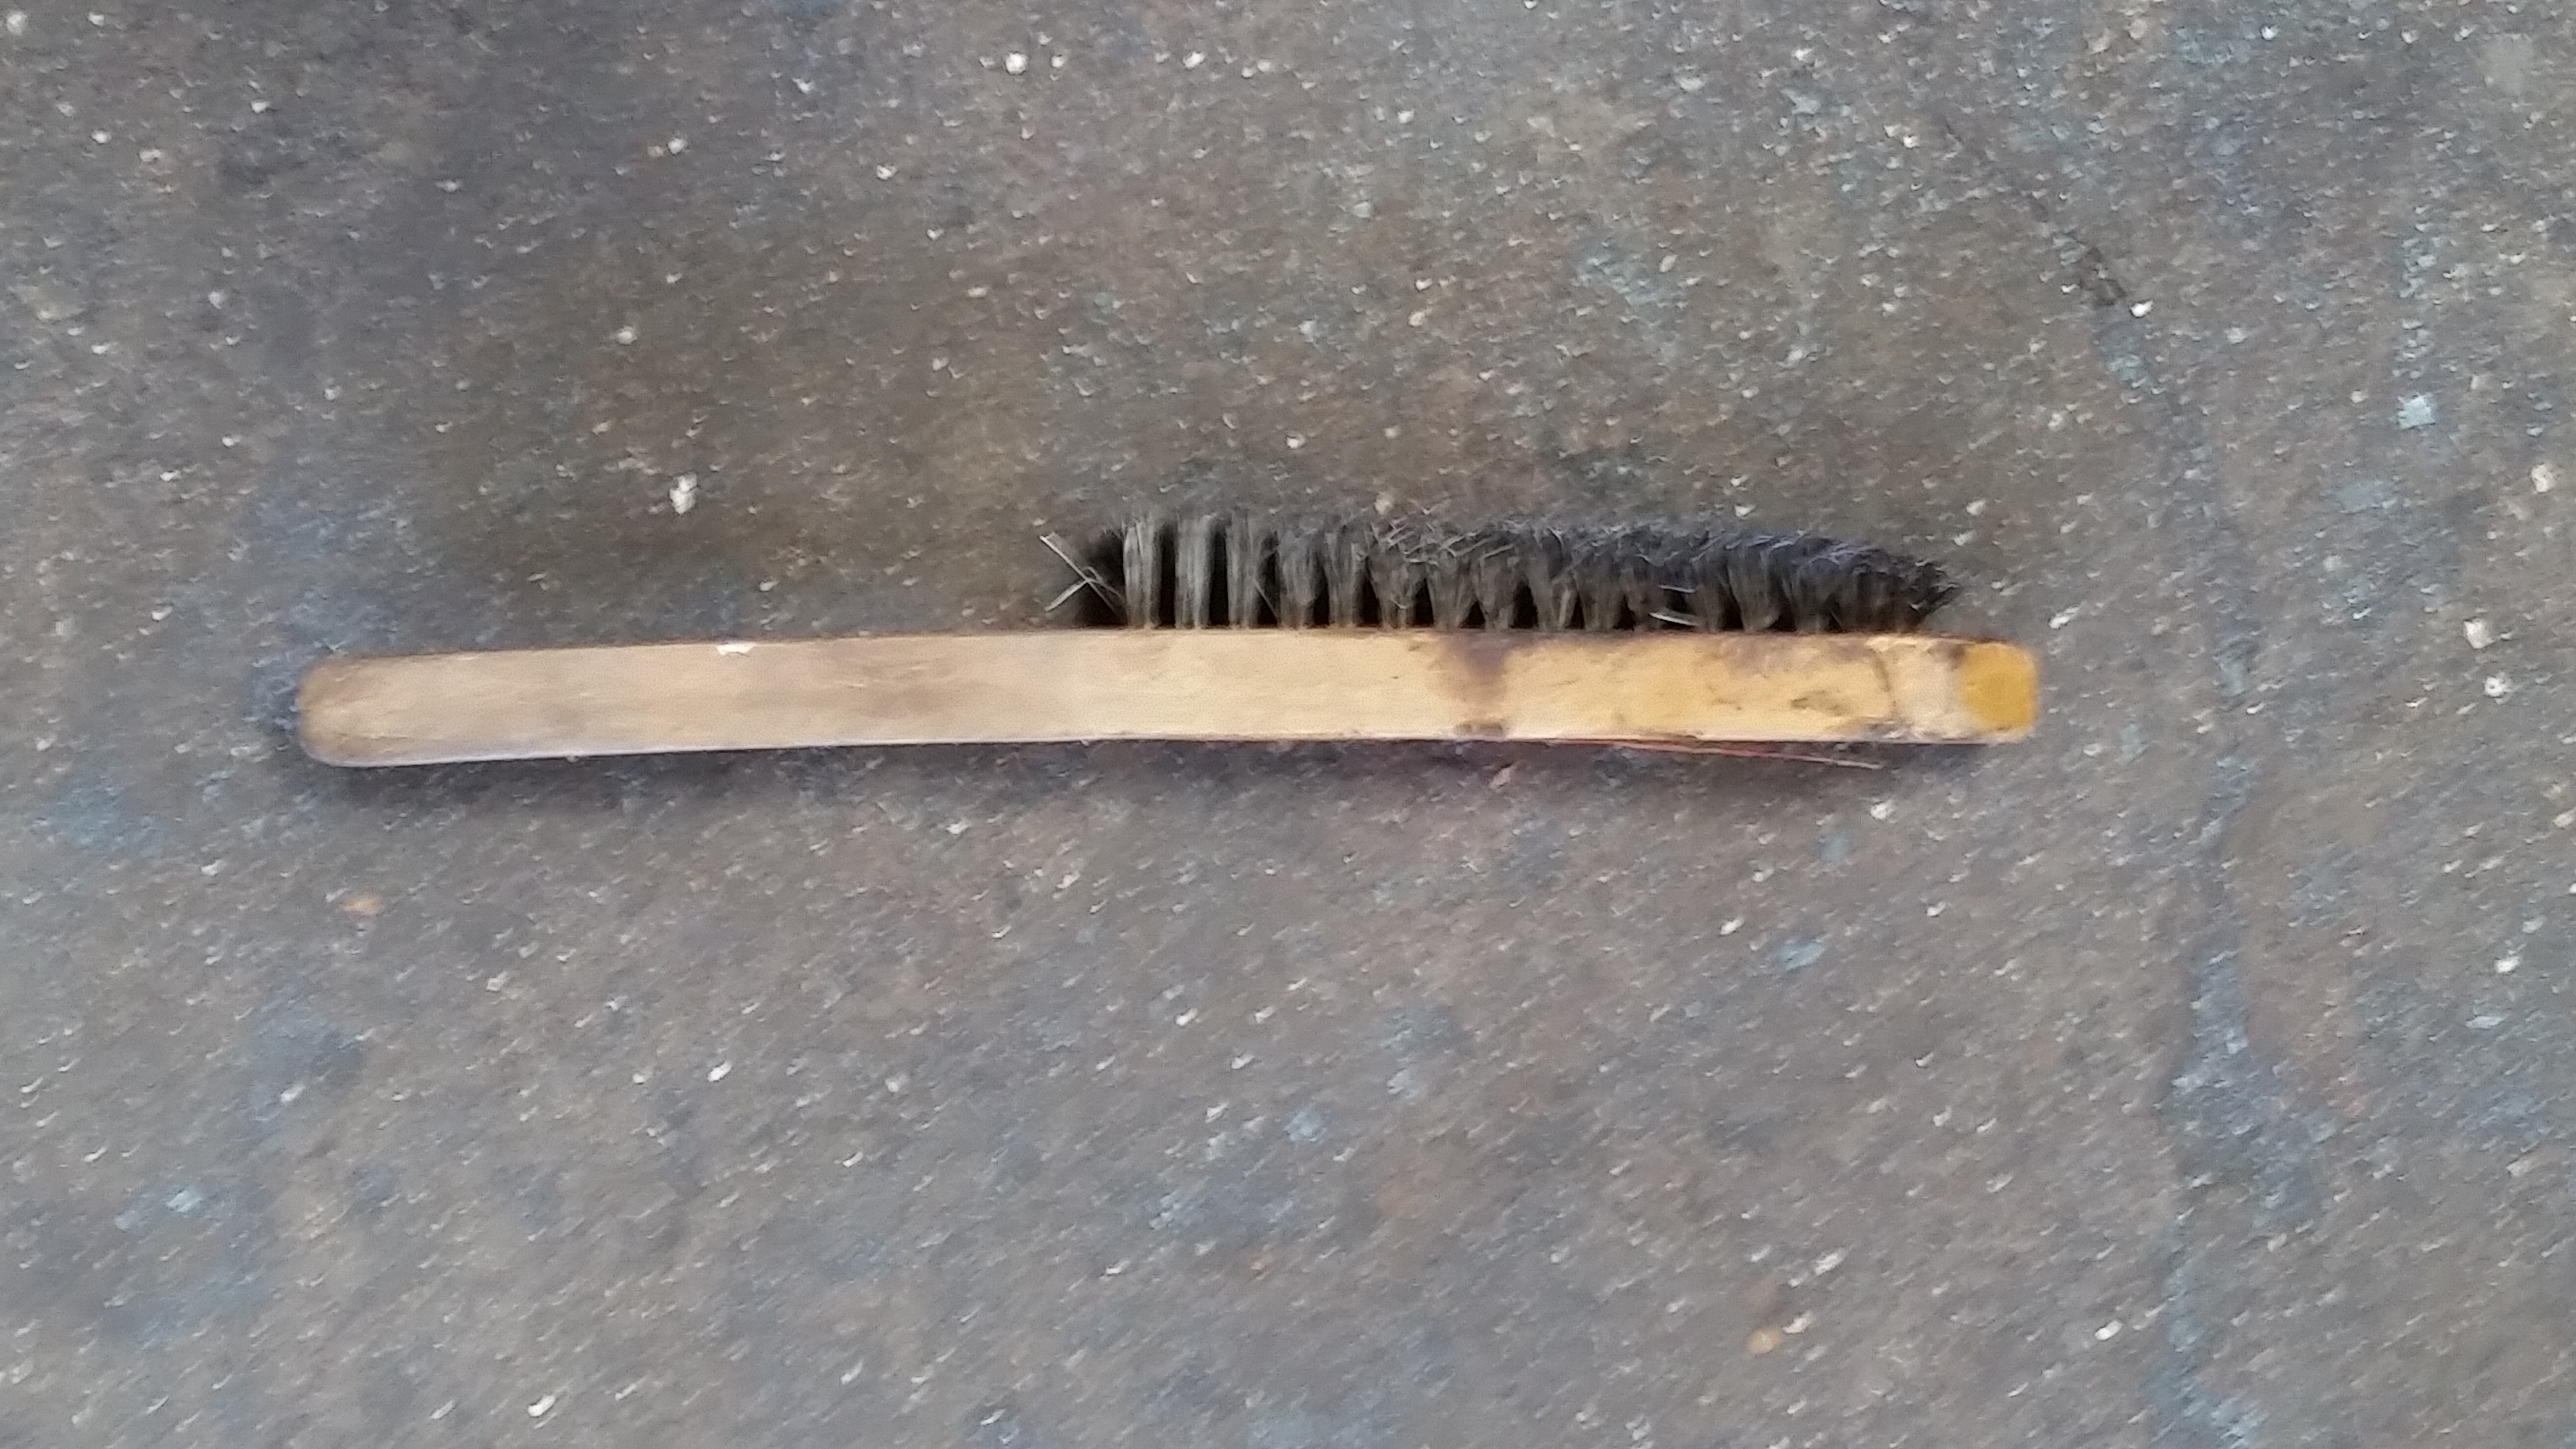
Wire Brush - A tool that is used by blacksmiths to brush away any hammer scale that may appear on the piece being worked on.
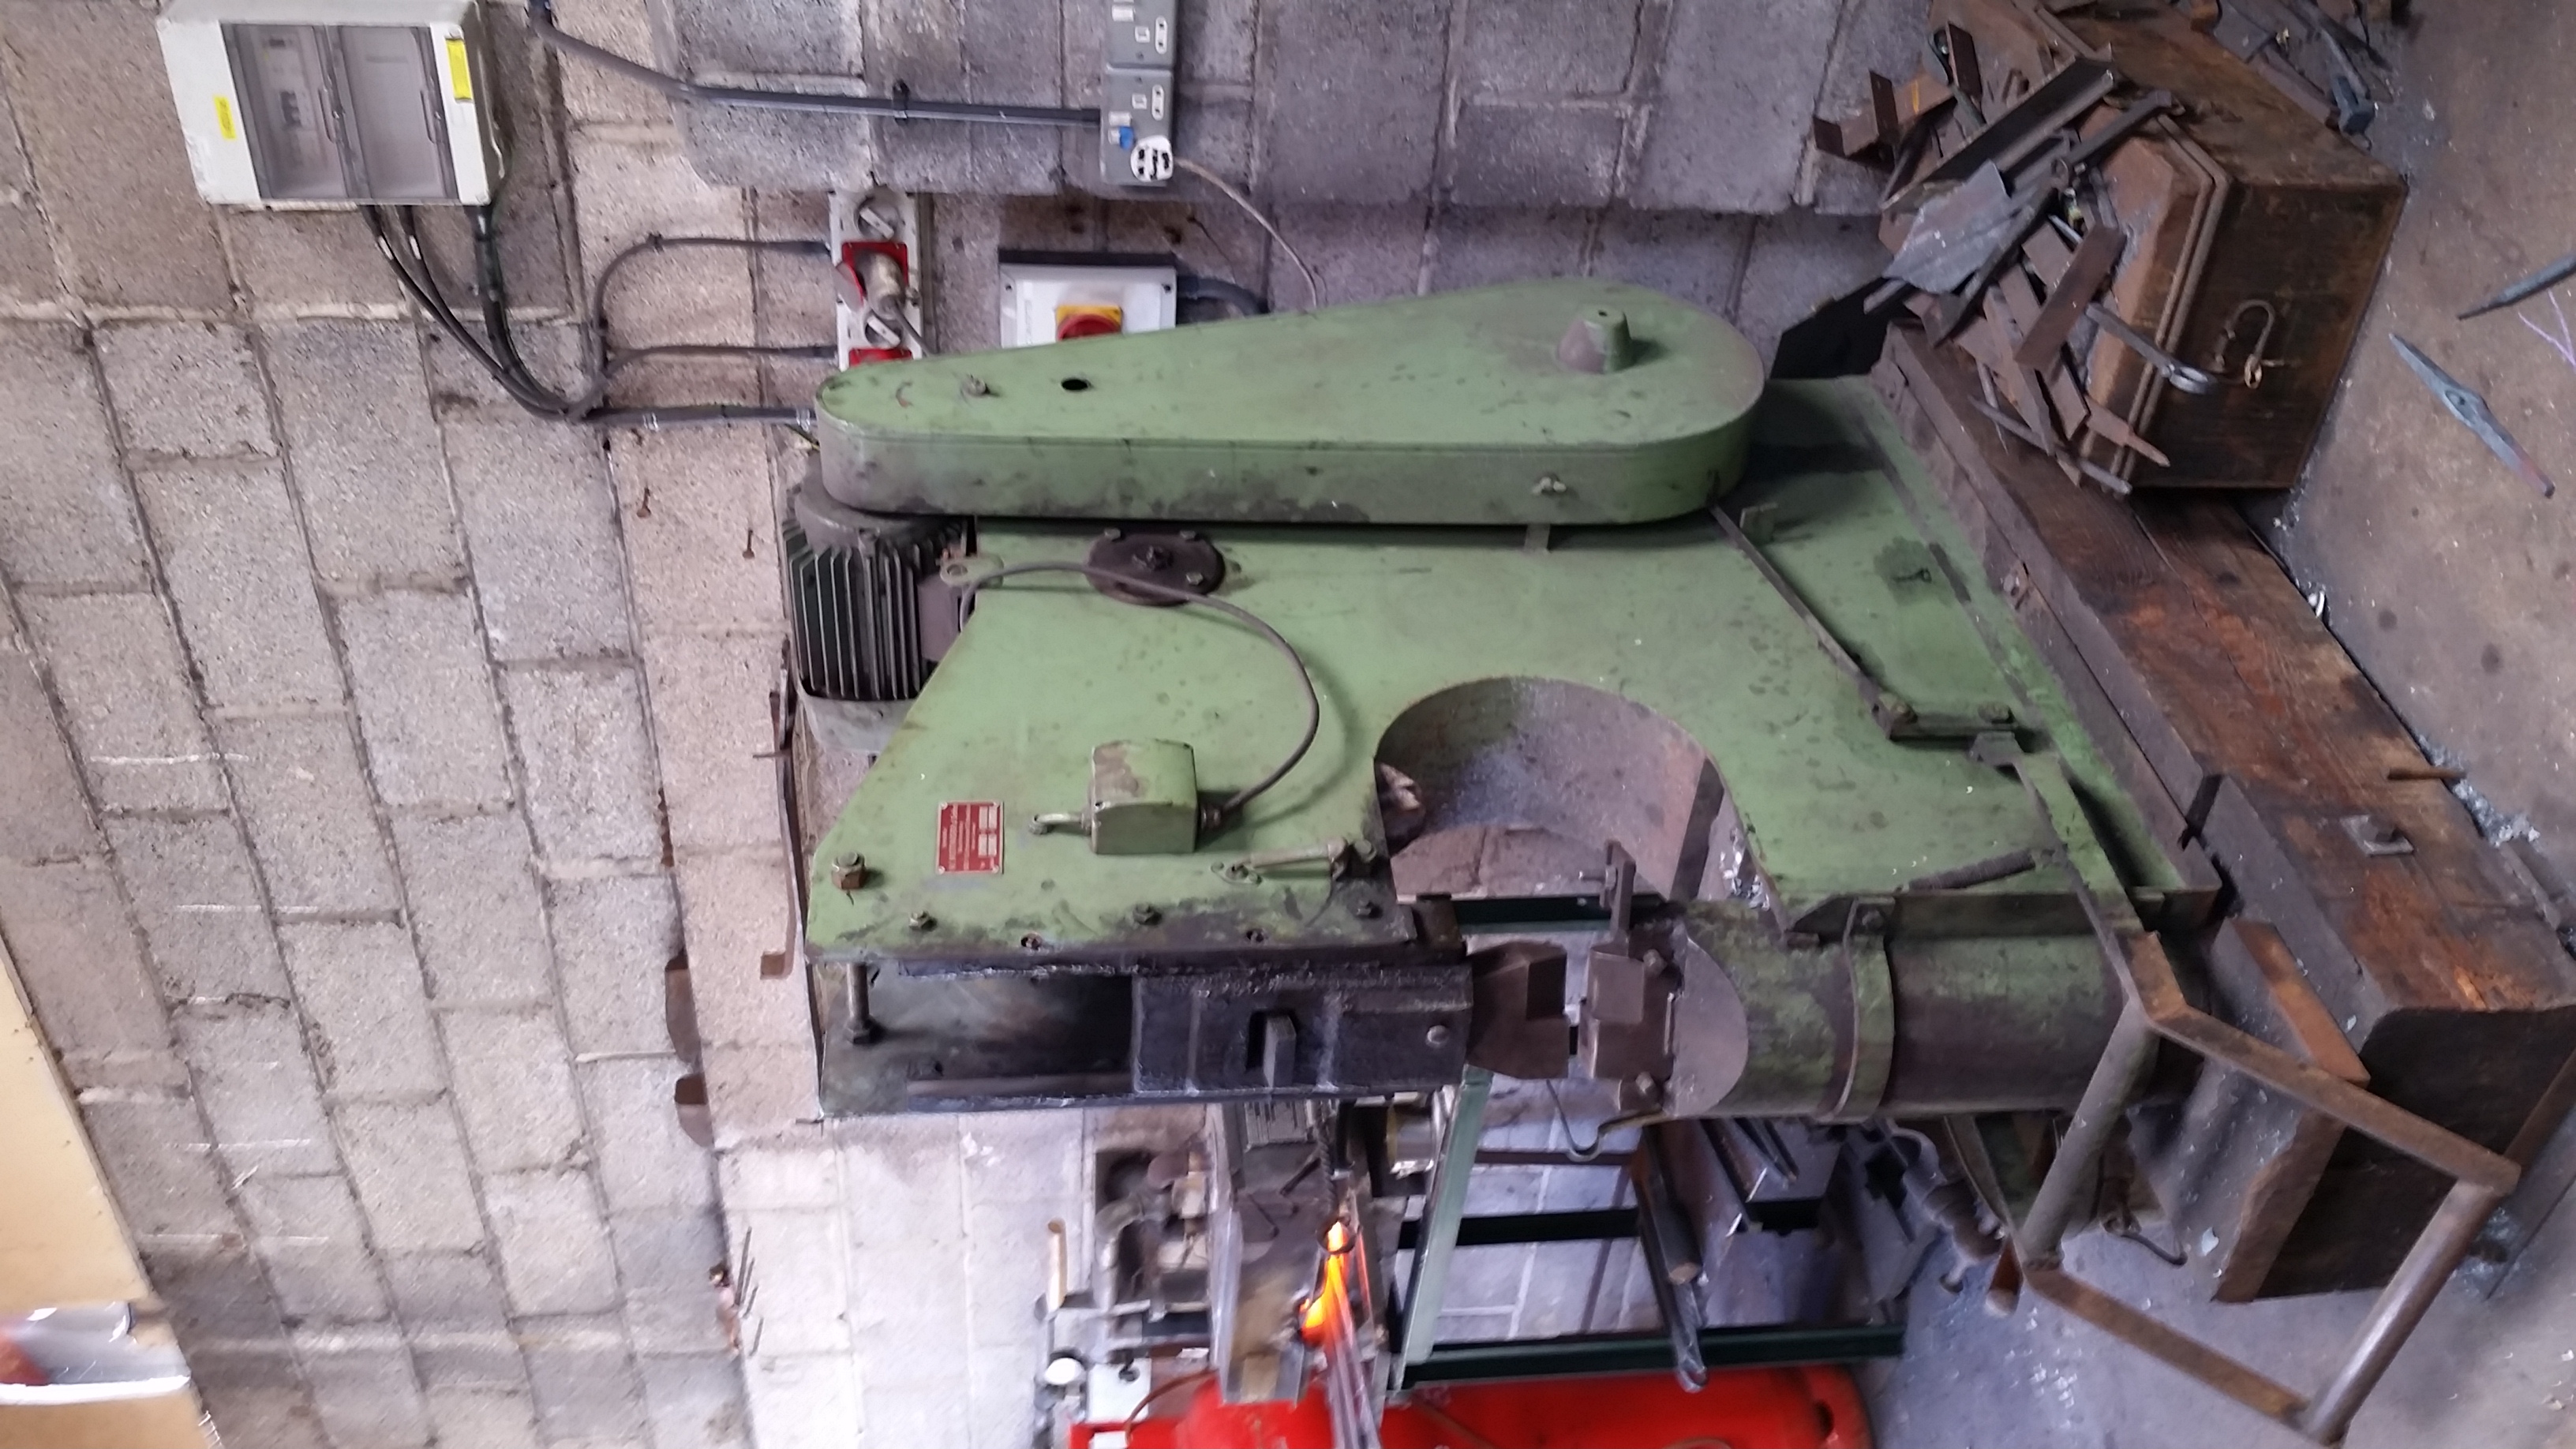
Spring loaded Press - A large machine with different heads that can be attached. It is good for making fast and even hammer blows.
[[File: Propane Forge.jpg|x320px|right|thumb]
Forge - A hearth used for heating metals to different temperatures so that they can be worked on. Two common types of forges include ones that run on propane or coal. A propane forge is easy to regulate the temperature of as it is just controlled by how much propane is being used. This type of forge doesn't make as much of a mess as a coal forge and is good for when trying to work on many pieces at once. A cool for though is much larger and is ideal for heat tempering as the entire piece needs to be heated evenly which can be hard to do with propane.
[[File: Swage Block.jpg|x320px|right|thumb]
Swage Block - A large, heavy block of cast iron, or steel that is made up of many different sized shapes. A block can be used to bend, cut, punch and form a hot piece of metal with the use of a hammer.
...use as many subsections or main sections as you need to support the claims for why you did what you did for your Deliverable section...
Subsection 2
...and so on and so forth...
Section 2: Deliverable
In this section, provide your contribution, creative element, assessment, or observation with regard to your background research. This could be a new derivative work based on previous research, or some parallel to other events. In this section, describe the relationship between your background review and your deliverable; make the connection between the two clear.
Daily Jornal
Tuesday June 13, 2017 – Day 1 at the Forge
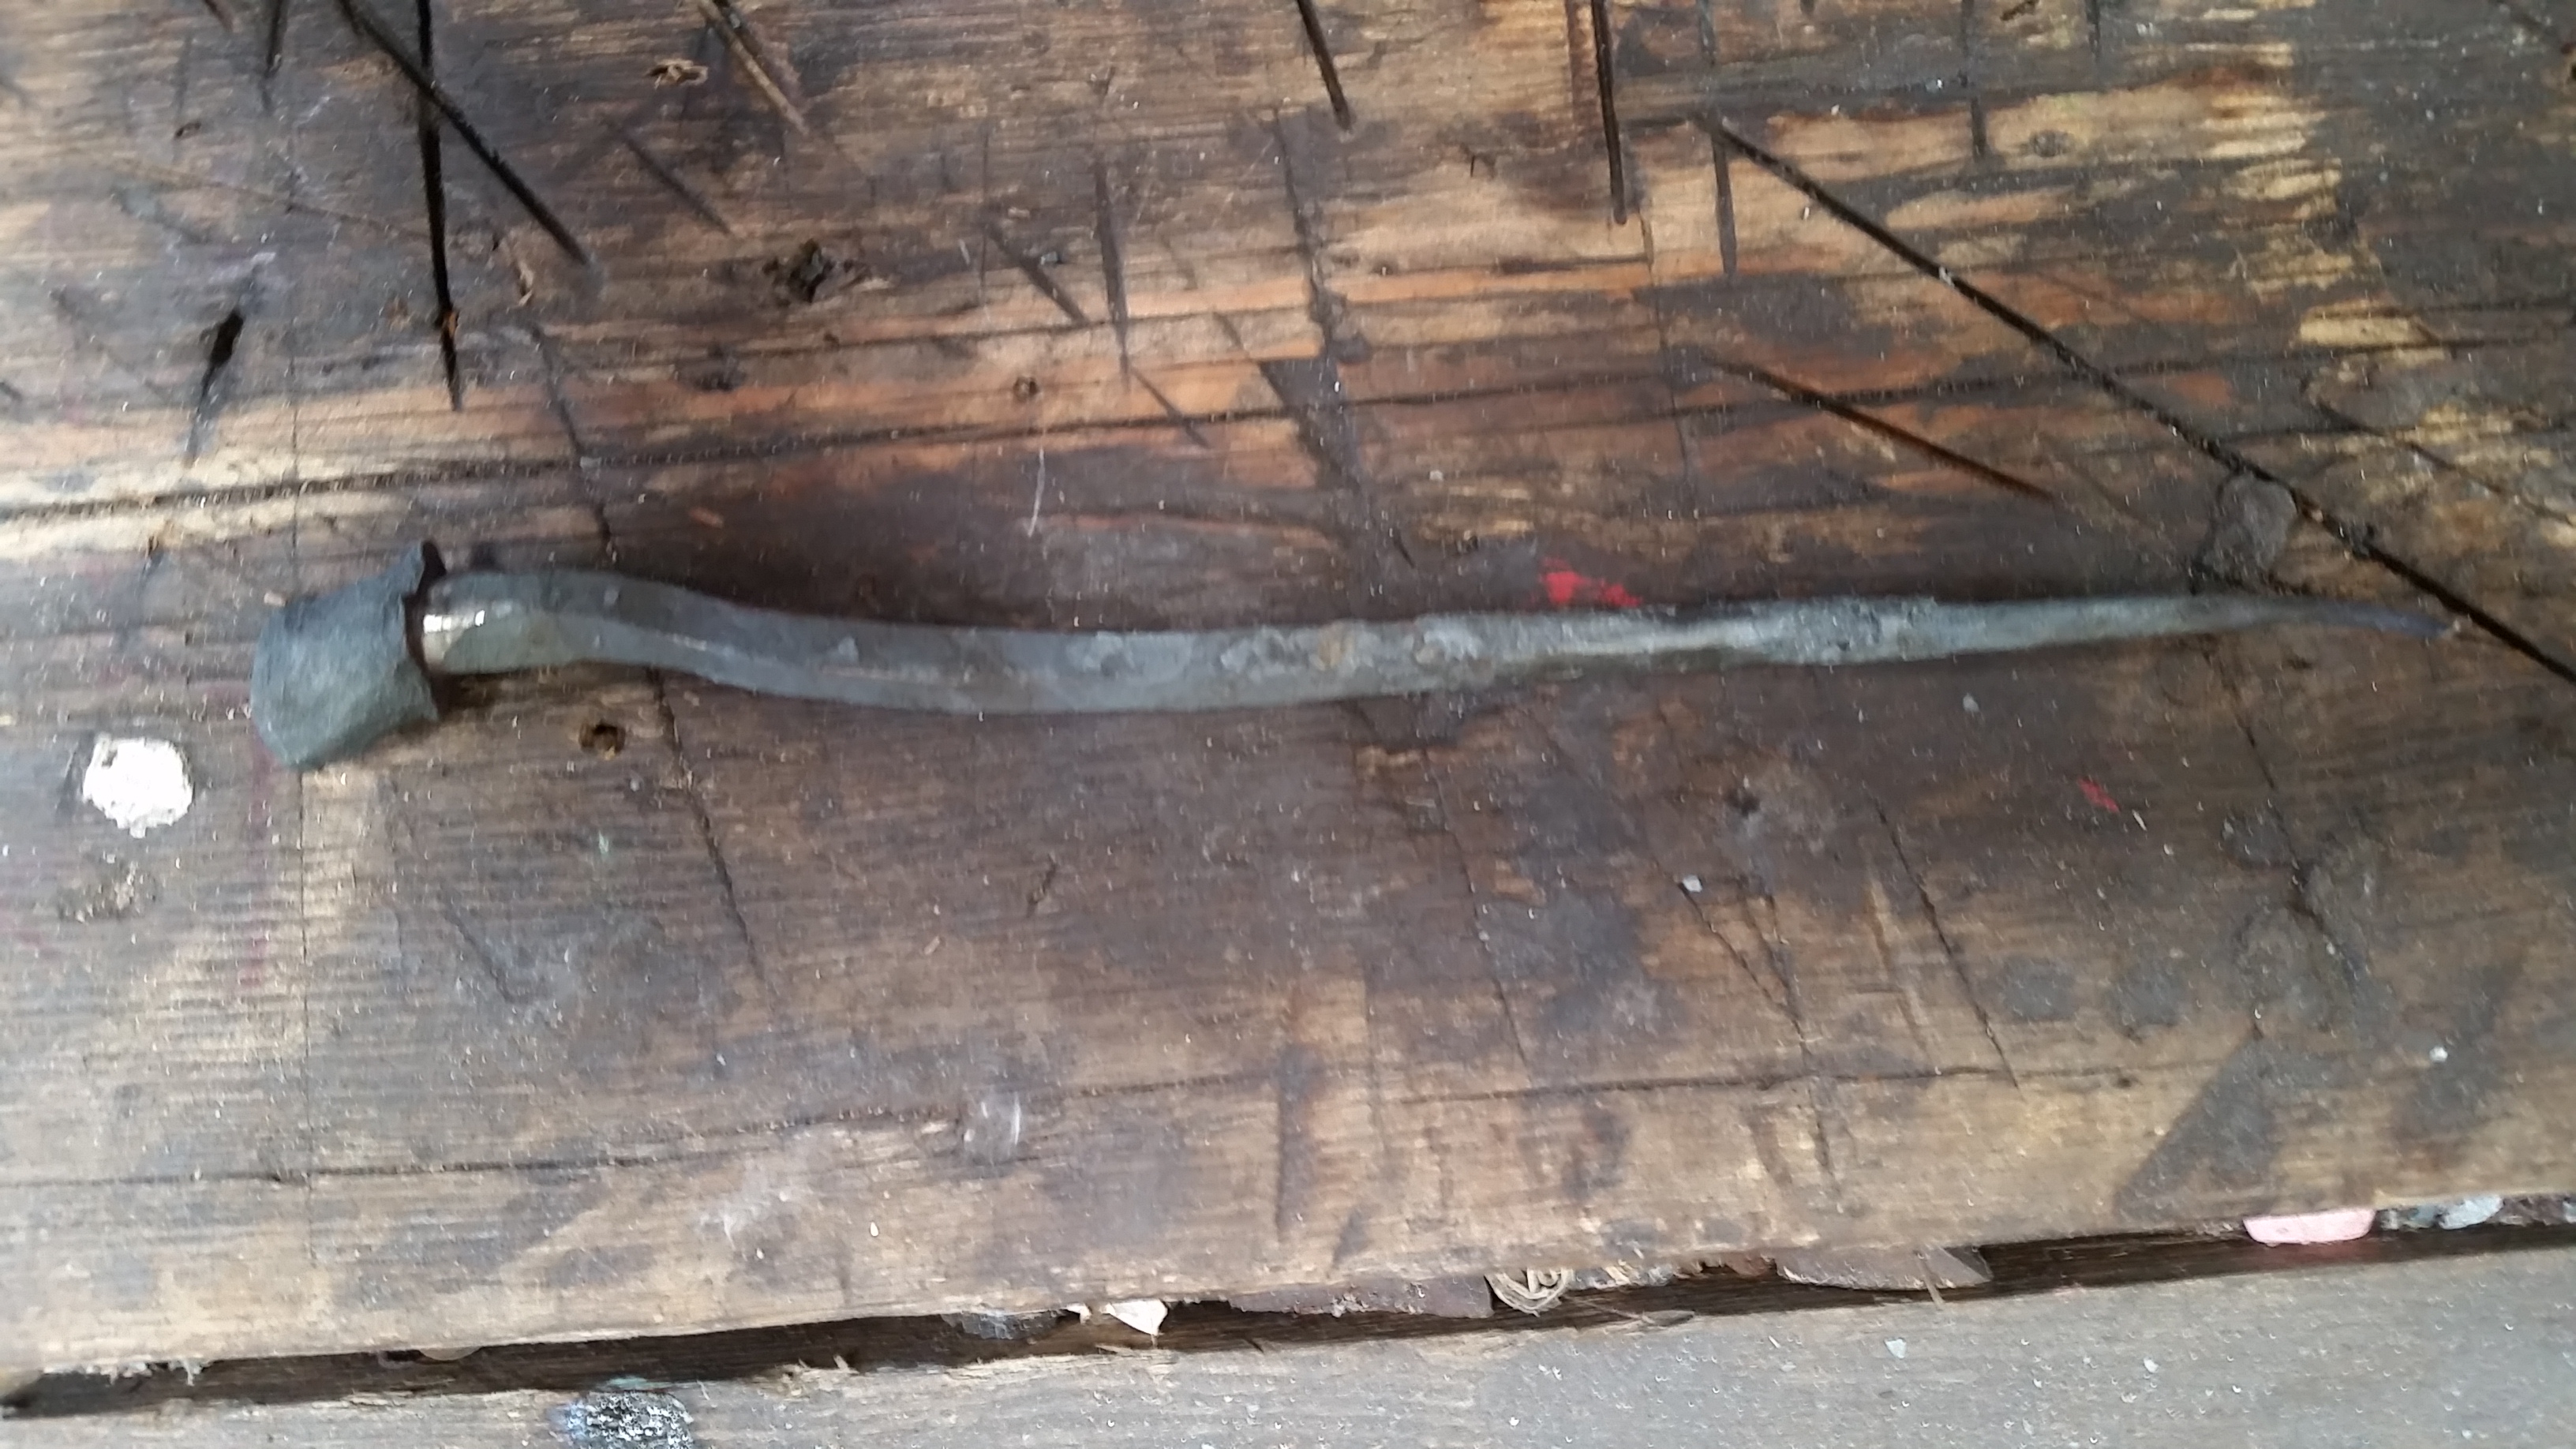
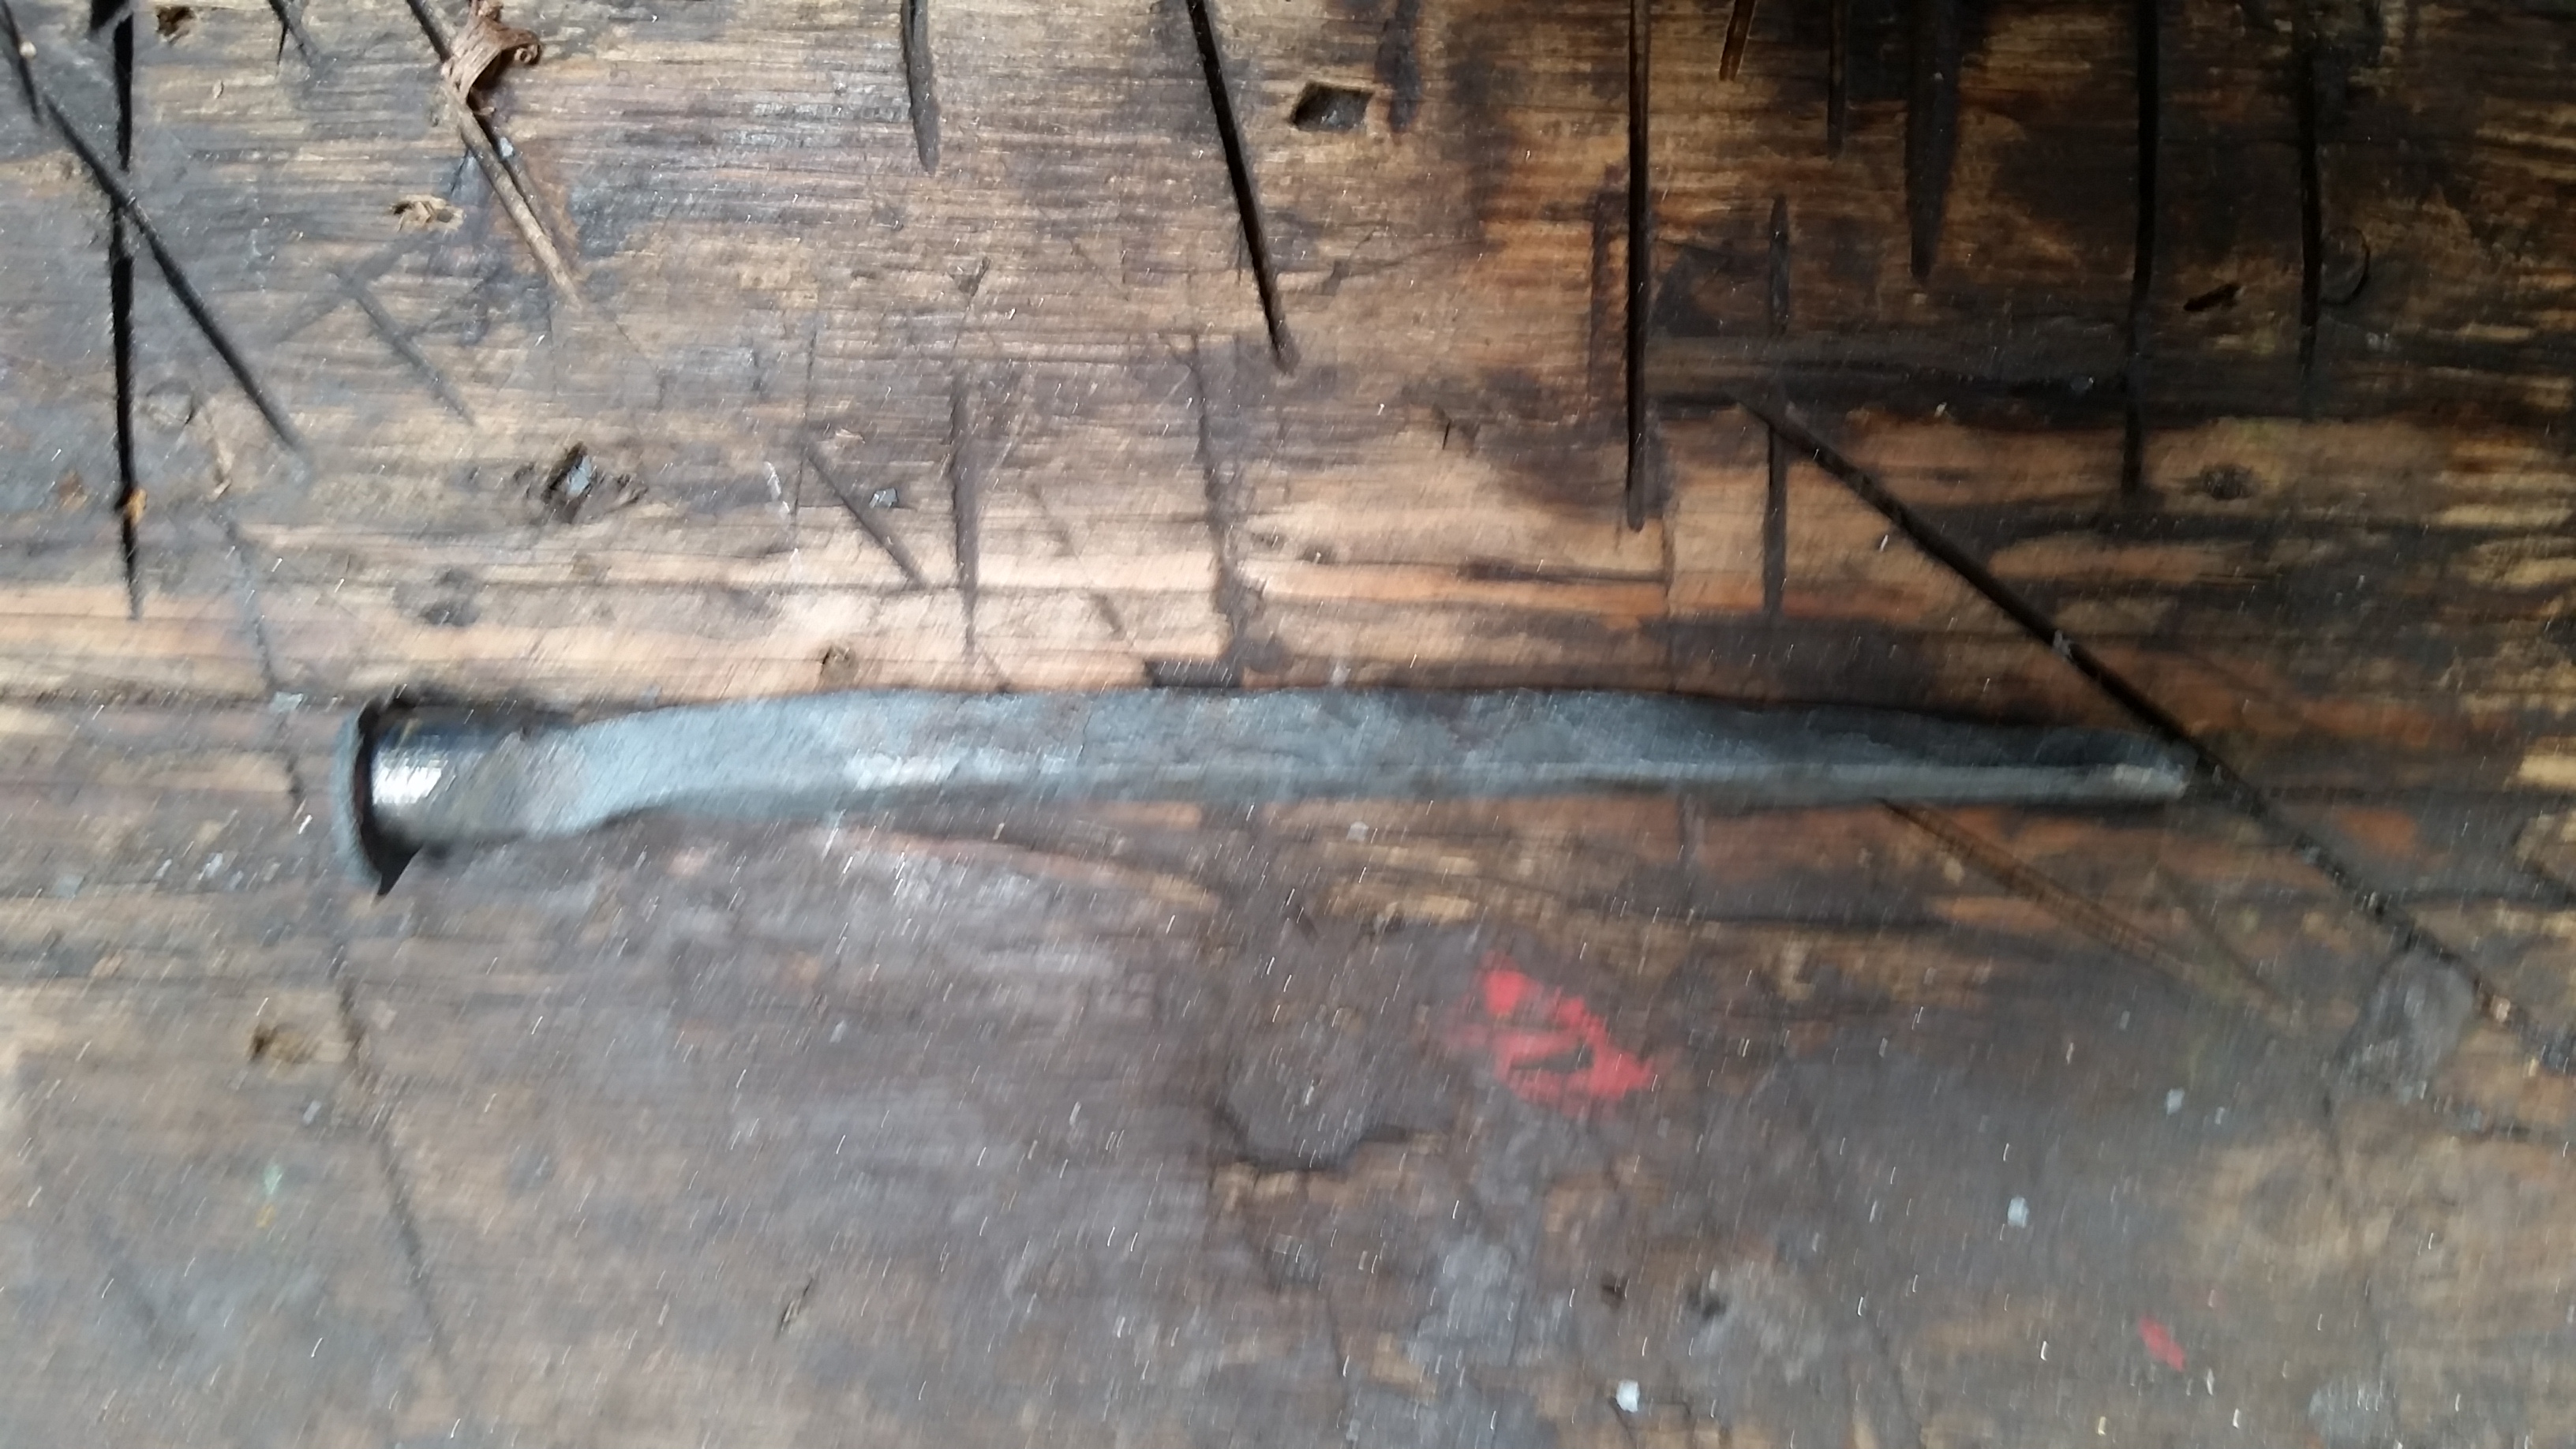
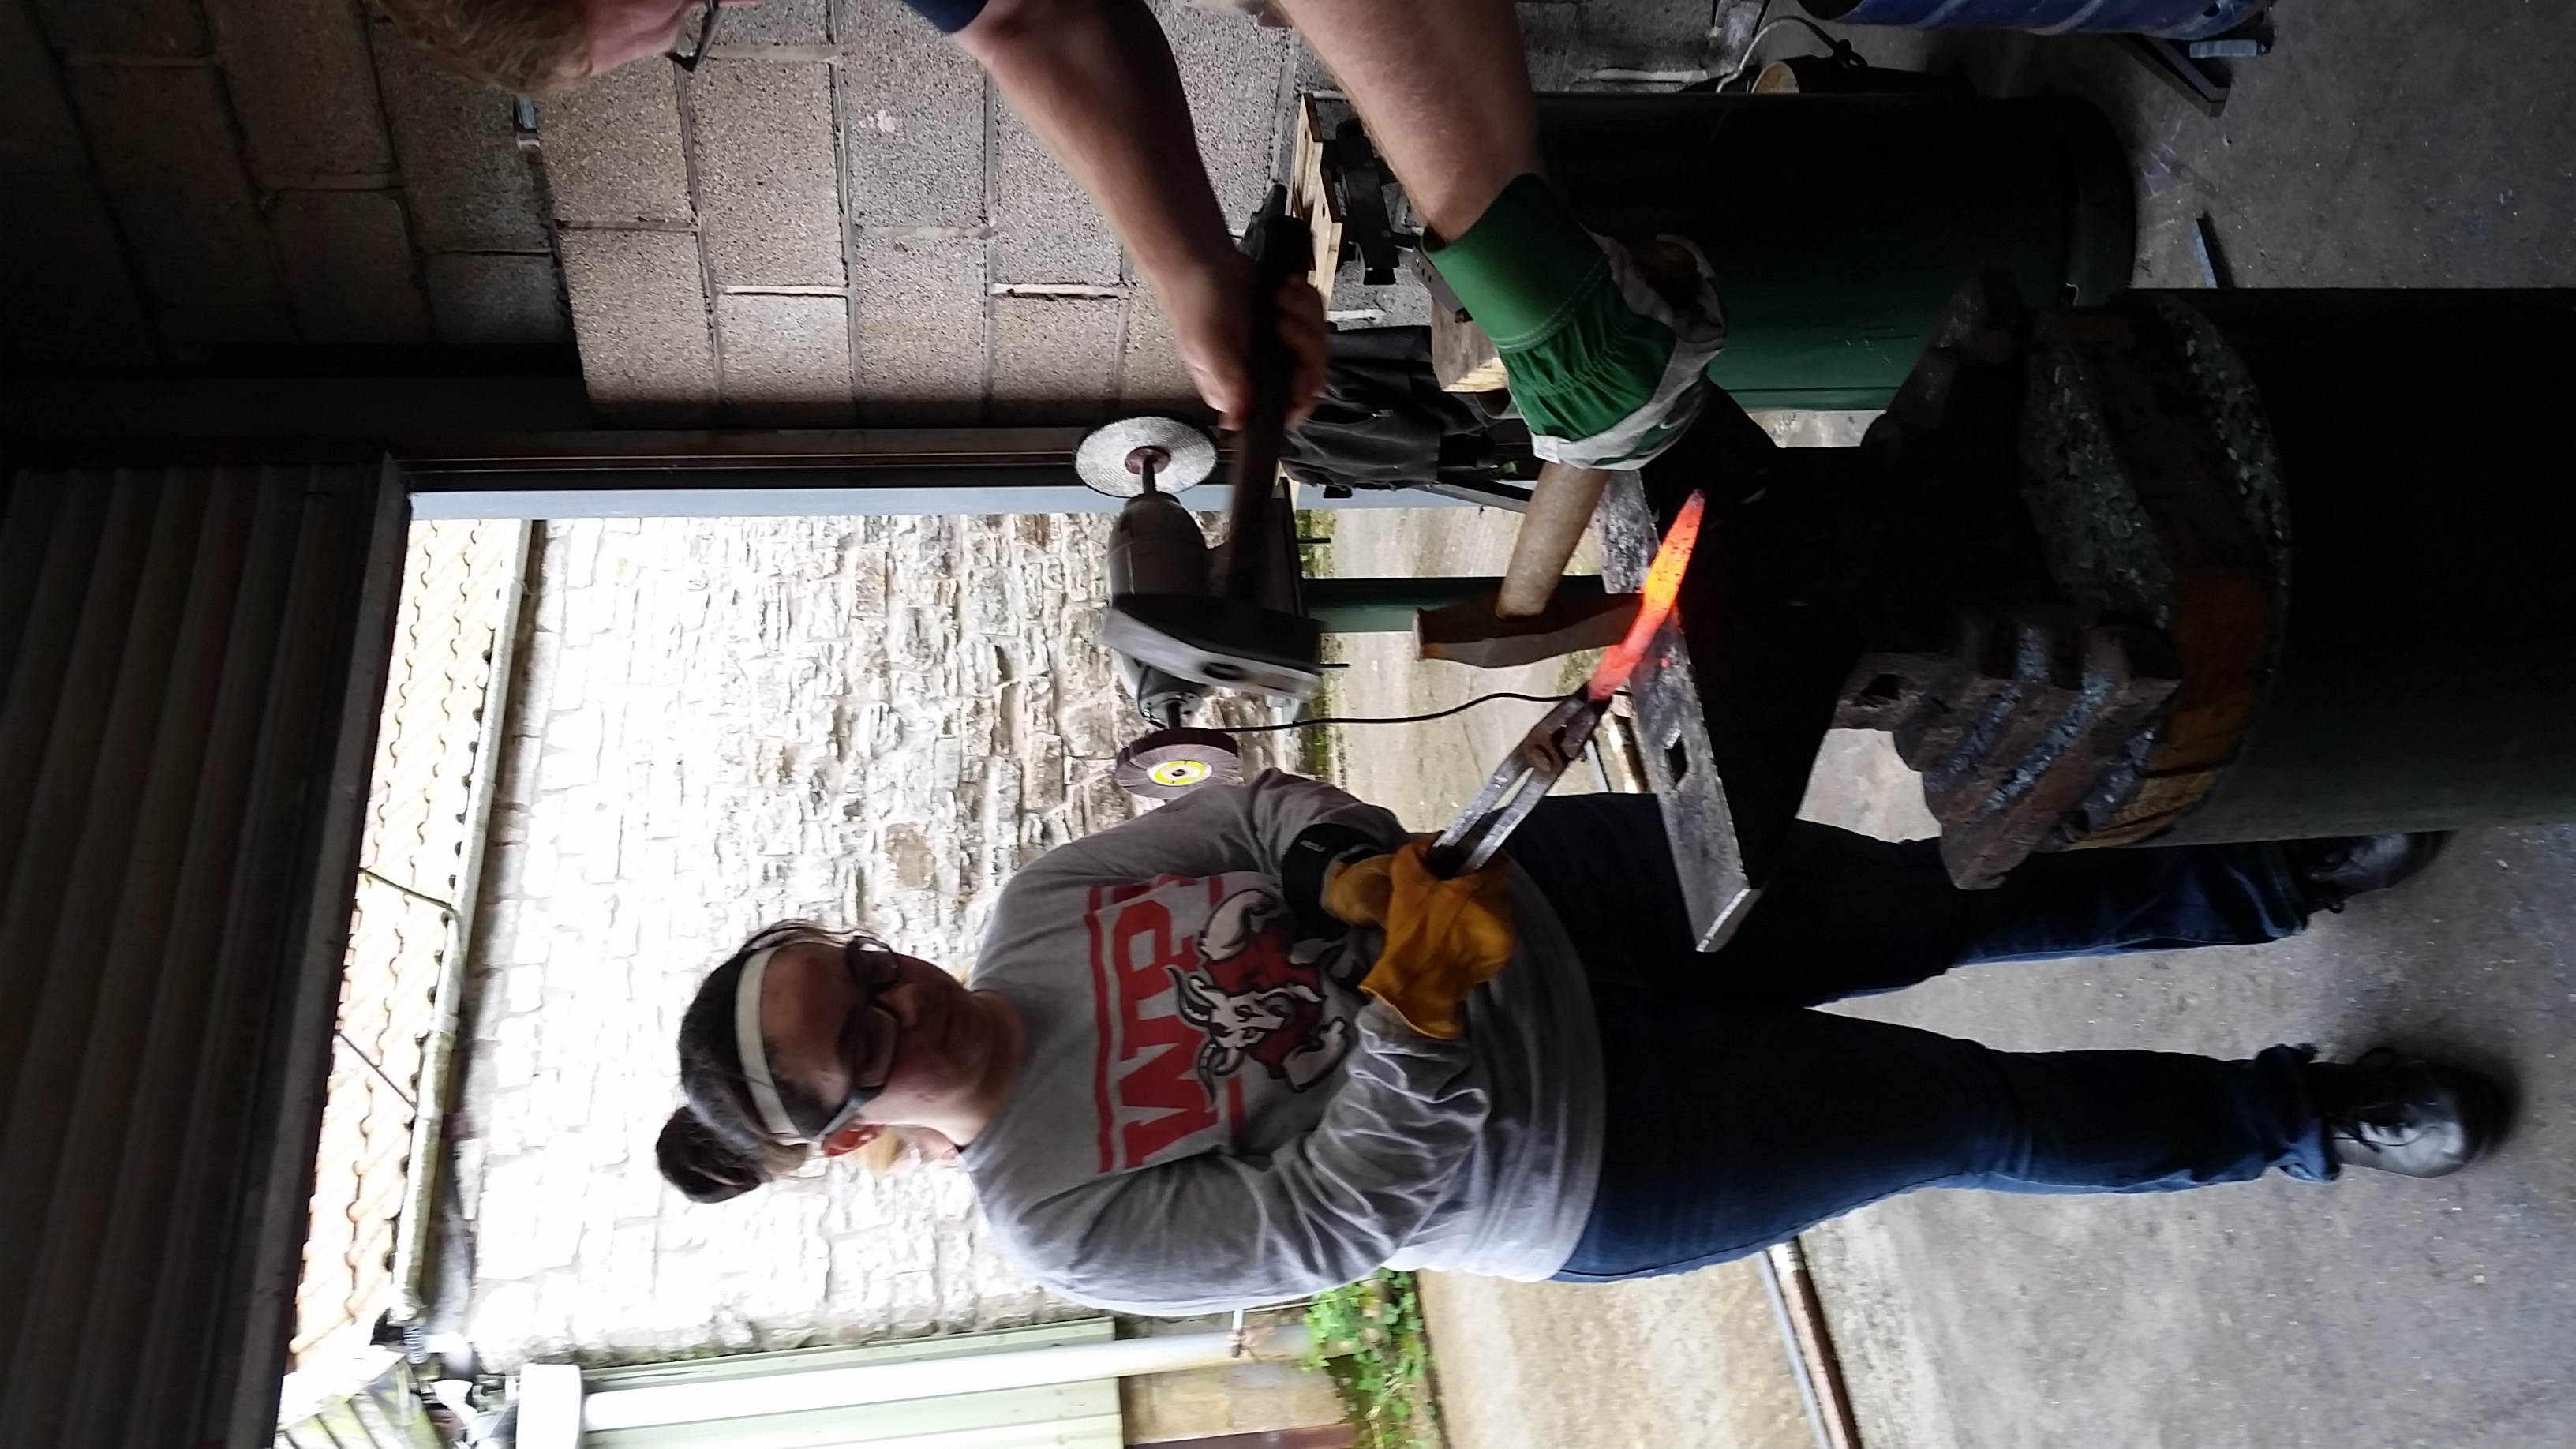
Before even starting to craft our swords we spent some time going over the basics of blacksmithing. In order to be able to smith items the material that you are working with has to be hot enough. This can be determined by the color of the metal when taken out of the forge. If the material is red hot then it can act like play dough and can be shaped, when if starts to get cooler it is then considered cold. Trying to strike cold metal can be bad for several reasons, the first is that when you strike it will not change shape at all, the only thing that happens is that it causes stress to your arm. The other issue is that steel is made up of a bunch of crystallized structures, that when red-hot will rearrange, but when the steel is cold the crystallized structures start to shear and the whole piece that is being worked on will break. In total Richard, our forge master, told us that there were 8 basic technics. We learned the first 5 by crafting steel nails from a rod. The first technic consisted of creating a square point on a round rod. I was able to do this by hammering the tip of the rod on the anvil with my hammer at a 45-degree angle. After a couple of swings on one side, I then rotated the rod 90 degrees and hammered again. The next technique I learned was cornering which connects the square part of the rod with the round part to form a nice corner. I struggled a lot with this technique because in order to do it I had to line up the edge of my hammer with the edge of the anvil and I had trouble keeping them lined up while hammering. Following the cornering technique was drawing. This was all about stretching the nail out my making in thinner and was applied from the square end of the corner to the point until the nail fit into a provide template hole. After that, we cut the nail using a hardy, which was placed in a hole on the anvil. To cut the nail off the rod gets placed on the blade of the hardy about a half an inch from the top of the rounder side of the corner. The rod gets hammered and rotated till there is only a thin core left in the middle. Then the rod goes back into the forge one last time where it needs to get extremely hot. Once at the right temperature, the nail then gets put back into the template whole which then gets wiggled around until the nail breaks lose, the final technique is to make the hear of the nail. While the nail is still very hot and in the template hole you hammer the head as dead on as possible to flatten out the steel on the top and create a nice round nail head.
In order to teach us all the steps Richard created a nail for us that we were also able to use as a template. At first it didn’t seem to be that hard watching him but when I tried it myself I was so proven very wrong. That hammer seemed to get heavier with each blow to the nail, plus is didn’t look like it was changing the shape of the rod very much. After about 45 minutes I was finally about to finish my nail, which came out so bad that it couldn’t even be nailed into wood. It was pretty disappointing since in comparison it only took Richard about 7 minutes to make his perfectly made nail. Needless to say, I had to practice some more in order to ensure that my sword ended up coming out looking like a sword. So I created another nail for about 45 minutes, which did come out better but was still a long ways away from where it needed to be, so I made a third nail. By then the improvements were defiantly noticeable. The head of the nail was centered it was a reasonable length and it was strong enough to be hammered into the wooden table. By the time I finished my third nail it was already noon and time for lunch.
After our break we started with the creation of our swords, mainly the cross guard part. Instead of working on a round rod we had to switch to a much thicker square rod of steel. The benefit to this was that is was already square so that made keeping the shape easier, the down side was that hammering is was so much harder since there was more material. In order to create the cross guard I started my measuring out the from the end of the steel rod to 80 mm which was marked out in chalk, then from that line to 30 mm and from that line to another 80 mm. One the rod was marked out in chalk I then used a center punch to punch indents into the metal. This allowed for me to see where the marks where once the material became red hot as the chalk at that point burns away. This point was when all the practice with the nails helped out as the techniques to make the cross guard where the same. The first step was to start to make a point on the end of the rod. After that was developed I then had to draw the one side of the cross guard out from the end of the rod to the first indent till the length matched the template provided by Richard. This took more then an hour for me, where I just went back and forth between hammering and heating the steel, I think my biggest issue with this step is I don’t have the strength and coordination needed to make heavy effective hits with the hammer. One I finished drawing out the one side of the cross guard I then had to cut the cross guard off the rod at the last indent marking. Once the guard was free I then hard to replicate the first side onto the part that I just cut. I think this was even more challenging then just creating the first side since now I had to be concerned with the symmetry of the guard. When both sides looked roughly symmetric the next point of focus was the 30 mm center. This step ended up being a two person job in which one person held the hot cross guard with the tongs and the other person used an axe and a punch to form the holes. Since the class is short on time there really wasn’t the opportunity for us to make a mistake as it could have ruined all of what we were working I was the one that held my cross guard while Richard struck it with the axe and the hole cutter. In order to make the correct patter the axe was used first, it was held directly in the center of the cross guard and a hammer struck the back of it, one the indent was large enough, the next step was to create the hole in which the t____ will go through. This utilized a square hole punch in the same manner as the axe, however this indent continued all the way through the guard till I stuck out through the bottom. At a latter time we will cut this indent off which will finish the hole.
By the time we had finished this it was already 4:30 so we called it a day and left the forge. Over all on the first day I feel like I learned a lot, I did start to notice that my hammering arming is already starting to get sore, as are my fingers. I am also very much covered in black from the forge.
Wednesday June 14, 2017 – Day 2 at the Forge
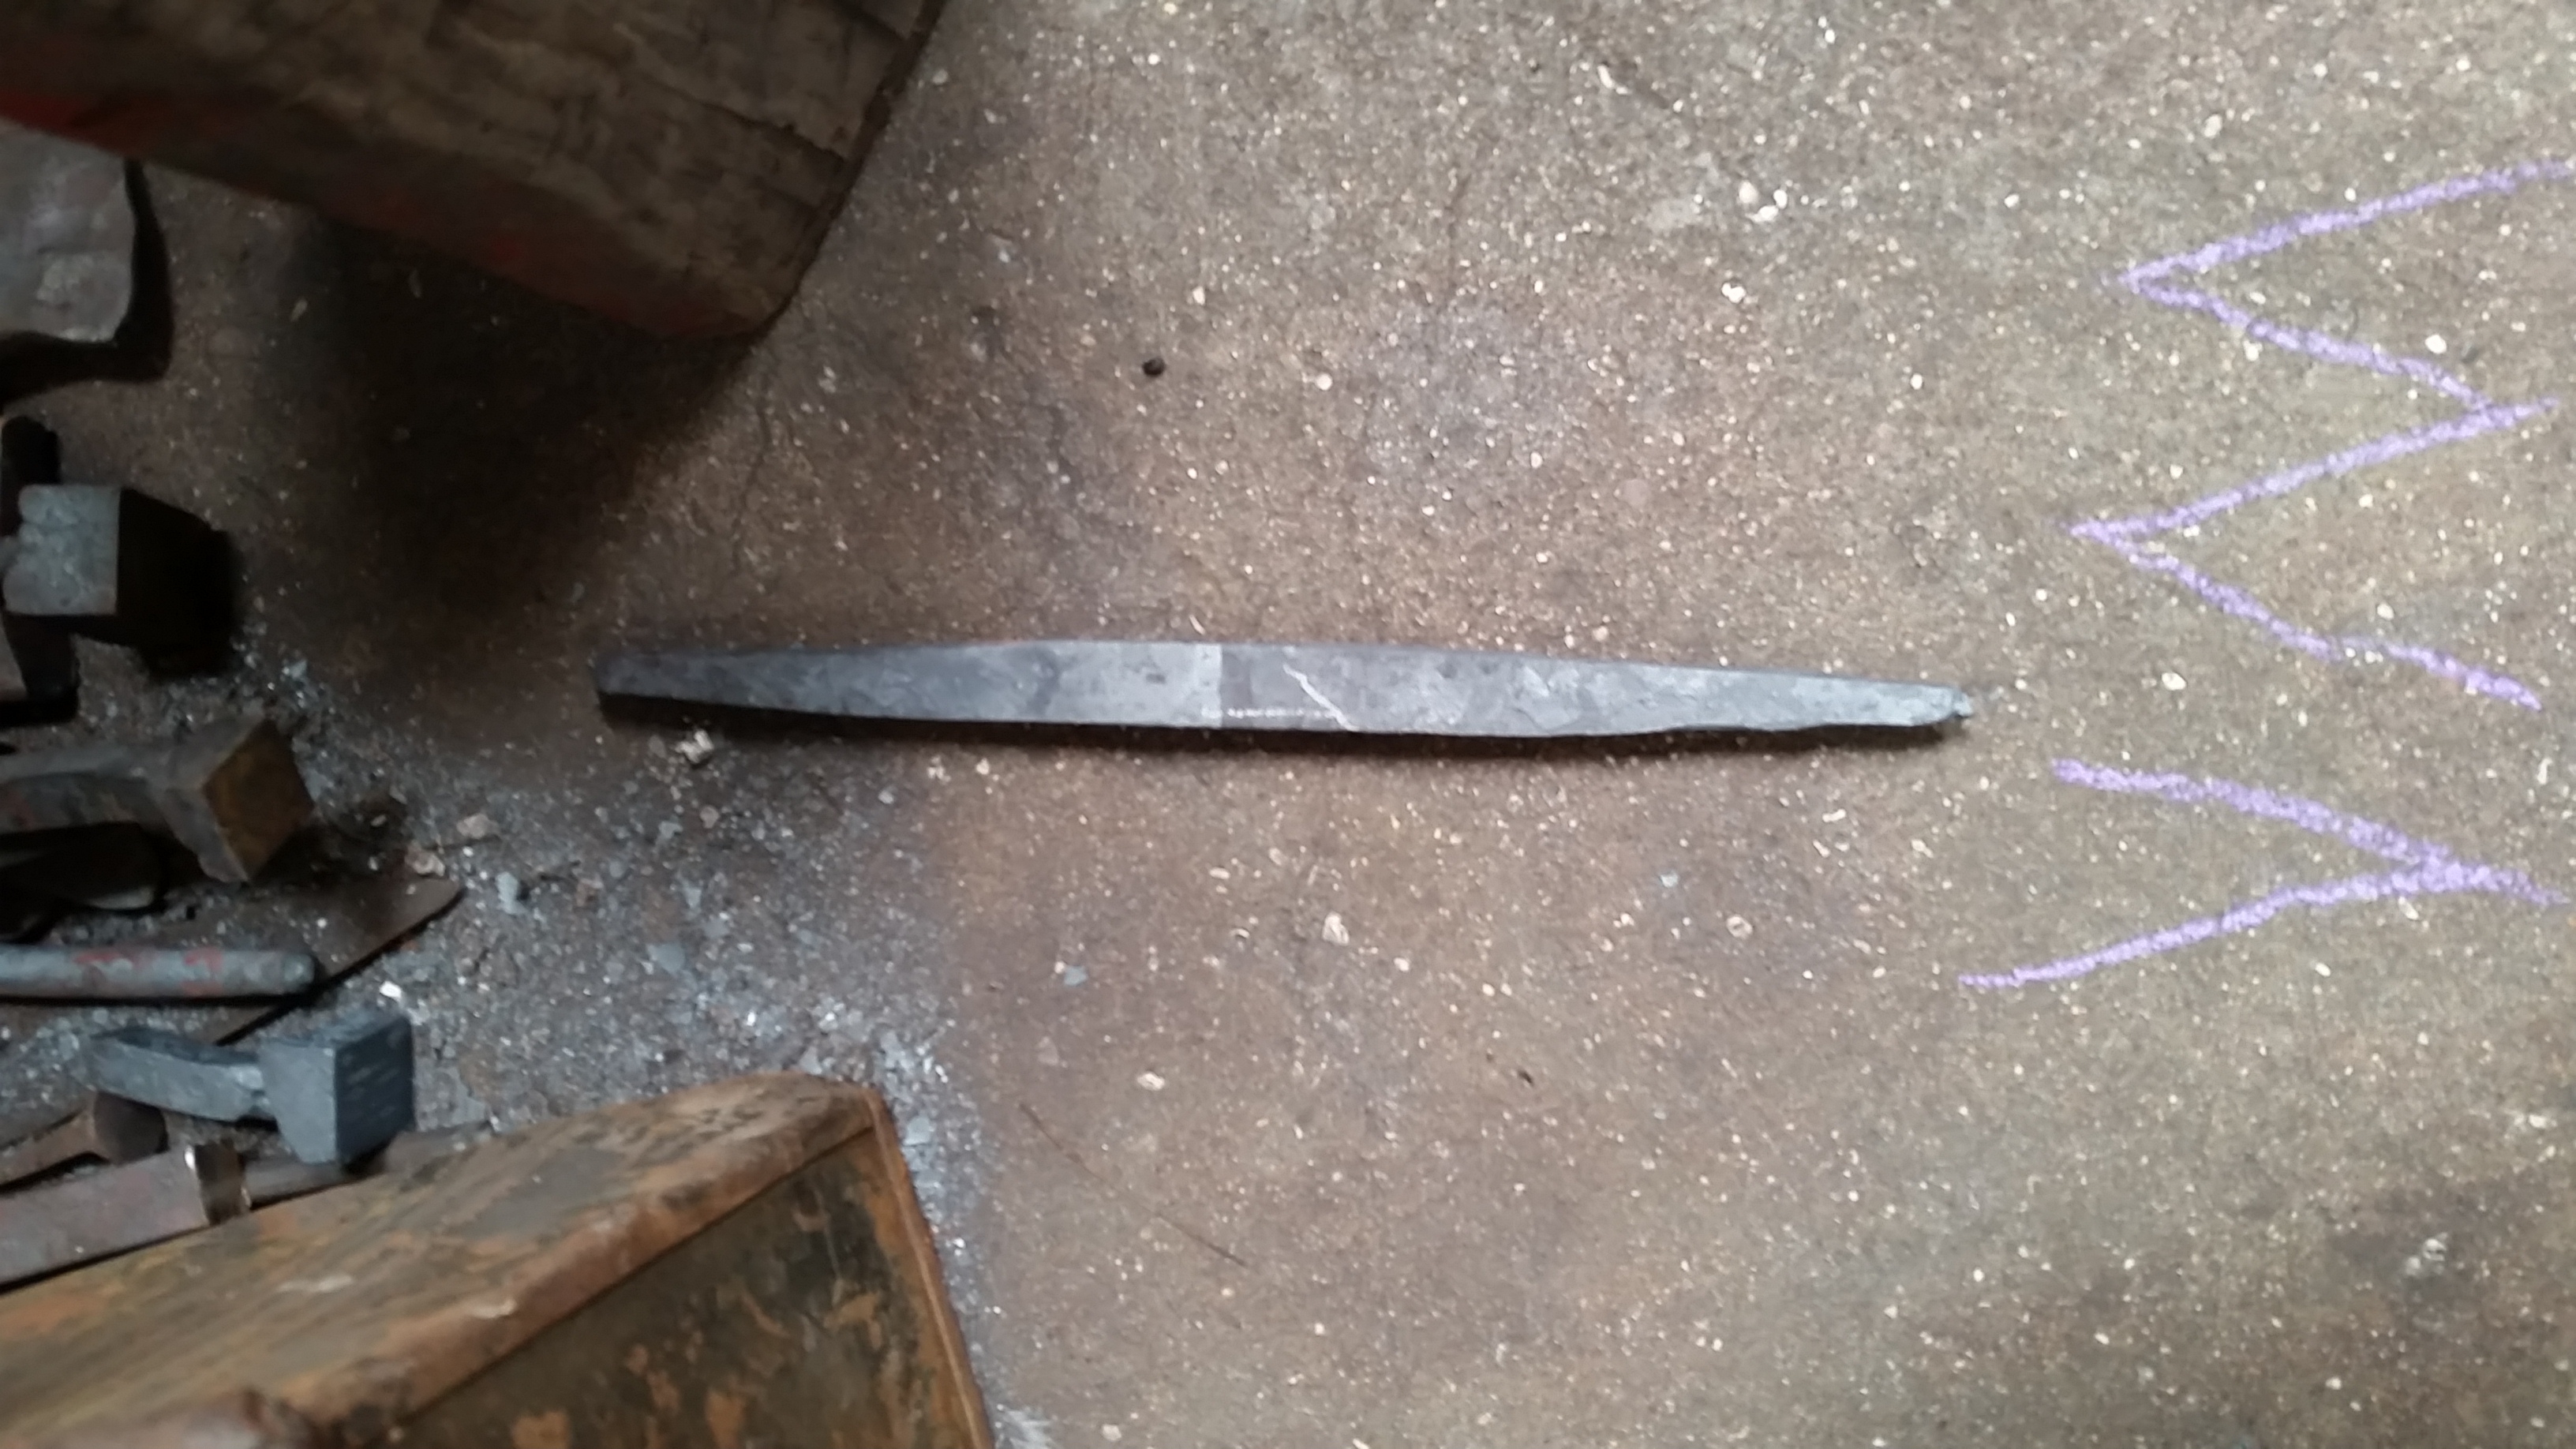
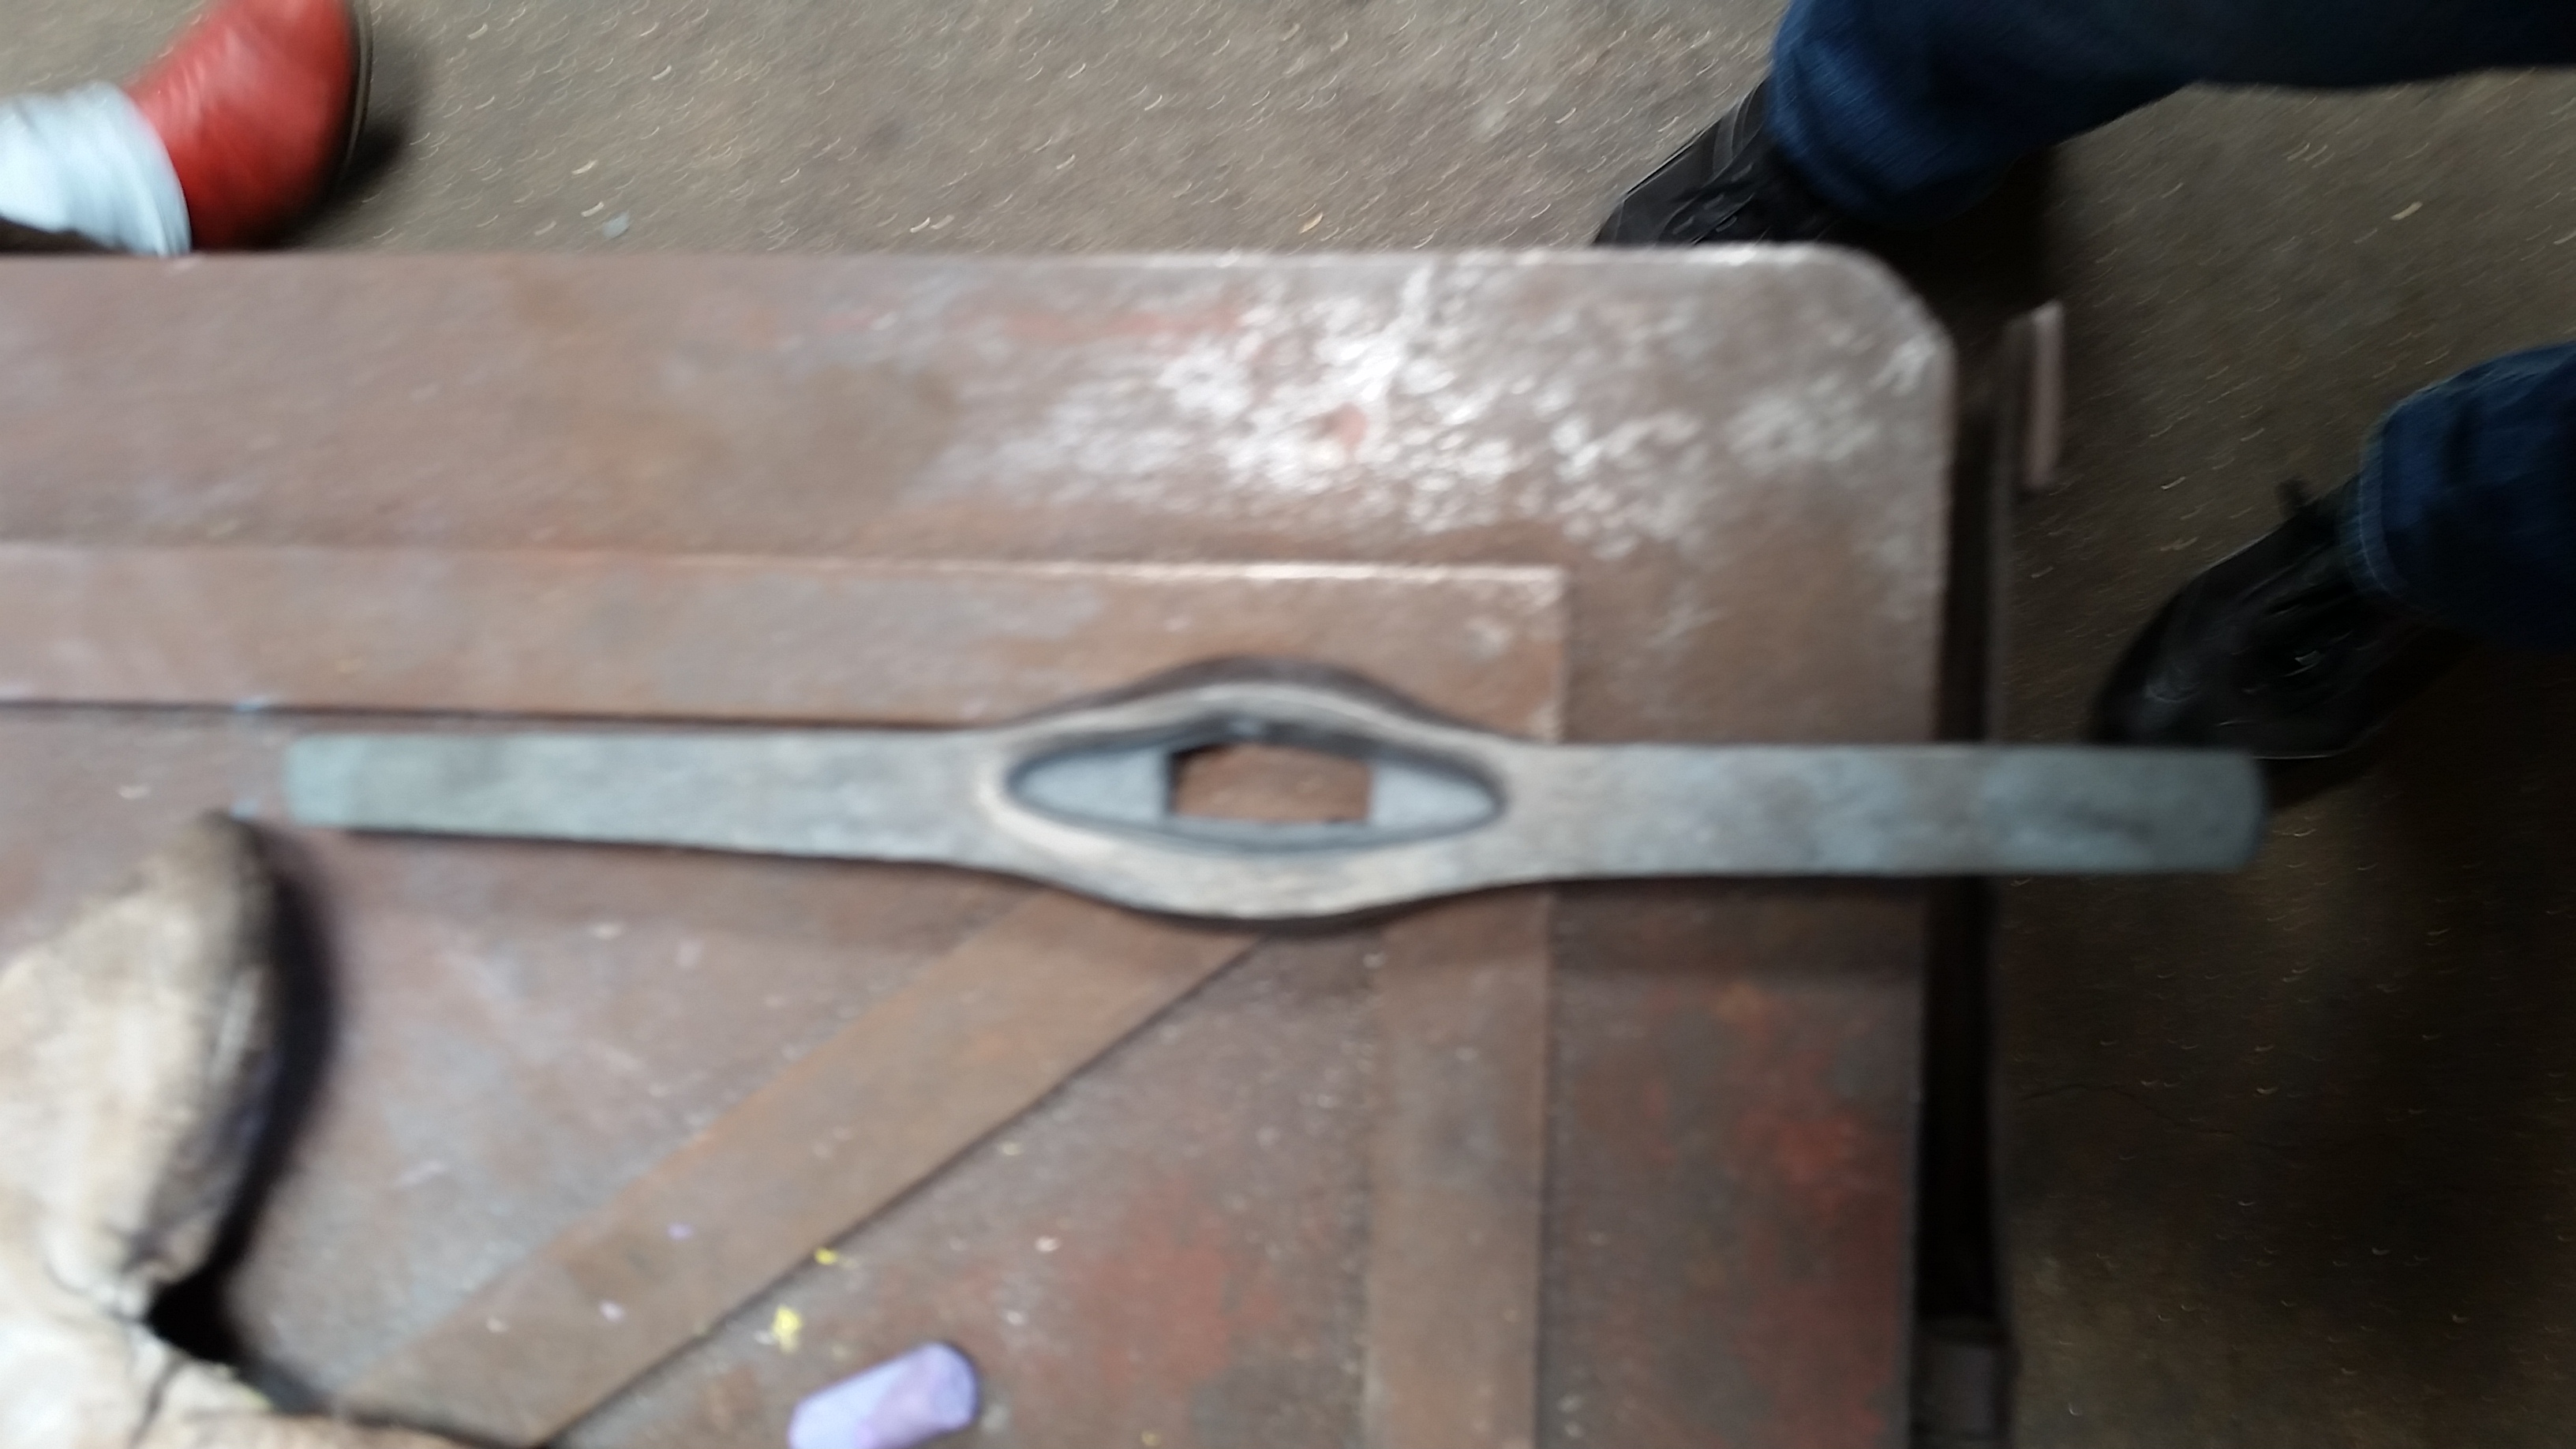
Before even getting to the forge at 0900 this morning my entire left arm was aching from yesterday. When we did arrive though we started our day making nails again, while the 2 I did make were still better than my first attempt yesterday they defiantly need a lot of work not to mention that it still took me an hour and a half to make both of them. Once everyone was had gotten enough practice in we then got to start on making the blade. The steel that we ended up using today was actually very different then what was used yesterday for the reasons. This first was the shape, which was a flat rectangular prism, the second reason had to do with it’s composition. The steel used yesterday was made u of about 1 percent carbon but what we used today was about 7 percent carbon, which made it much stronger and harder to shape. In order to get started Richard cut the steel with a 45-degree angle on both sides to help make the step of shaping the blade easier. The first step was to create a point on one side, in order to do this I had to hammer that the longer end of the angle to push is towards the center of the blade. Turns out, I am not good at this, instead of getting a nice smooth point I ended up with many bumps and only the general shape. Luckily Richard was able to smooth and fix my point. With the first side complete I then had to wait to let the blade cool off so I could flip it and do the same on the reverse side. Fortunately, this side went much better and although I still need some help with the details I was able to do a lot more to get the general shape. After letting both sides cool once again I then picked the end that I thought looked the best to serve as my point. With my side chosen the next step was to tapper the blade; this helps with balance and aesthetic since it wouldn’t look so nice if the width of the blade was the same all the way down except for the point. The tapering of the blade took a lot of time since the blade was so large and it had to be done in sections to create a nice smooth flow. Overall I spent about 3 hours tapering the blade. We then took our lunch since we need to let the blade cool down in order to work one the other side. Once lunch was over we began to work on the tang. This is The part of the sword that is attached to the blade and goes through the handle and pommel, effectively holding them on. We started by measuring from our bad end to about 140 mm and marking that point. This was once again tapered but at a much steeper angle and it ended up forming a triangle. After the triangle was made Richard then used a spring loaded press to create the exact shape that would fit into the hole of our cross guard. While I defiantly wanted to try the machine that was used I most likely would have made a mistake as it ended up looking like it was had to control, also if the was one blow that went wrong I would have ruined the entire blade. Once that part was fashioned the next step was tapering the rest of the tang so that was the cross guard had a way to slide onto the blade. The final step for the day was to fix the thickness of the blade. Since we shaped so much of the material we ended up making the tip of the blade much thicker then the rest, which would have completely thrown off the balance. After heating of the blade one final time, Richard ran them all through the spring loaded press to flatten them out and we end our day.
Subsection 2
...and so on and so forth...
Gallery
Conclusion
In this section, provide a summary or recap of your work, as well as potential areas of further inquiry (for yourself, future students, or other researchers).
References
Add a references section; consult the Help page for details about inserting citations in this page.
Attribution of Work
For milestones completed collaboratively, add a section here detailing the division of labor and work completed as part of this milestone. All collaborators may link to this single milestone article instead of creating duplicate pages. This section is not necessary for milestones completed by a single individual.
External Links
If appropriate, add an external links section
Image Gallery
If appropriate, add an image gallery
Category tags
Don't forget to add category tags!!! Your Milestone Pages MUST contain one "Project" Category tags like this:
[[Category:Art Projects]]
[[Category:Music Projects]]
[[Category:Philosophy & Religion Projects]]
[[Category:Drama & Theater Projects]]
[[Category:Writing & Rhetoric Projects]]
[[Category:History Projects]]
[[Category:English Projects]]
...and NO OTHER TAGS except for the year the project was completed by you, like this:
[[Category:2017]]
See the Category Help page for assistance. Don't include irrelevant category tags in your Milestone page (like the Template category!)
Delete this entire "Category section" when editing this page--Categories don't need a heading.
