A Mosaic of Mosaics
From Londonhua WIKI
A Mosaic of Mosaics

Contents
Abstract
The aim of this project is to develop an understand the techniques and materials needed to create a mosaic and apply that to a new digital medium. Using my skills from AR 1101, Digital Imaging and Computer Art, and my experience from high school using the Adobe Suite, I aim to create a modern mosaic in a digital format. Throughout this milestone I learned that much of the origins of mosaics are unknown and that mosaics can be made of virtually any material. The experience of creating the mosaic was enlightening into how difficult creating a cohesive and well structured mosaic could be.
Introduction
I suggest you save this section for last. Describe the essence of this project. Cover what the project is and who cares in the first two sentences. Then cover what others have done like it, how your project is different. Discuss the extent to which your strategy for completing this project was new to you, or an extension of previous HUA experiences.
As you continue to think about your project milestones, reread the "Goals" narrative on defining project milestones from the HU2900 syllabus. Remember: the idea is to have equip your milestone with a really solid background and then some sort of "thing that you do". You'll need to add in some narrative to describe why you did the "thing that you did", which you'd probably want to do anyway. You can make it easy for your advisors to give you a high grade by ensuring that your project milestone work reflects careful, considerate, and comprehensive thought and effort in terms of your background review, and insightful, cumulative, and methodical approaches toward the creative components of your project milestone deliverables.
Section 1: Background
Materials
Tiling
This is the most important portion of the mosaic, as it is the most visible part of the mosaic. The oldest known mosaics are created from smooth pebbles of varying sizes, but this limits the precision of the artist to the available stones; pebble mosaics were popular with the Greeks and many of their mosaics are made from pebbles.[1] Eventually the Romans popularized tesserae, the style of mosaic made of individual square cut pieces of stone and shell.[2] The tesserae can be made of a variety of materials and have been as time has passed. The Byzantine Empire is known to use smalti, a type of enameled glass with pure colors, a uneven texture, and it reflects light very well. A separate form of smalti is gold smalti, which consists of gold sandwiched between two glass plates, it can also have many different textures, colors, and levels of reflective strength. Another material is Venetian (Vitreous) glass, which has less intense colors than smalti and a constantly smooth surface on one side. The Venetian glass is often used for more mundane works such as pools and bathrooms than the Byzantine smalti. Ceramic tile is great for outdoor use, for when it is glazed it is incredibly weather resistant, and the tile comes in a variety of colors and can be made with specialized designed within the tiles. Stone was a popular choice of the Romans and is more durable than other materials and it can have natural variance within the tiles. A more modern tile choice would be broken china, picassiette. This style is unlike most tesserae because it is not often in a regular shape and size. Stained glass is another option that resembles the Byzantine smalti, though is transparent as opposed to opaque; this can lead to the surface of the background to show through and it is a relatively fragile material. Mirror is an interesting material for its unique pure reflective quality, but it can be subject to tarnishing over time diminishing its main quality. Aside from these main tiling materials there are many alternative options that can be experimented with like shell and recycled materials like buttons.[3][4]

An example of pebbles

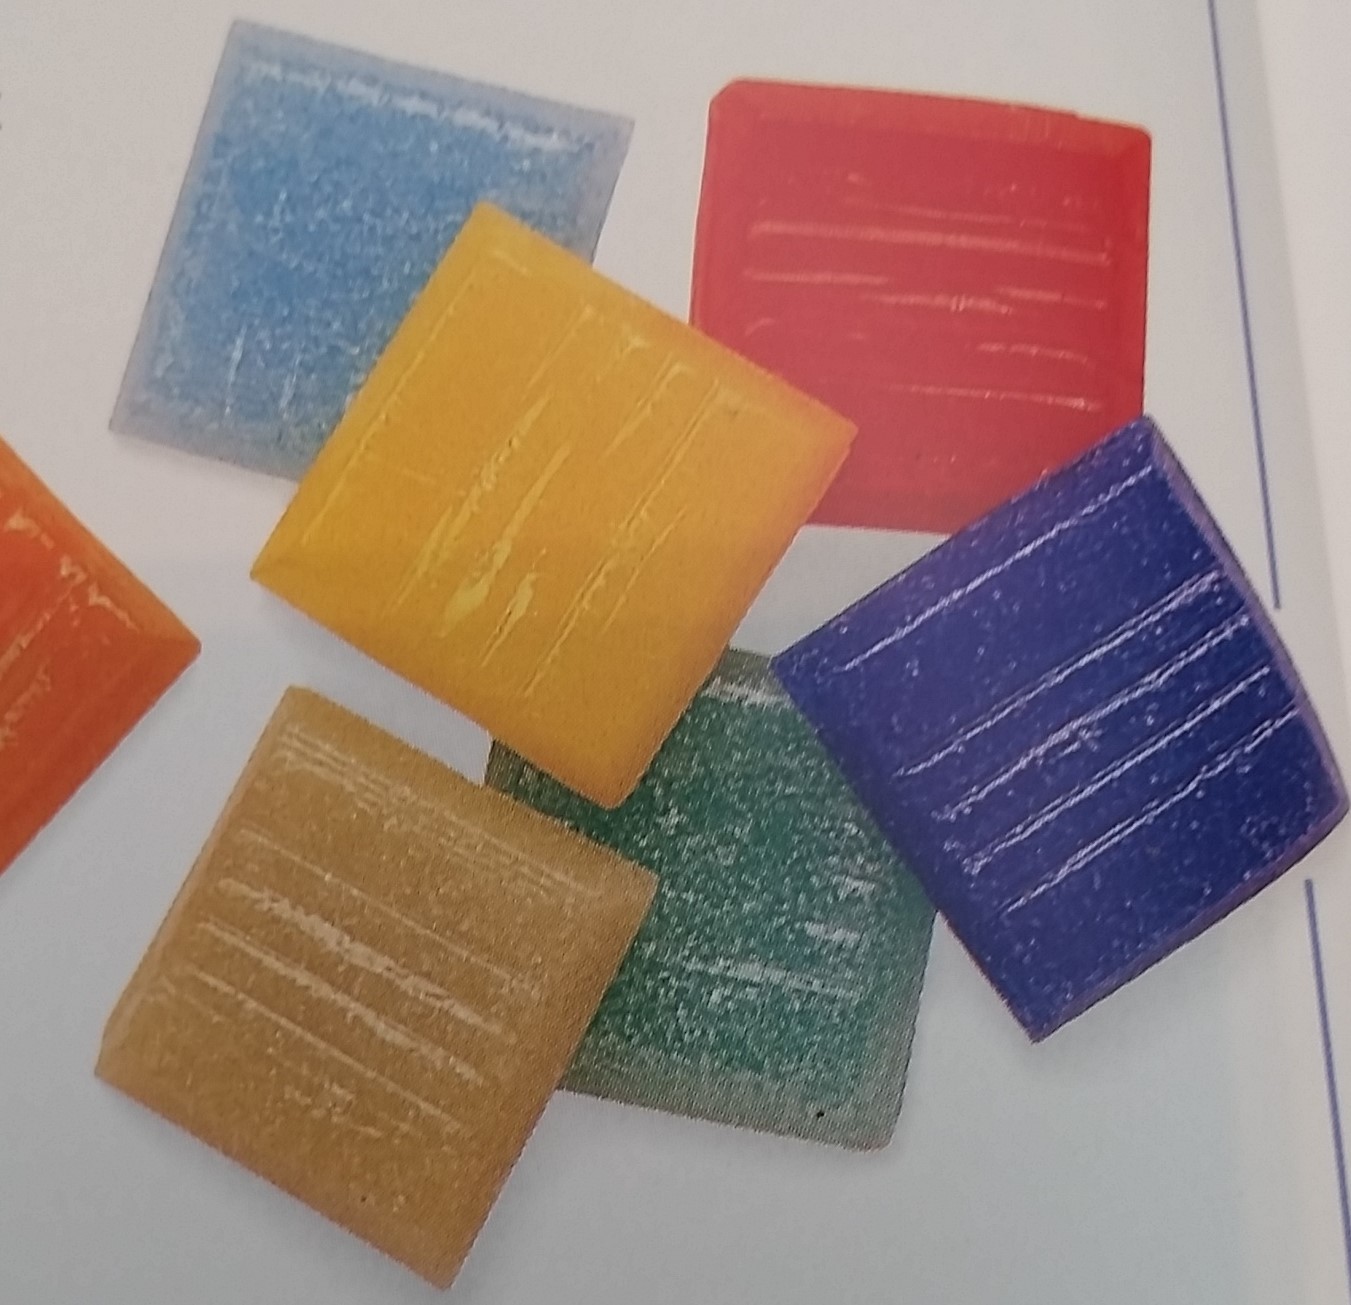
An example of smalti
An example of gold smalti
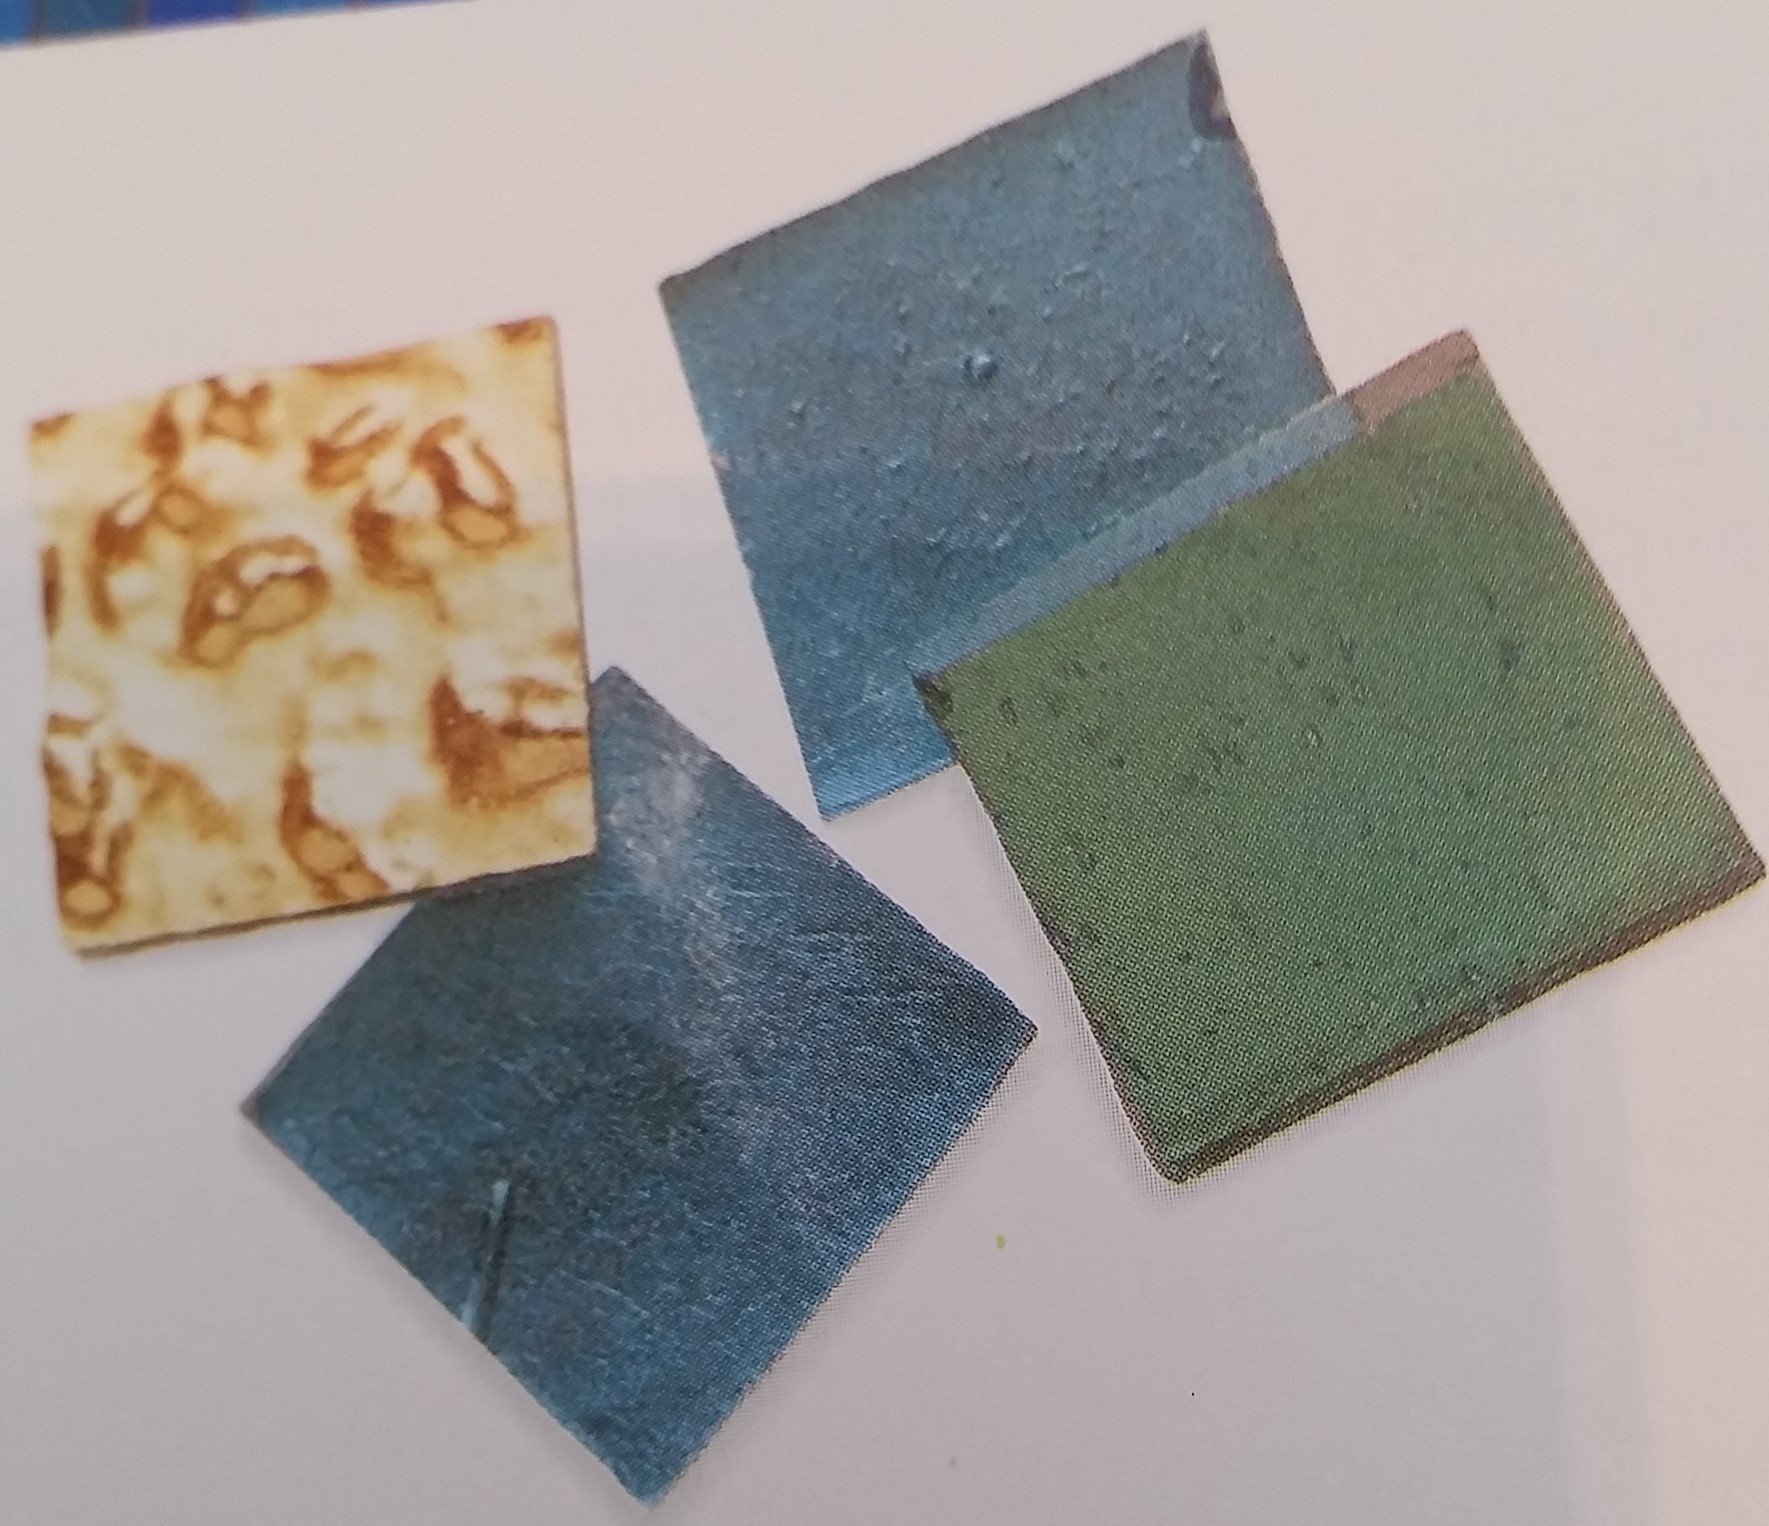
An example of Venetian glass
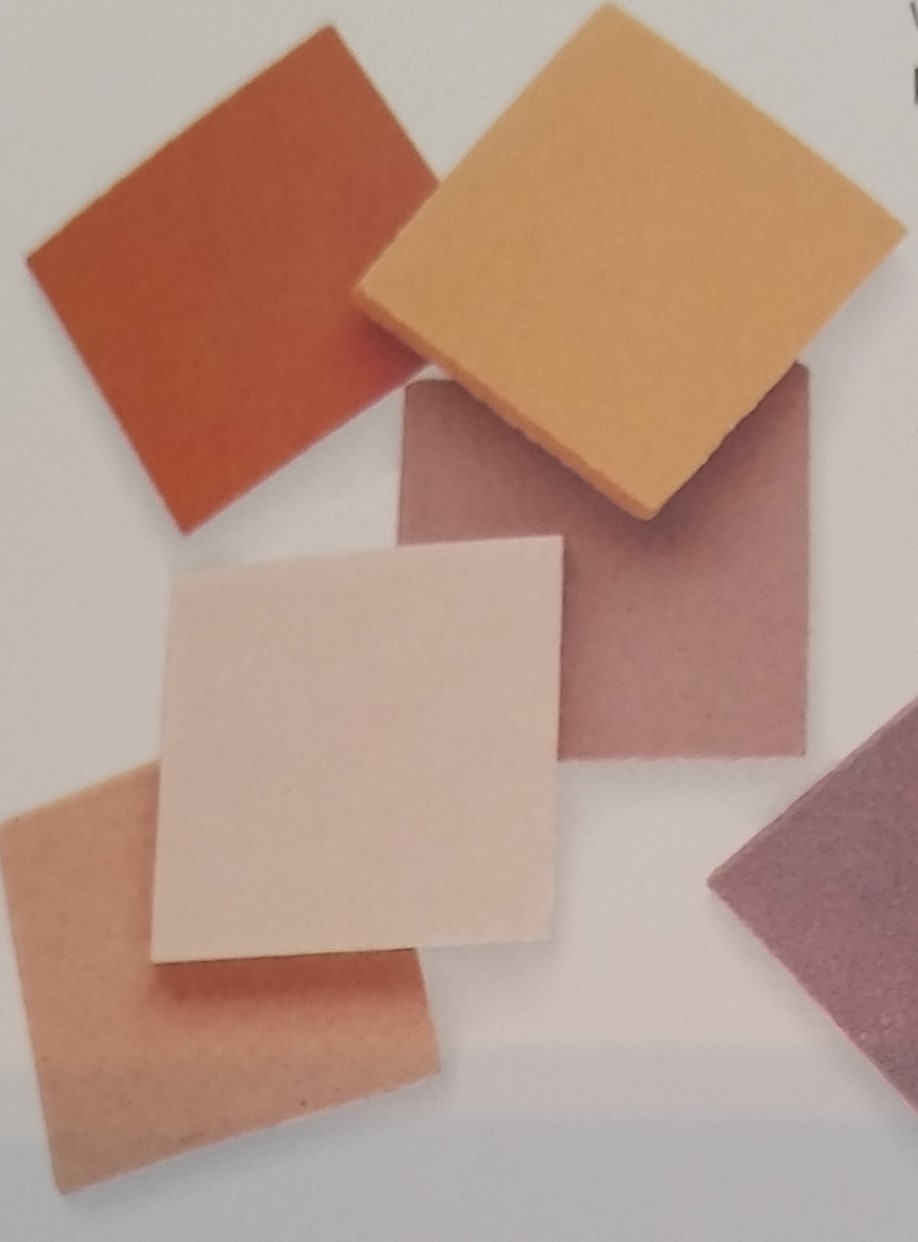
An example of ceramic
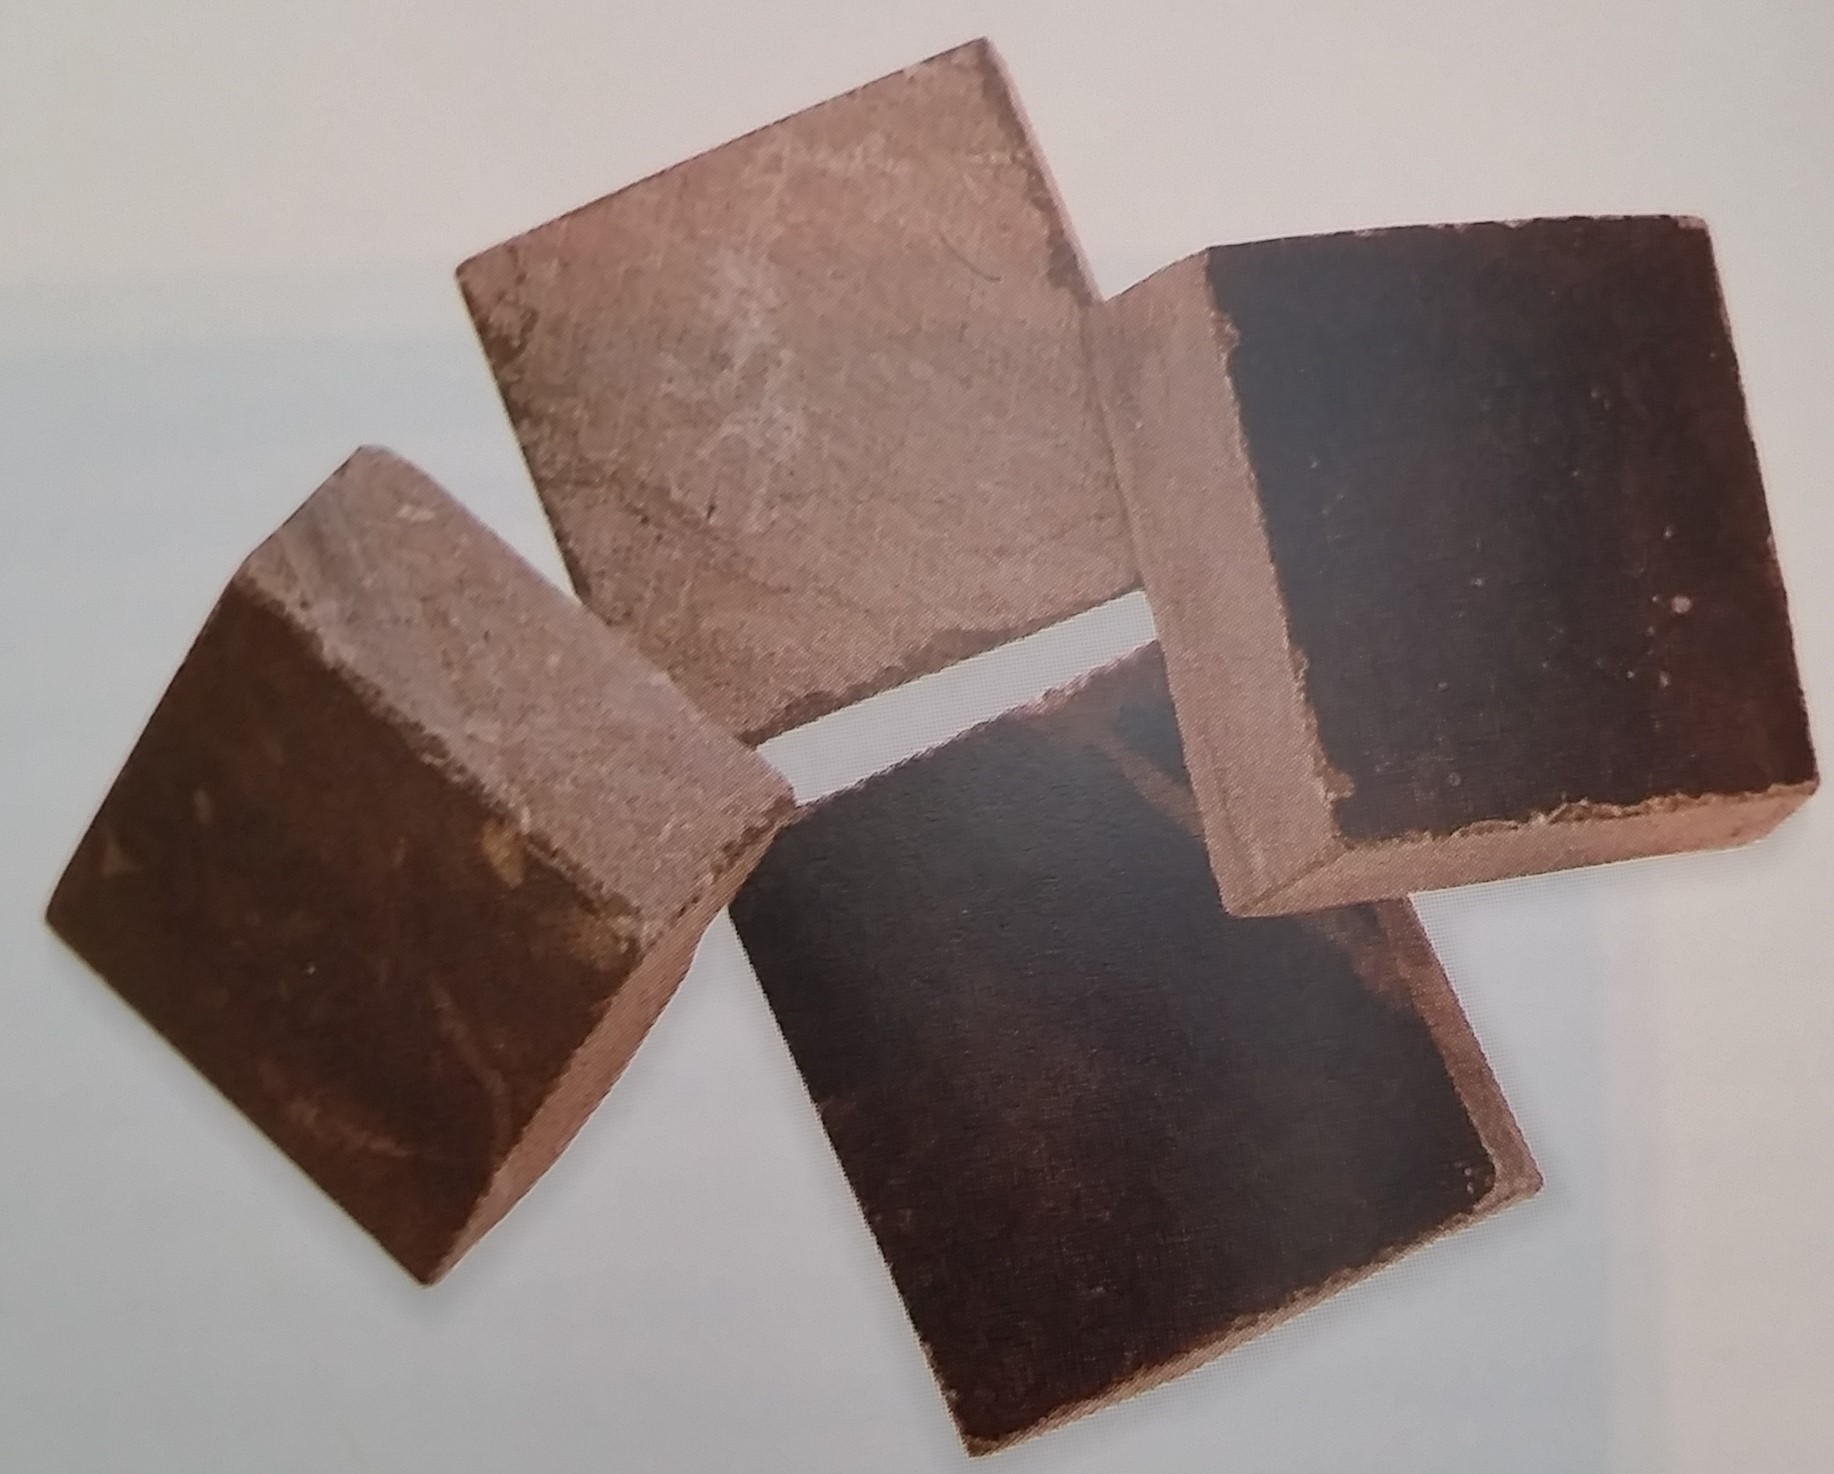
An example of stone
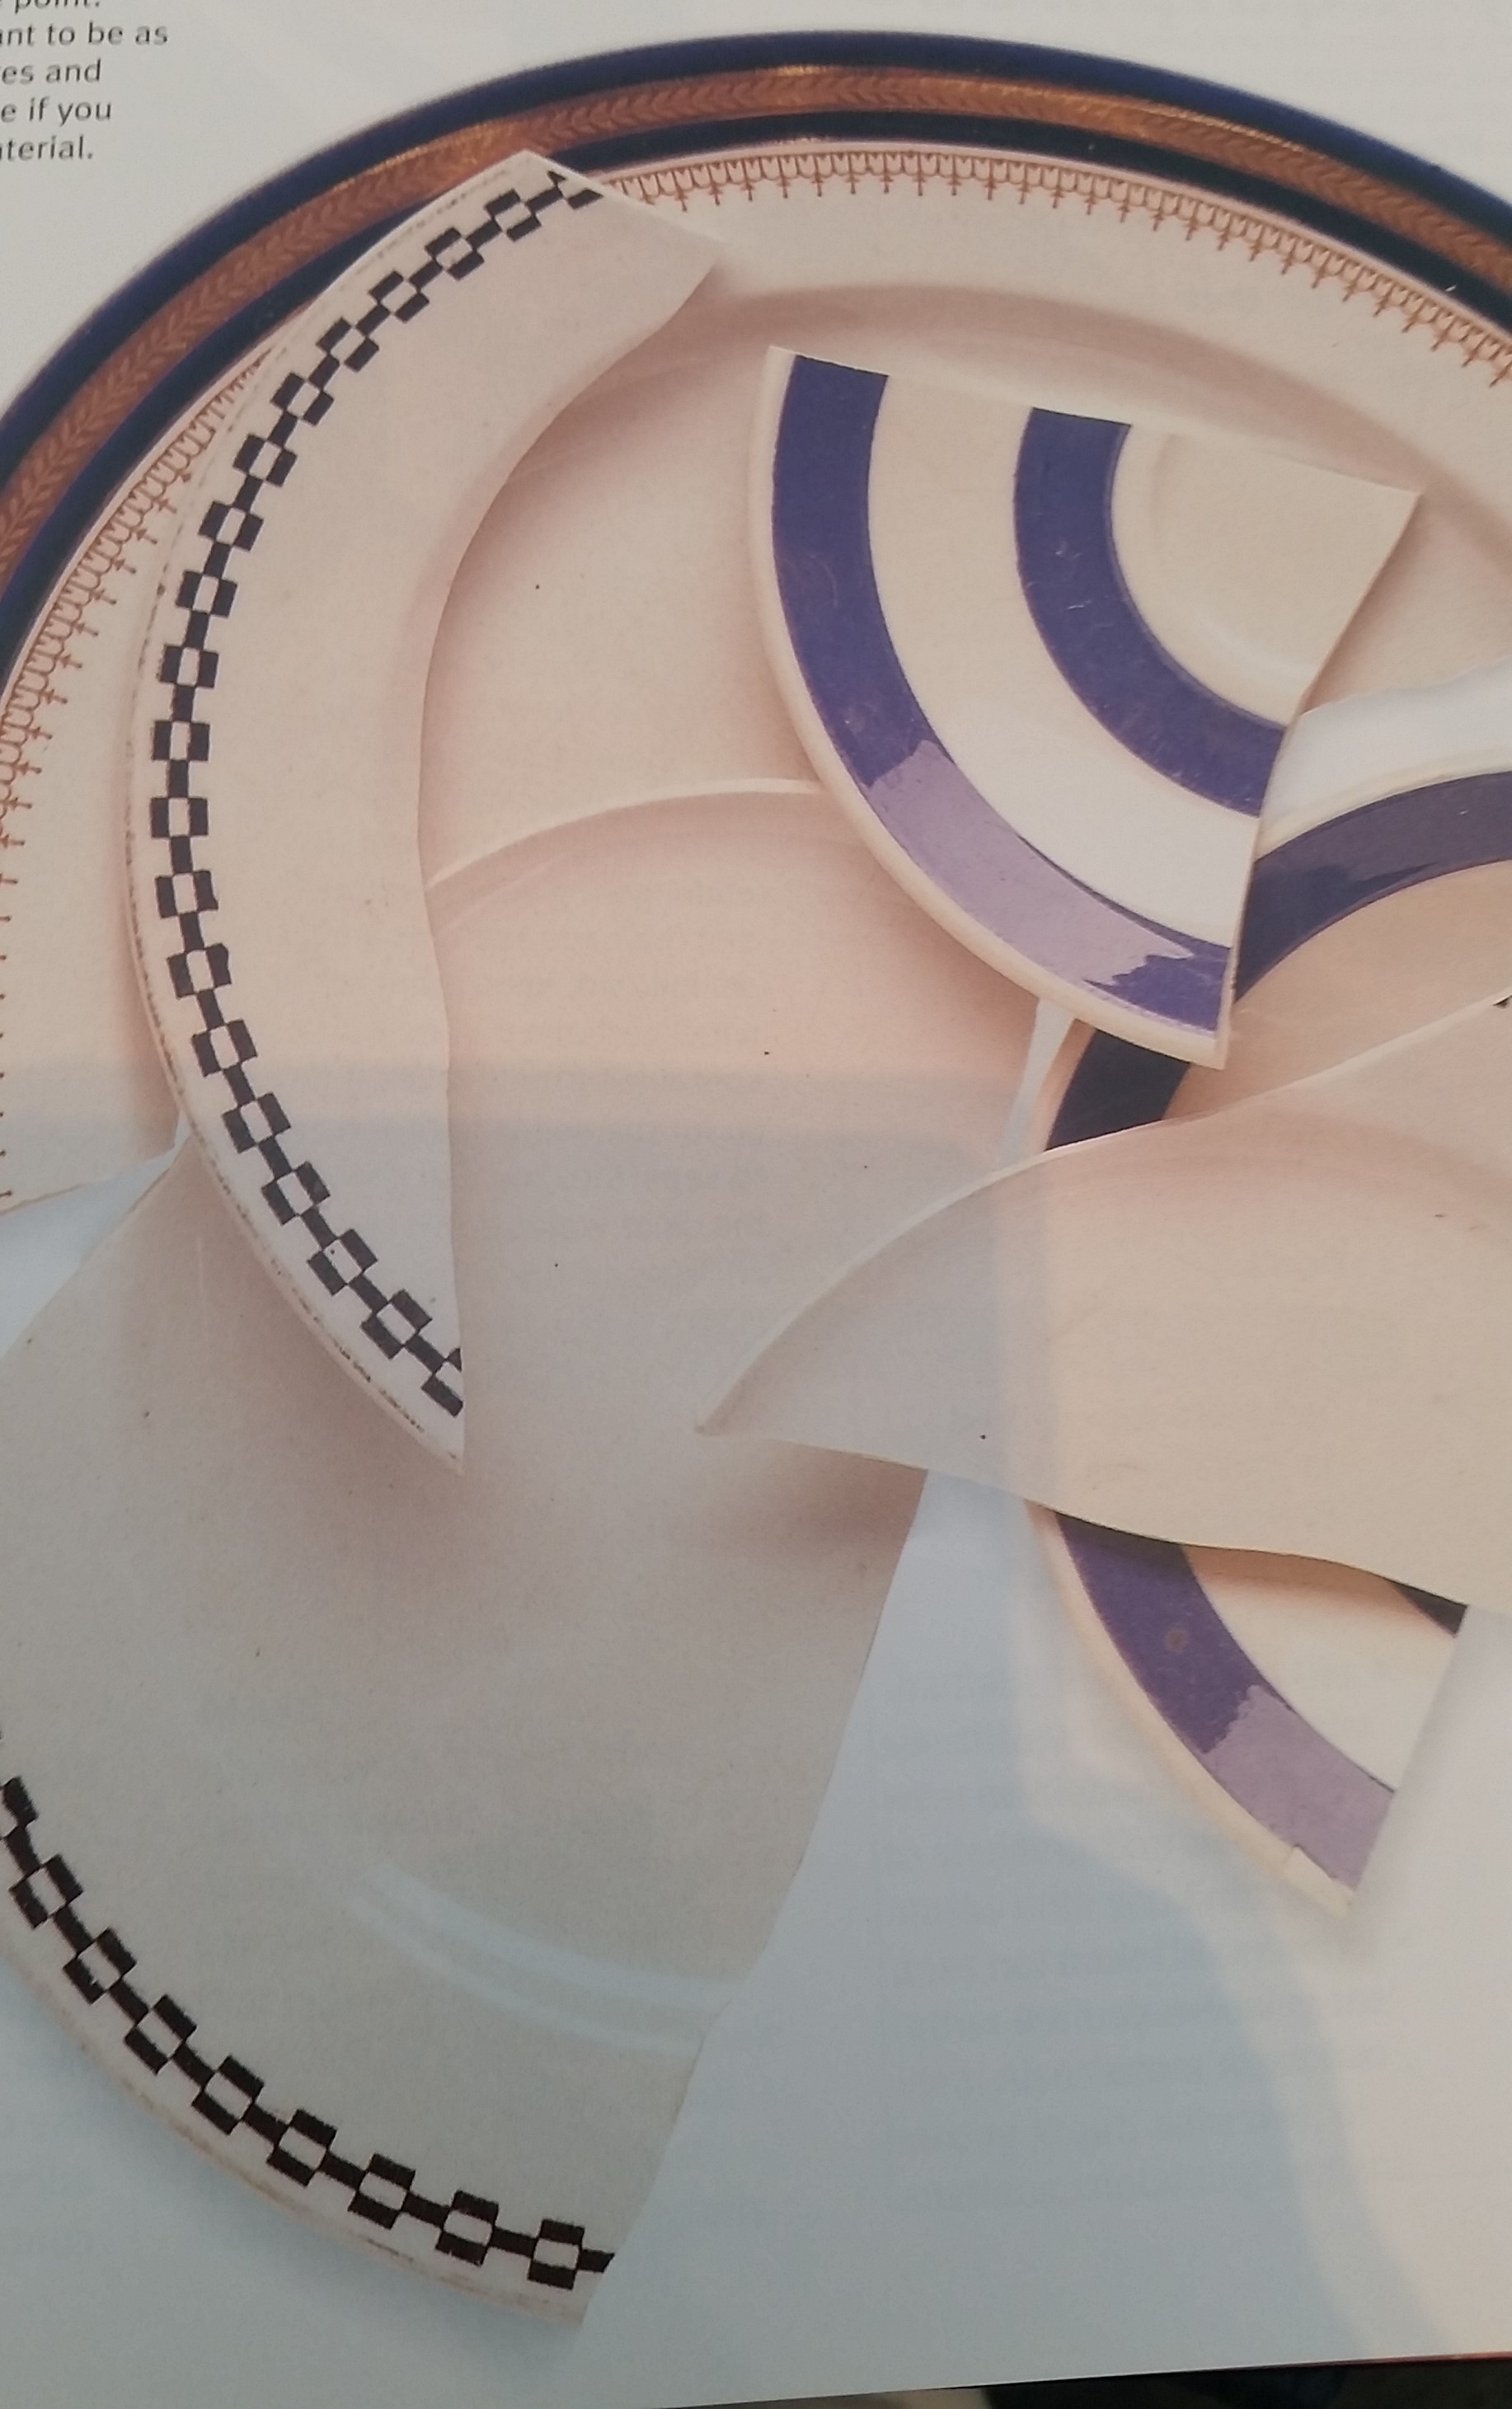
An example of broken china

An example of stained glass
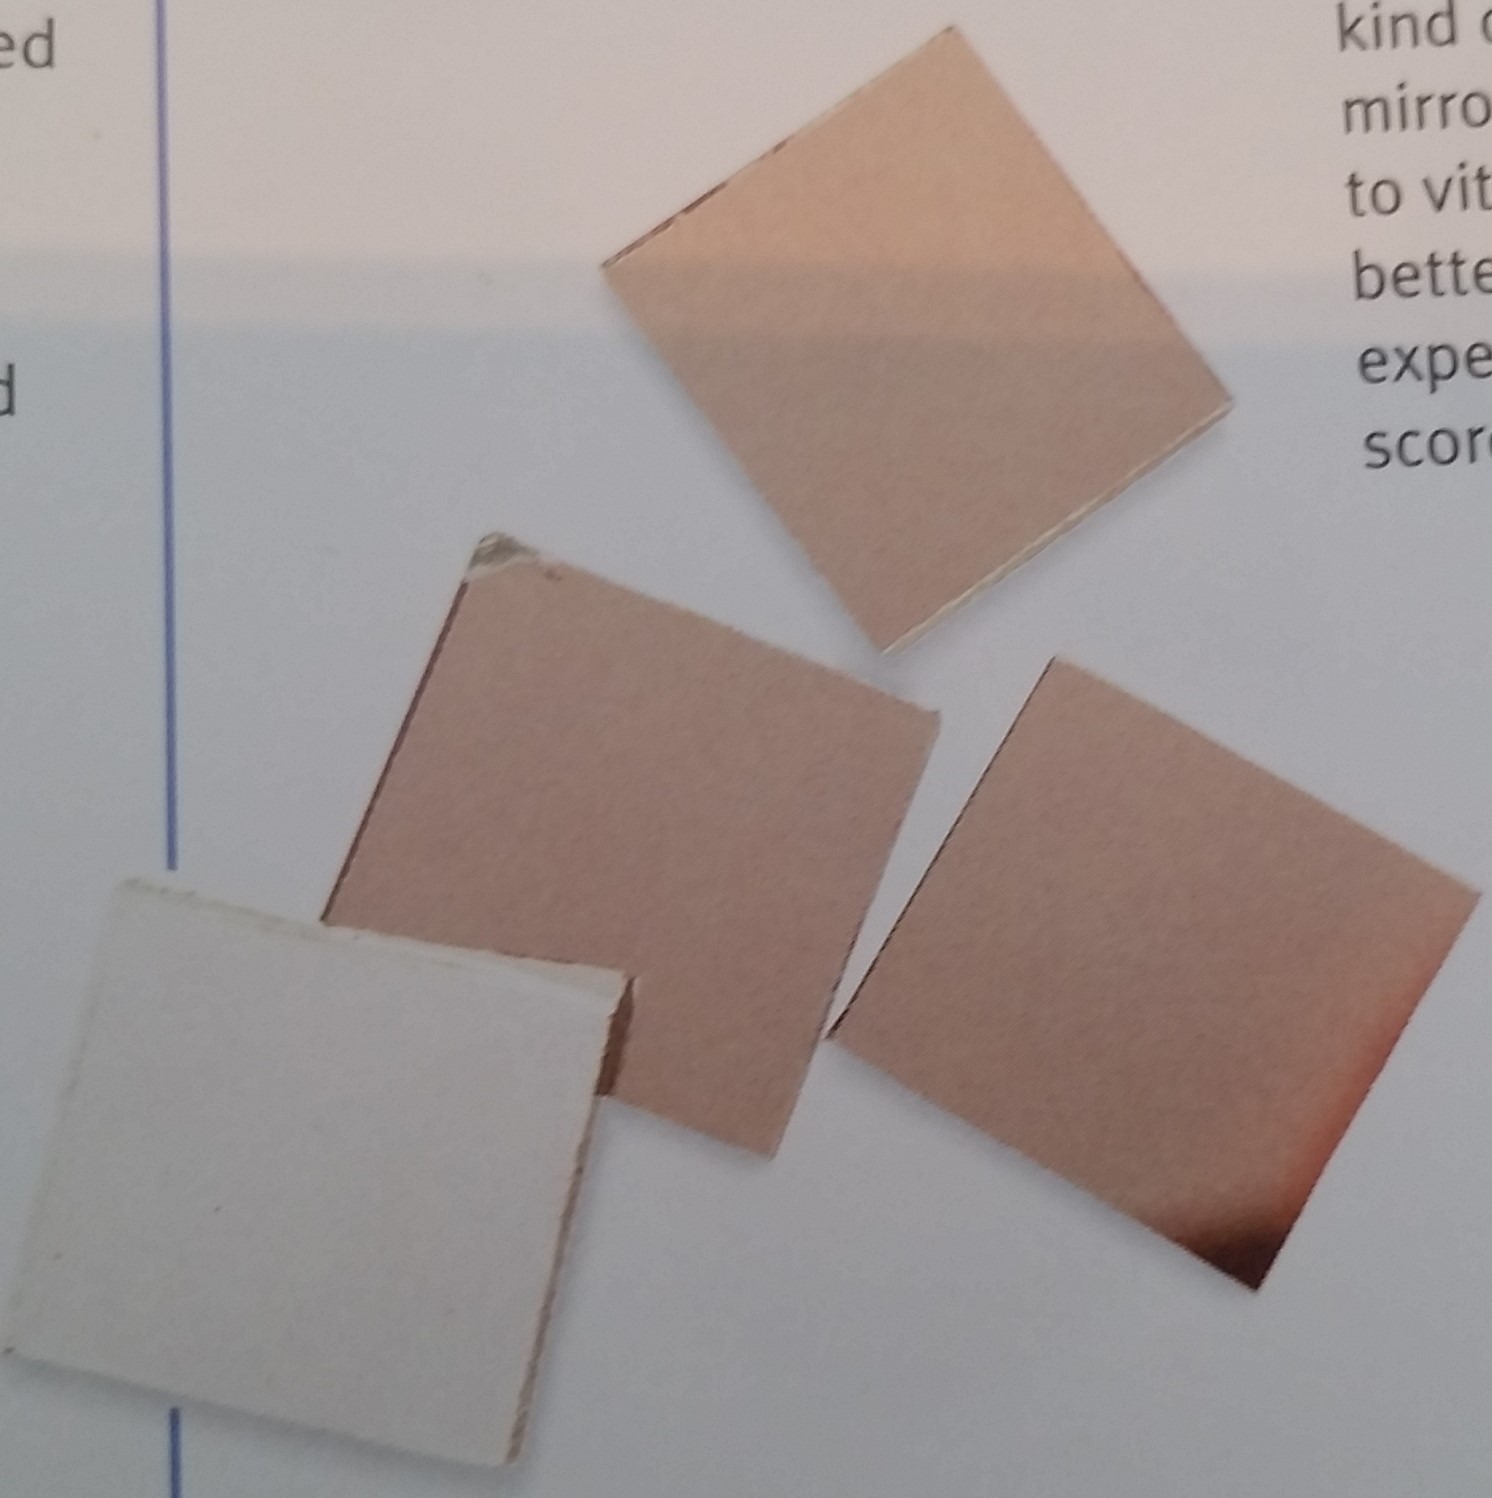
An example of mirror


Base
The tiling must sit on a surface for it to be stable and the different options for bases can have an effect on the tiling and adhesive choice. For mosaics that would be inside, plywood or Medium Density Fiberboard (MDF) would be good because they are readily available. Furniture can also be used as a base for a mosaic, but the shape, material, and structural integrity must be taken into account to see if it can support the mosaic and if it is possible to adhere the tile to the furniture. Pottery, cement, and cement backer board are great for outdoor projects due to their durability. Metal can be used for both outdoor and indoor mosaics but warping can occur due to temperature variation. These are just a few base materials, but others such as glass or mesh, can be used to create a more custom work of art.[5][6]
Adhesive
This is the material that will determine if the mosaic will last across the testament of time. Location is a major factor when determining the adhesive because the adhesive must change based on what the mosaic will be exposed to: water, physical weathering, temperature changes, and so on. Cement based adhesive is one of the most versatile options as it has a variety of setting times based on composition and is waterproof. Silicone is a good choice for glass and mirror mosaics because it is clear and won't damage the silvering on the mirror tiles. Tile mastic can be used for vertical mosaics because of its string bond that occurs rapidly after placement, though it can break under pressure and exposure to moisture. Craft glue, such as school glue, comes in both water-soluble formulas, which is good for mosaics made using the indirect method, and non-water-soluble, which is good for interior mosaics only. [7][8]
Tools
The final items needed to construct a mosaic are the tools. Planning tools such as paper, pencils, t-squares, and compasses can be used both before the start of the assembly of the mosaic to illustrate a design, and during assembly to help create guides and notes on the base about placement and coloring. Tile nippers and cutters and vital for shaping and trimming the tesserae,and based on the tiling different strength and edge shapes may be needed. A scoring tool is another item that can be used to cut tiles, first by creating a line for the tile to break across then applying pressure to crack the weakened tile. Screwdrivers, tweezers, and potter's needles, are used to maneuver single tiles and not disturbing the surrounding area. These are just some of the basic tools, but many others can be used and it is up to the creator of the mosaic to determine what tools to use.[9][10][11]
Techniques
Direct Method
Now onto the assembly of the mosaic. The easier of the two main techniques, the direct method involves pressing and adhering the tesserae directly onto the base material. This is best for mosaics that require the right-side-up of the tesserae to be visible to the artist such as mosaics that use intricate shading, as the level of precision needed is incredibly high. The texture of the mosaic can be easily manipulated using the direct method as the tile pieces do not need to be completely identical heights to ensure a secure application. This method is also useful for three dimensional mosaics to allow the artist to compensate for the curves and lines of the base.[12][13]
Indirect Method
This is the more complicated of the two techniques as it involves working in reverse, therefore creating a mirror image of the design. The tesserae are placed onto a surface on the face that will be visible and then adhered together from behind to a temporary base. The mosaic is then flipped and applied to the base, and then the temporary base is removed. This method is useful for larger designs, as the artist can create sections of the piece and just have to assemble the larger pieces at the end. The indirect method also allows for a controlled environment when creating a mosaic that will be outdoors rather than being limited by factors such as temperature and humidity; it also allows for modification before the finalized design because the adhesive before it is applied to the base is removable.[14][15]
Section 2: Deliverable
A Modern Mosaic

About the Mosaic
For my mosaic I decided to use a completely digital medium, akin to a collage. The tiles of my mosaic are photos of mosaics, one taken by me and the other three from the internet, that have been shrunken down to a relatively consistent size. I then took my digital tesserae and using Photoshop, I created the image above. The digital medium I used allowed for more experimentation than would have been allowed by the traditional physical mosaic, as I could move photos whenever I wanted and undo my mistakes. I also had an unlimited supply of tile possibilities at my fingertips via the world wide web if i needed a new tile. I also used a combination of the two techniques as some of my designs such as the leaf design I created separately on a separate layer and placed them into the piece; I used the direct method for the outermost set of white tiles directly placing each tile in its position. A digital medium also provides the advantage of creating a clone of an image allowing me to speed up the creation of my mosaic, by only having to create half of it and then duplicating and mirroring the image. One other major advantage was the lack of precision needed to accurately shape the tiles; Photoshop can ensue that my tiles are even and shaped exactly to fit thee hole it was being put into. I used a monochrome palate inspired by the mosaics on the floor of the Victoria and Albert Museum and around the city. This also inspired my heavy use of geometric patterns like the concentric circles and the repeated use of right angles.
Gallery of Images Used in the Mosaic


Conclusion
In this section, provide a summary or recap of your work, as well as potential areas of further inquiry (for yourself, future students, or other researchers).
External Links
If appropriate, add an external links section
References
- ↑ Dunbabin, K. (2012). Mosaics of the Greek and Roman world (1st ed., pp. 5-17). New York: Cambridge University Press.
- ↑ Dunbabin, K. (2012). Mosaics of the Greek and Roman world (1st ed., pp. 18). New York: Cambridge University Press.
- ↑ King, S. (2006). Mosaic techniques & traditions (1st ed., pp. 65-72). New York: Sterling.
- ↑ Biggs, E. (2003). Mosaic techniques (1st ed., pp. 28-33). London: Cassell Illustrated.
- ↑ King, S. (2006). Mosaic techniques & traditions (1st ed., pp. 72-73). New York: Sterling.
- ↑ Biggs, E. (2003). Mosaic techniques (1st ed., pp. 38-39). London: Cassell Illustrated.
- ↑ King, S. (2006). Mosaic techniques & traditions (1st ed., pp. 73-75). New York: Sterling.
- ↑ Biggs, E. (2003). Mosaic techniques (1st ed., pp. 40-41). London: Cassell Illustrated.
- ↑ Biggs, E. (2003). Mosaic techniques (1st ed., pp. 36-37). London: Cassell Illustrated.
- ↑ King, S. (2006). Mosaic techniques & traditions (1st ed., pp. 75-79). New York: Sterling.
- ↑ Biggs, E. (2003). Mosaic techniques (1st ed., pp. 42-45). London: Cassell Illustrated.
- ↑ King, S. (2006). Mosaic techniques & traditions (1st ed., pp. 110-115). New York: Sterling.
- ↑ Biggs, E. (2003). Mosaic techniques (1st ed., pp. 74-79). London: Cassell Illustrated.
- ↑ King, S. (2006). Mosaic techniques & traditions (1st ed., pp. 116-123). New York: Sterling.
- ↑ Biggs, E. (2003). Mosaic techniques (1st ed., pp. 80-83). London: Cassell Illustrated.