London Street Art
From Londonhua WIKI
London Street Art
by Olivia Gibbs & Emily Wilson
 | |
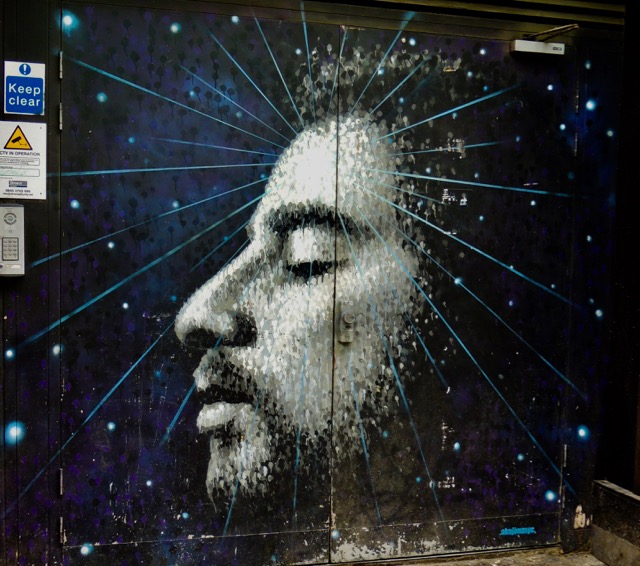
| Artist | Jimmy C |
|---|---|
| Photo taken by | Emily Wilson |
Contents
Abstract
Our objective is to demonstrate the influx of street art in London. We will go through defining street art and the difference between street art and graffiti. We also talk about the history of street art and how it came to London, including the artists who brought it here. We end with a gallery of photographs we have taken of street art that we found in London. Our background in humanities includes modern art class along with philosophy and religion. We walk away with a new knowledge of street art, its history, and the big role it plays in London.
Introduction
The goal of this project is to look at street art in London and see how street art effects London, and how London influences street art. There are some amazing artists in London and all you have to do is know where to look, and you can find their masterpieces. The best part is they are all free of charge, and outside of a gallery, meaning there is a constant flow of new and changing art for you to go and find.
For our background we did a lot of in depth research on the history of street art and how it came to London. We went on tours, one guided by an artist herself, to show us the best spots to go and find the art, and to get information on the artists, who are her friends. We learned about many different artists, their styles, and what their work reflects. You can see everything from political pieces to portraits, and smiling fish. In order to get a better understanding of the work of the artist, we took a class that taught us how to make our own street art. In our pieces we tied in London and the techniques of the artists we learned about. What we have learned about street art has taught us a lot about the culture of London, and how it is changing. Our deliverable reflects what we have learned.
Section 1: Background
Defining Street Art and its Terminology
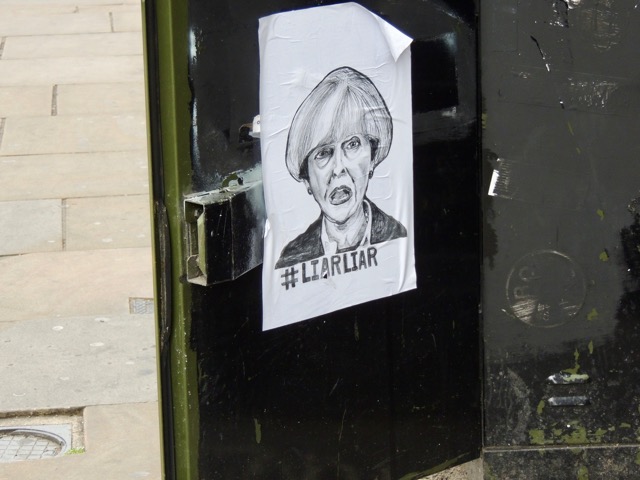
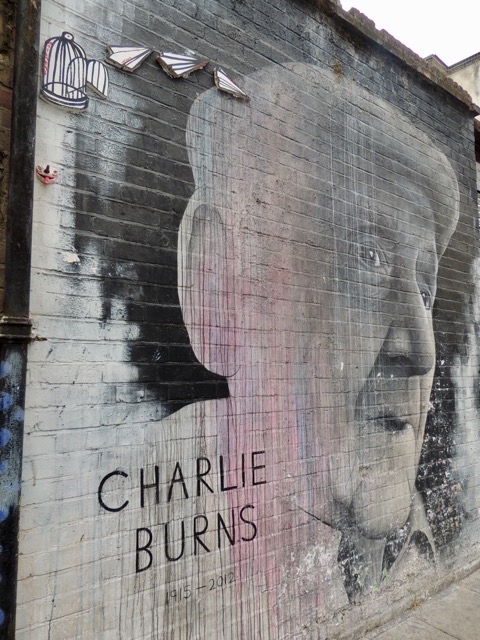
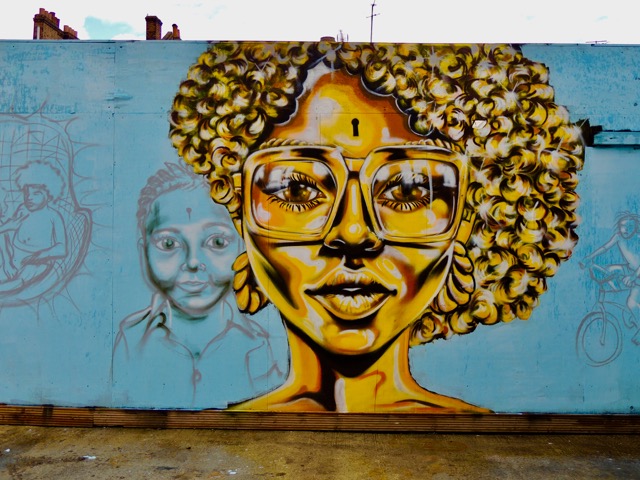
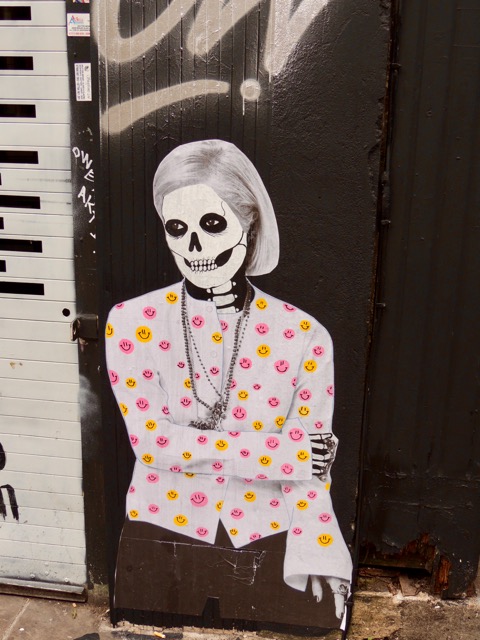
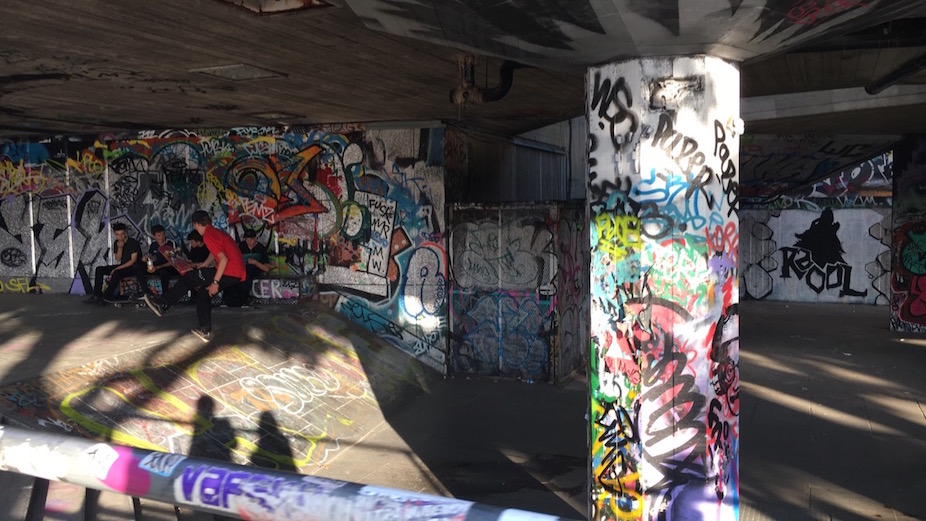
Street art has many loose definitions and is very hard to define. As quoted by street artist Nicholas Riggle, "The artist must willingly expose there work to the risks of defacement, destruction, theft, alteration, appropriation; in short must be committed to ephemerality.” [1] That quote describes the basics of street art, and what is required of it, and it really embodies a lot of what is read in literature as a definition of street art. The next question is what defines good street art? That is up to the viewer, it does not require a degree to be able to analyze it, the simple question is does the viewer find it interesting? Some elements that go into what can be seen as "good" street art is the color, the form, the skill in painting the image, the placement of the image, how it has weathered, the interaction with its surroundings, and how accessible it is to viewers.[2]
In the world of street art and graffiti there is a lot of different terminology used throughout the process, here are some of the common terms used. We will be using these terms throughout the page in order to explain graffiti and street art.
- Tag: A person's graffiti name, can be their actual name, can be letters that stand for something
- Throw-up: This is larger, rapidly written bubble letters that are quickly written on a wall
- Piece: A larger, mural-like design that uses multiple colors and complex techniques, usual put up by a group of people
- Slaps: Stickers, they get their name for their ability to easily be slapped up on a wall
- The Buff: When tags are removed by city authorities
The Buff
- ==History of Street Art==
- ===Materials and Methods===
- ===The Street is The Gallery===
- ===Taking the Art off the Street===
- ===Graffiti versus Street Art===
- ===The Legality===
- ==Artists Thoughts==
- ===Bansky===
- ===Jimmy C. ===
- ===Pez===
- ===Roa===
- ==Styles==
- While it is not easy to classify every piece of street art, these are some styles that encompass a lot of them.
- ===''Suprematists''===
- ===''Site Specific Art''===
- ===''Sci-Fi Expressivism''===
- Photo Connection:
- ===''Retro Pop''===
- ===''Super Pop''===
- Photo Connection:
- === ''Painters' Paint''===
- ===''Recyclomaniacs''===
- Photo connection:
- ===''No Logo''===
- ===''Conceptualism''===
- Photo Connection:
- =Featured Art=
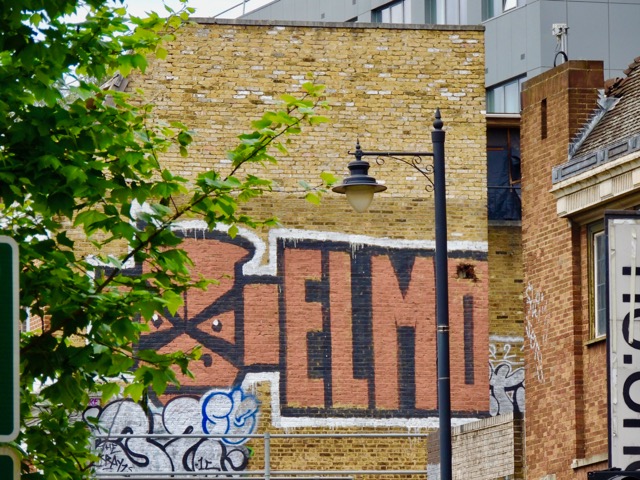
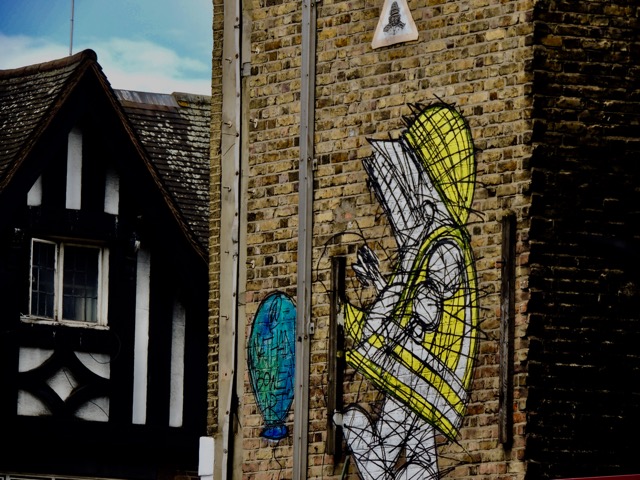
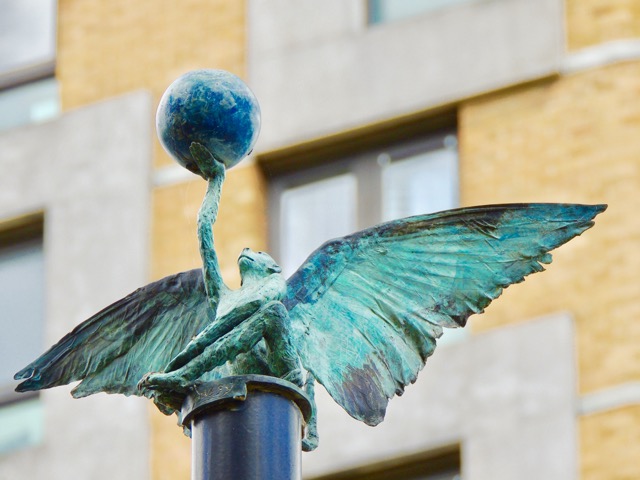
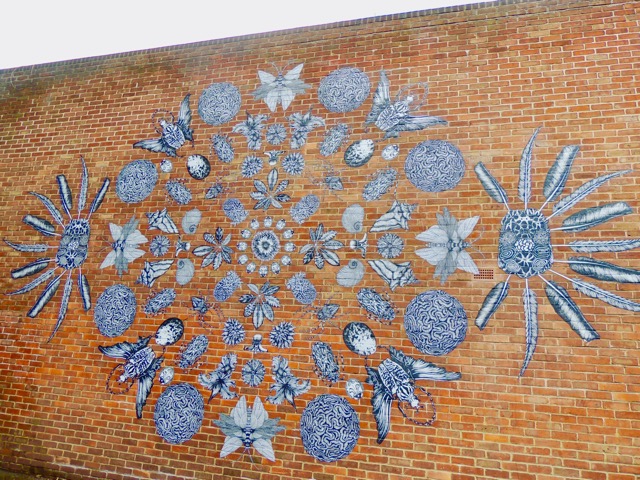
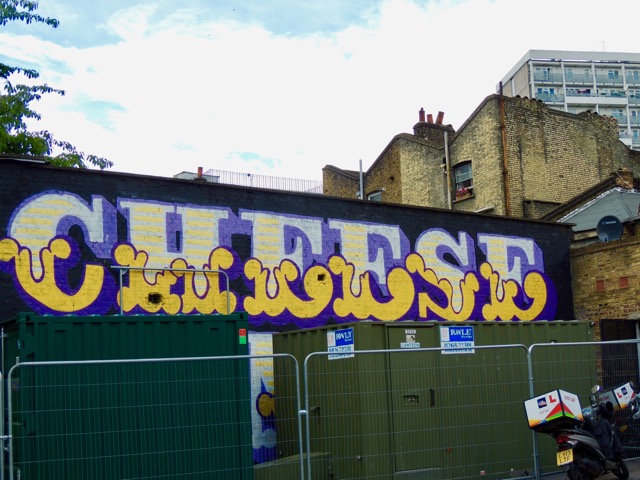
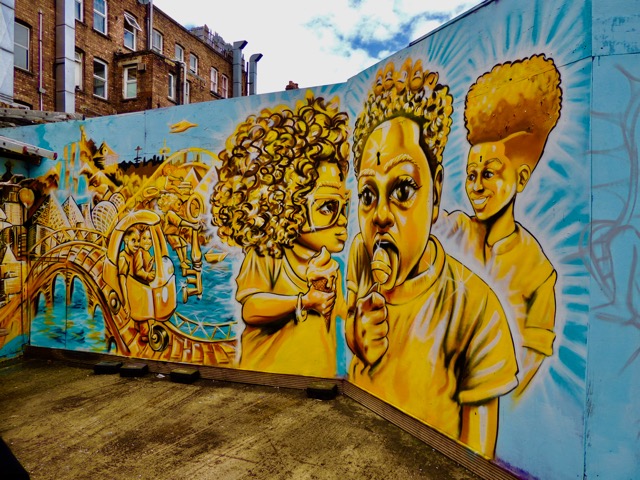
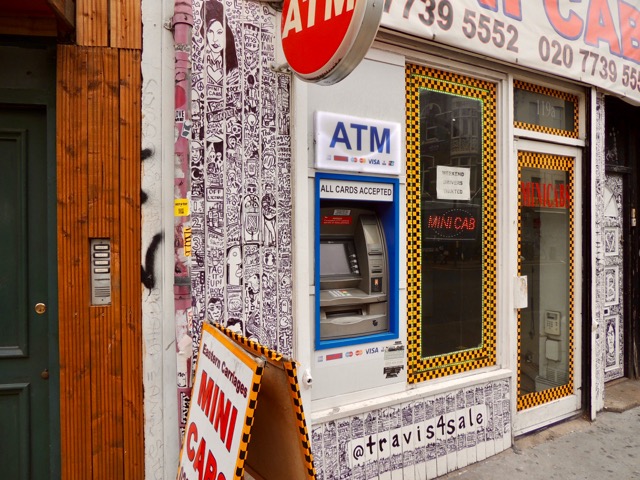
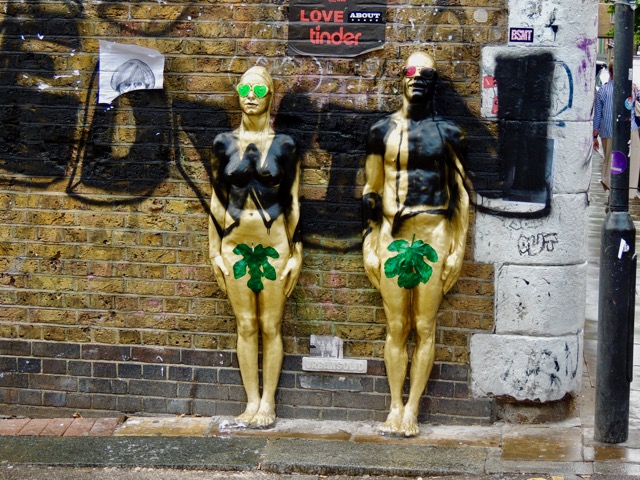
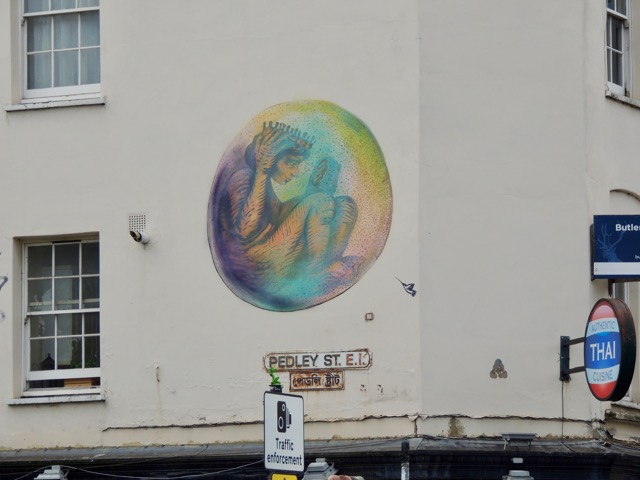
- ==Gallery==
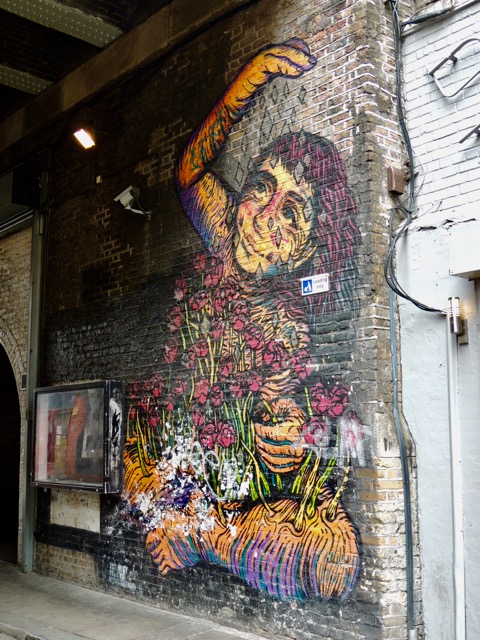
Artist: Ben Wilson
Artist: Christen Magow
Artist: Noir
Artist: Ben Eine
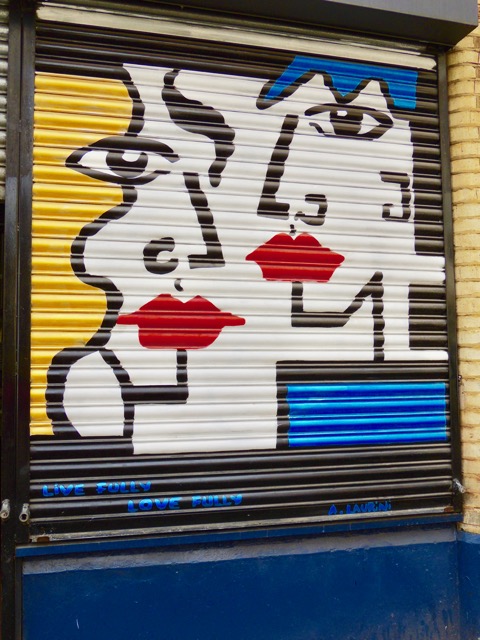
Artist: A. Laurini
Artist: Conner
Artist: Discrete
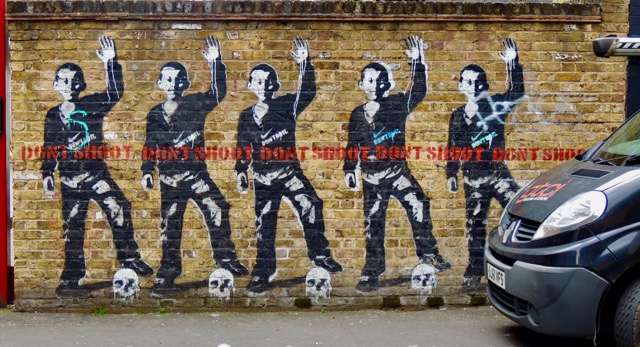
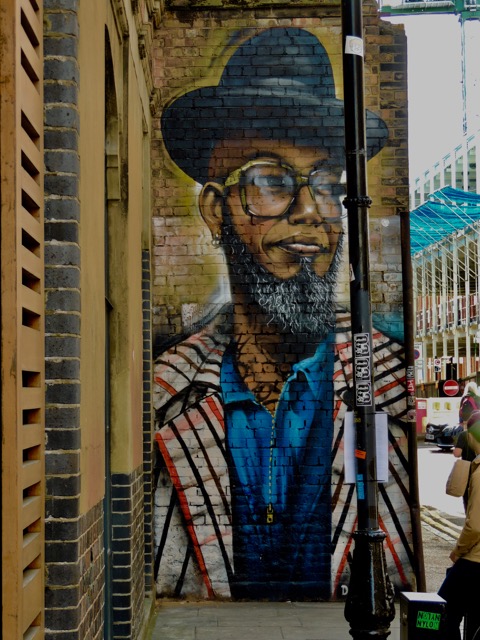
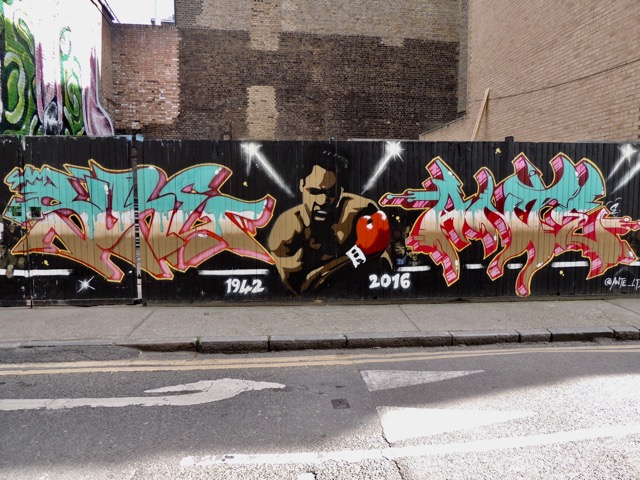
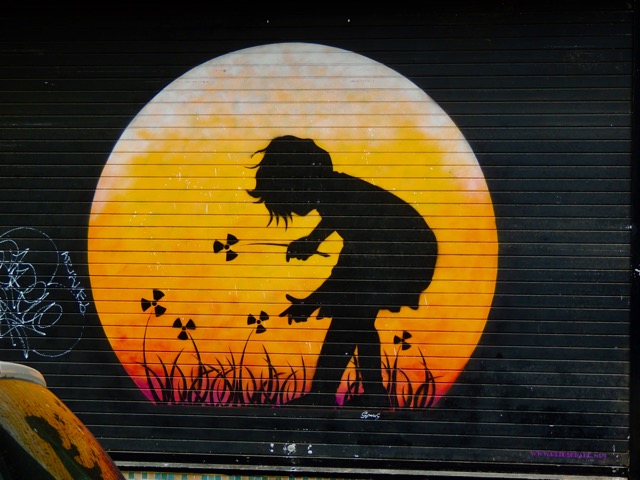
Artist: Jimmy C.
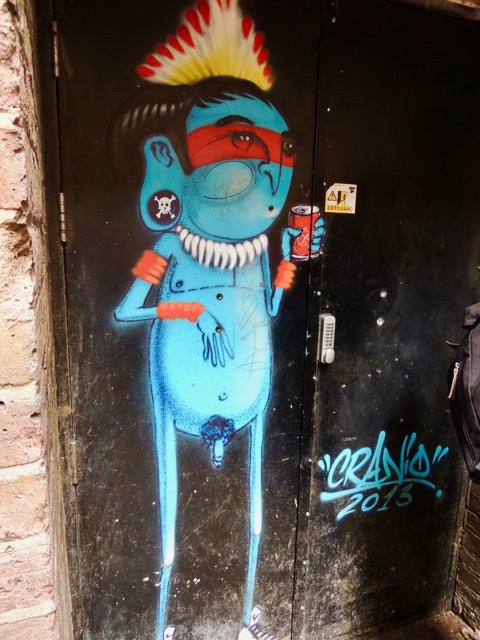
Artist: Cranio

Artist: Pez
Artist: Stik
Artist: Banksy
Artist: Bambi
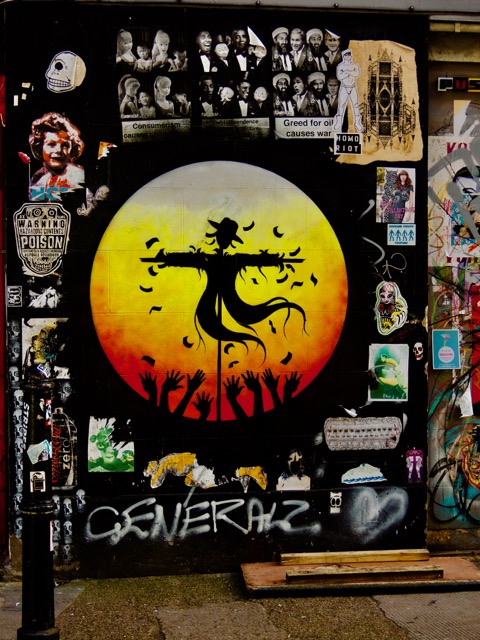
Artist: Unknown
Artist: Dal East
Artist: Gregos
Artist: Mighty Moe
Artist: Nathan Bum

Artist: Clamp Abraham
Artist: Jonsey
Artist: Lily Mixe
Artist: Ben Eine
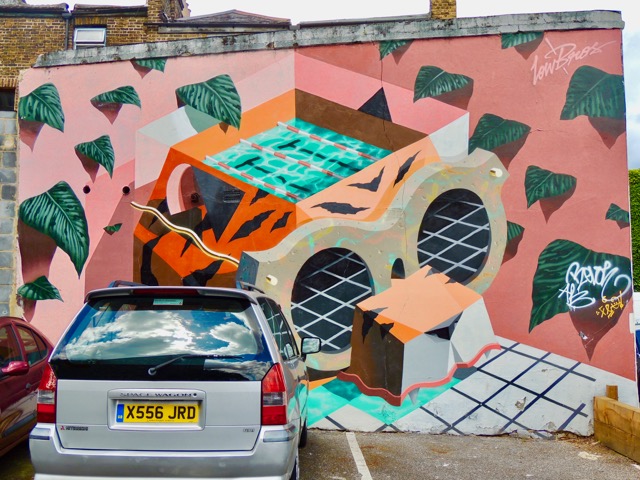
Artist: Low Bros
Artist: Hacksell Void
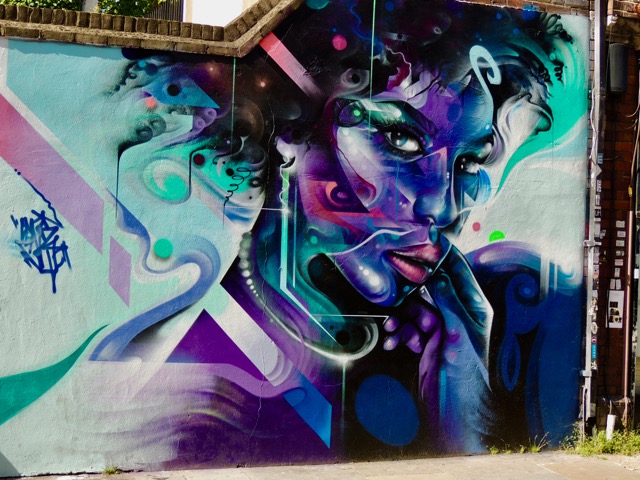
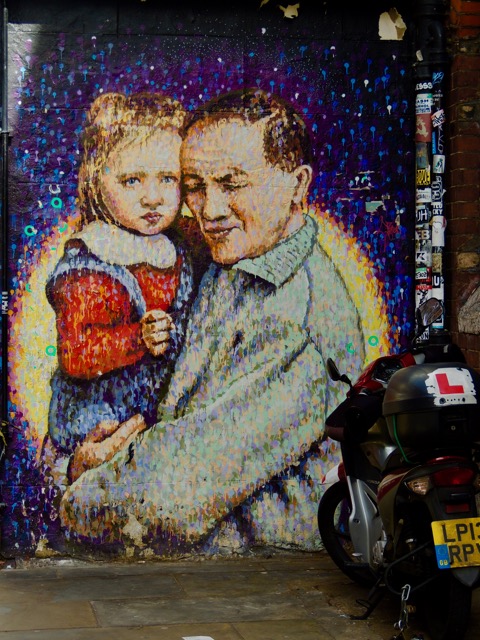
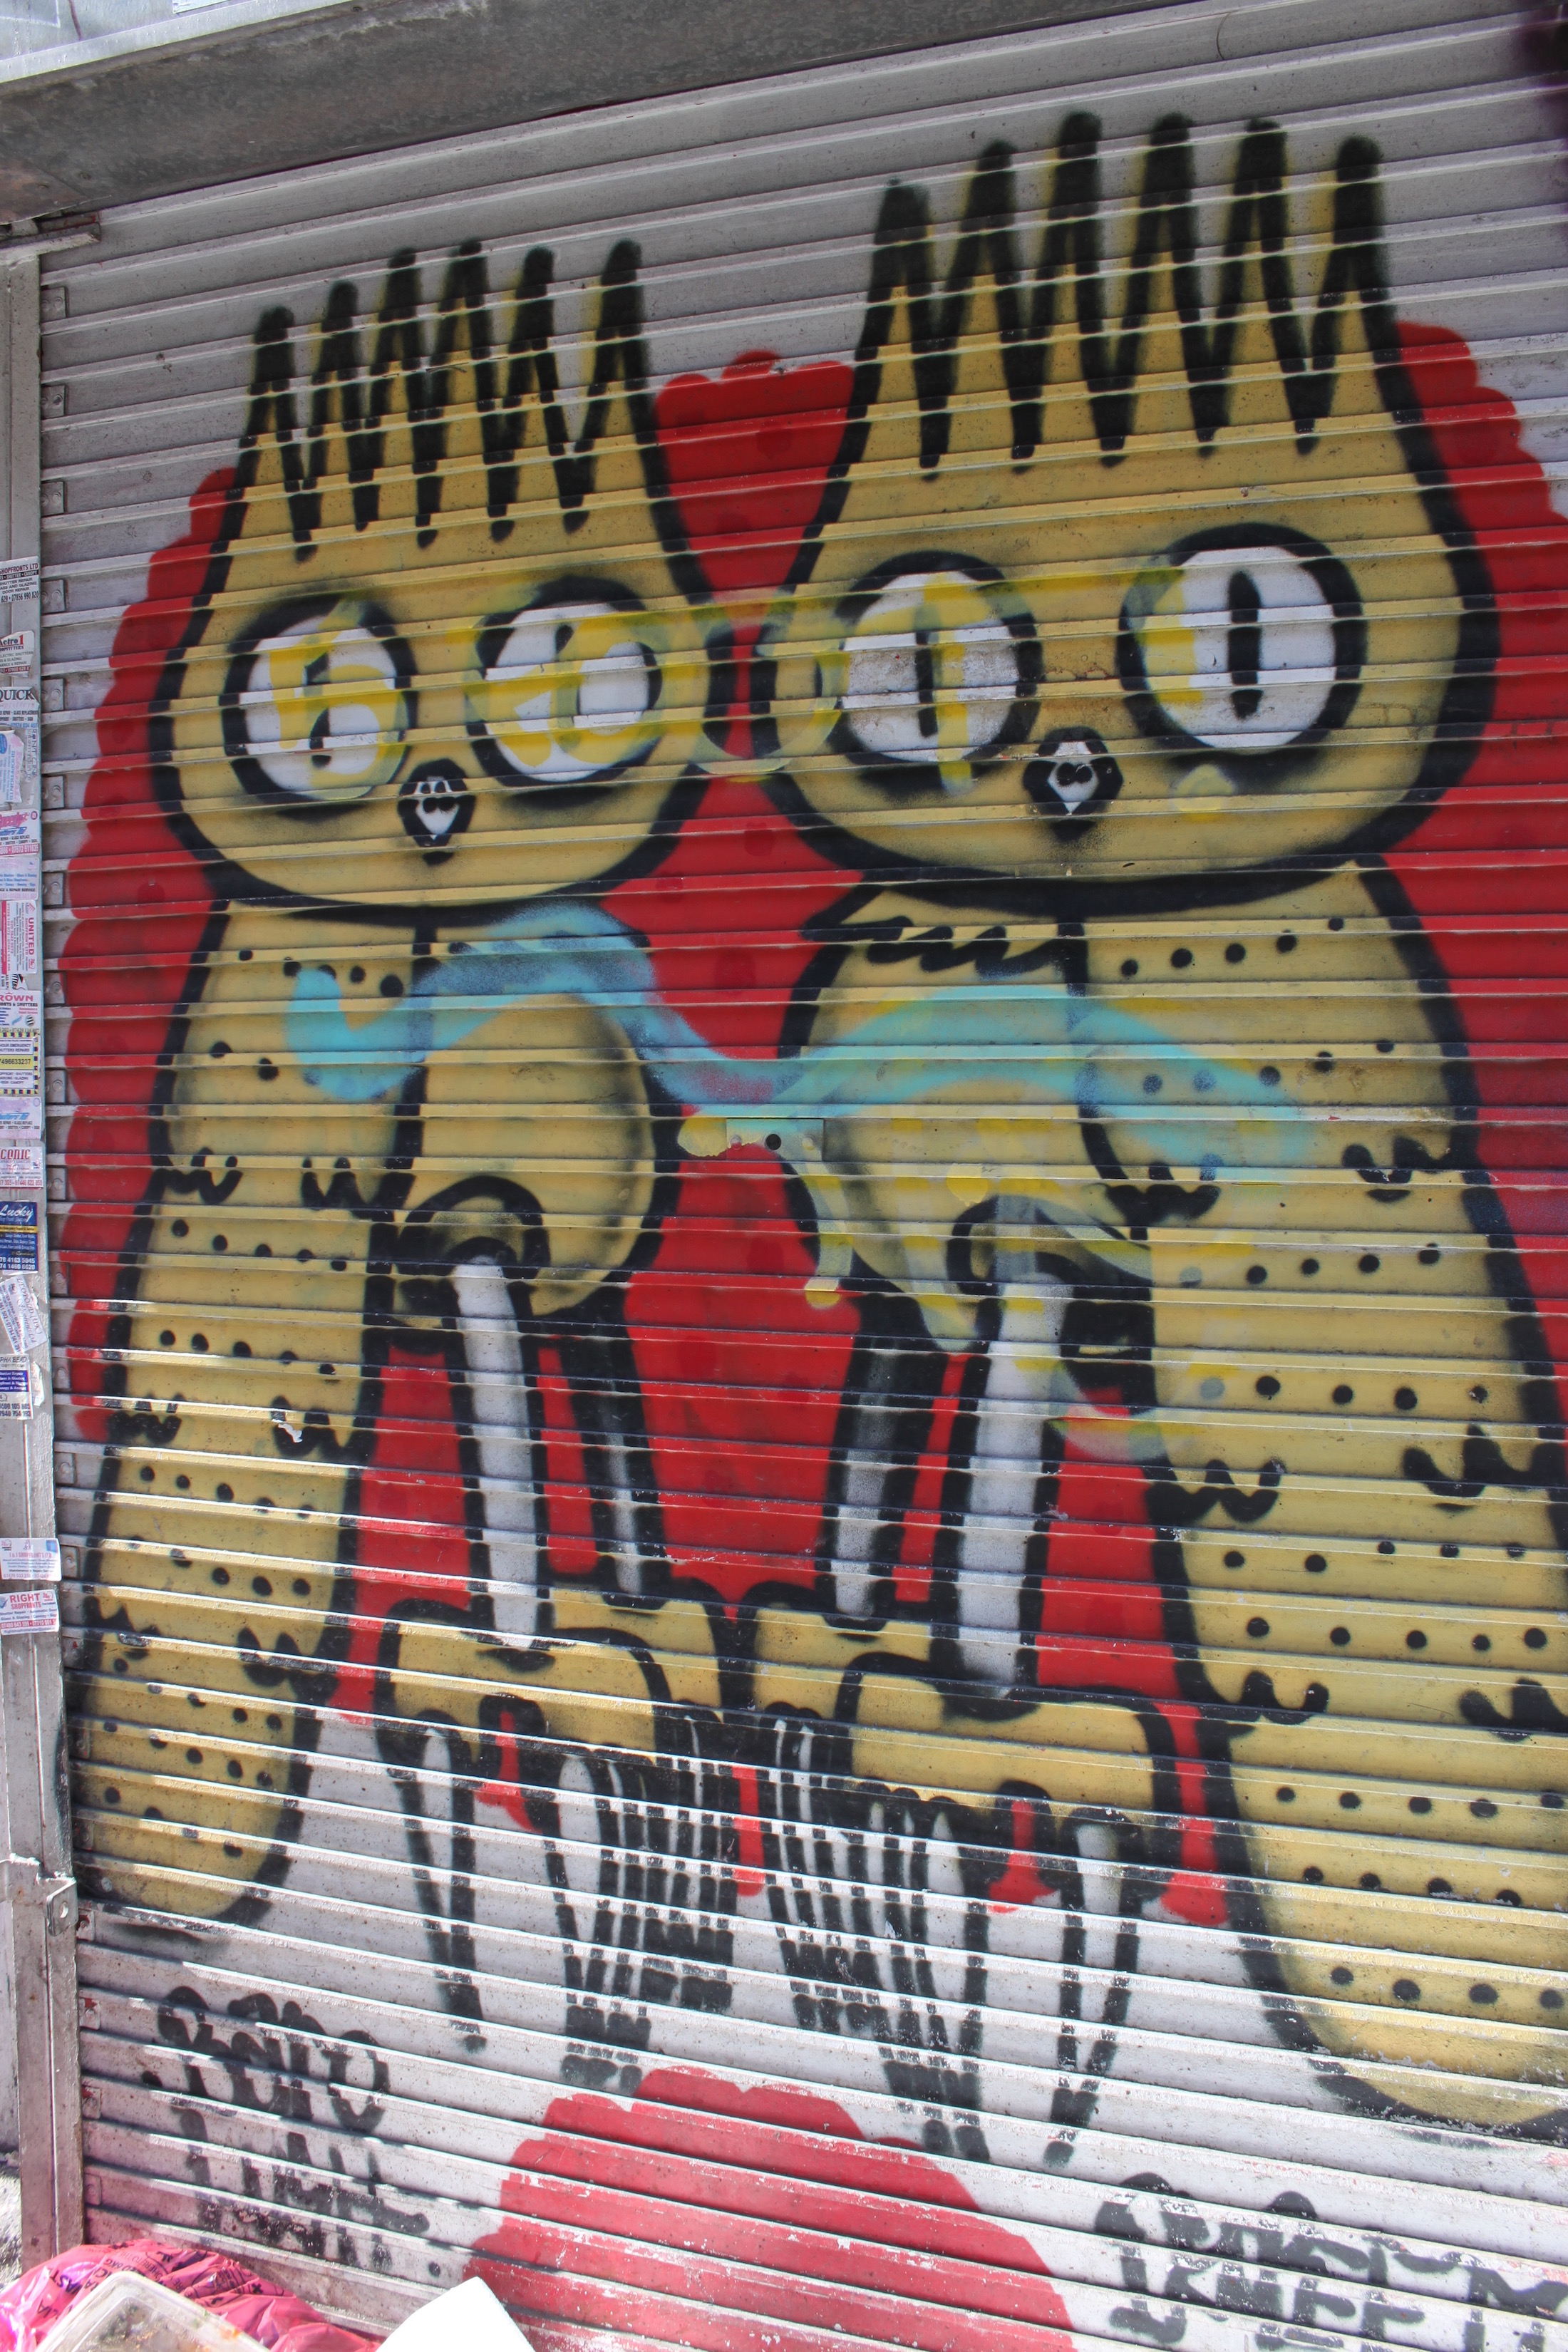
Artist: Jimmy C
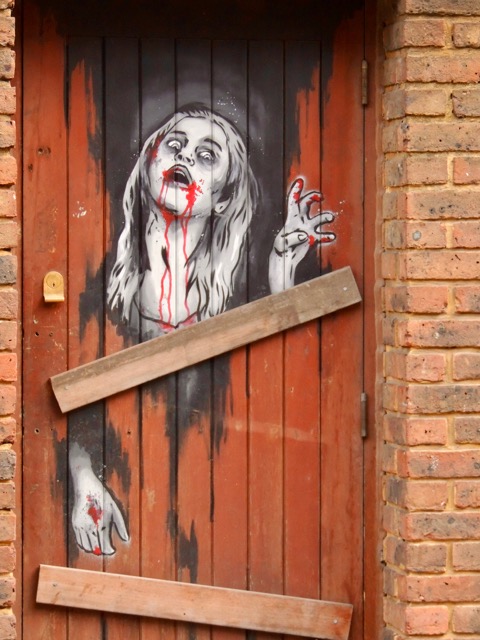
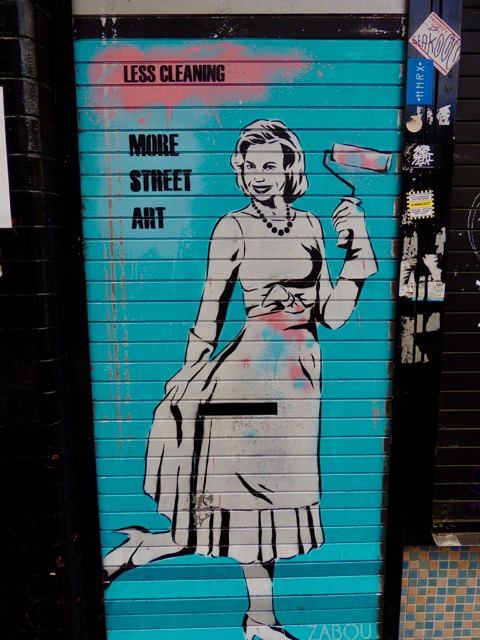
Artist: ZABOU
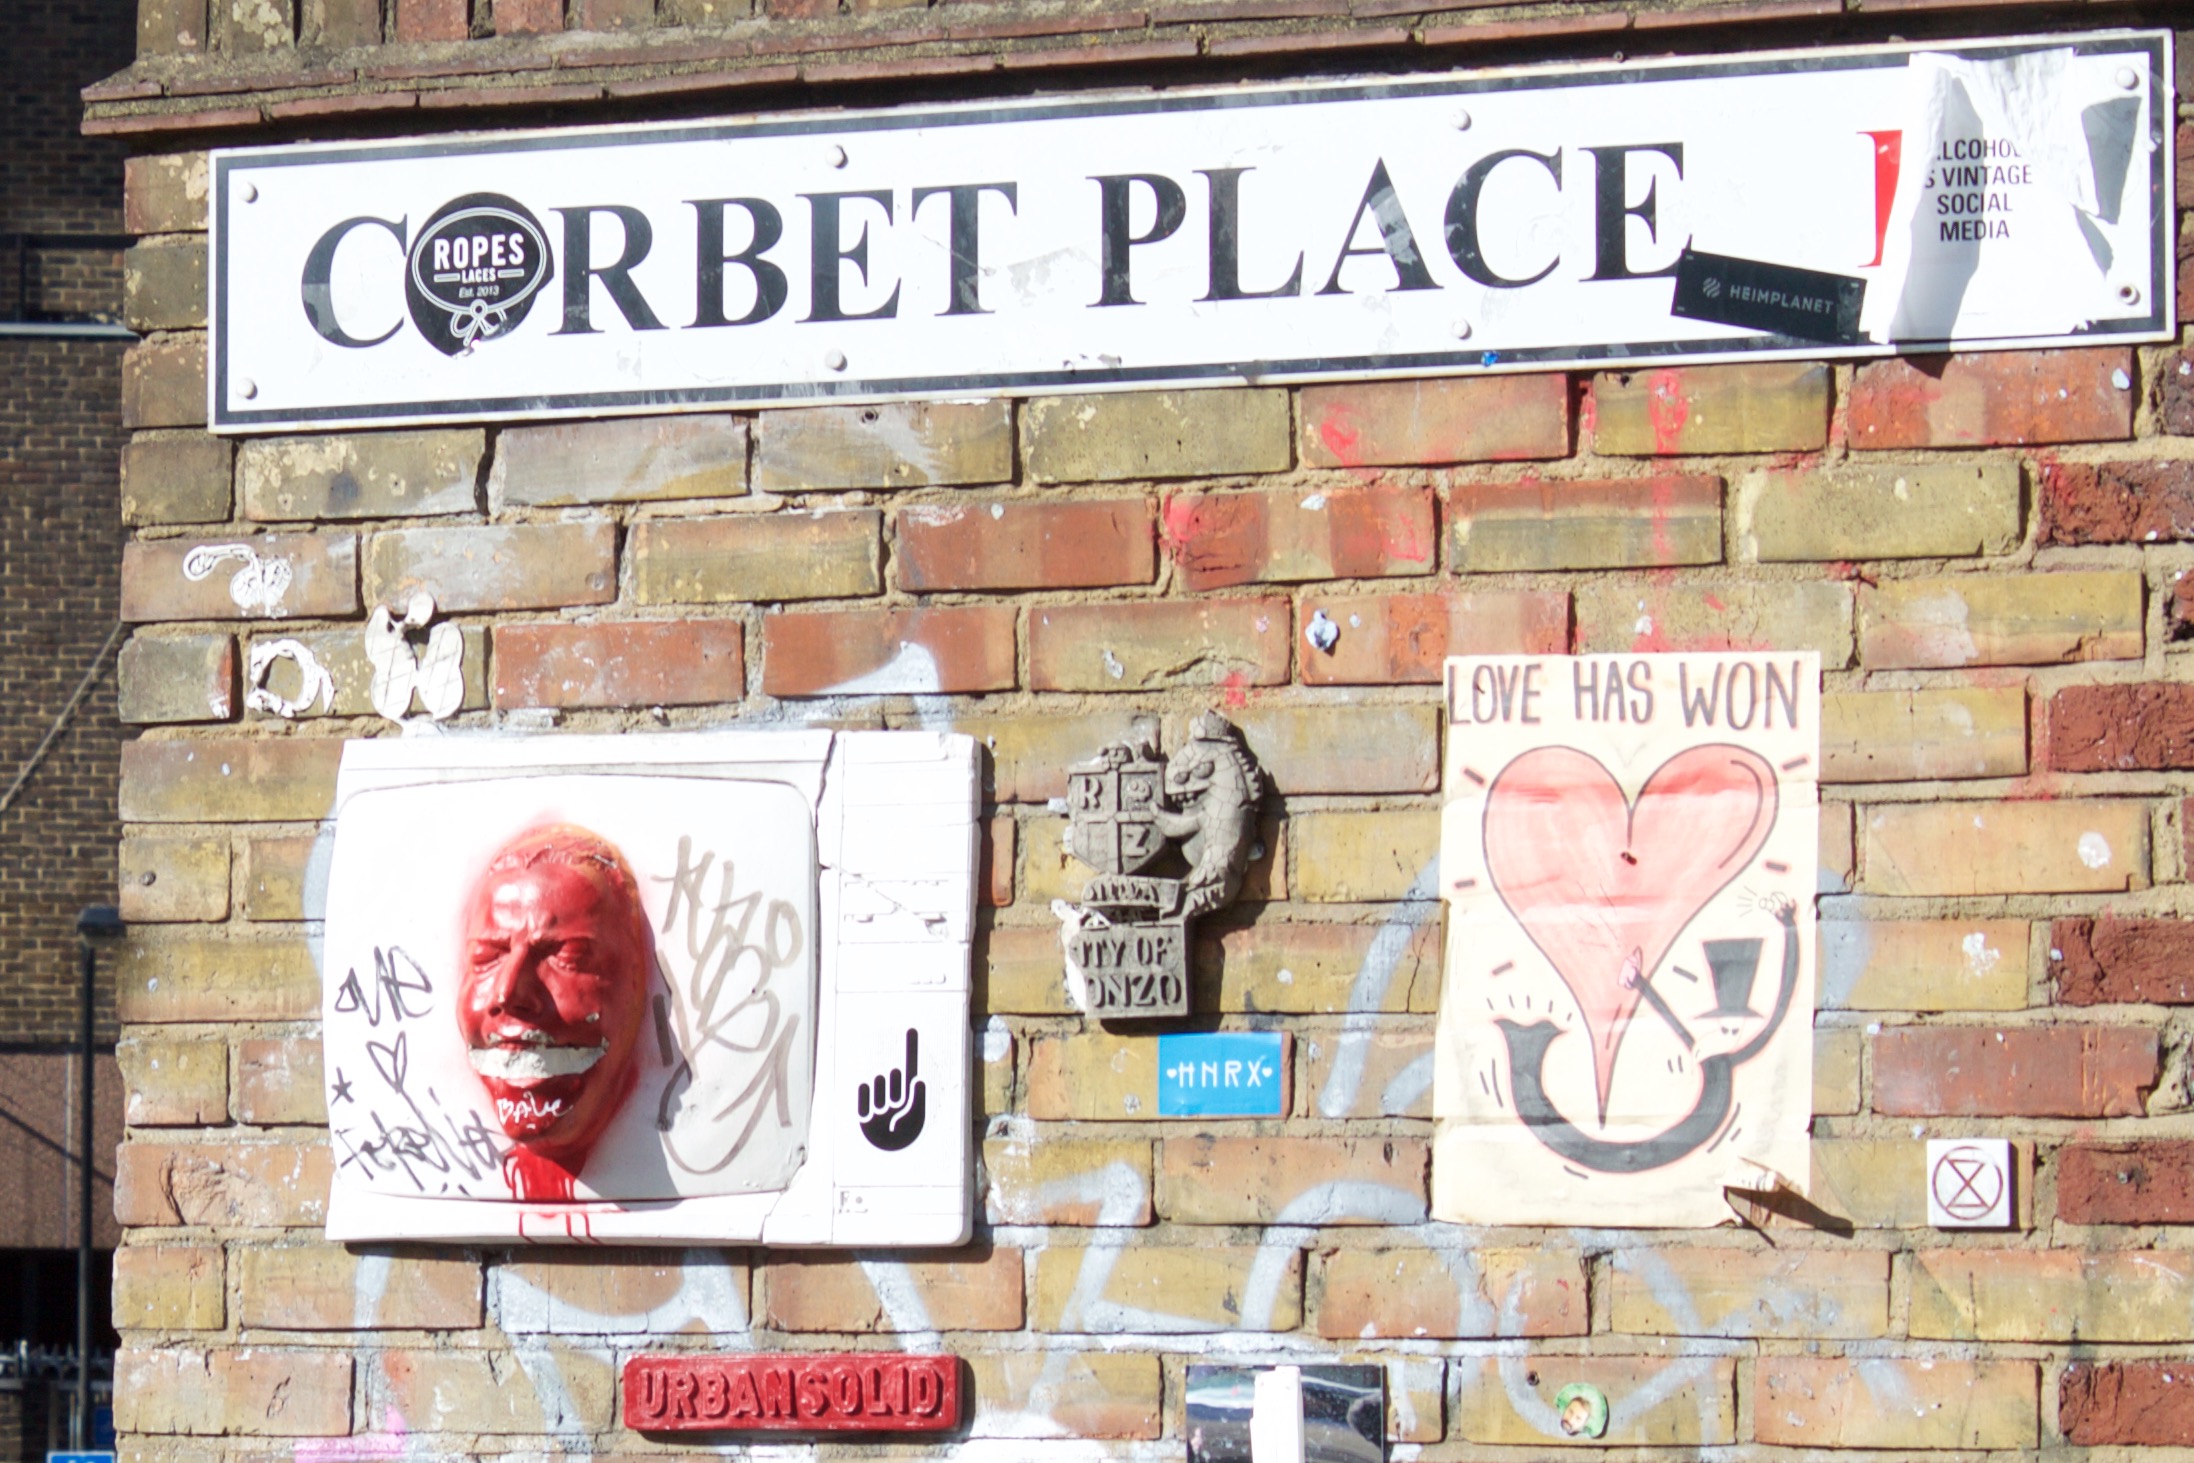
Artist: Rower
Artist: Hay T
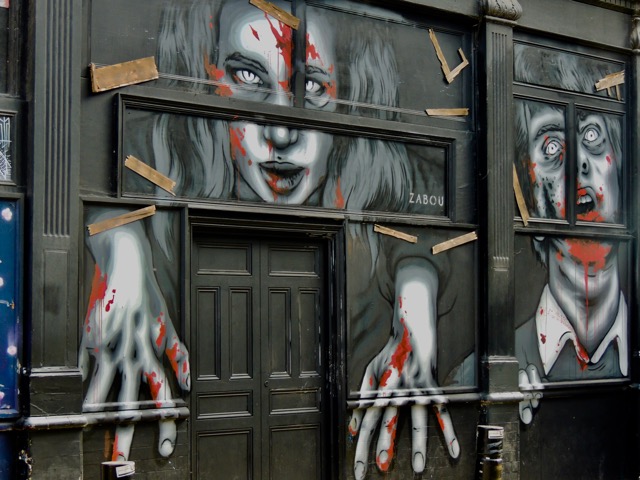
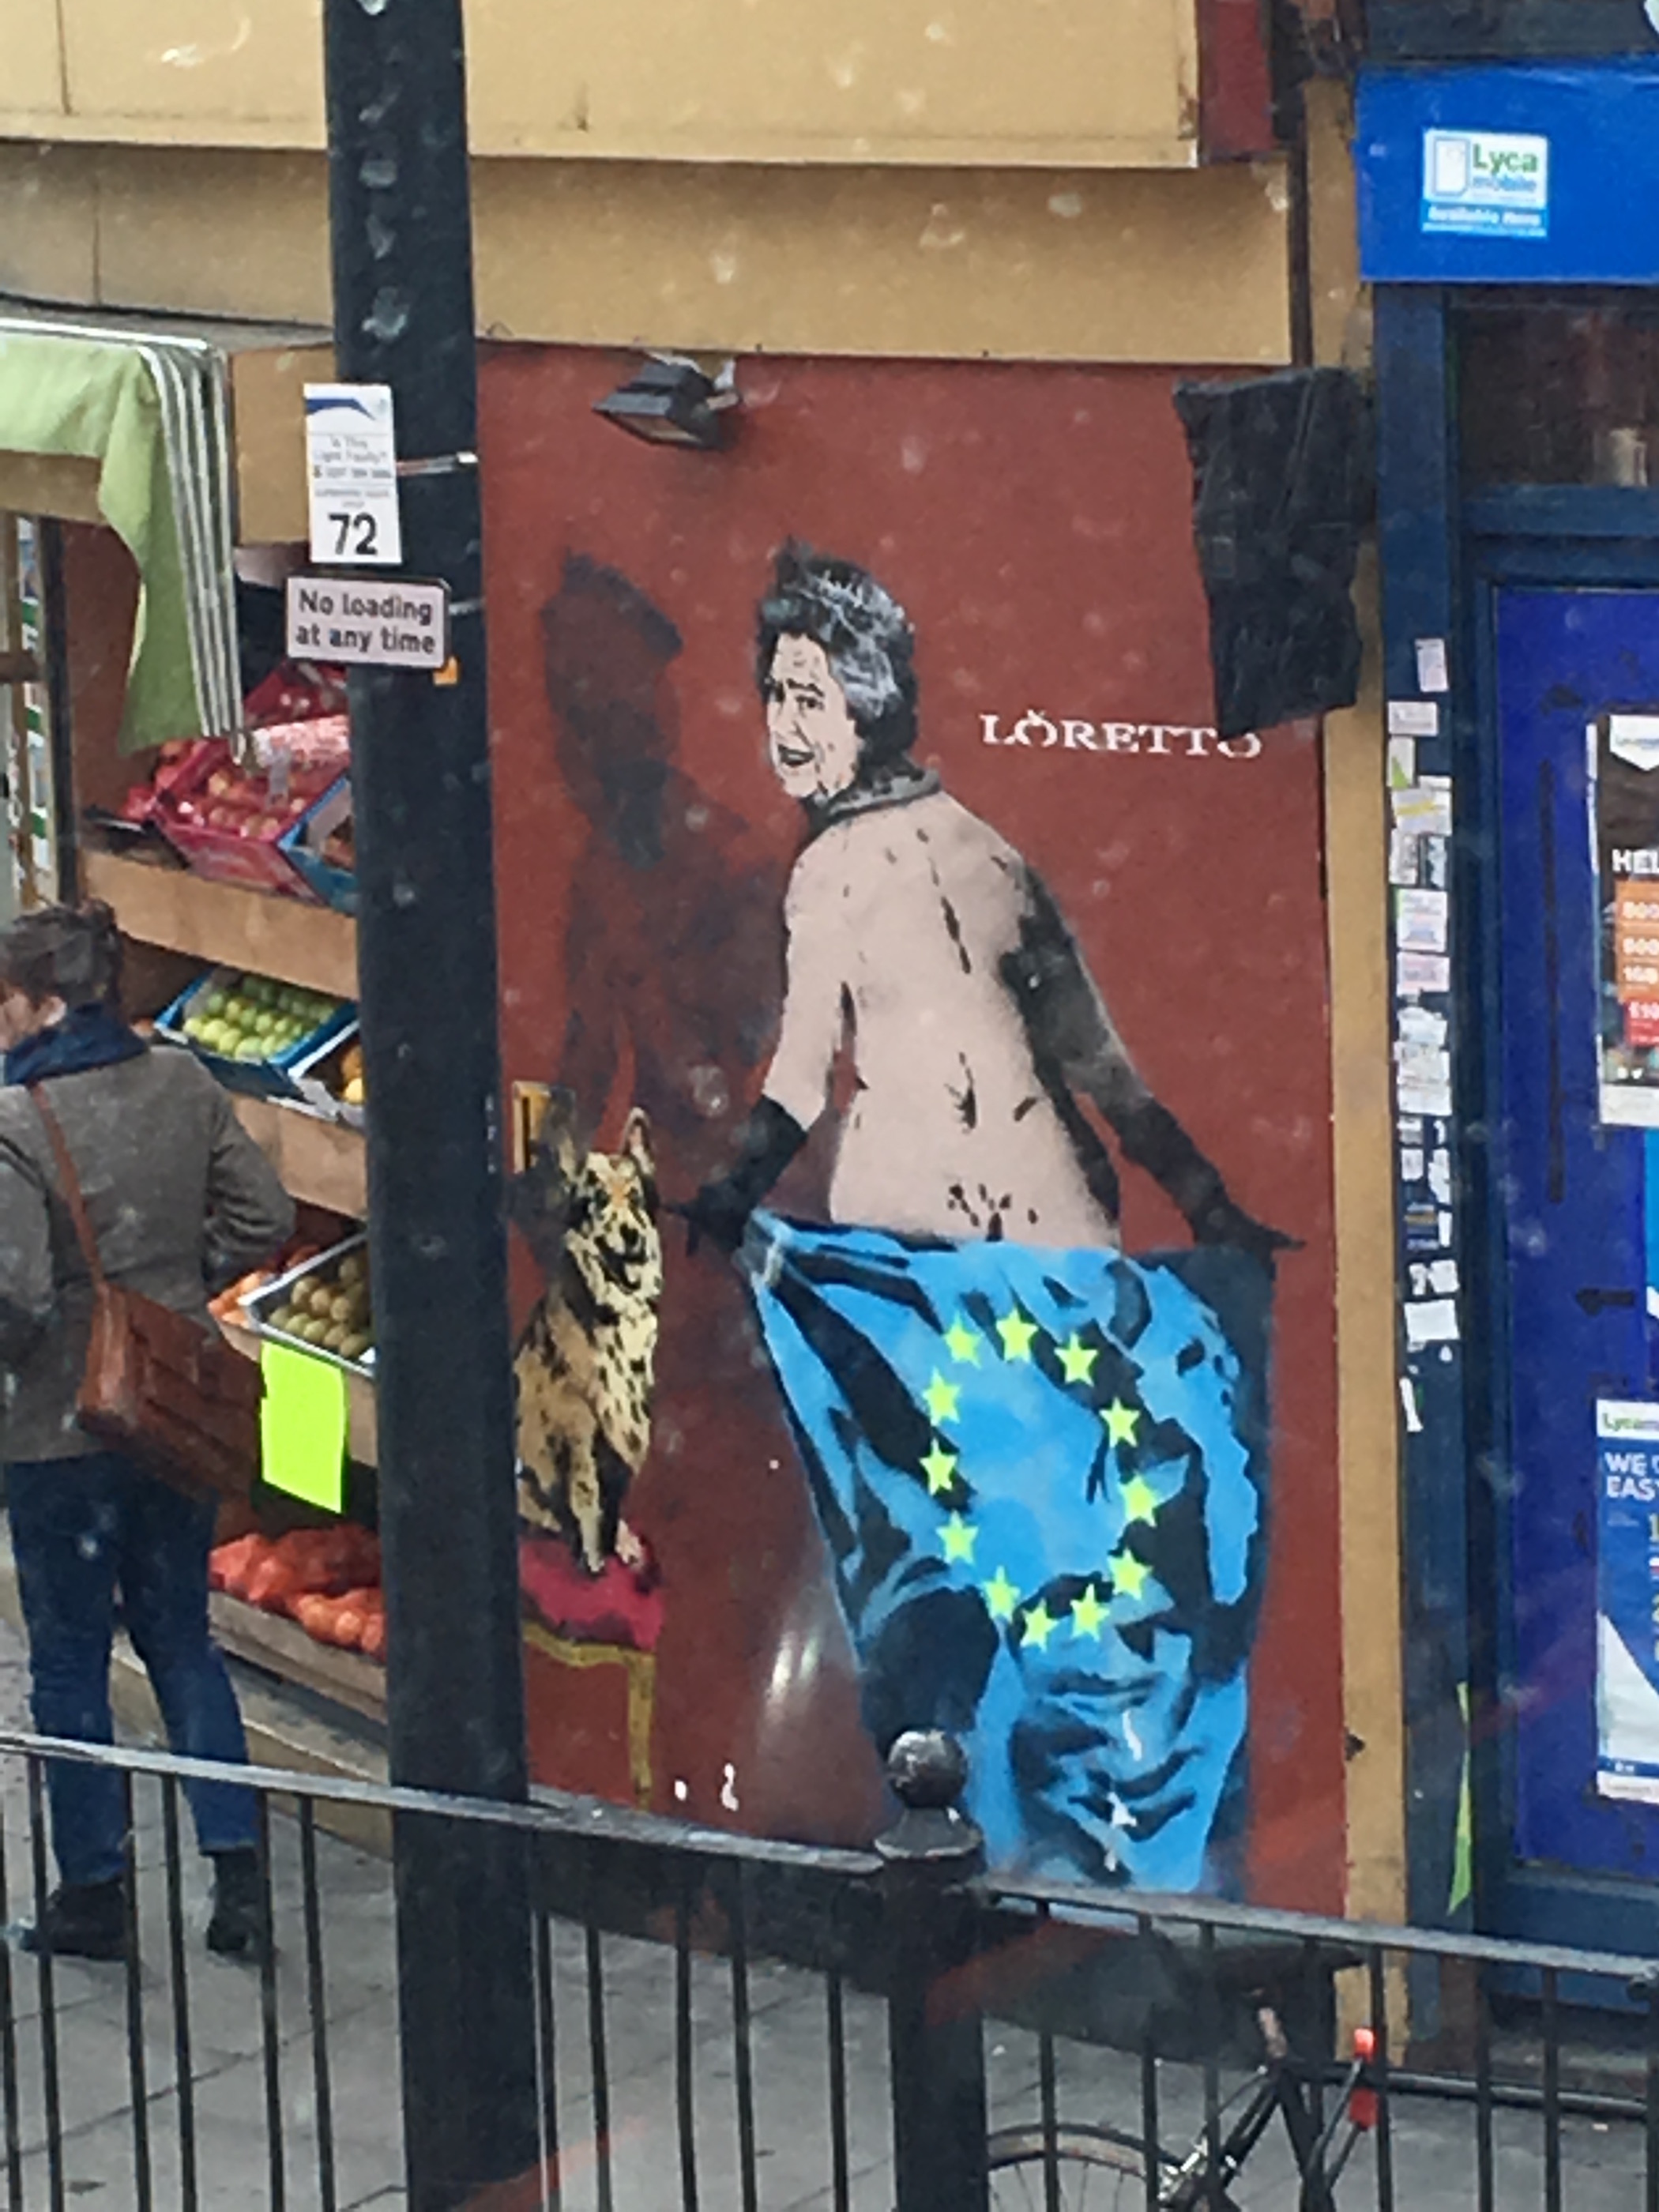
Artist: ZABOU
Artist: Hay T
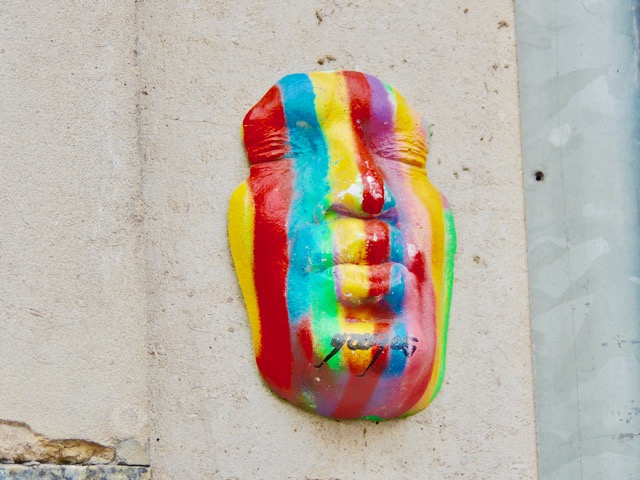
Artist: Unknown
Artist: Unknown
Artist: Unknown
Artist: Unknown
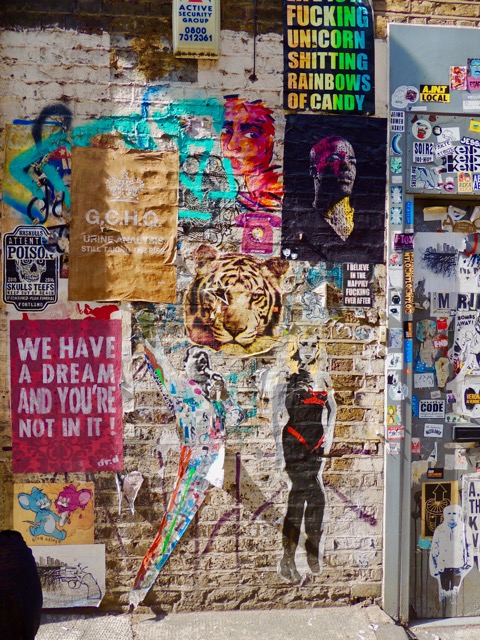
Artist: Unknown
Artist: Unknown
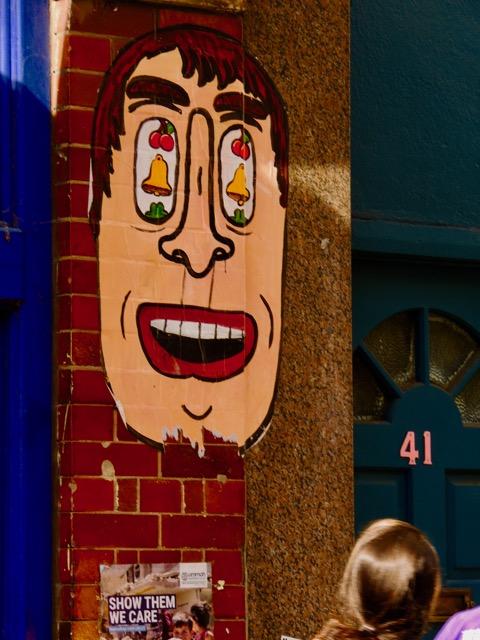
Artist: Unknown
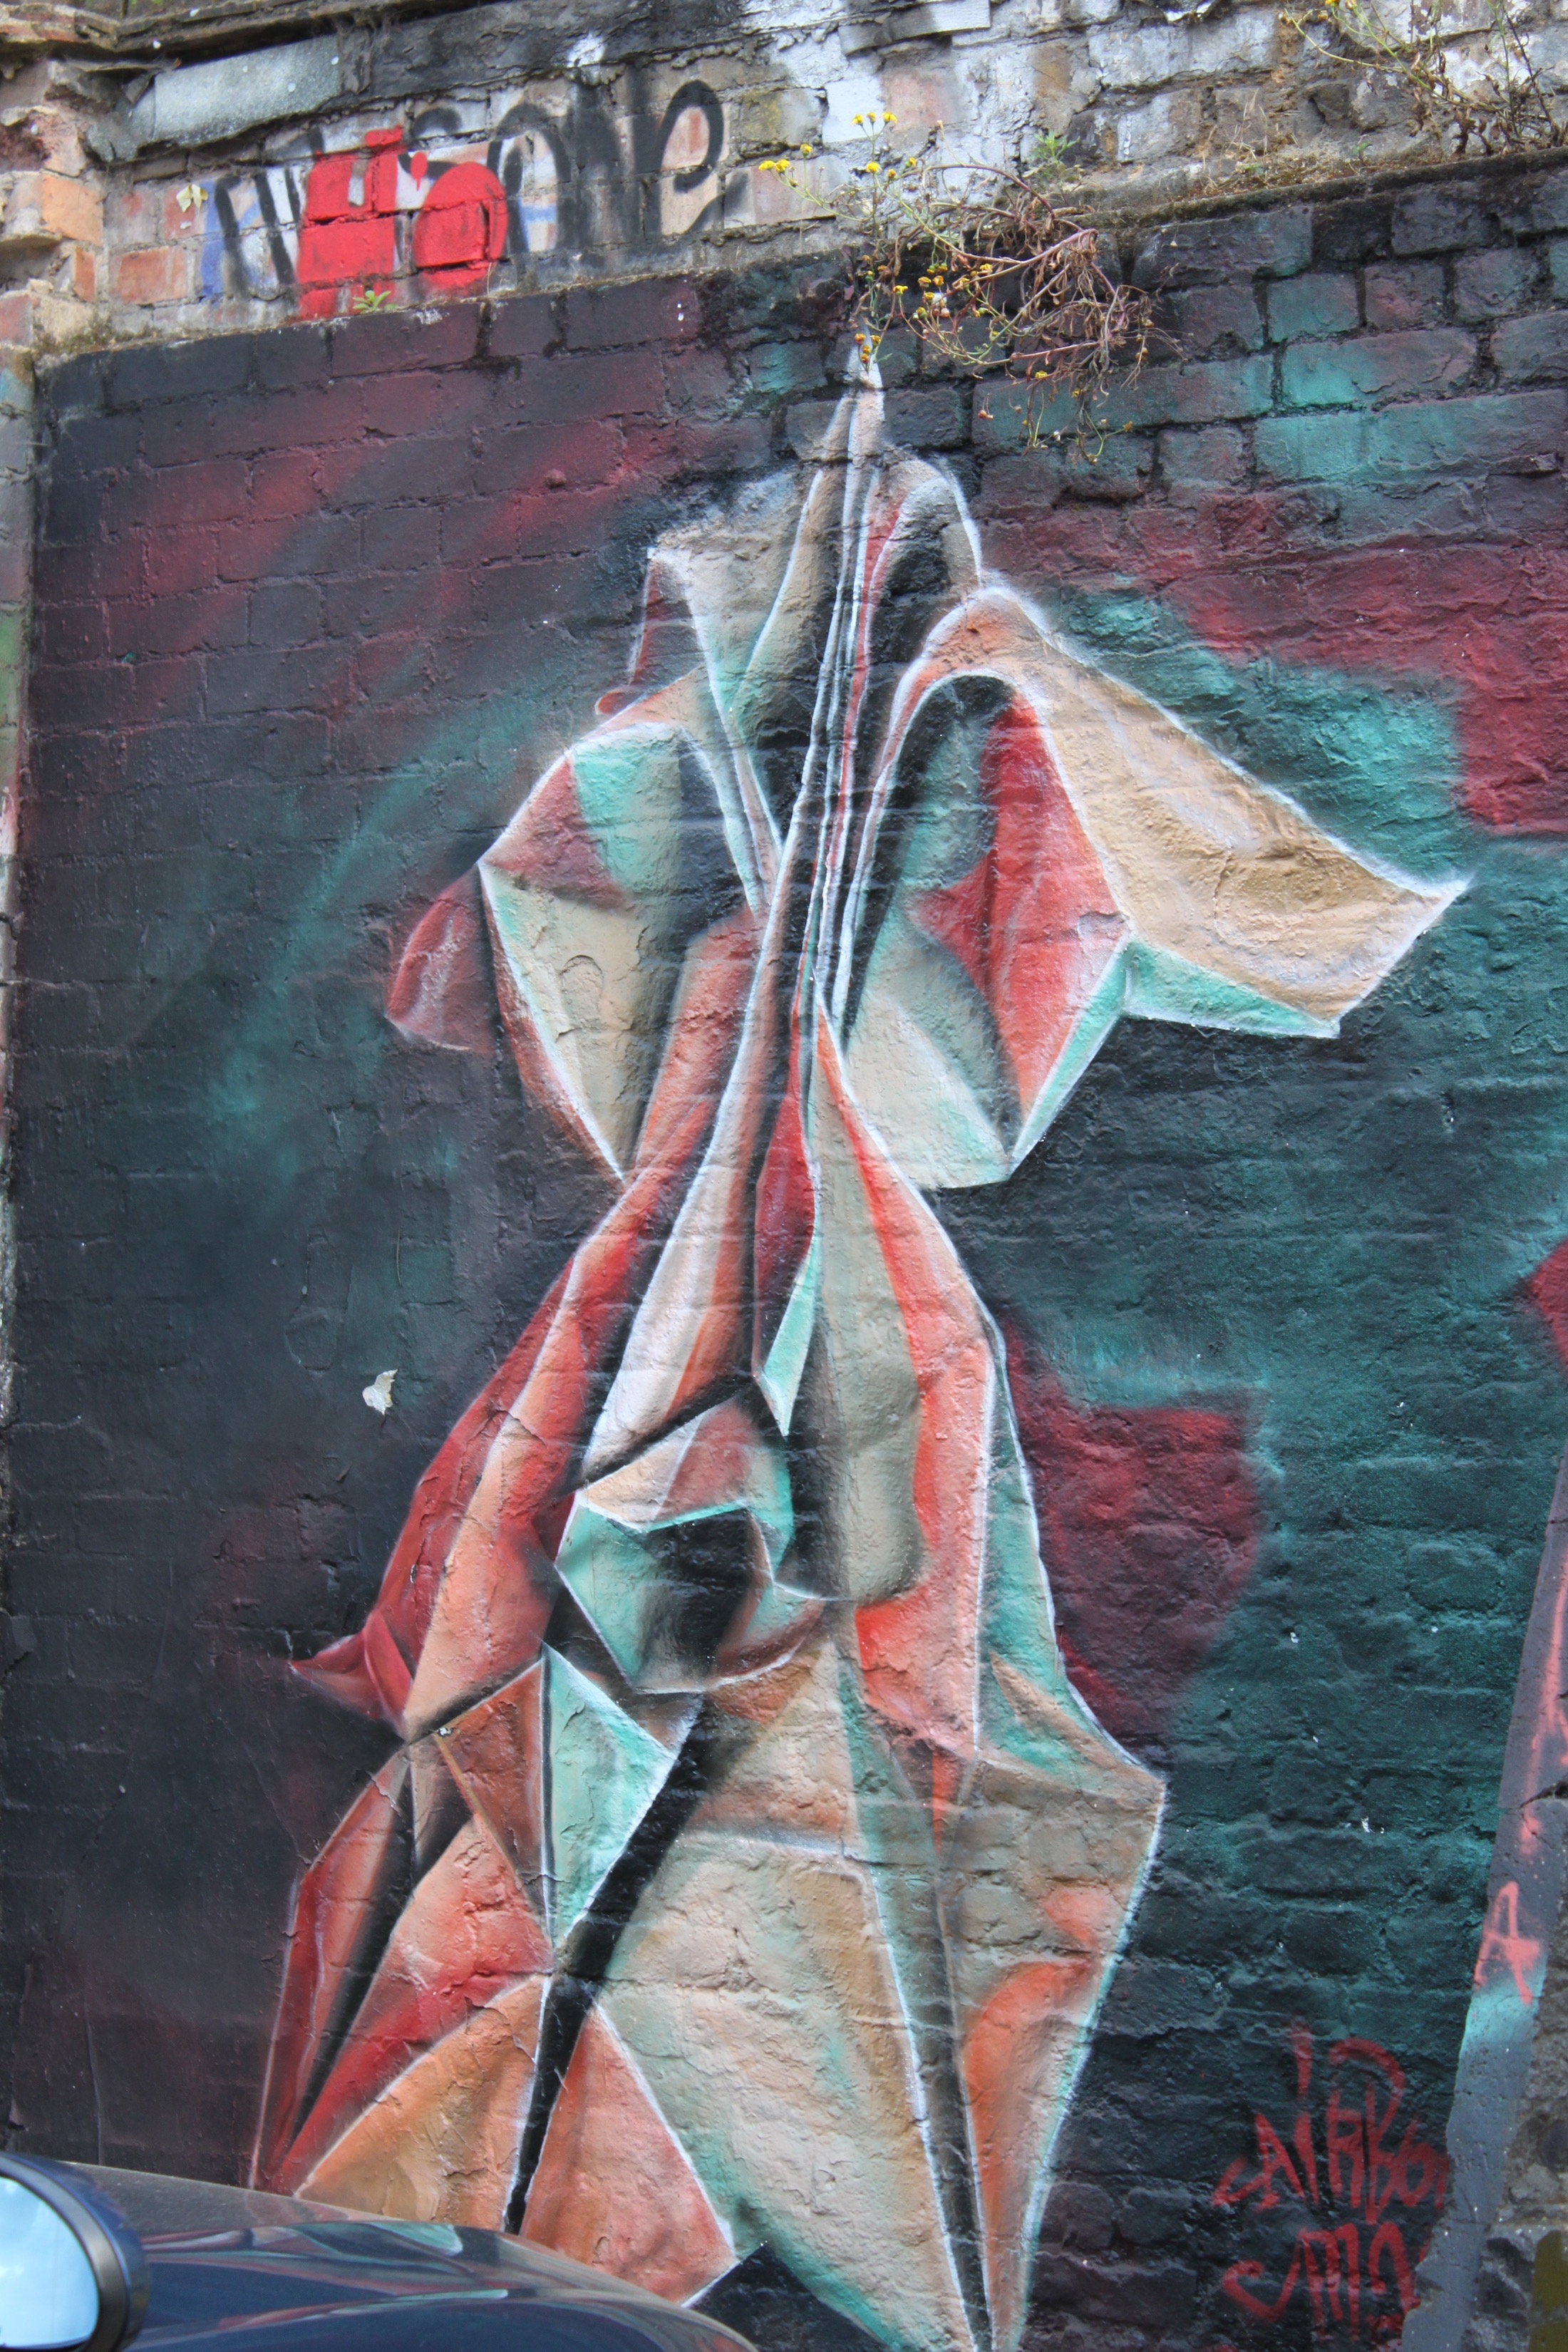
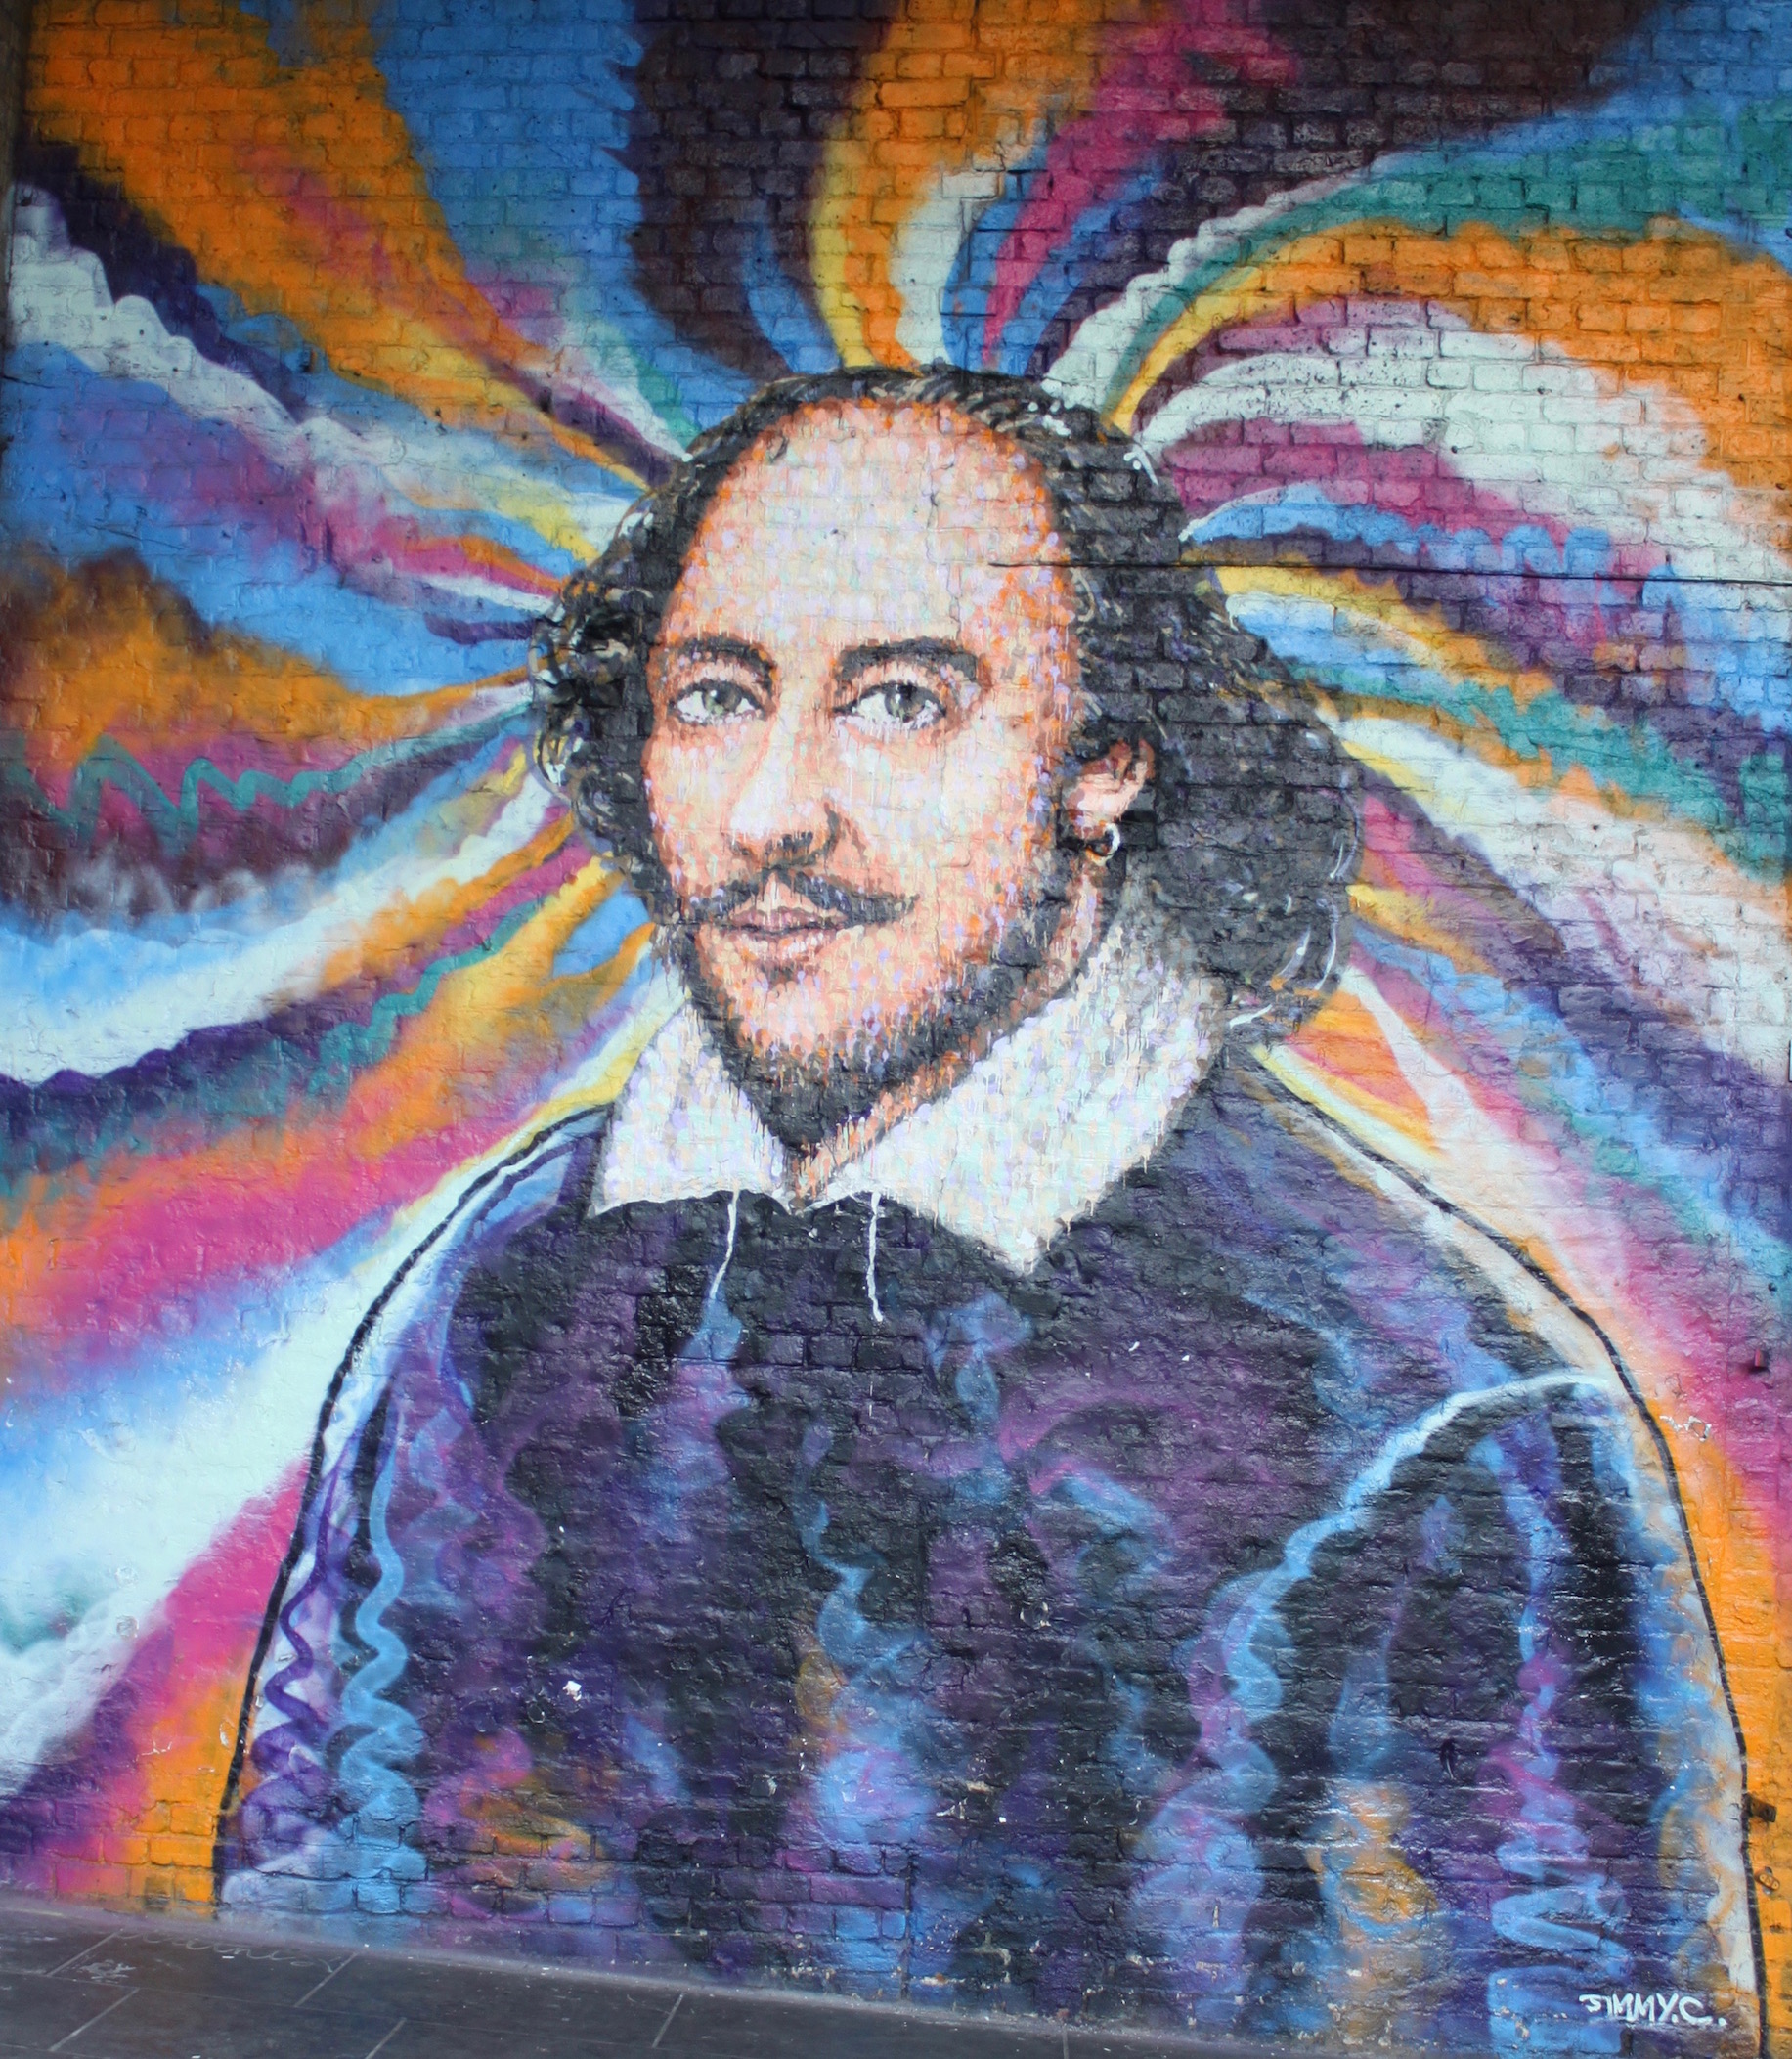
Artist: Jimmy C.
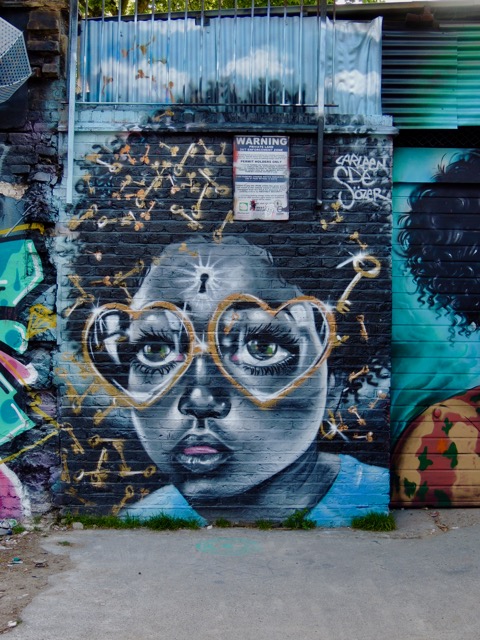
Artist: Carleen De Sozer
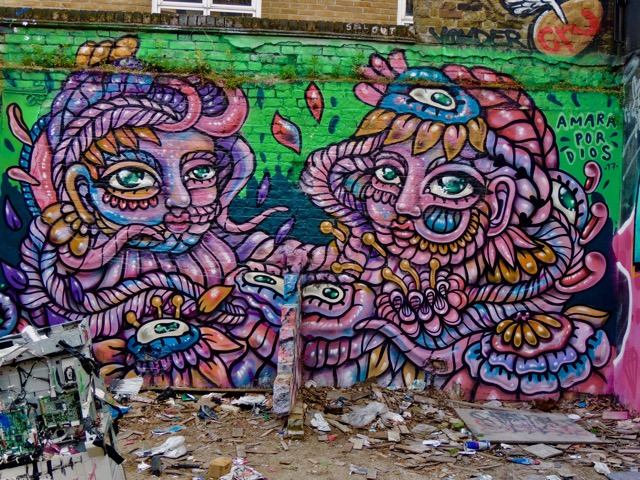
Artist: Amara
Artist: Unknown
Artist: Unknown
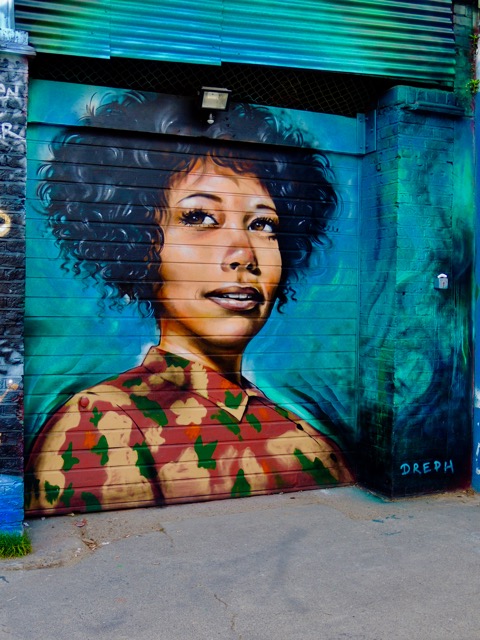
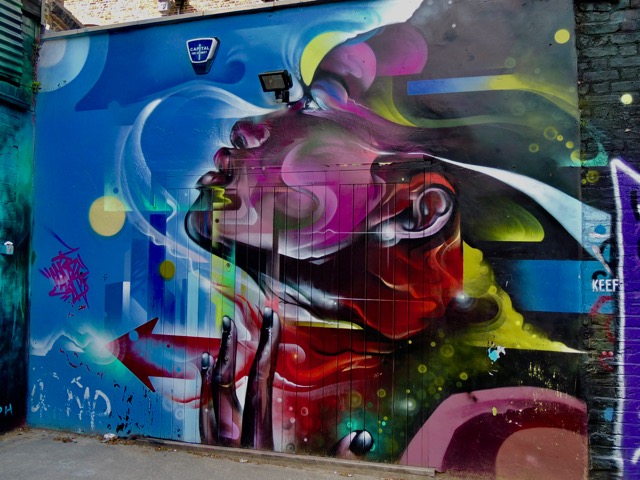
Artist: Dreph
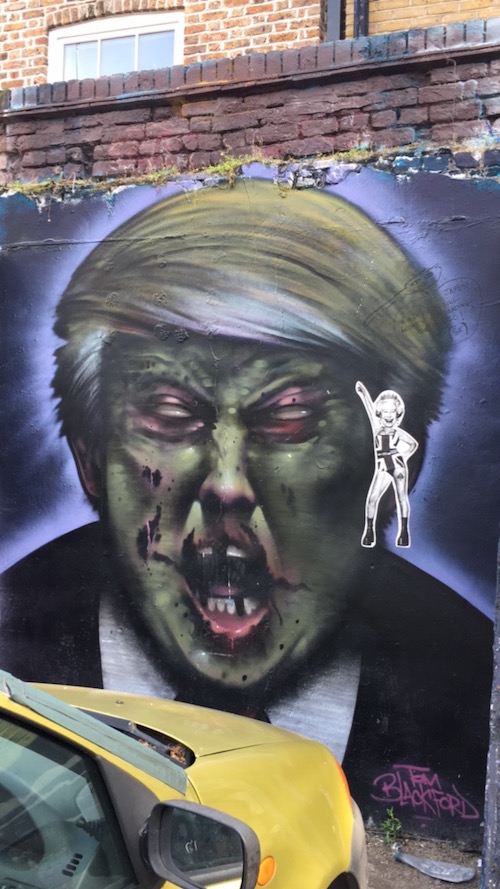
Artist: Tom Blackford
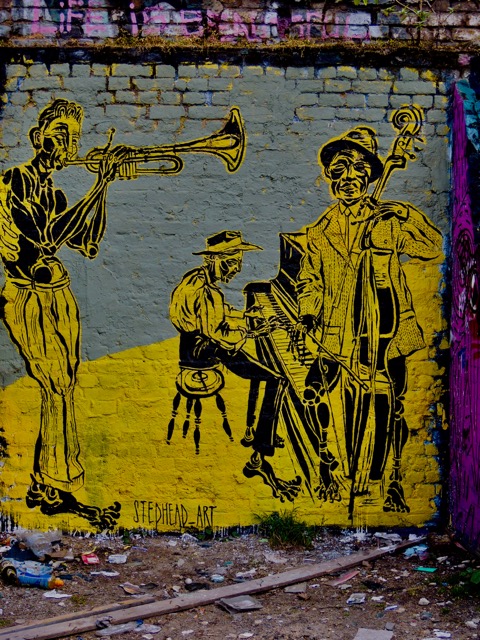
Artist: Stephead

Artist: Unknown
Artist: Unknown
Artist: Pez
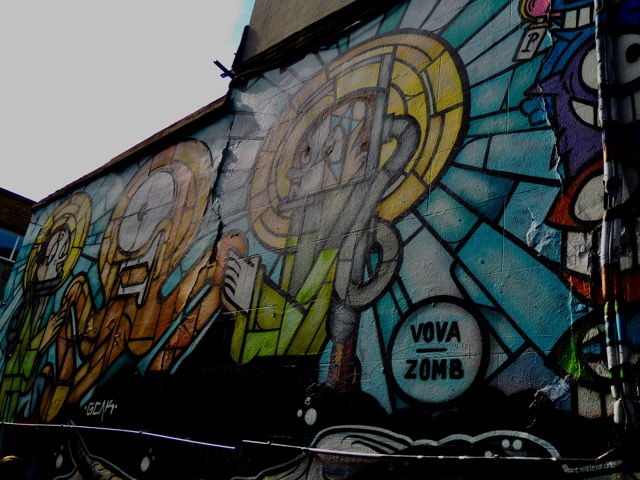
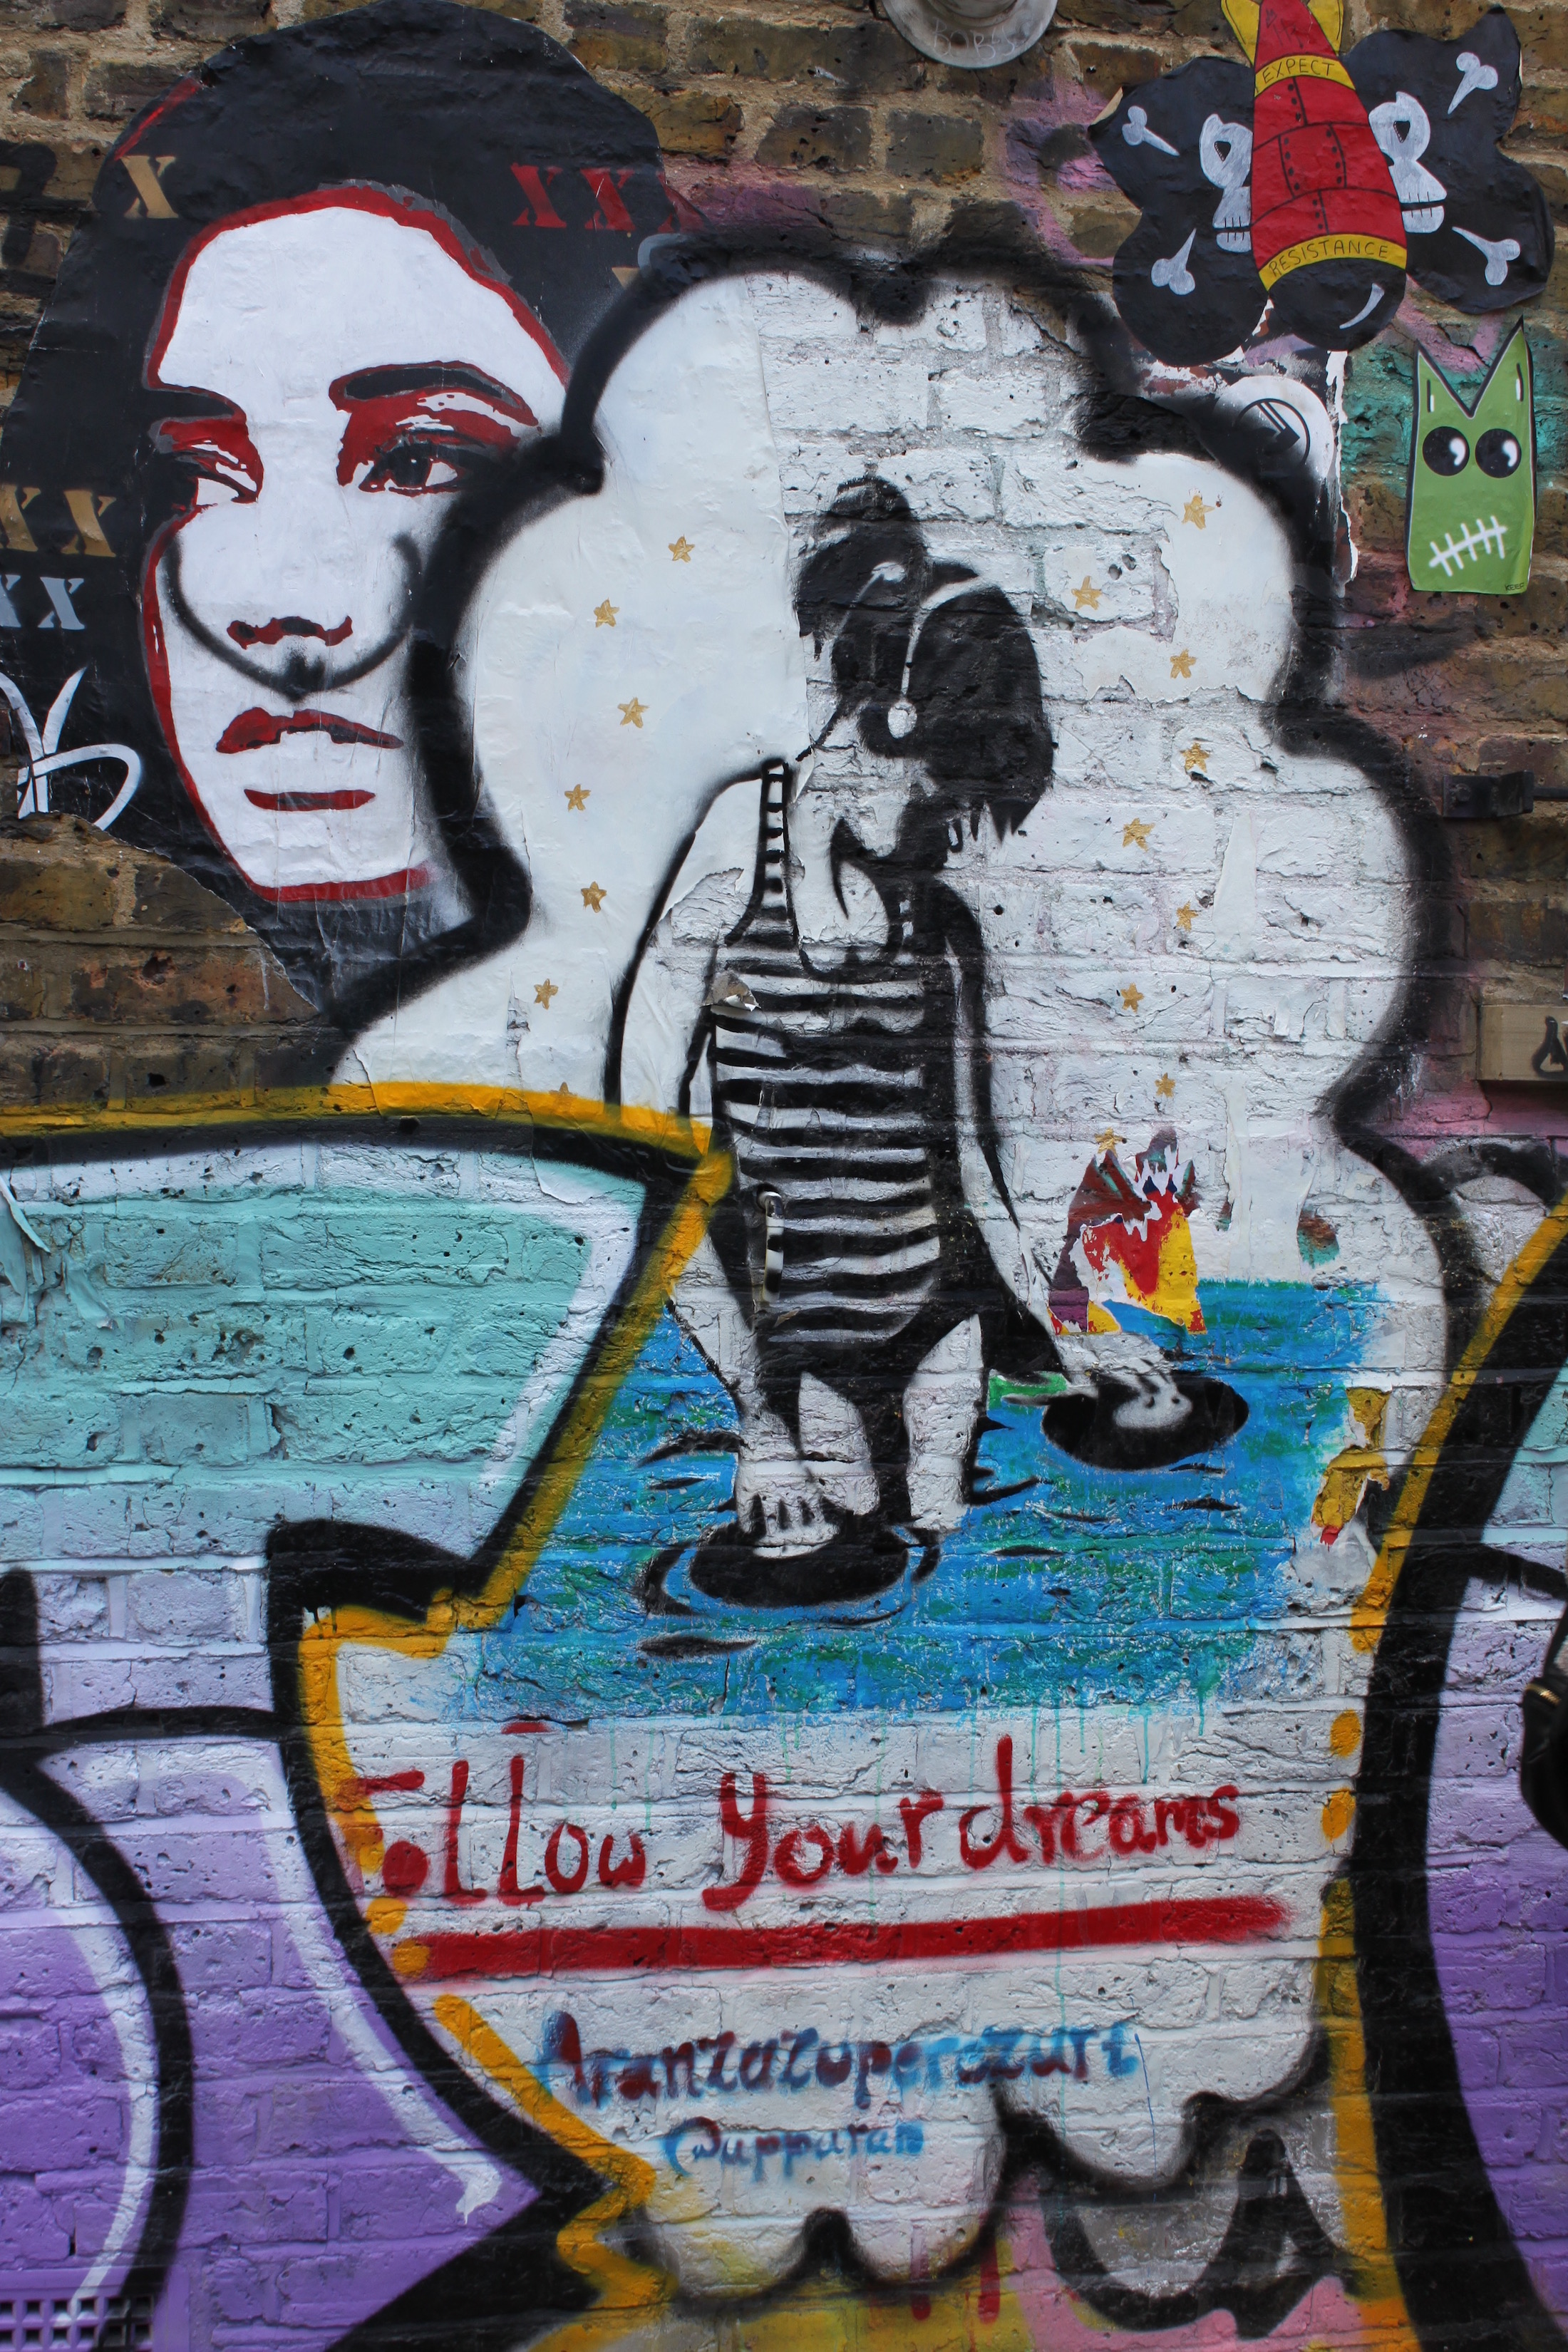
Artist: Vova and Zomb
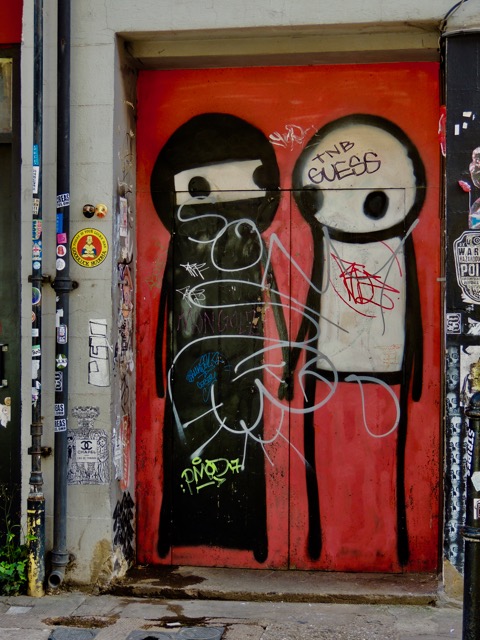
Artist: Stik
Artist: Shade
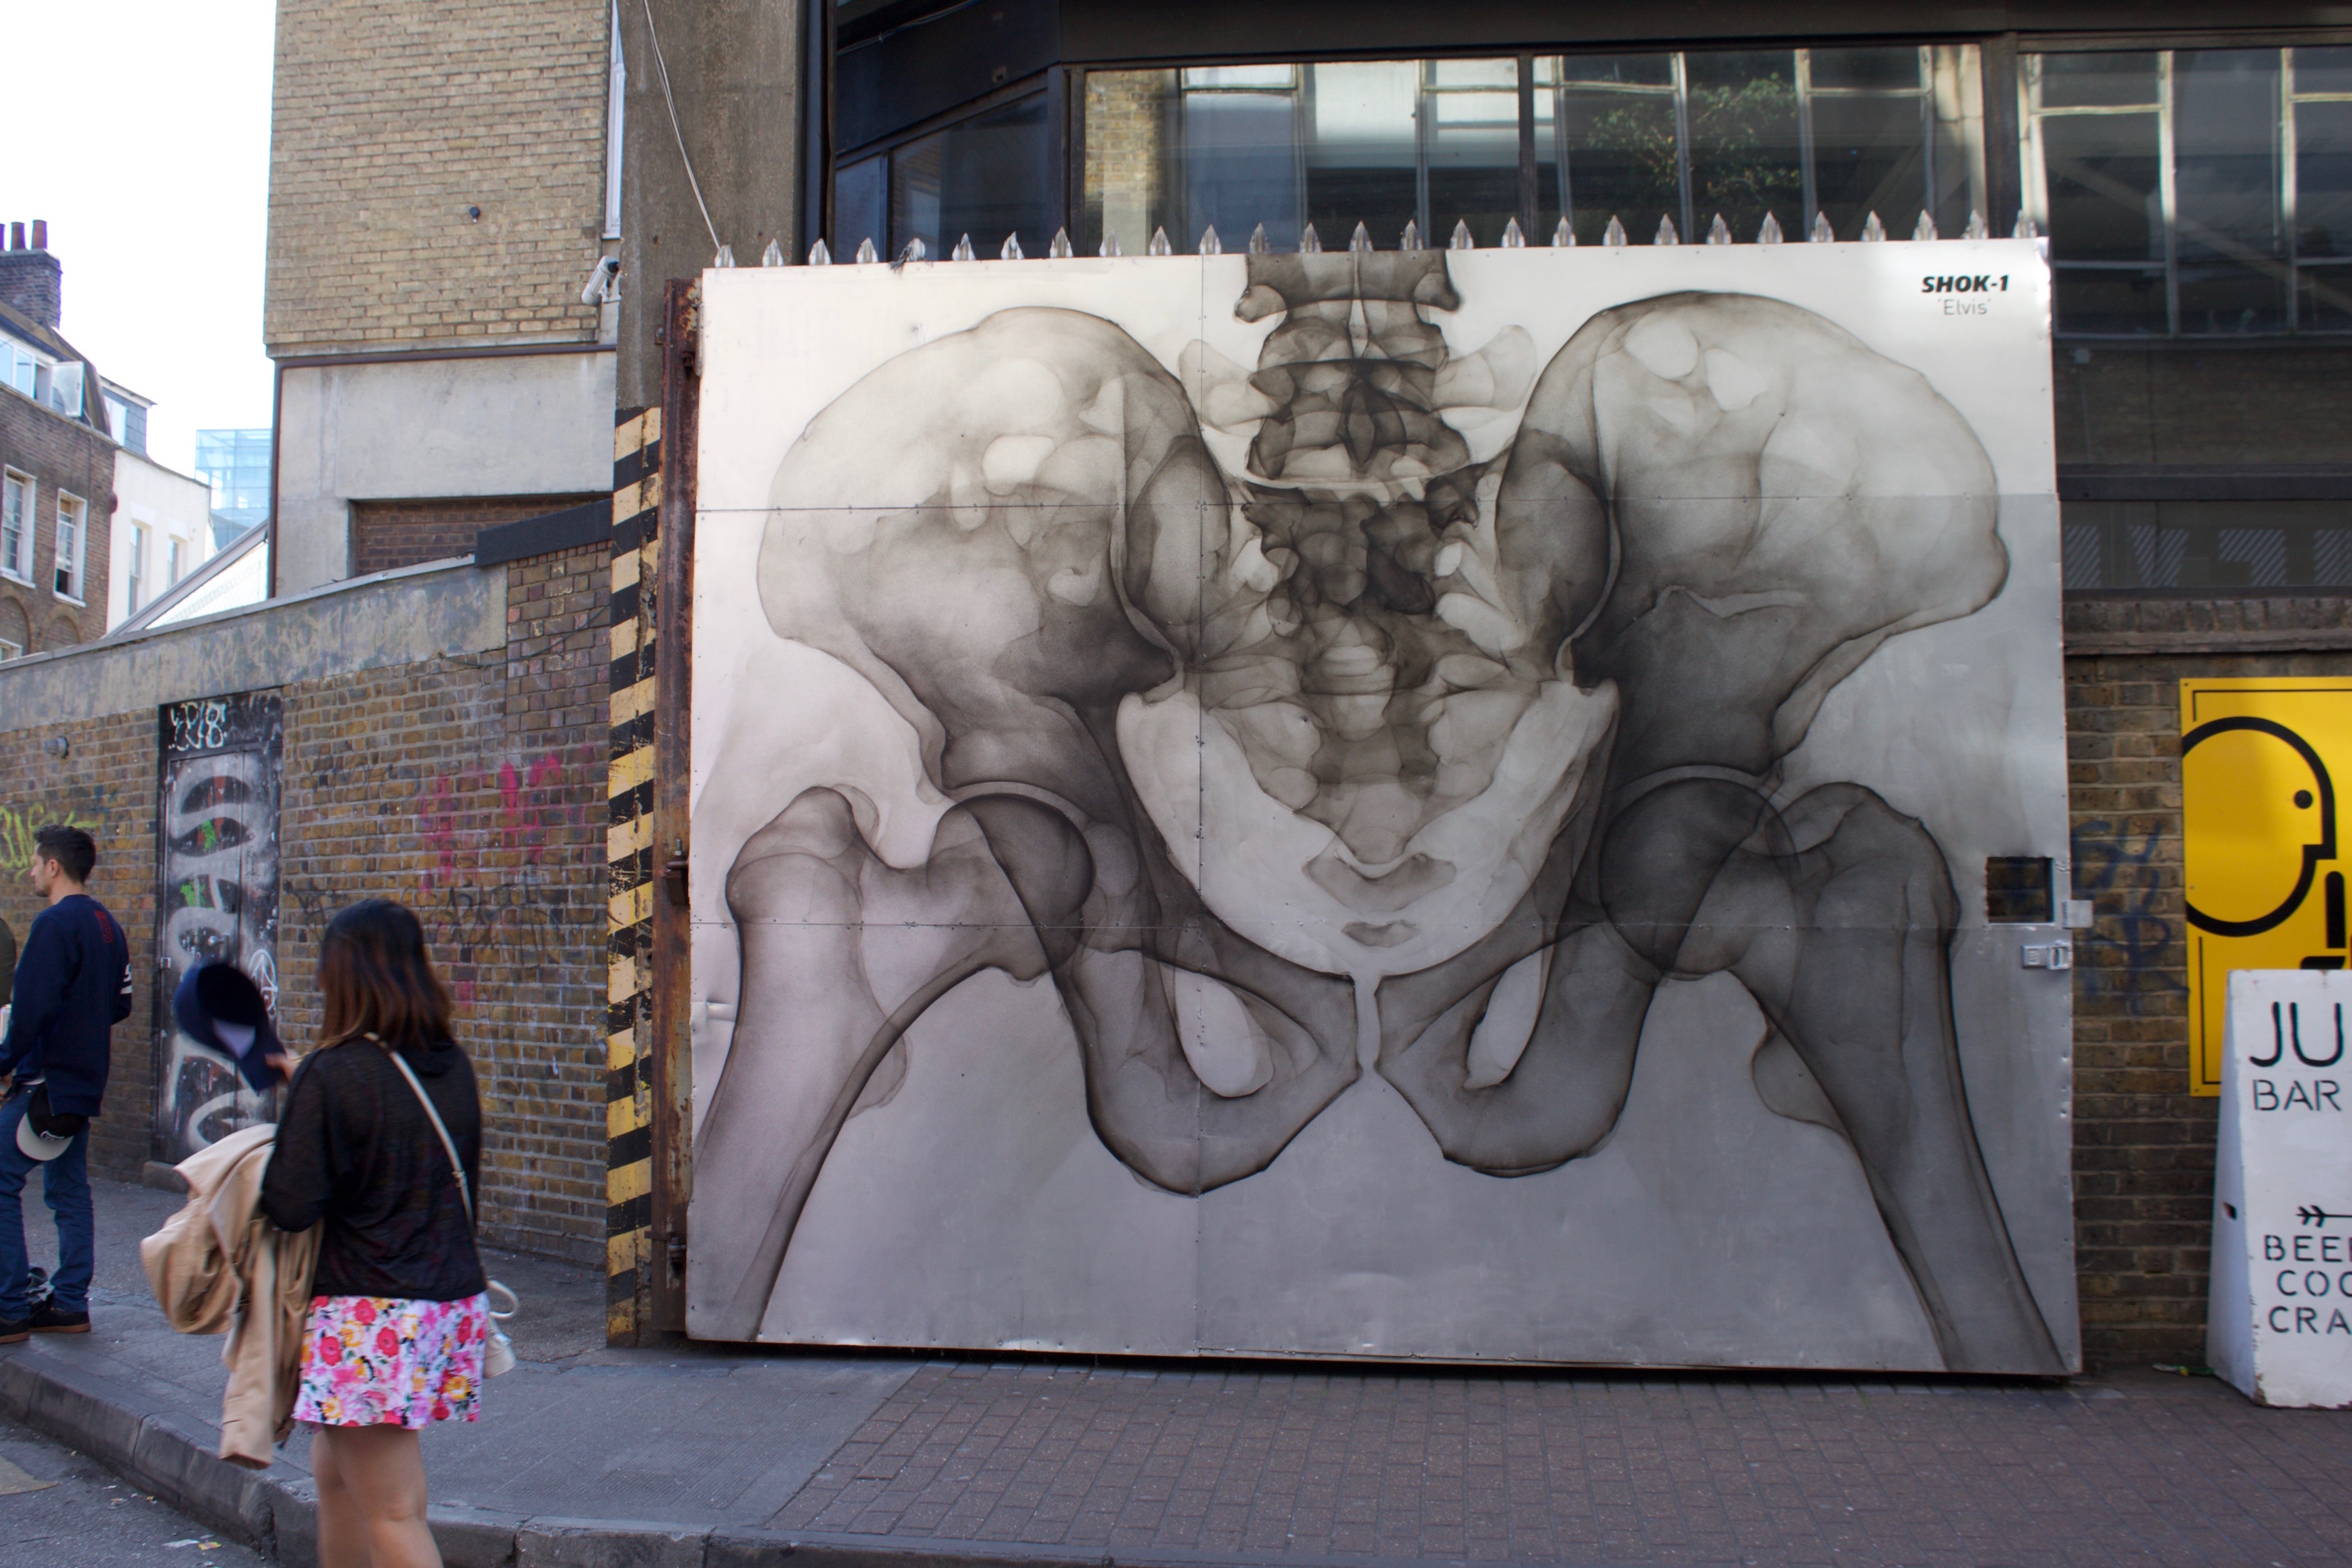
Artist: Shok-1
Artist: Invader
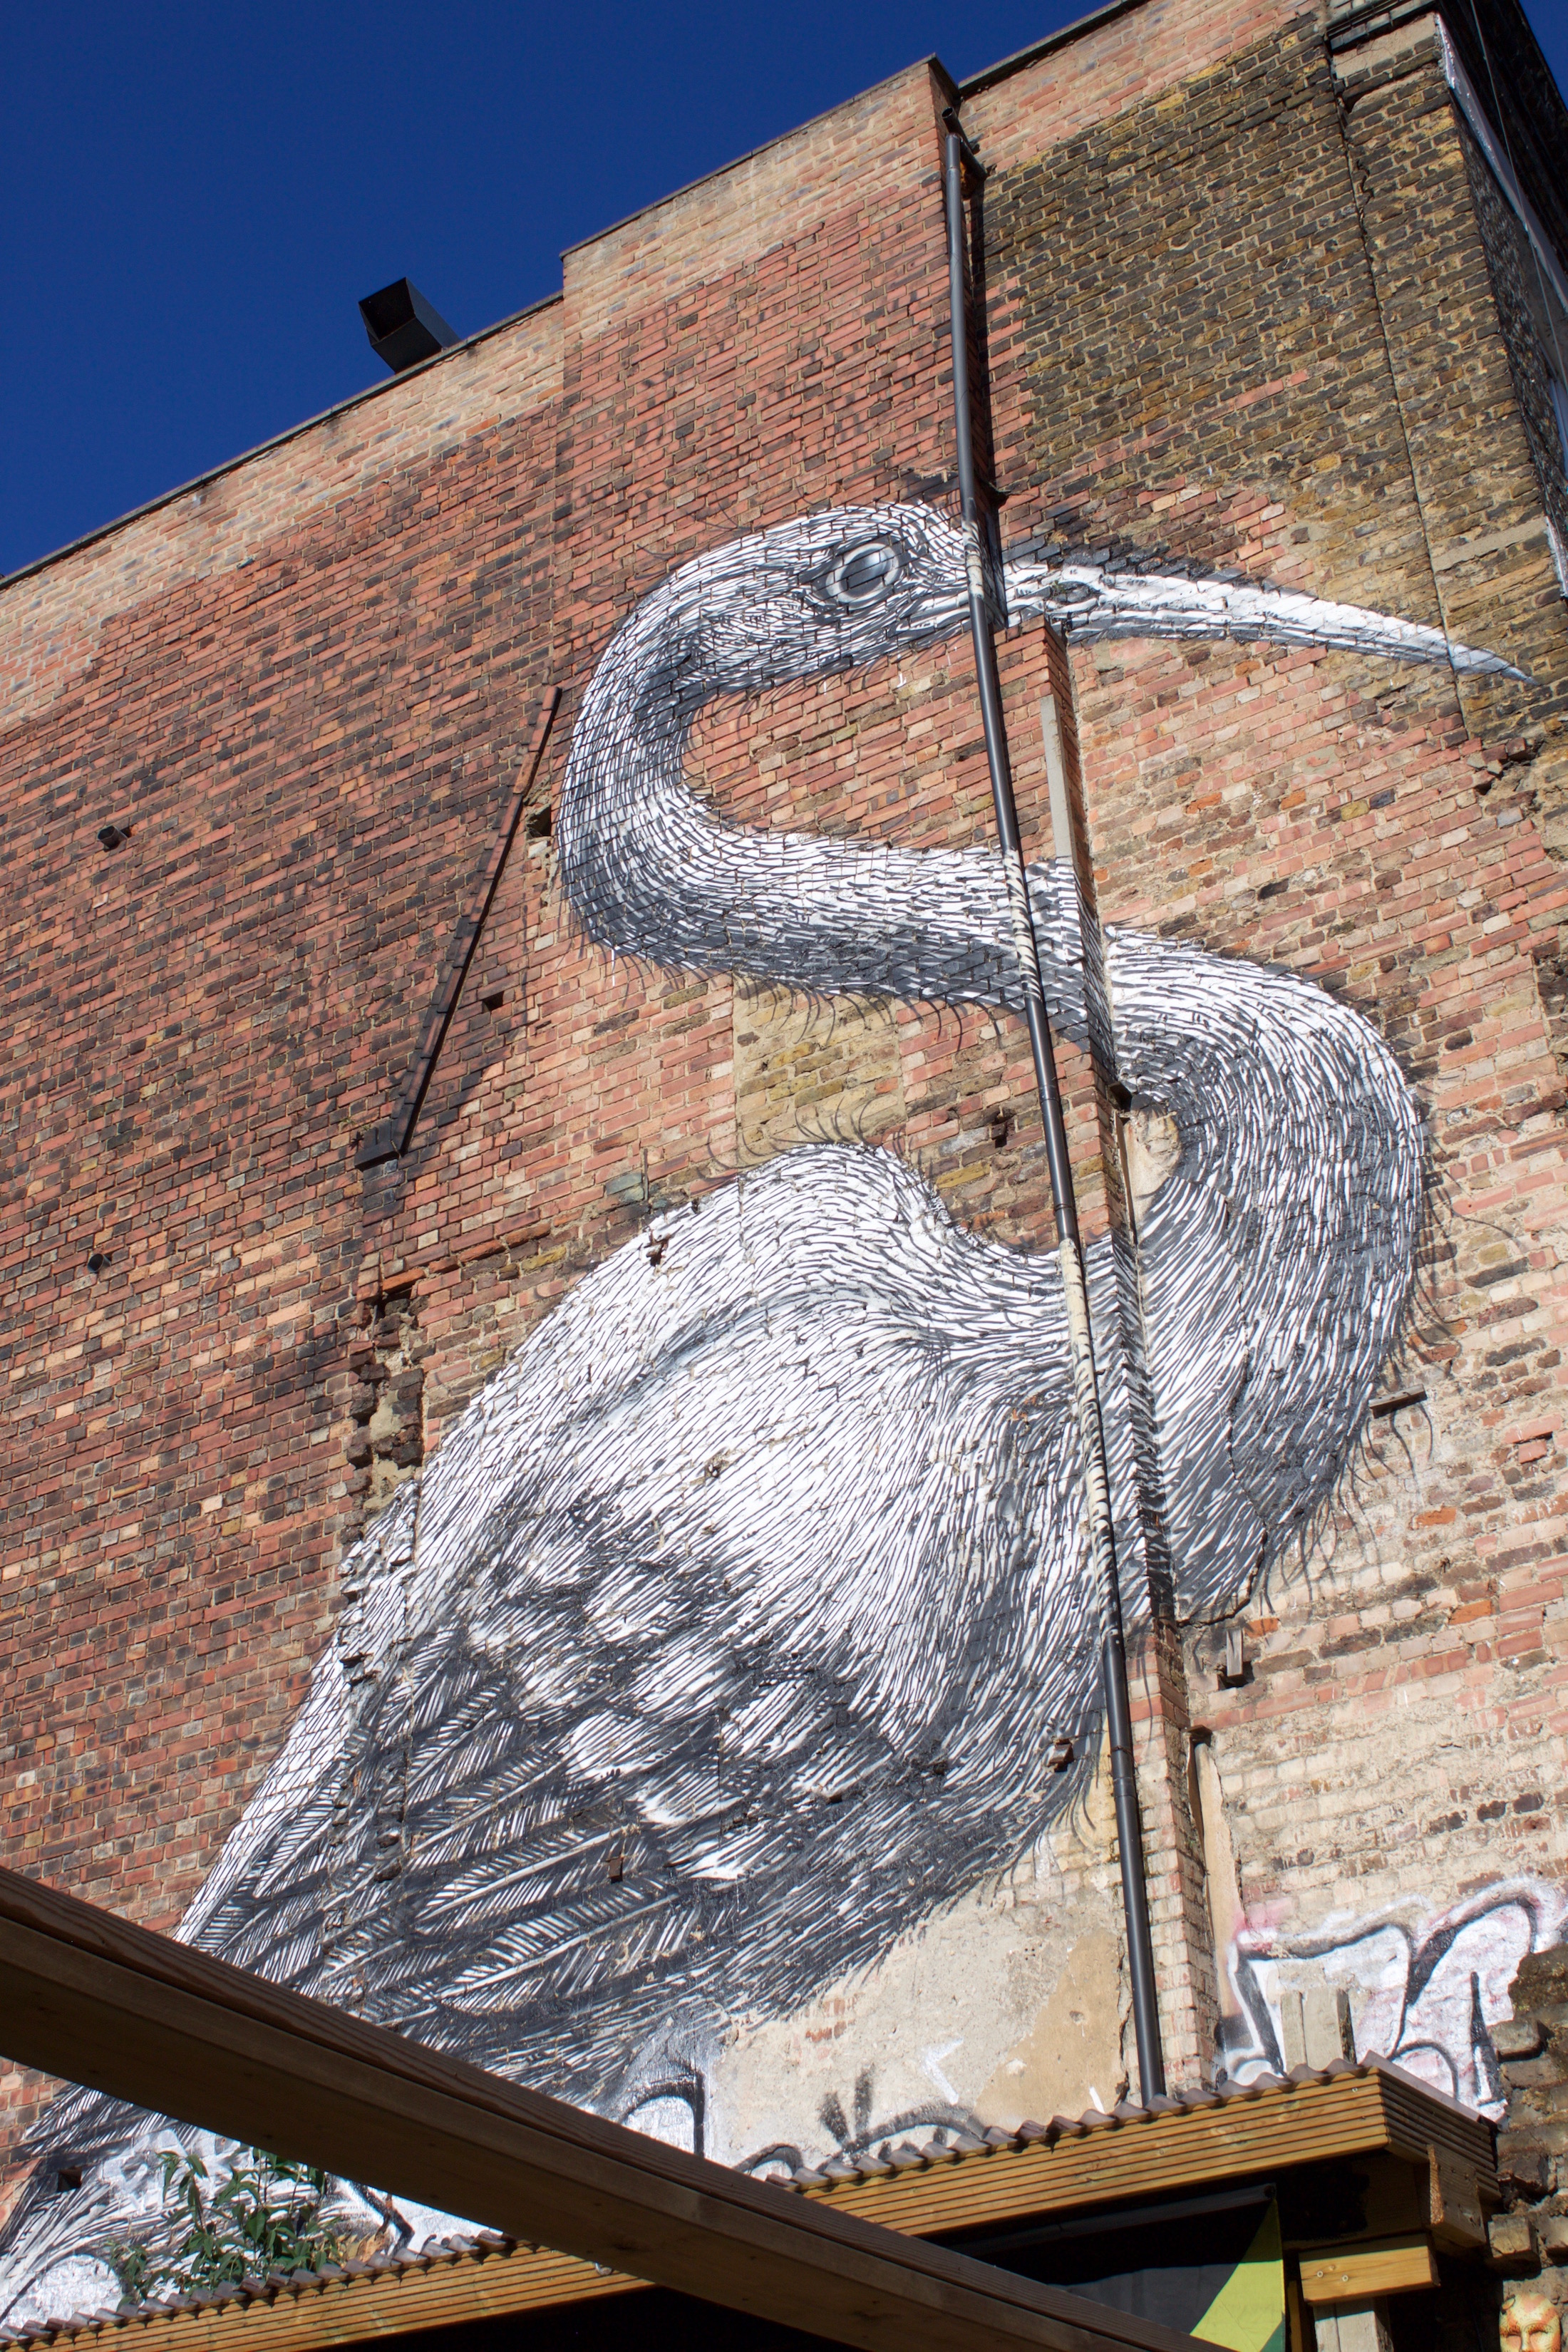
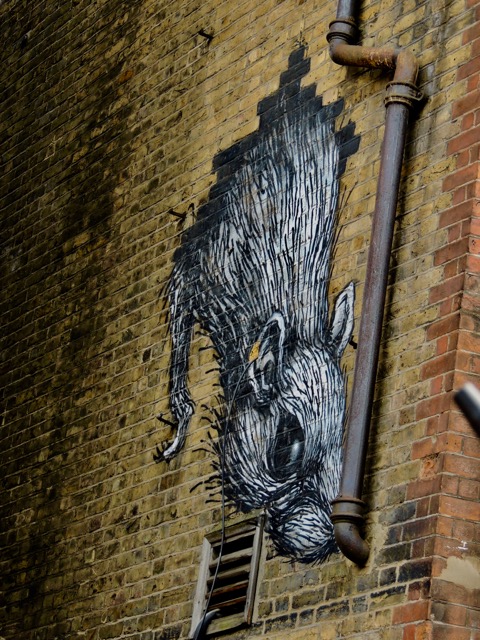
Artist: ROA

Artist: Unknown
Artist: Discrete
Artist: Gregos
Artist: Unknown
Artist: Jimmy C.
Artist: Unknown
Artist: Unknown
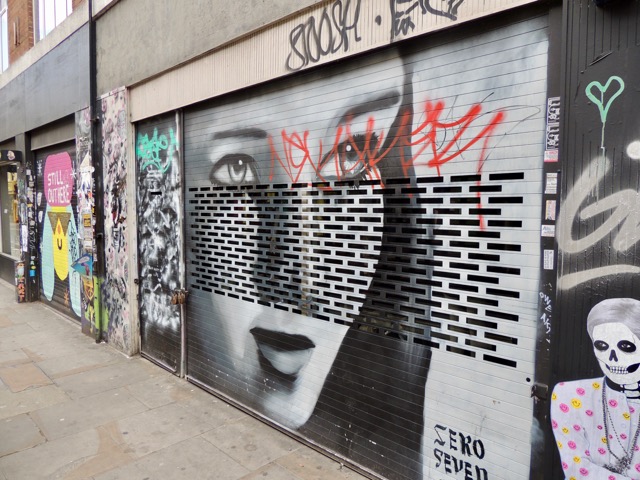
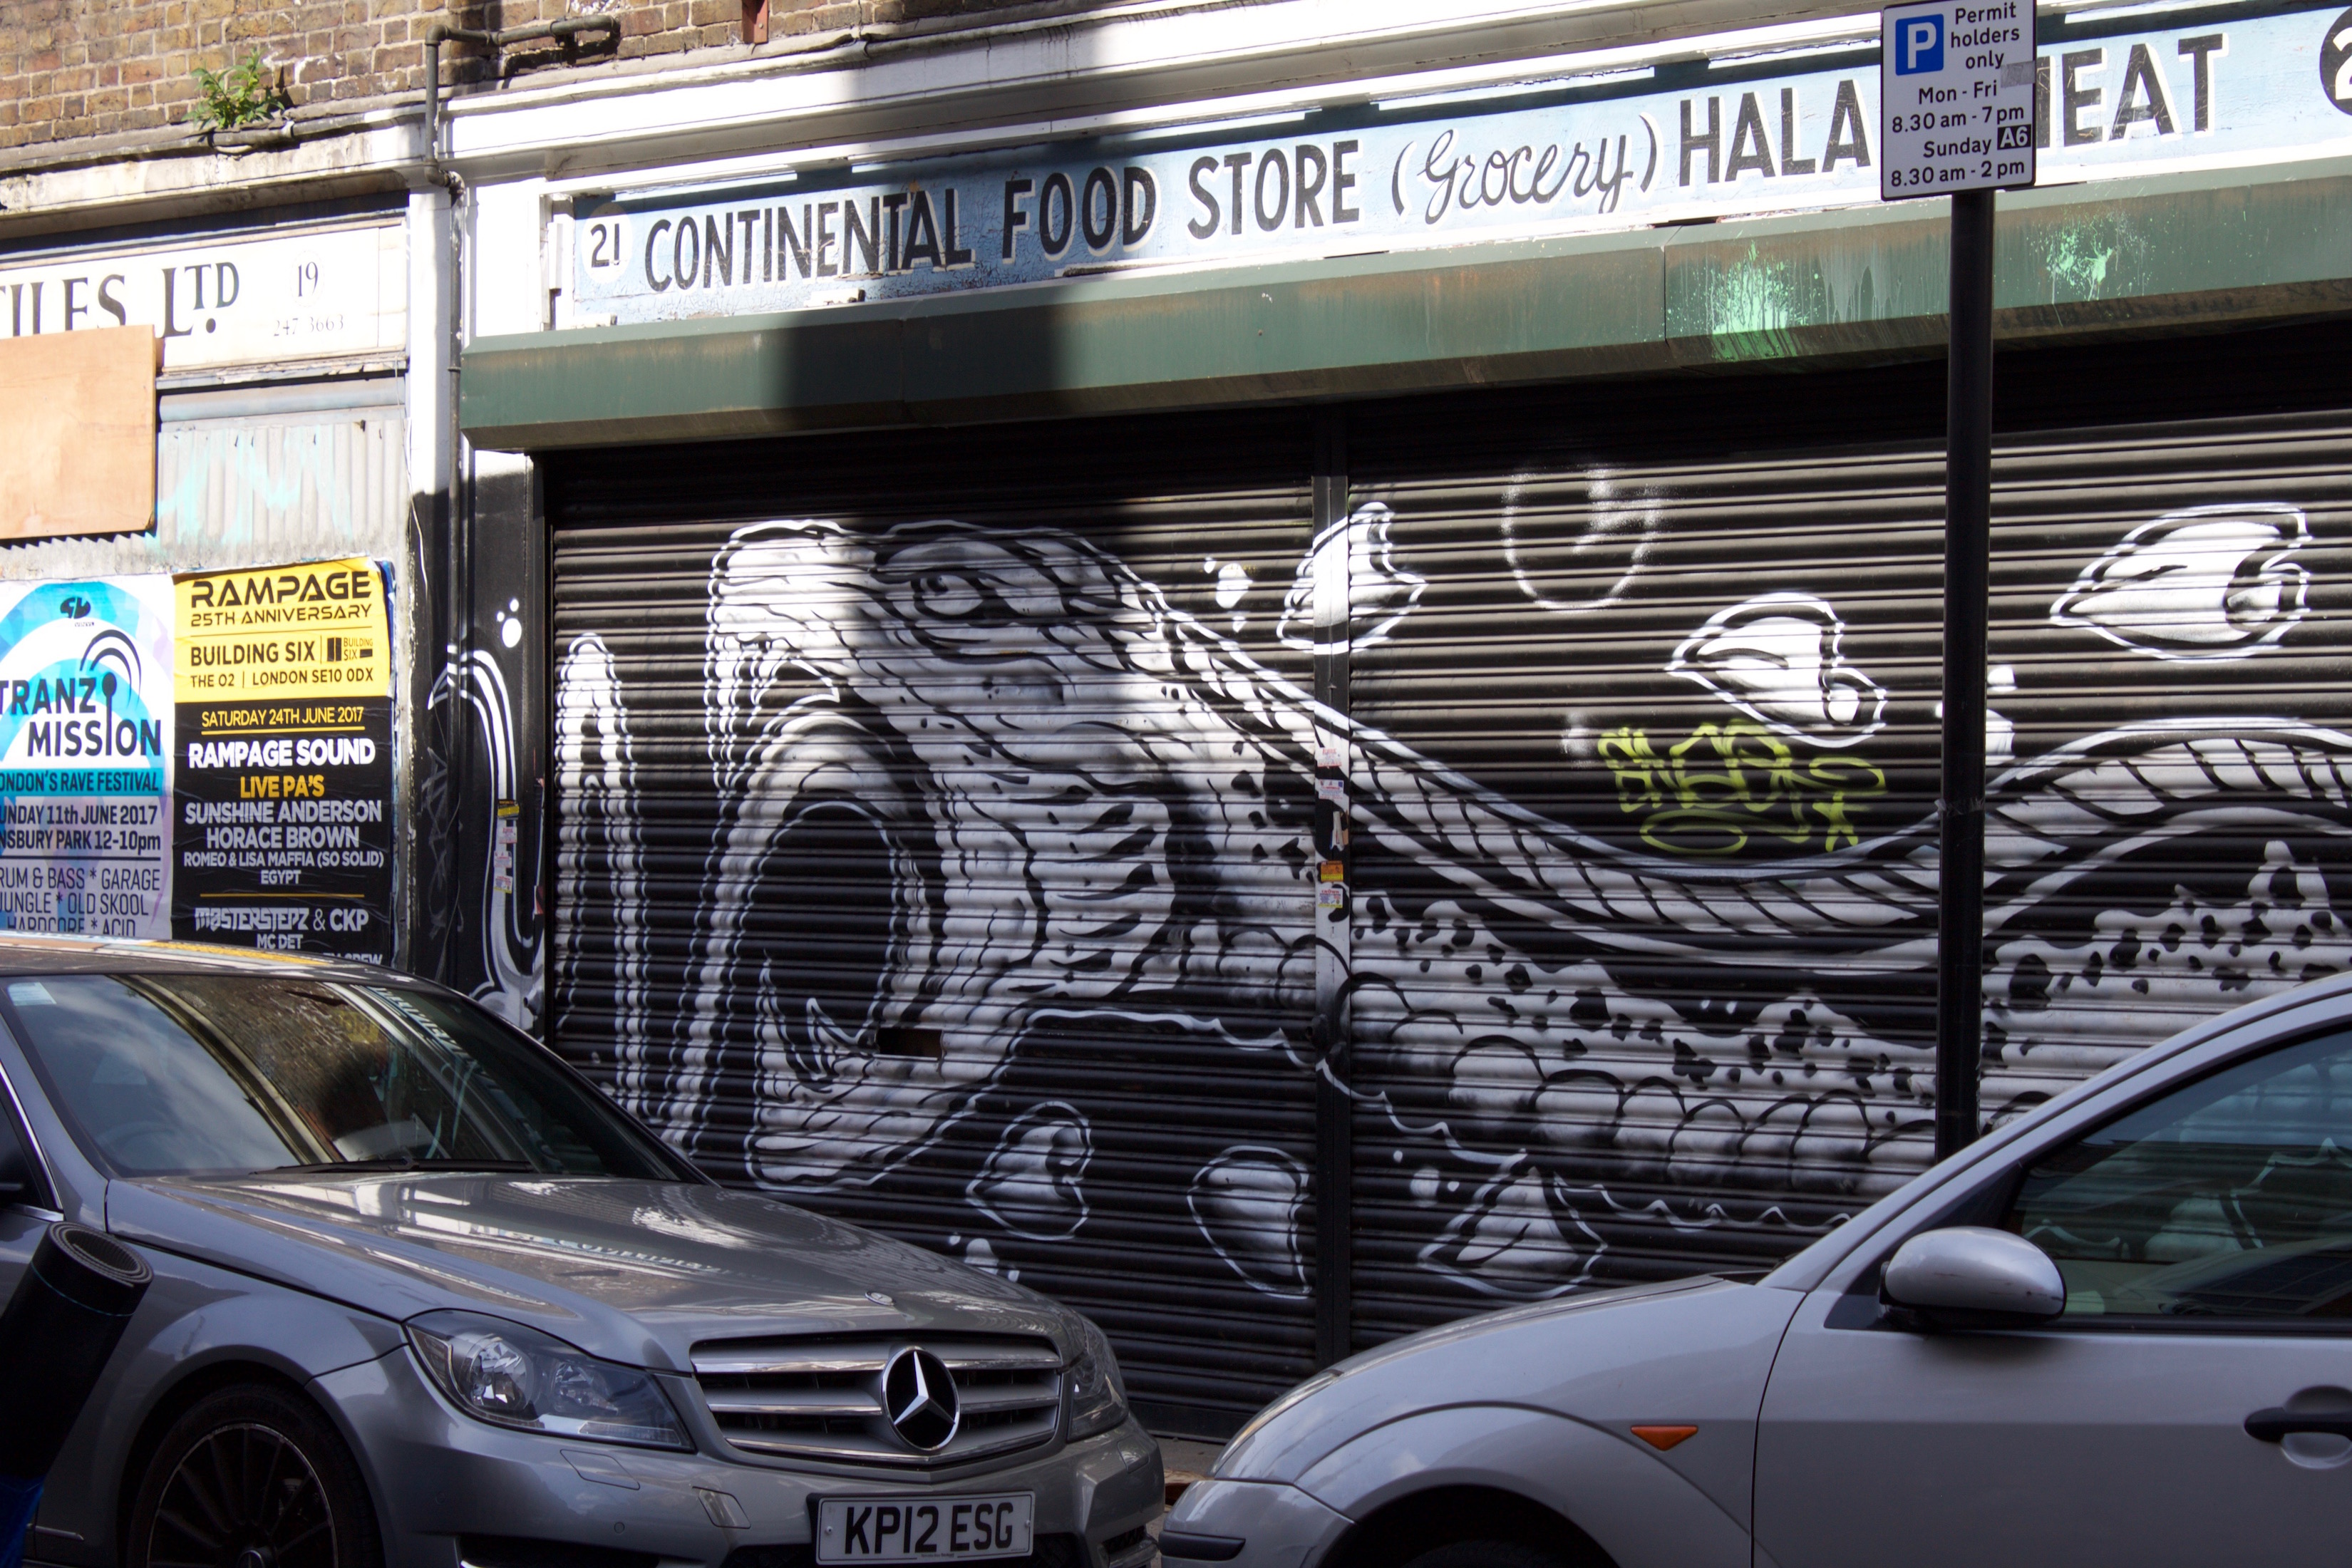
Artist: Zero Seven
Artist: Discreet'

Artist: Unknown
Artist: Carleen De Sozer
Artist: Unknown
Artist: Unknown
Artist: Unknown
Artist: Shade
Artist: Carleen De Sozer
Artist: Unknown
Artist: Unknown
Artist: Unknown
Artist: Matlakas
Artist: Carleen De Sozer
Artist: Unknown
Artist: Unknown
Artist: Unknown
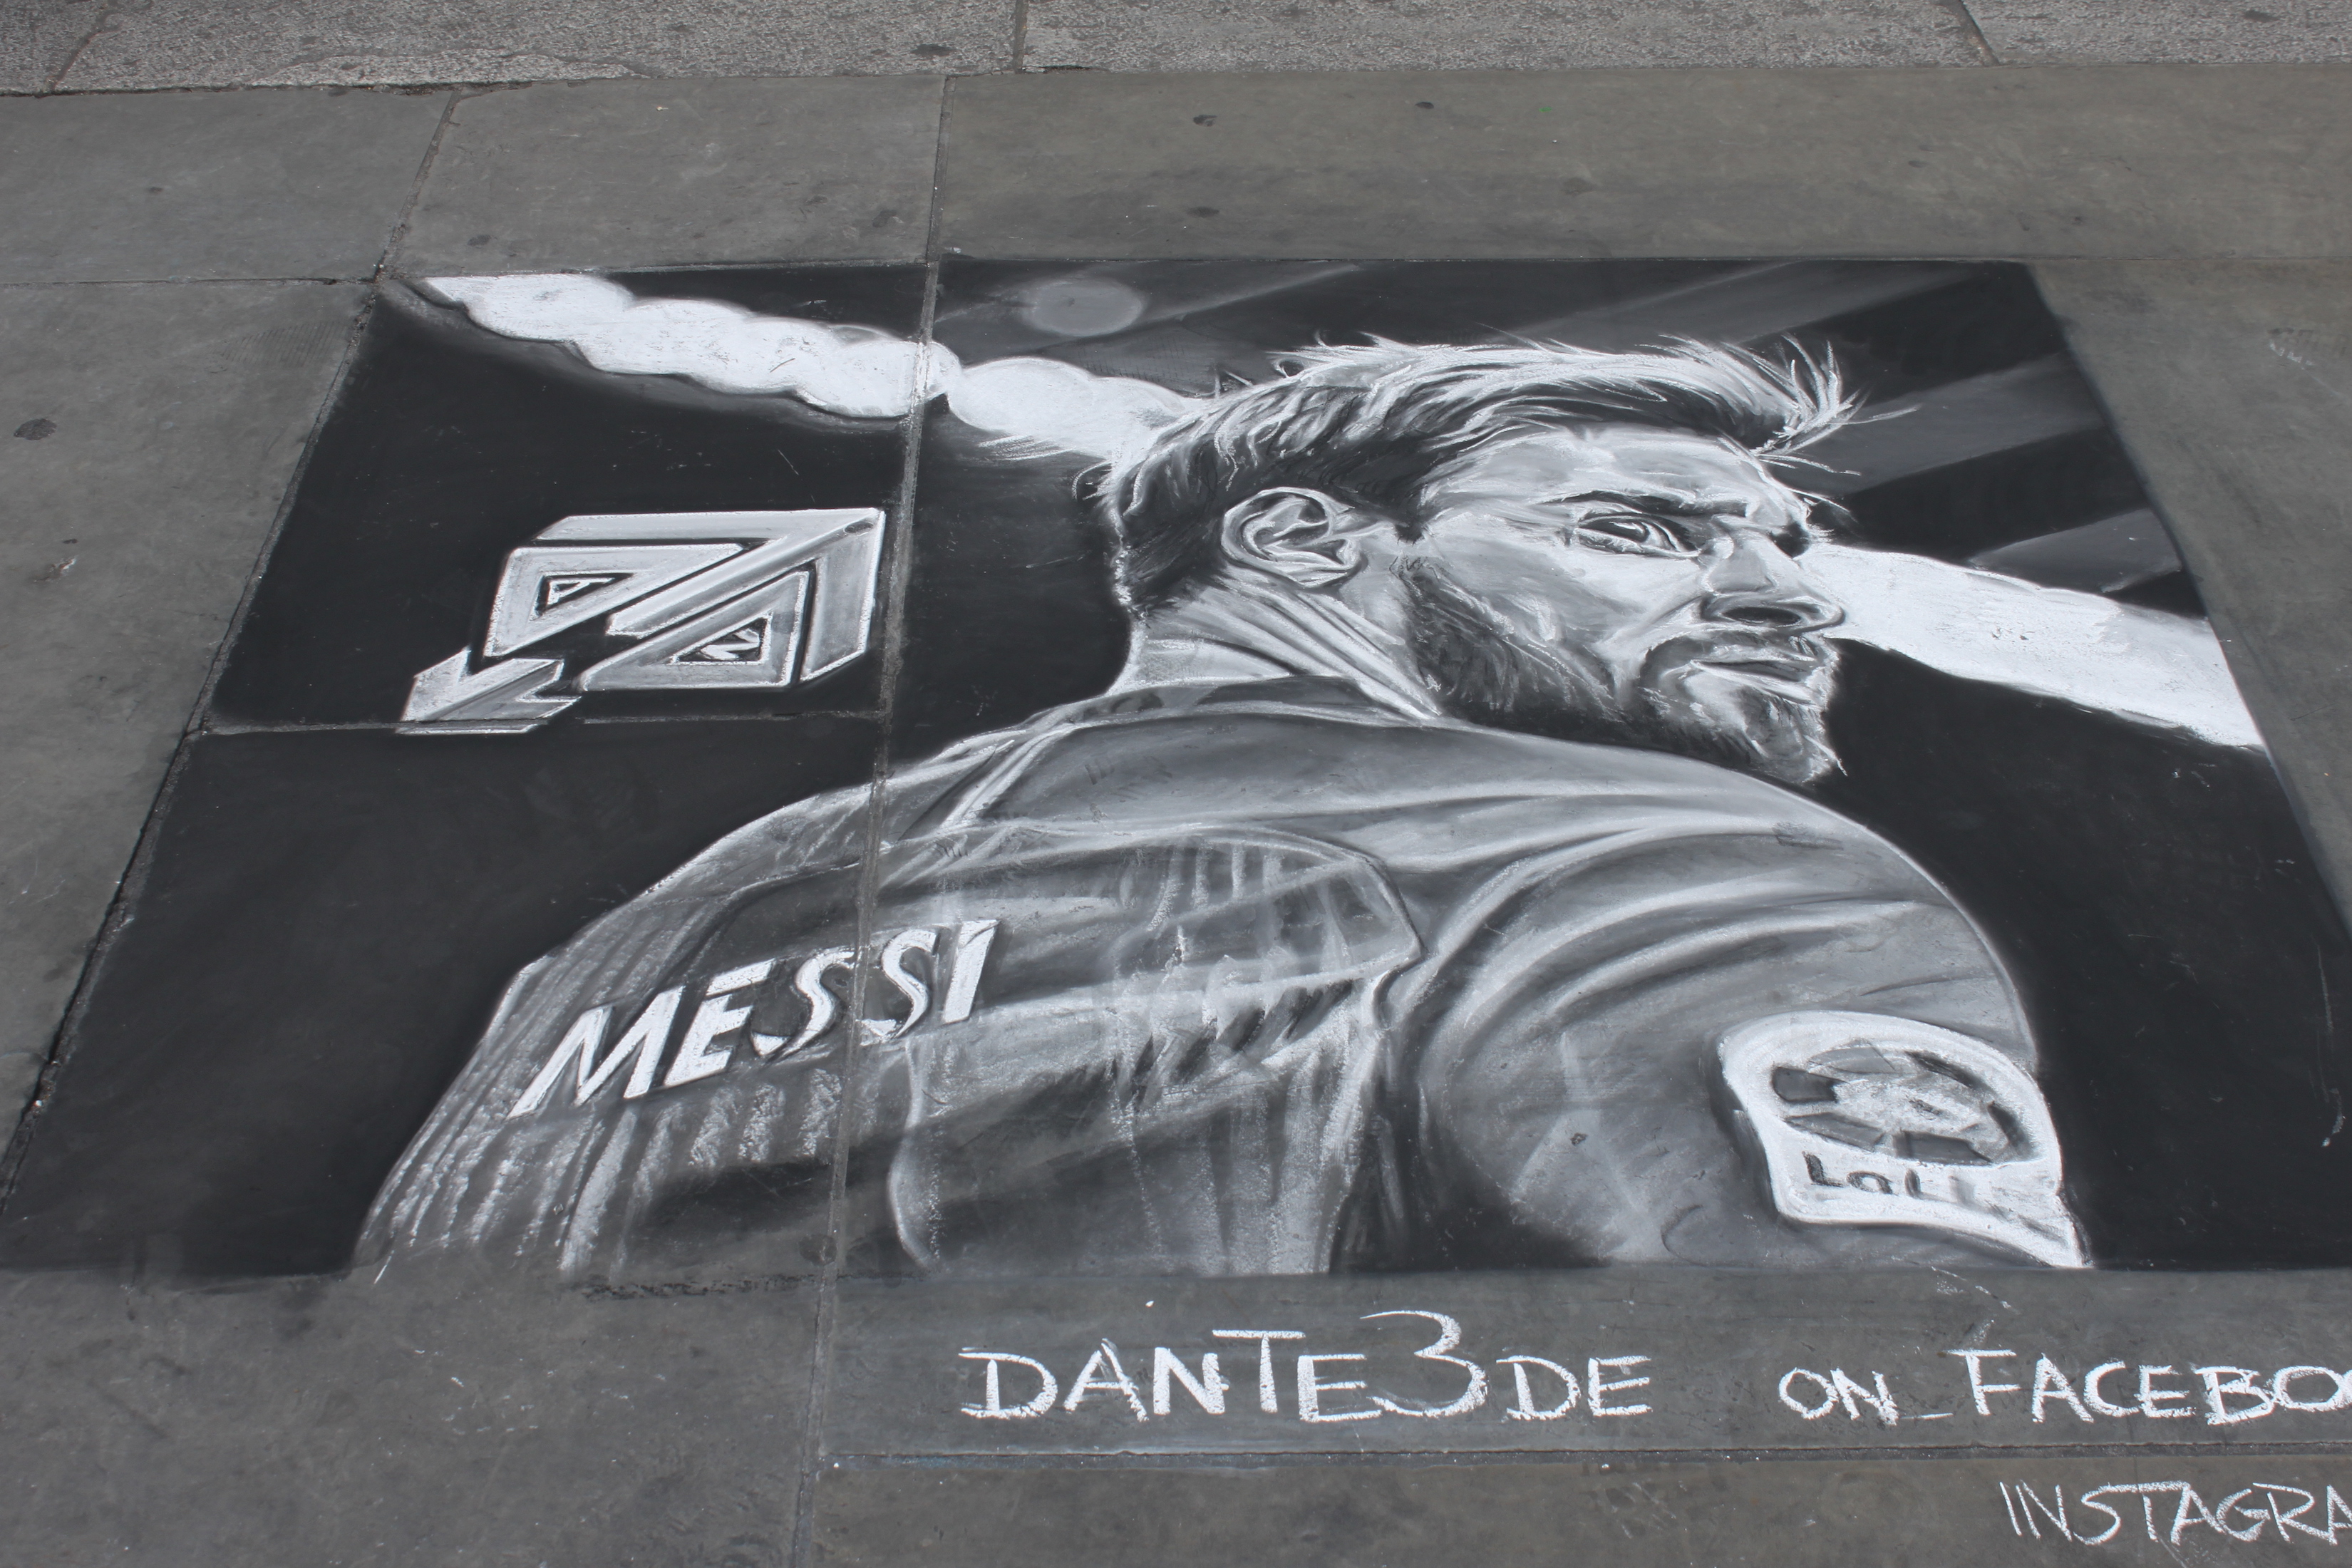
Artist: Dante
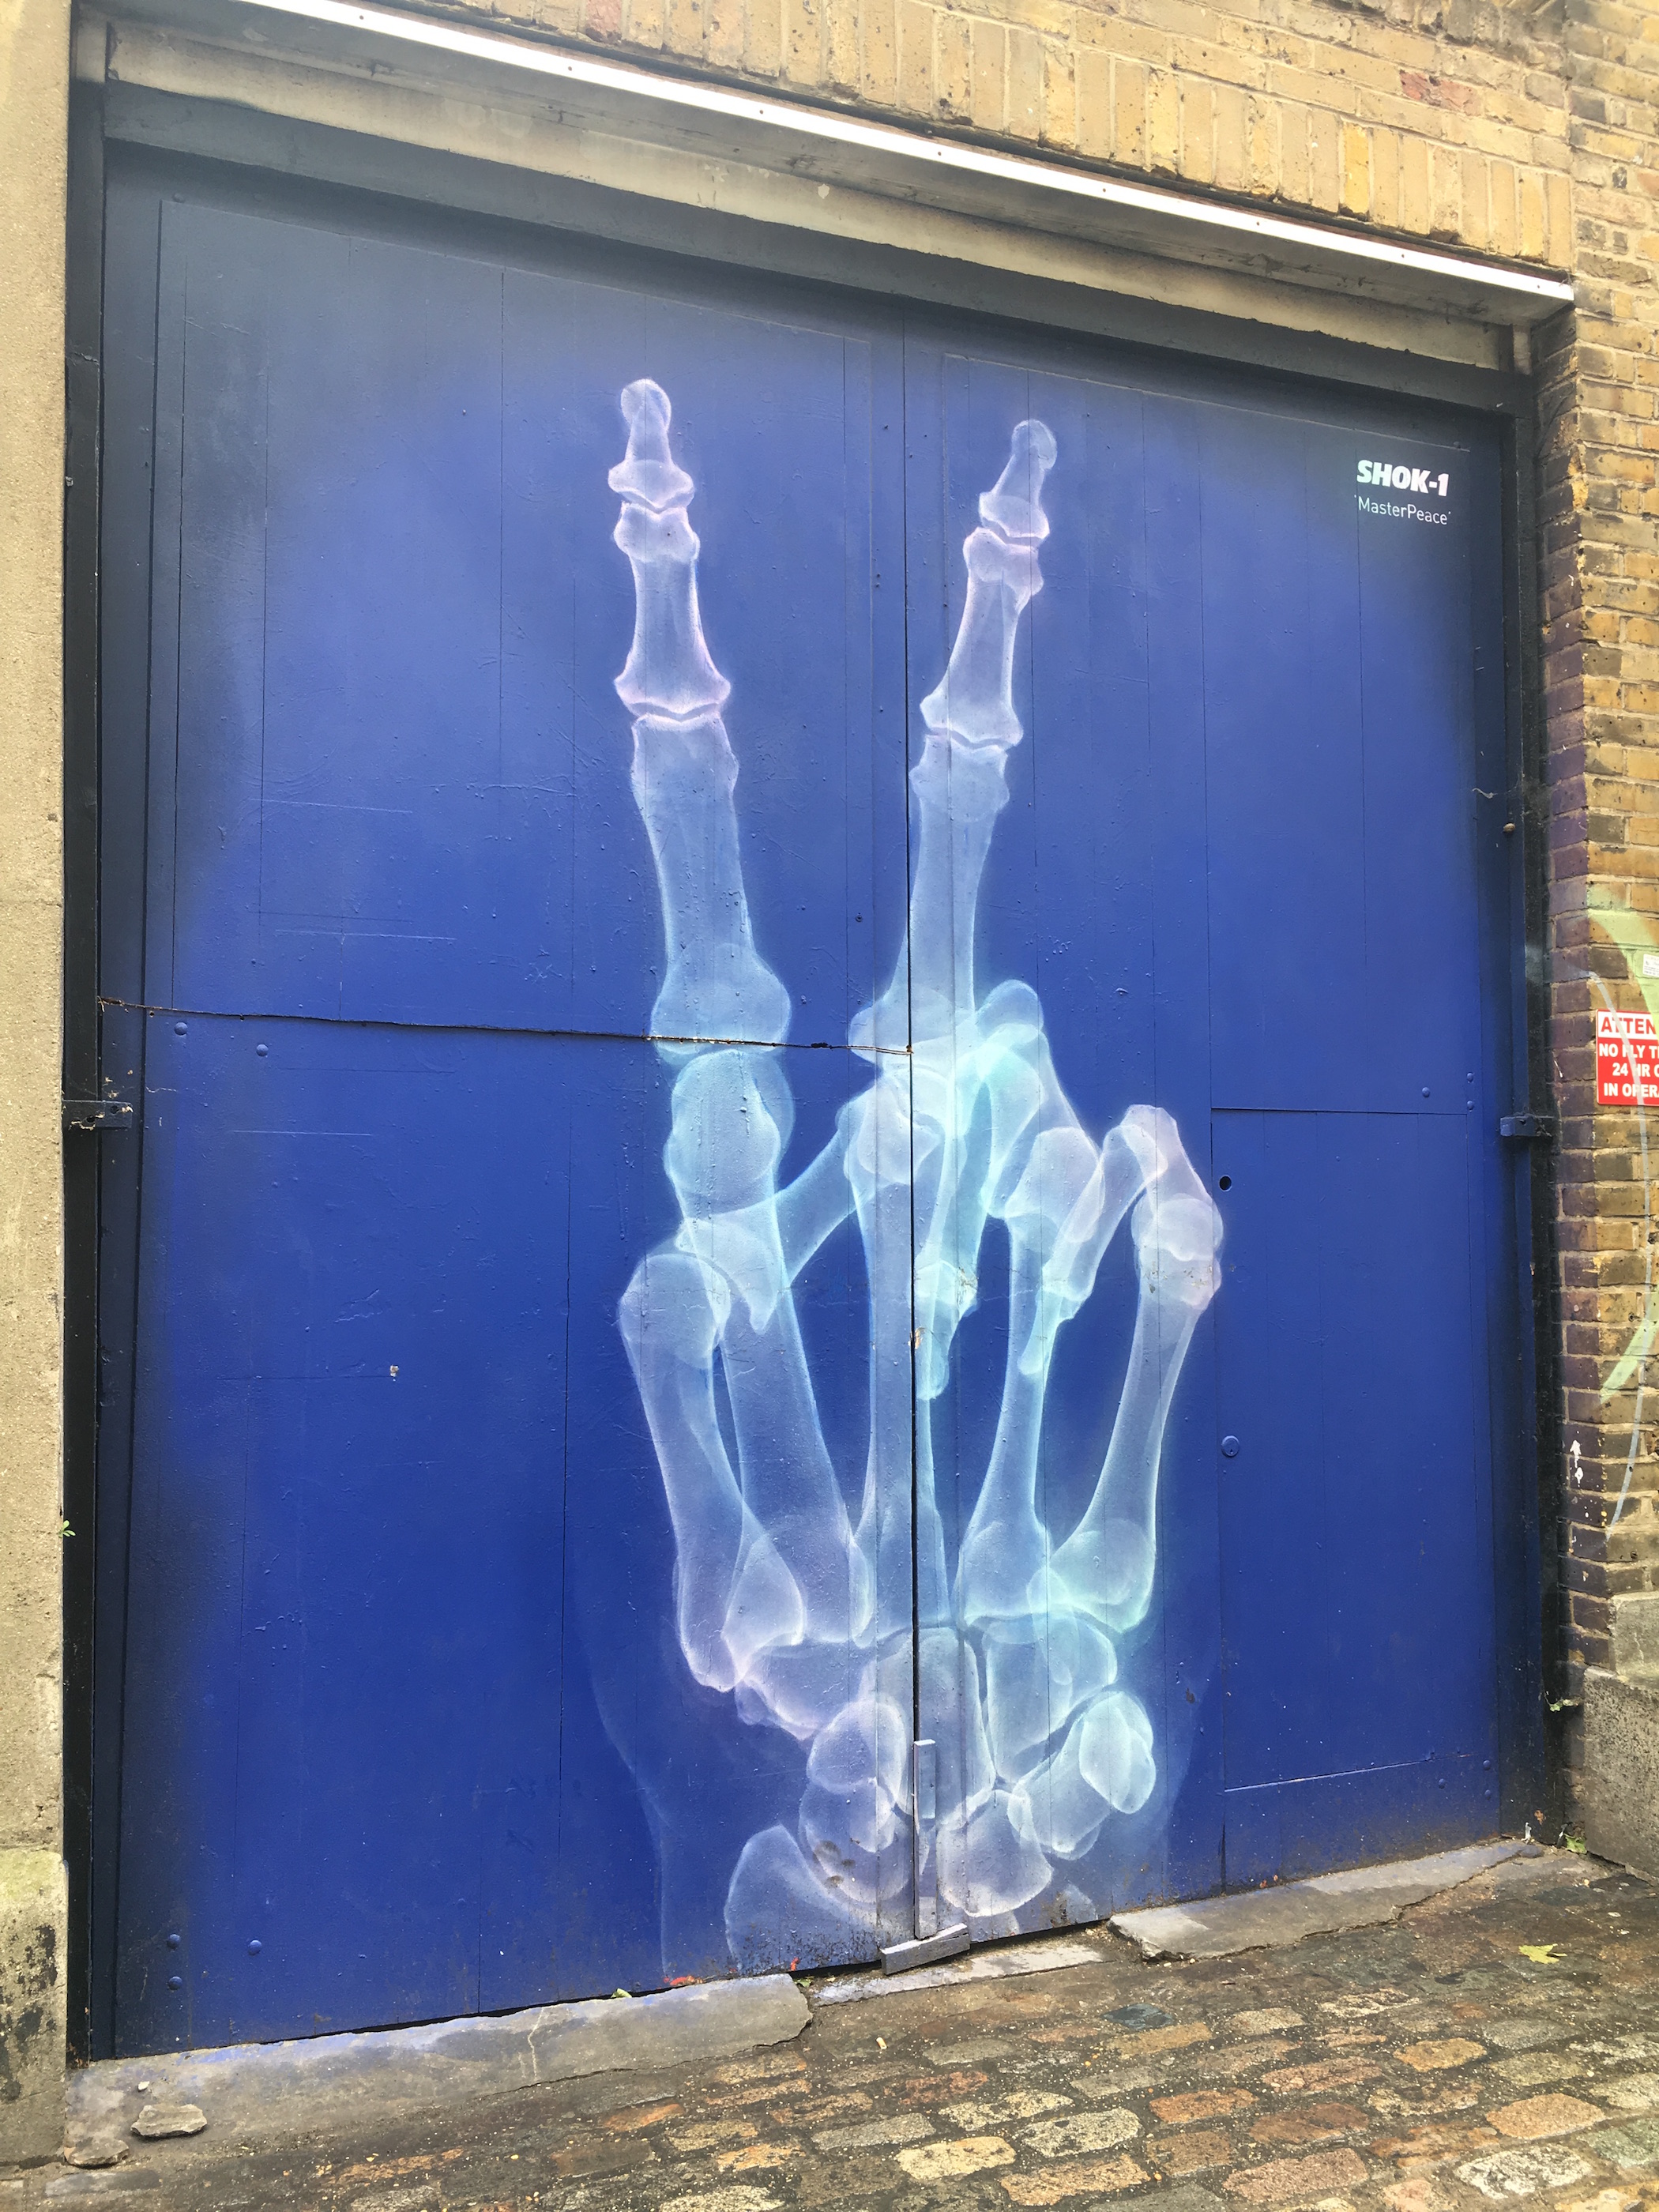
Artist: Shok-1
Artist: Unknown
Artist:Unknown
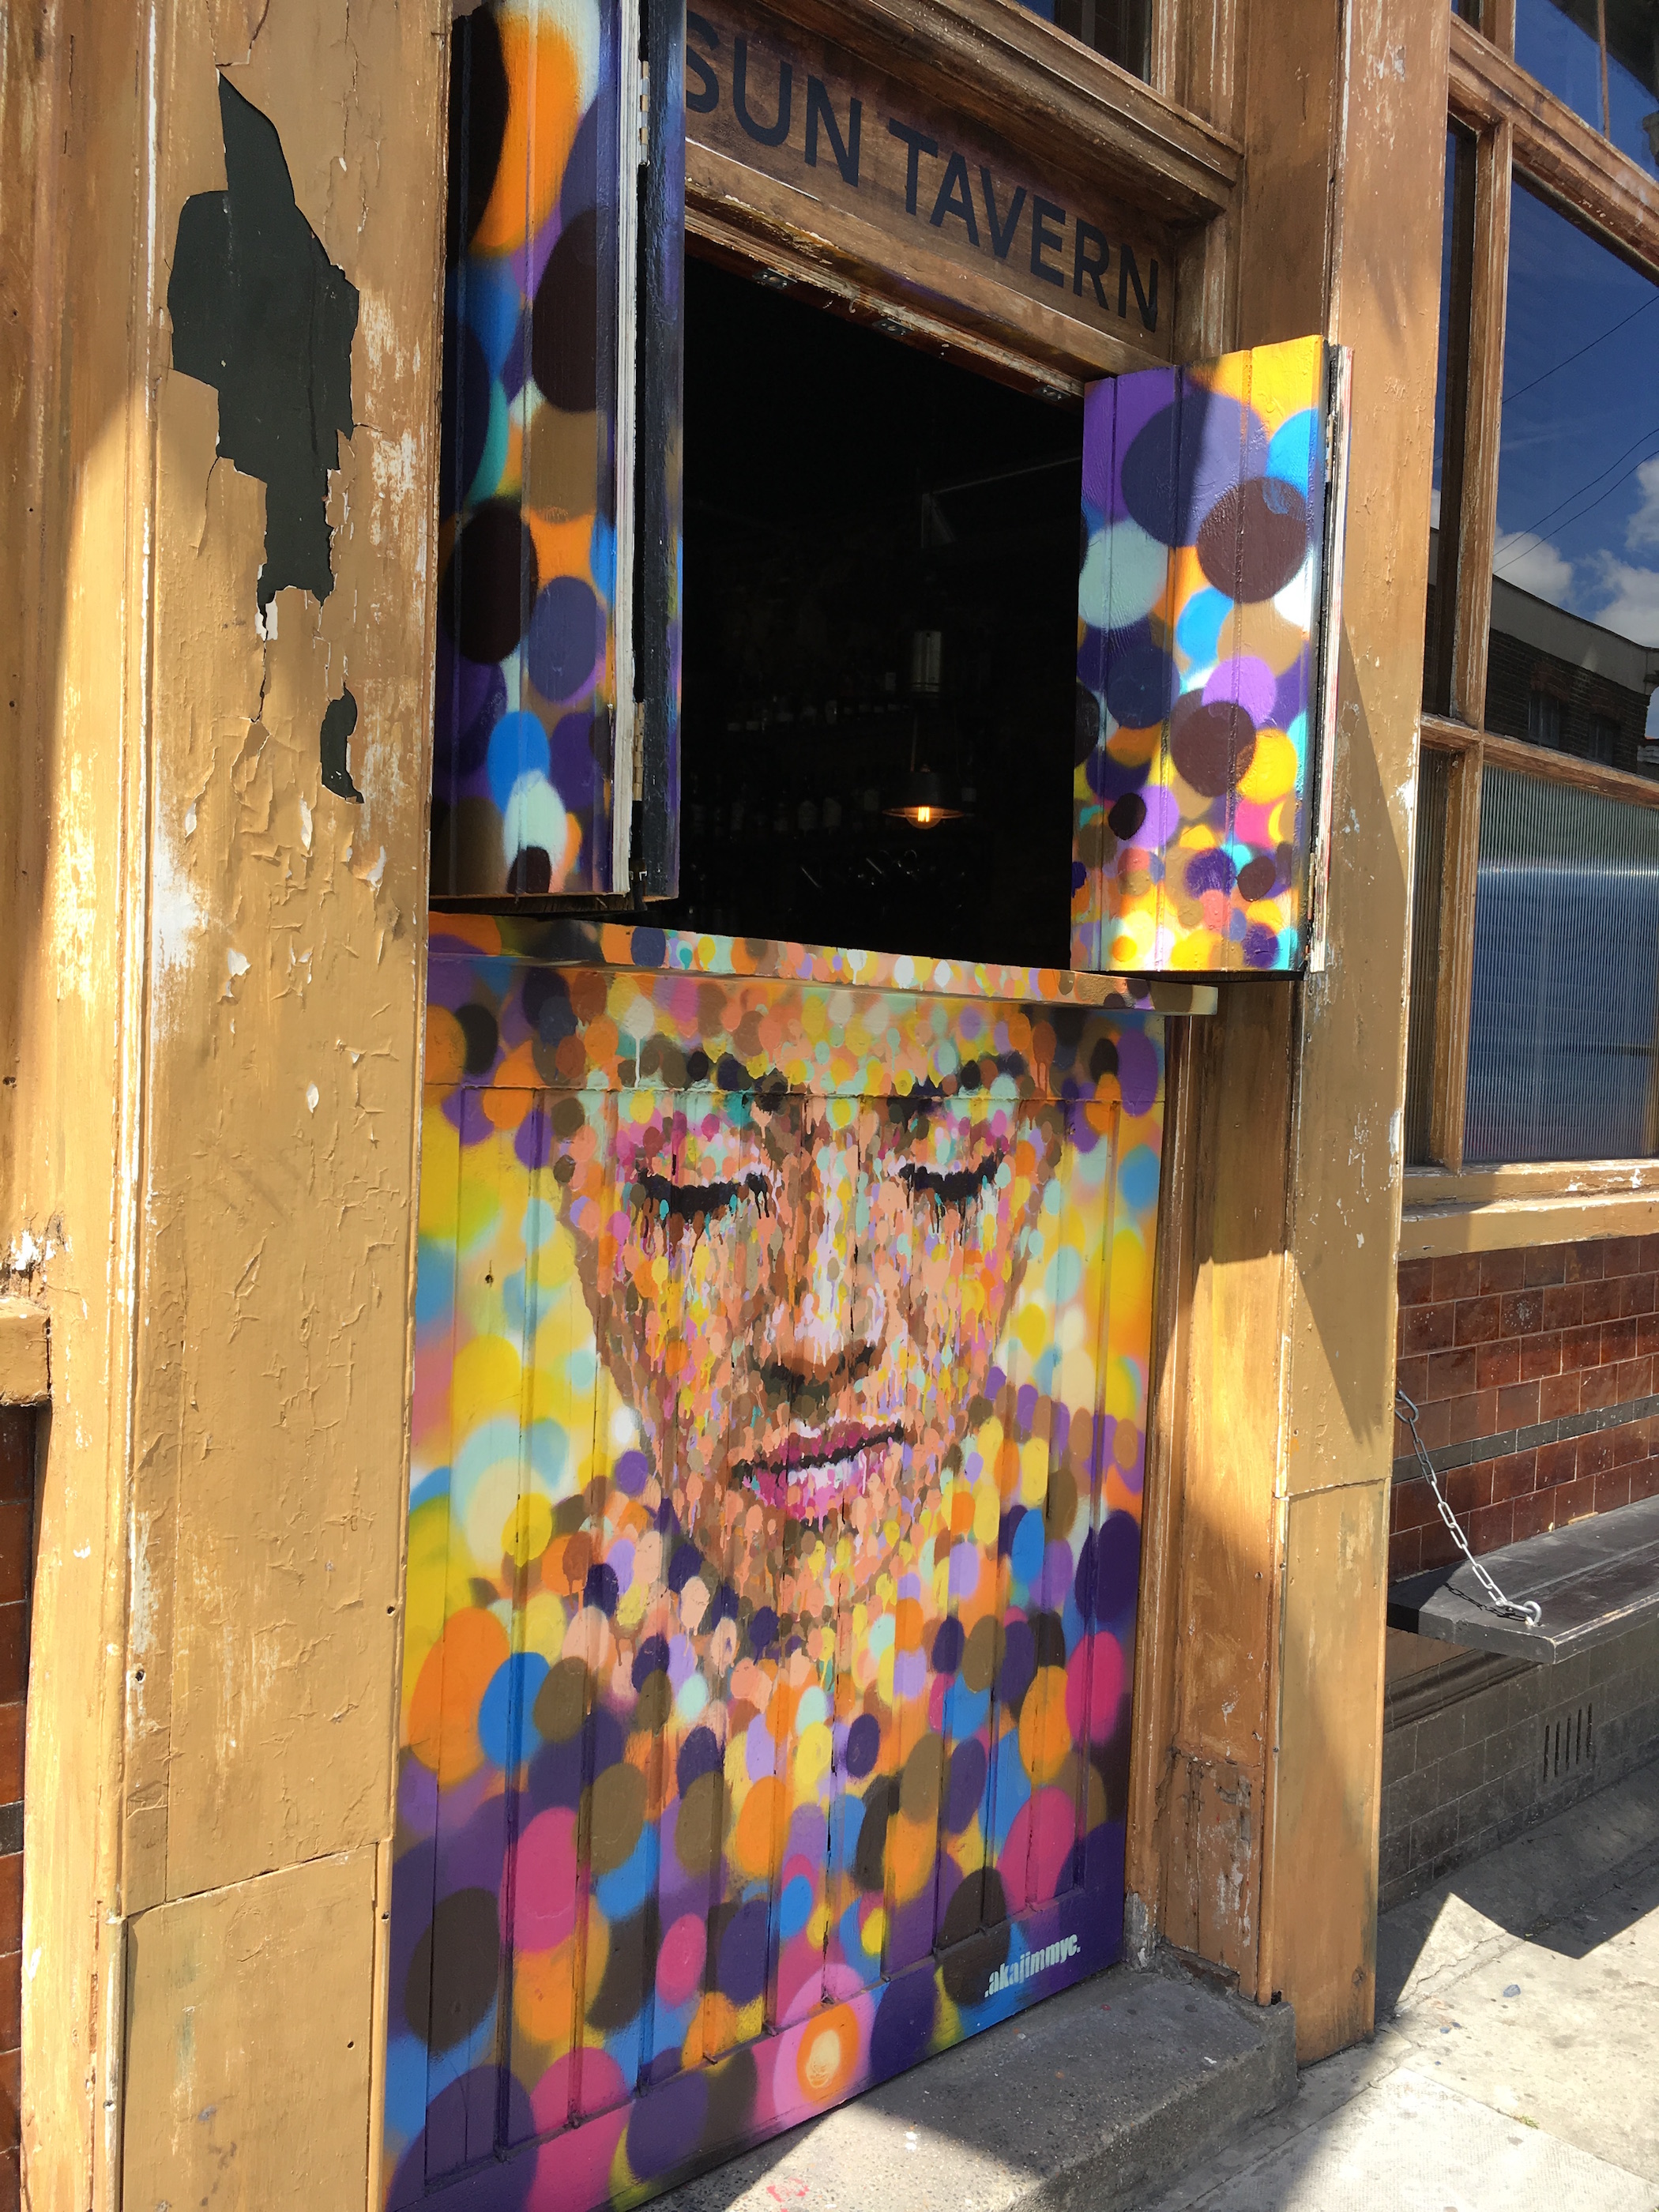
Artist: Jimmy C.


1.jpg)
2.jpg)
3.jpg)
4.jpg)
5.jpg)
6.jpg)
7.jpg)
8.jpg)
9.jpg)
10.jpg)
11.jpg)
12.jpg)
14.jpg)
15.jpg)
16.jpg)
17.jpg)
18.jpg)
19.jpg)
20.jpg)


Section 2: Deliverable: Banksy Inspired Pieces of Art
To create street art:
- Create and draw a design on cardboard
- Cut out with Xacto knife to create stencil
- Hold stencil to wall
- Spray paint
- Dry and admire
But no way is it that simple. Here are our encounters while creating our very own small stenciled street art.
Emily's Underground Tag
.jpg) | |
| Street Art by | Emily Wilson |
|---|---|
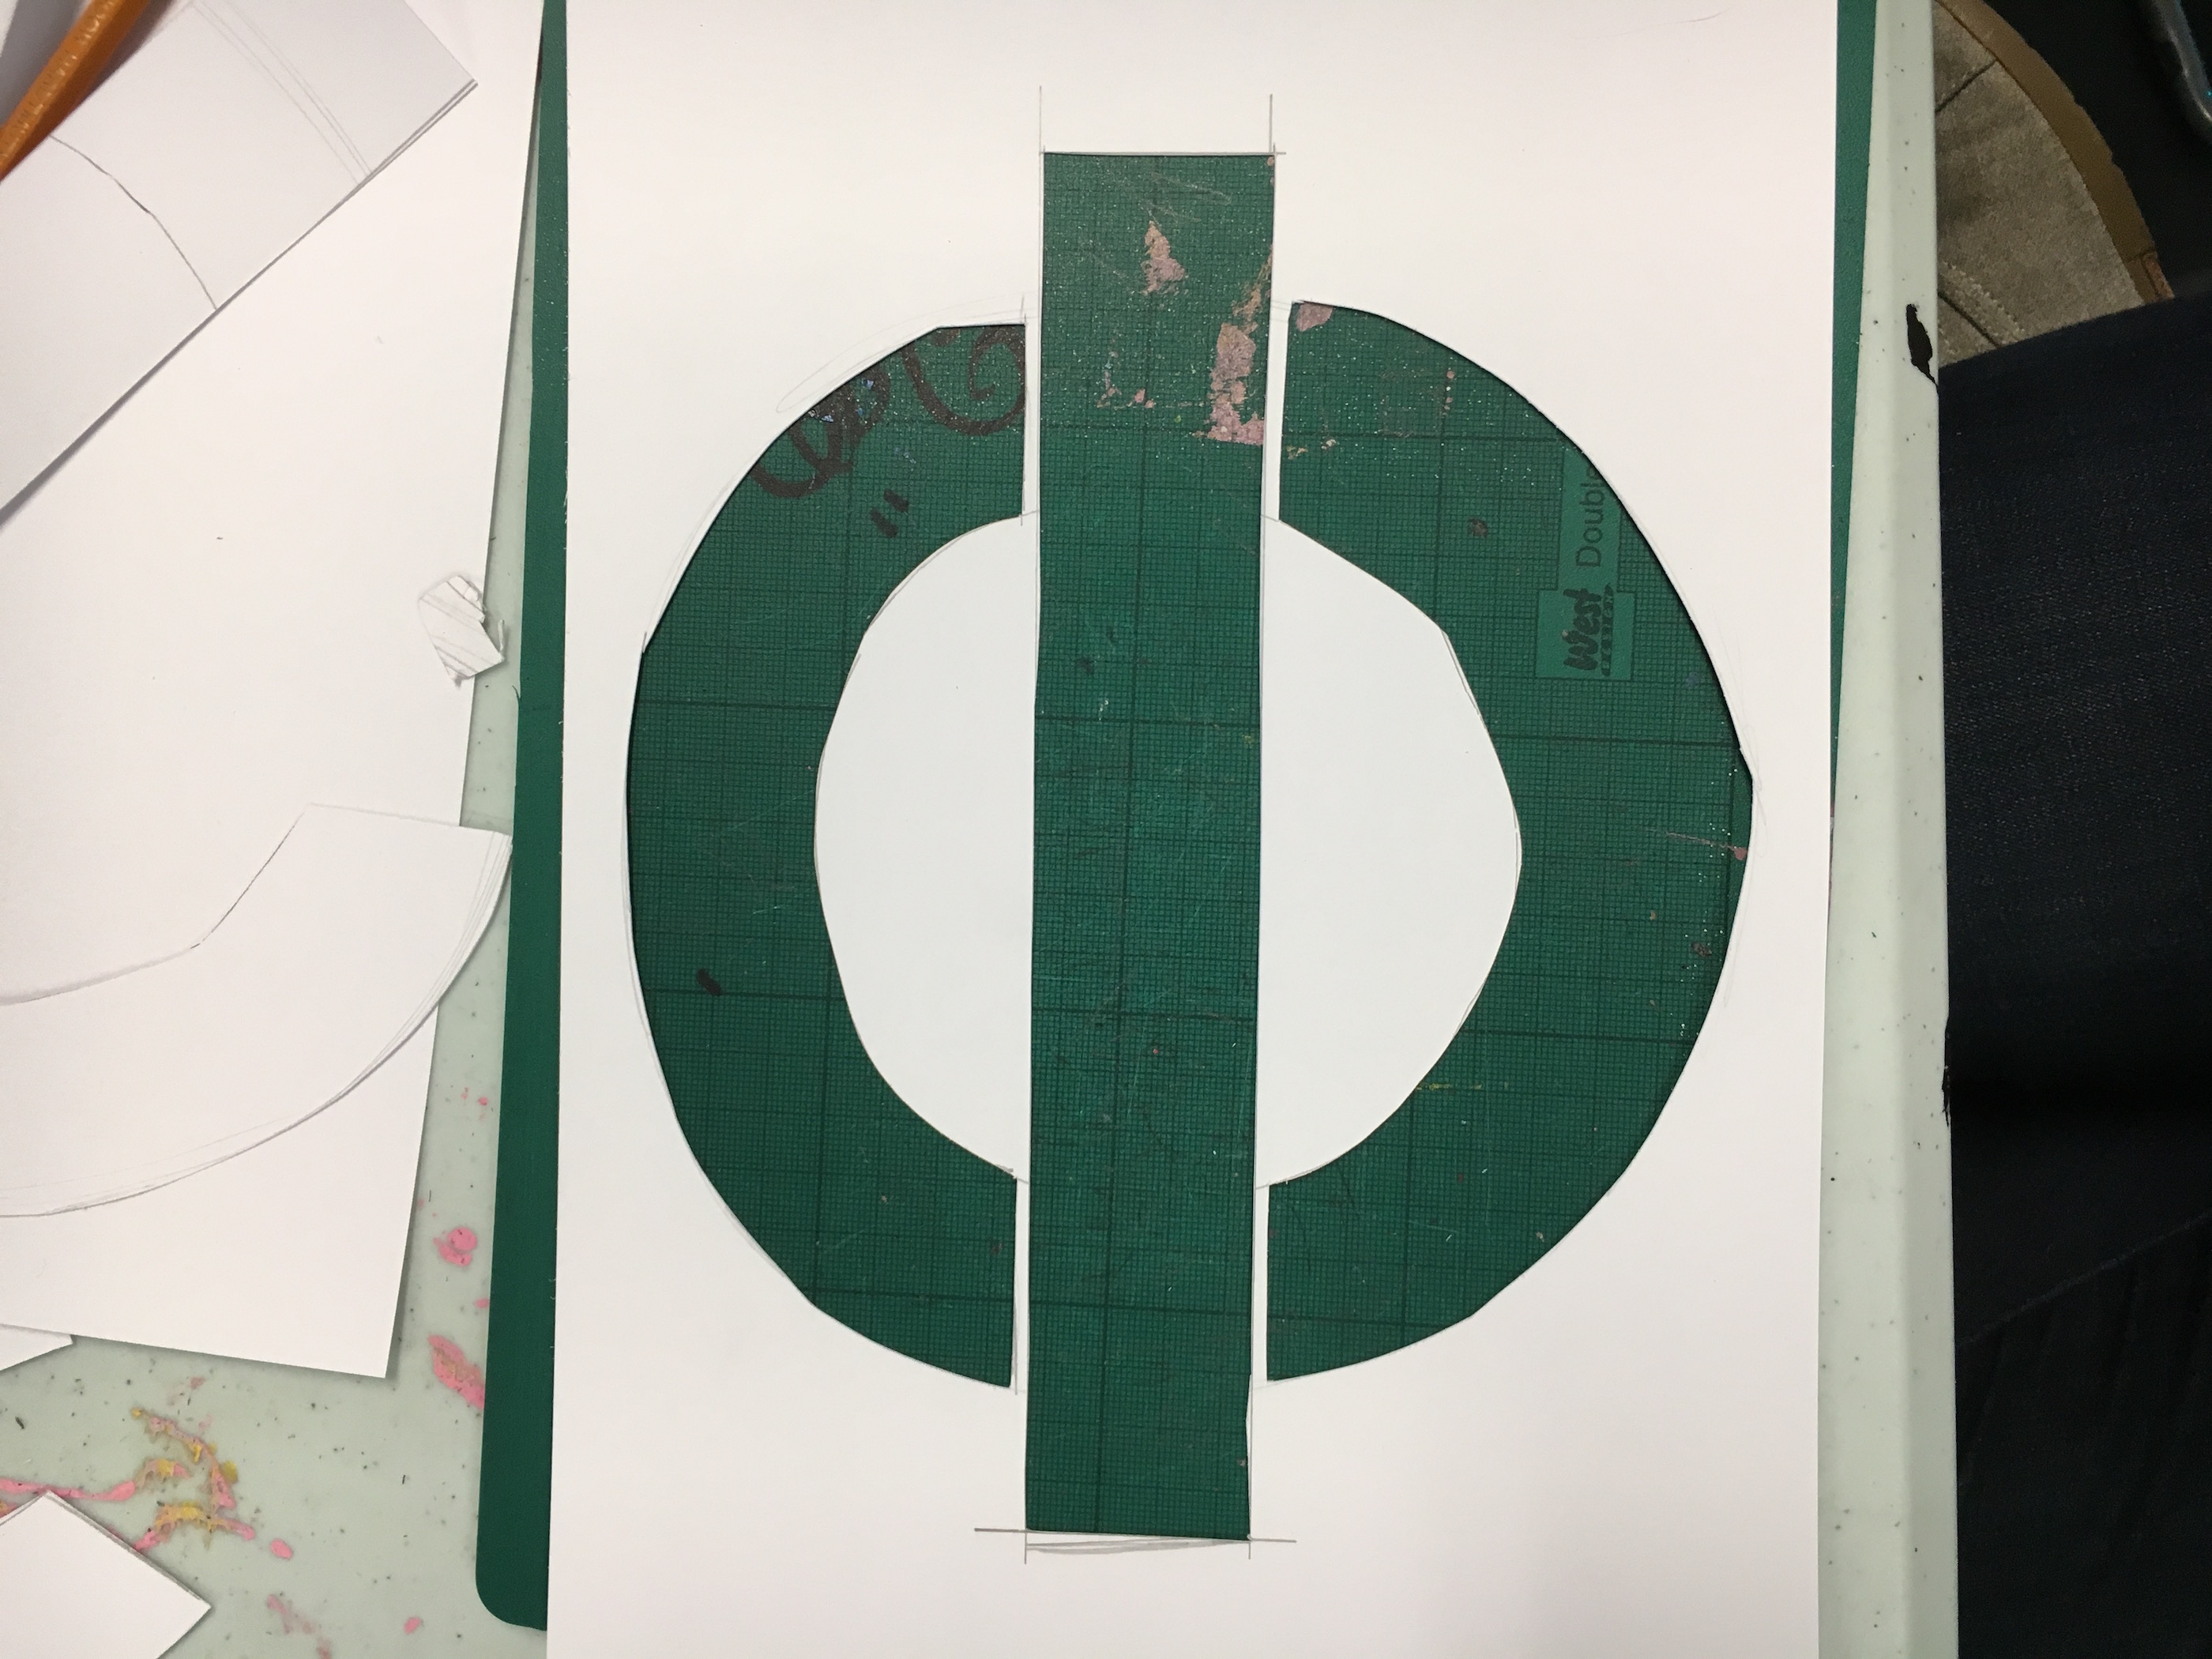
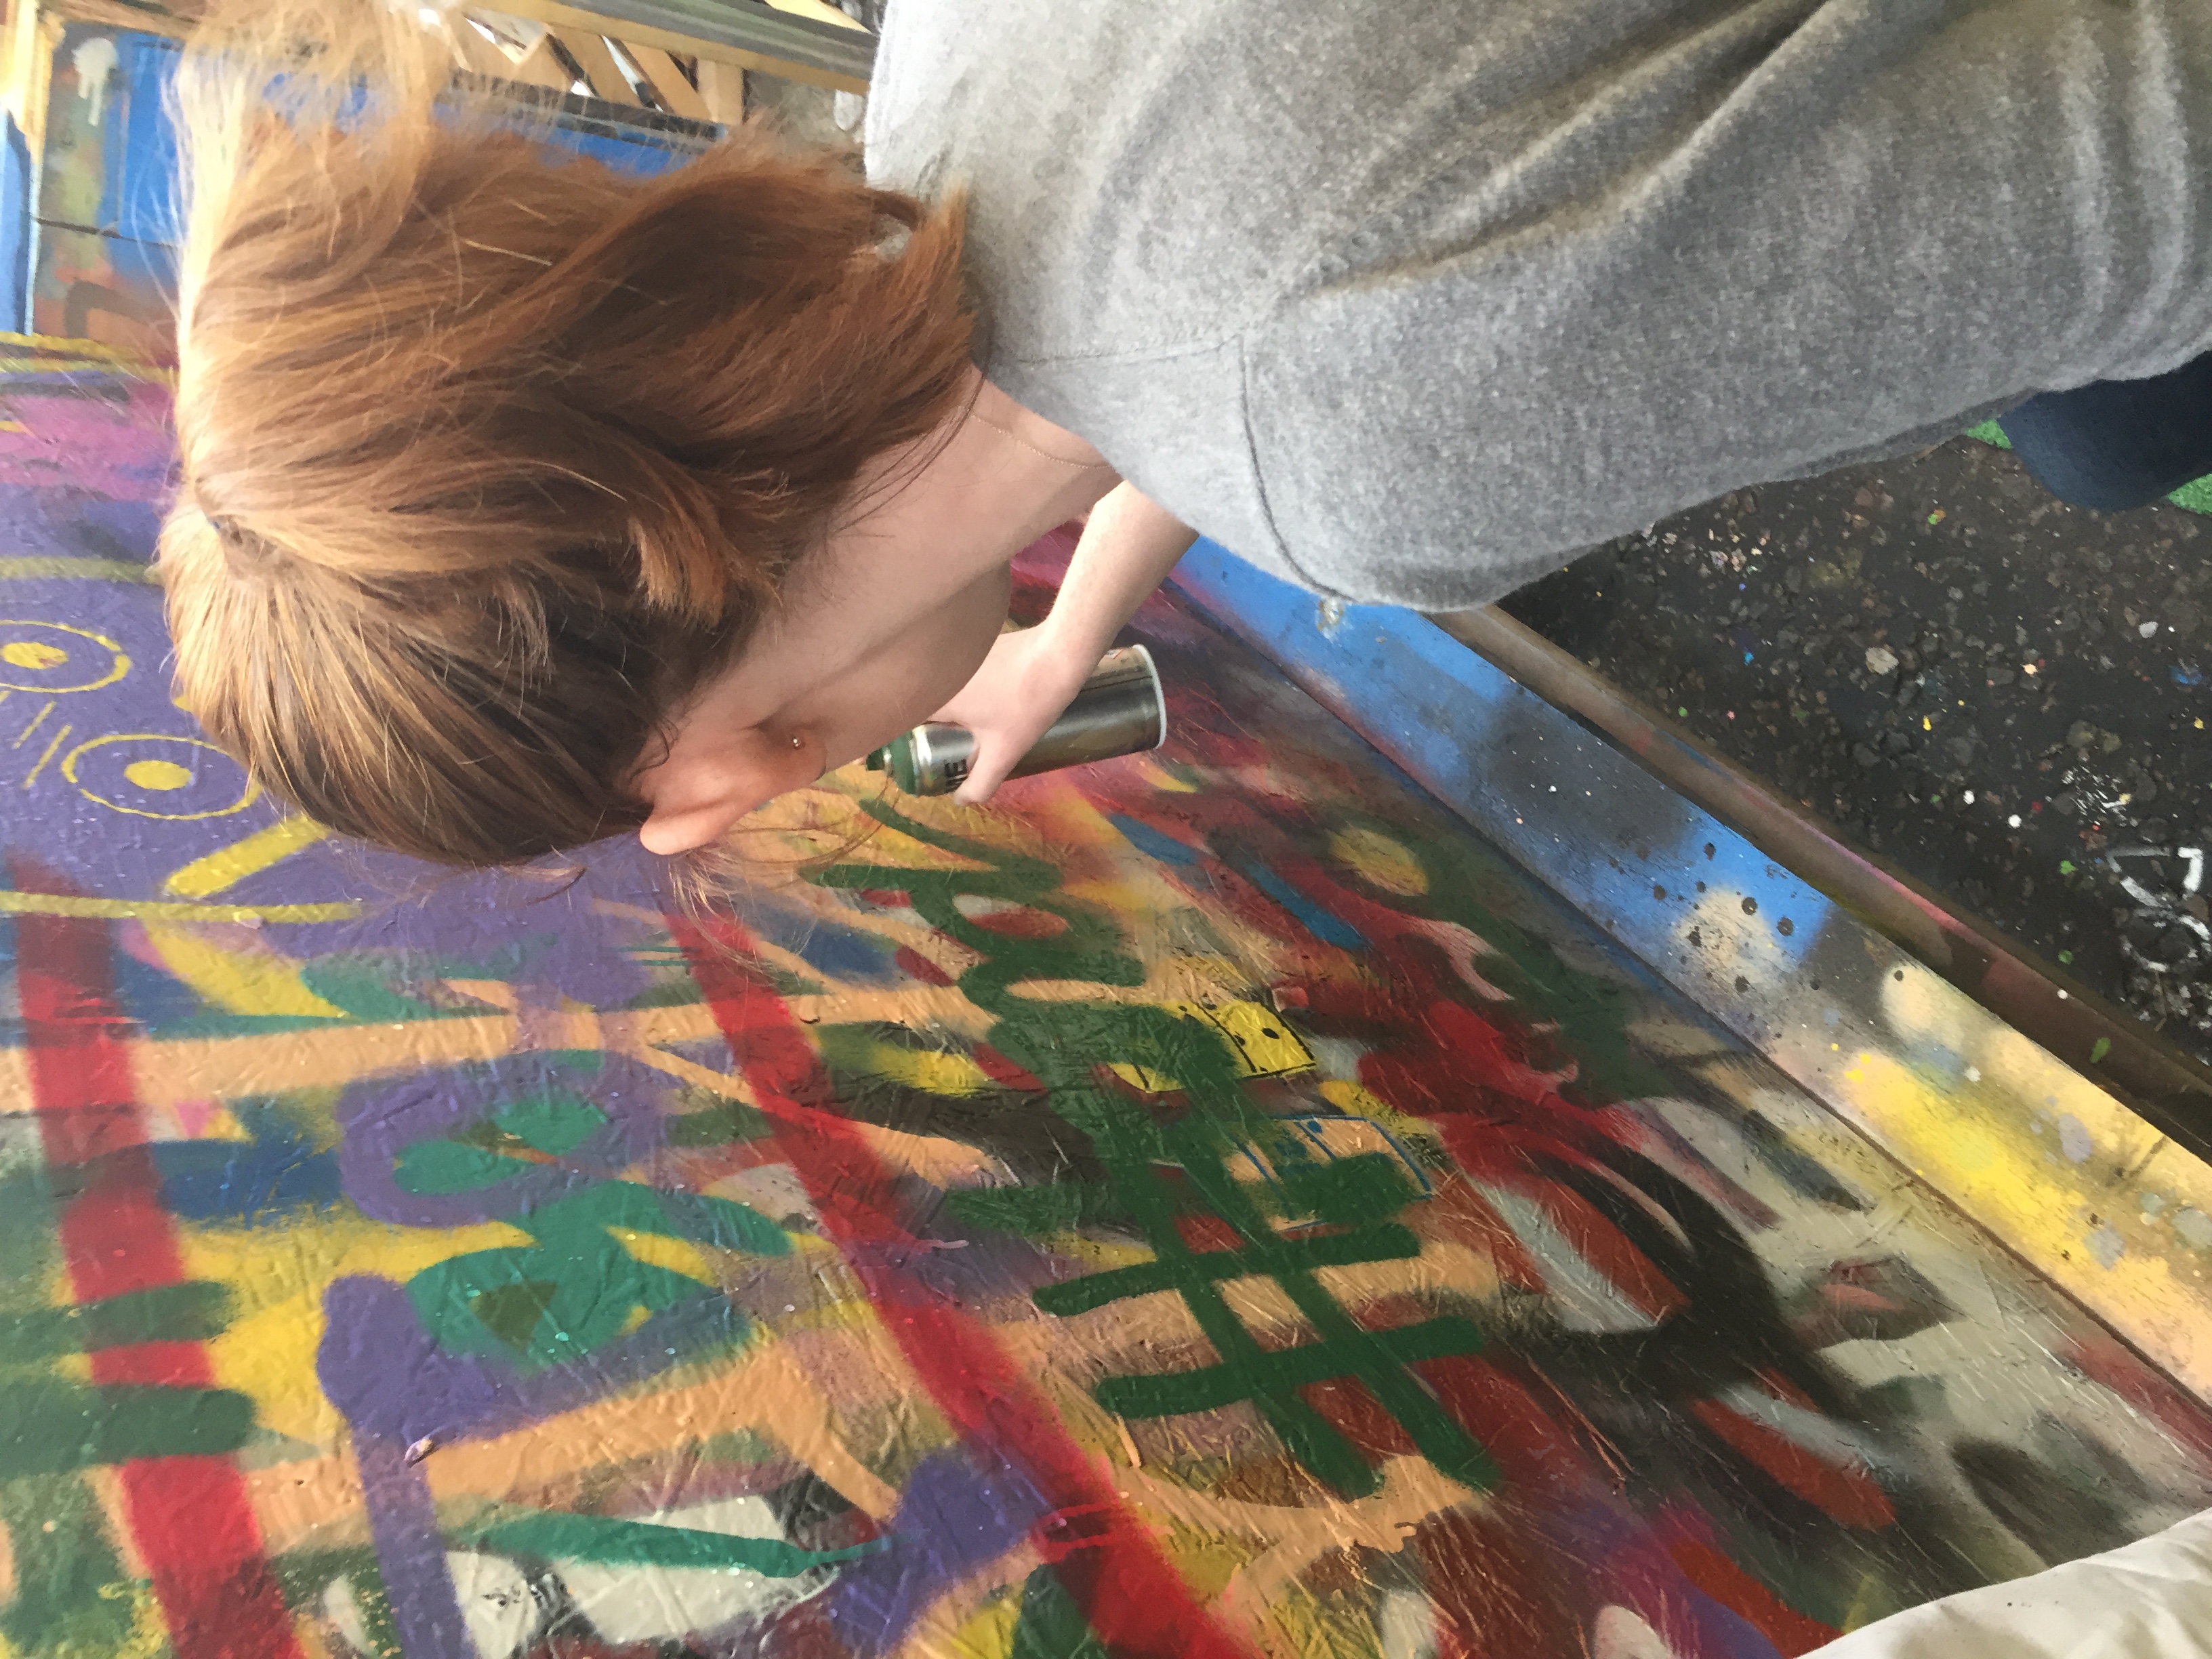
I went to a graffiti workshop in order to learn more about the art of graffiti and the process behind it. At the workshop we learned how Banksy does his work, with a stencil, and then we made our own. The process for putting up a tag with graffiti is very quick and easy which is why it is commonly used, and Banksy was the one to make it famous. We started out with coming up with our tag, what we wanted our design to be. I wanted mine to be London related, and I kept thinking about the tube, and how while there are many different station names they all had the same logo. So I decided to make my tag the underground sign, with an interchangeable name spot. We were given paper, exacto knives, a pencil and eraser. From here I drew the outer circle and the name plate of my tag. Drawing a circle alone is not easy, and it is even more difficult to draw two with even spacing in between. The whole time you have to keep in mind the fact that you are going to cut out what you want to show up, and you have to leave "bridges" which is just the term for the paper in between sections that you are cutting. I had to have two bridges, one on each side of the circle, so that the name plate was still connected. The bridges were very important as they were the only thing that kept your design together, they were the support. I then cut out my two half circles and the name plate, making sure to cut out what I wanted to show up. The next step was to cut out what I wanted to put in the name plate. I did two, Emily and London HUA. I traced the size of the name plate and then made block letters for the two texts I was putting in and cut out the inside. This part was very difficult as it was very small, and some people's designs had even smaller details. After we finsihed our stencils we went out to the back of their property and they taught us the techniques of using a spray can.
The instructor told us how there are different size nozzles, which controls how much sprays out, and we were using a medium sized one, which would cover a decent amount of area and still be detailed. They also told us how far away the spray can should be away, if you are too close, and hold down on the nozzle for too long that is when you get drips. You have to stand about one foot from the fall, and use light even strokes. We started out by just using the can, without our stencils to get used to it. I wrote out my name, and it took me a couple tries to realize that I needed to shake the can more before using it. I was not shaking it enough so I was not getting a thick concise line, it was more spread out and faded. After getting used to the can we put up our stencils on the wall and I felt like Banksy. For my design I wanted to use three different colors, so it would be very similar to the underground signs you see at the station. In order to get the different colors I had to paint the outer circle first, let it dry, then line up the stencil again and paint the white name tag portion. After that dried I could put up what text I wanted to use and spray that in. I can see why Banksy only used one color, as switching between three colors while trying to hold up the stencil was very difficult. It is very important to let the paint dry, if you do not wait long enough when you put your stencil back up it will stick to what you previously had painted, smudging what you have on the wall. If I were to do it over again I would have put my two different texts on different pieces of paper as the spray paint traveled, probably because I did not shake the can enough, and you can kind of see an outline of the other text on one of my tags.
Banksy does it on a larger scale and with much more detail, and experiencing it for myself makes his work seem even more impressive. We had about an hour to do this workshop, and if a street artist does not have permission for their work they have under 20 min to complete it. That is not an easy task, yet their work comes out beautifully. Below are pictures of the process thoughtout the day, in true graffiti fashion moments after I finished my tag, someone came by and put there tag over it. While it was a little dissapointing, it shows that it was true street art, I had no control over it.
.jpg)
.jpg)
.jpg)
.jpg)
.jpg)
London by Olivia Gibbs
 | |
| Street Art by | Olivia Gibbs |
|---|---|
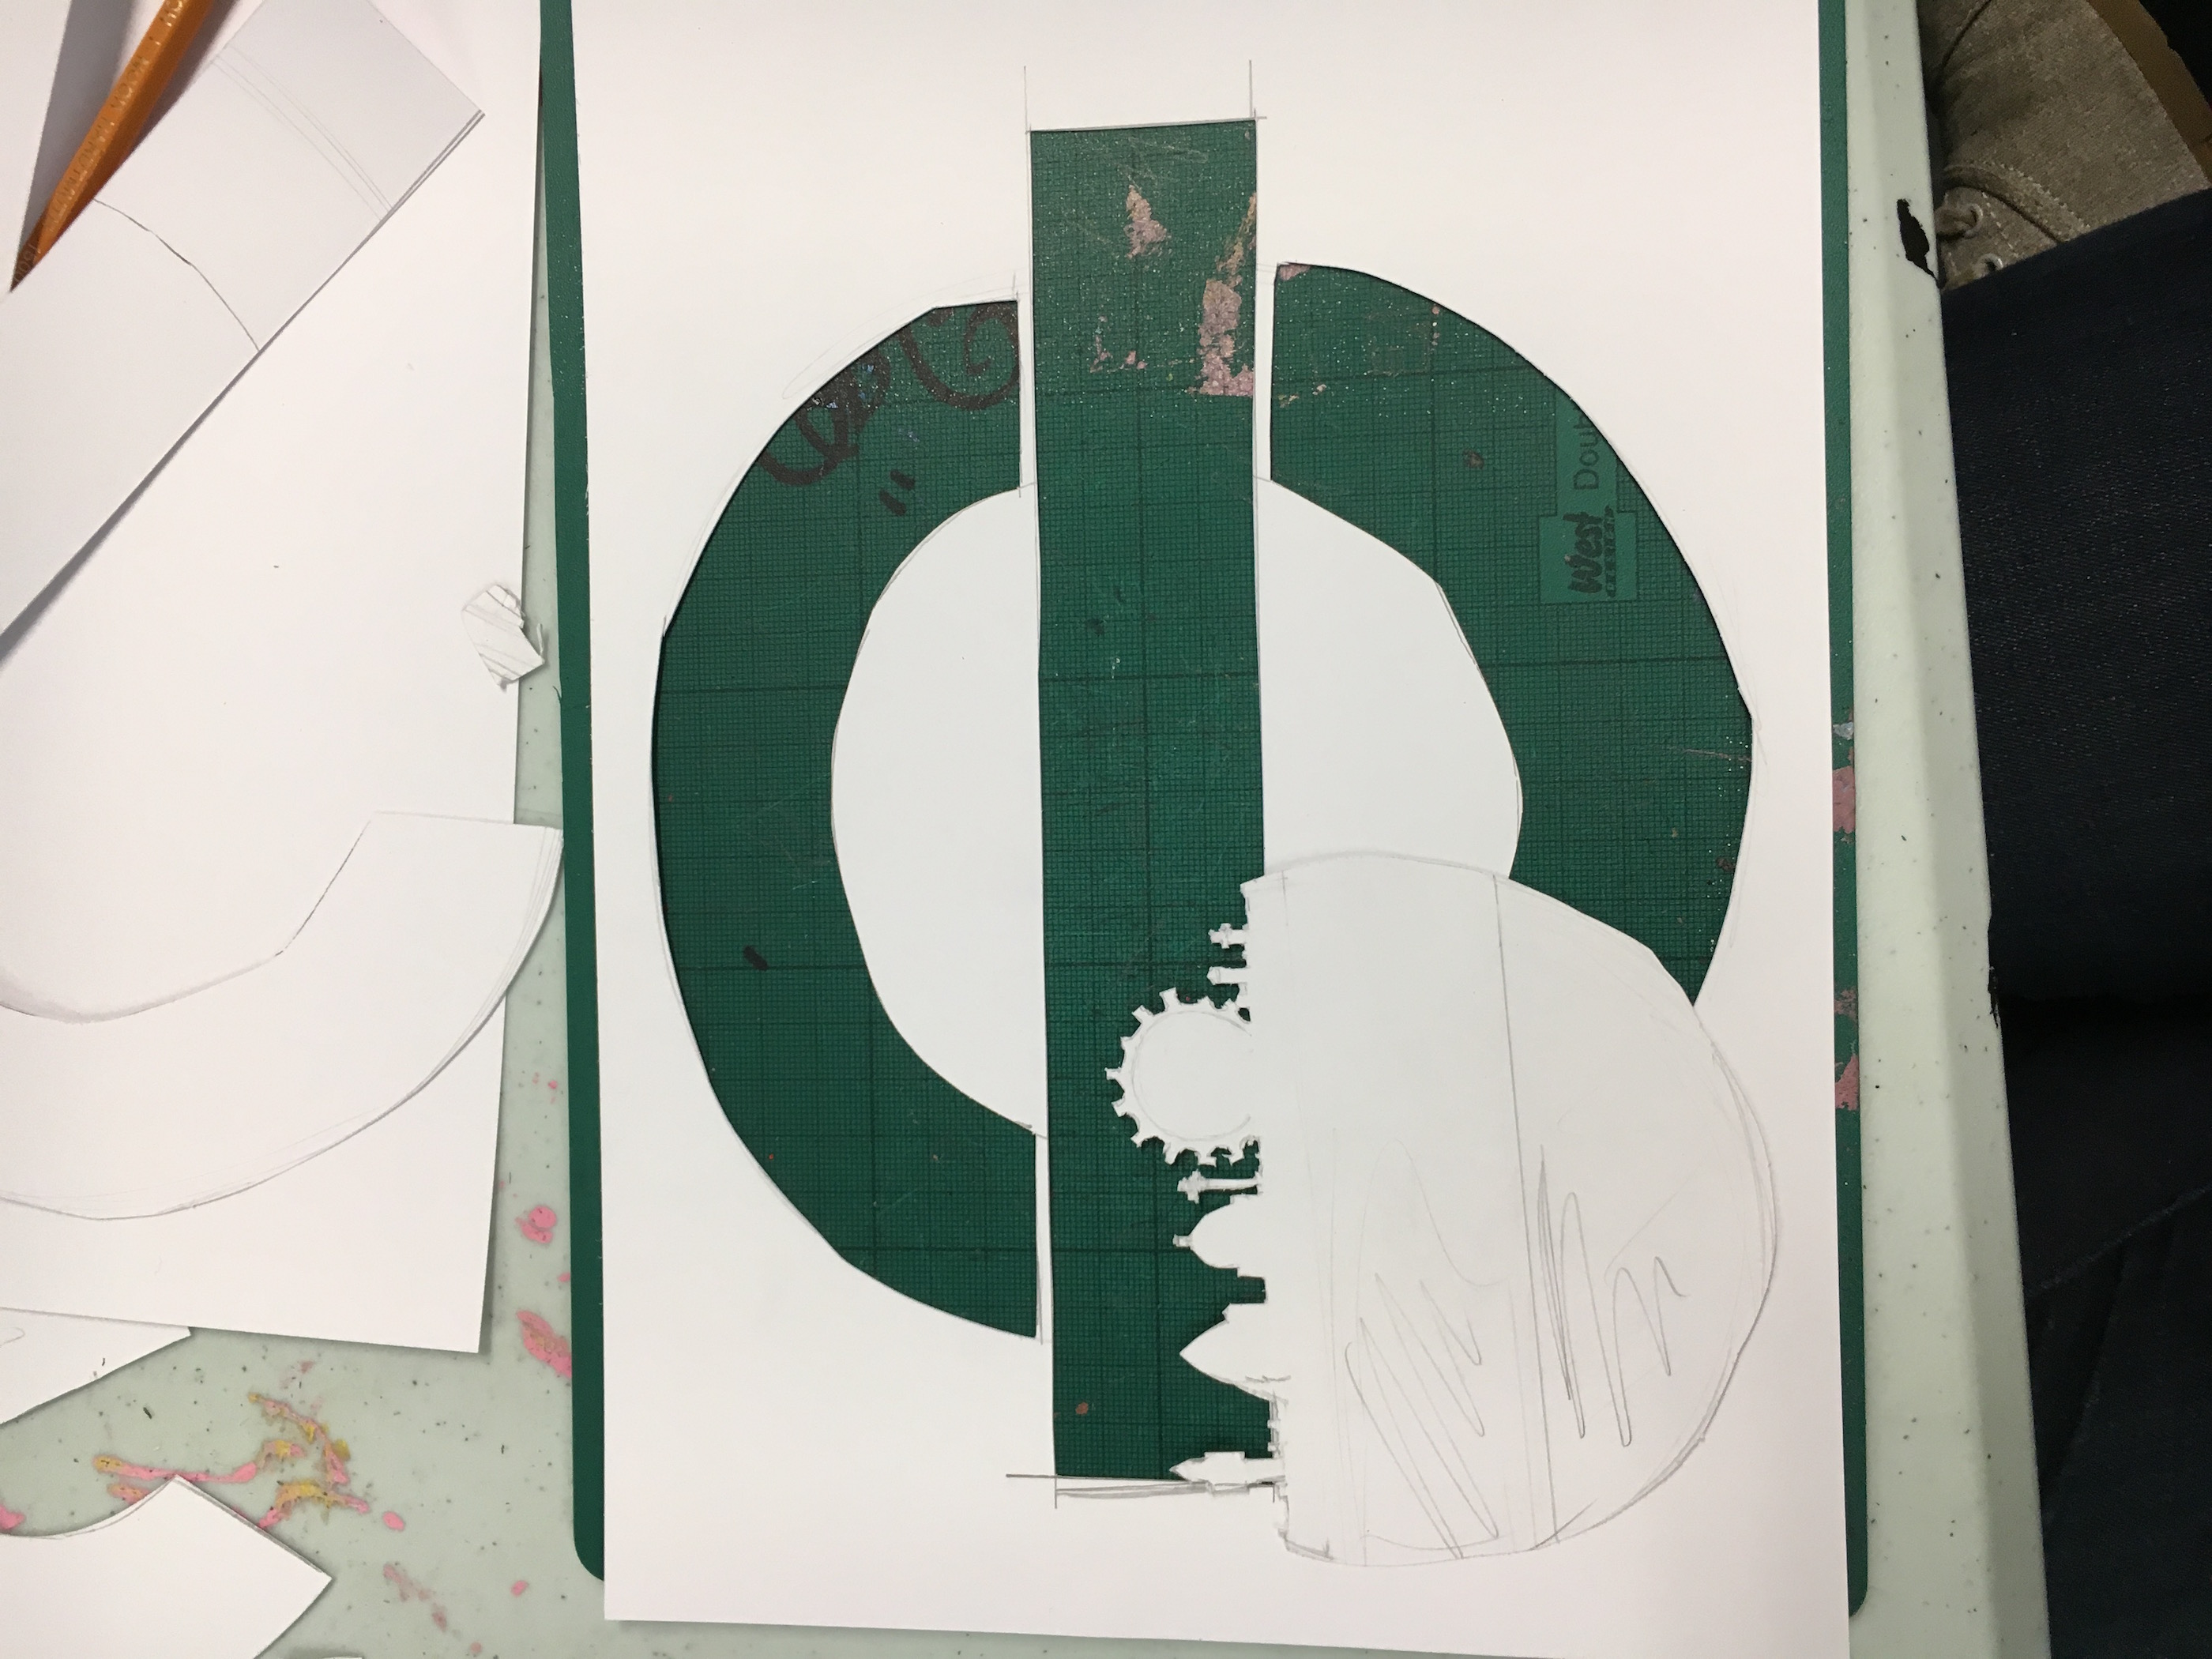
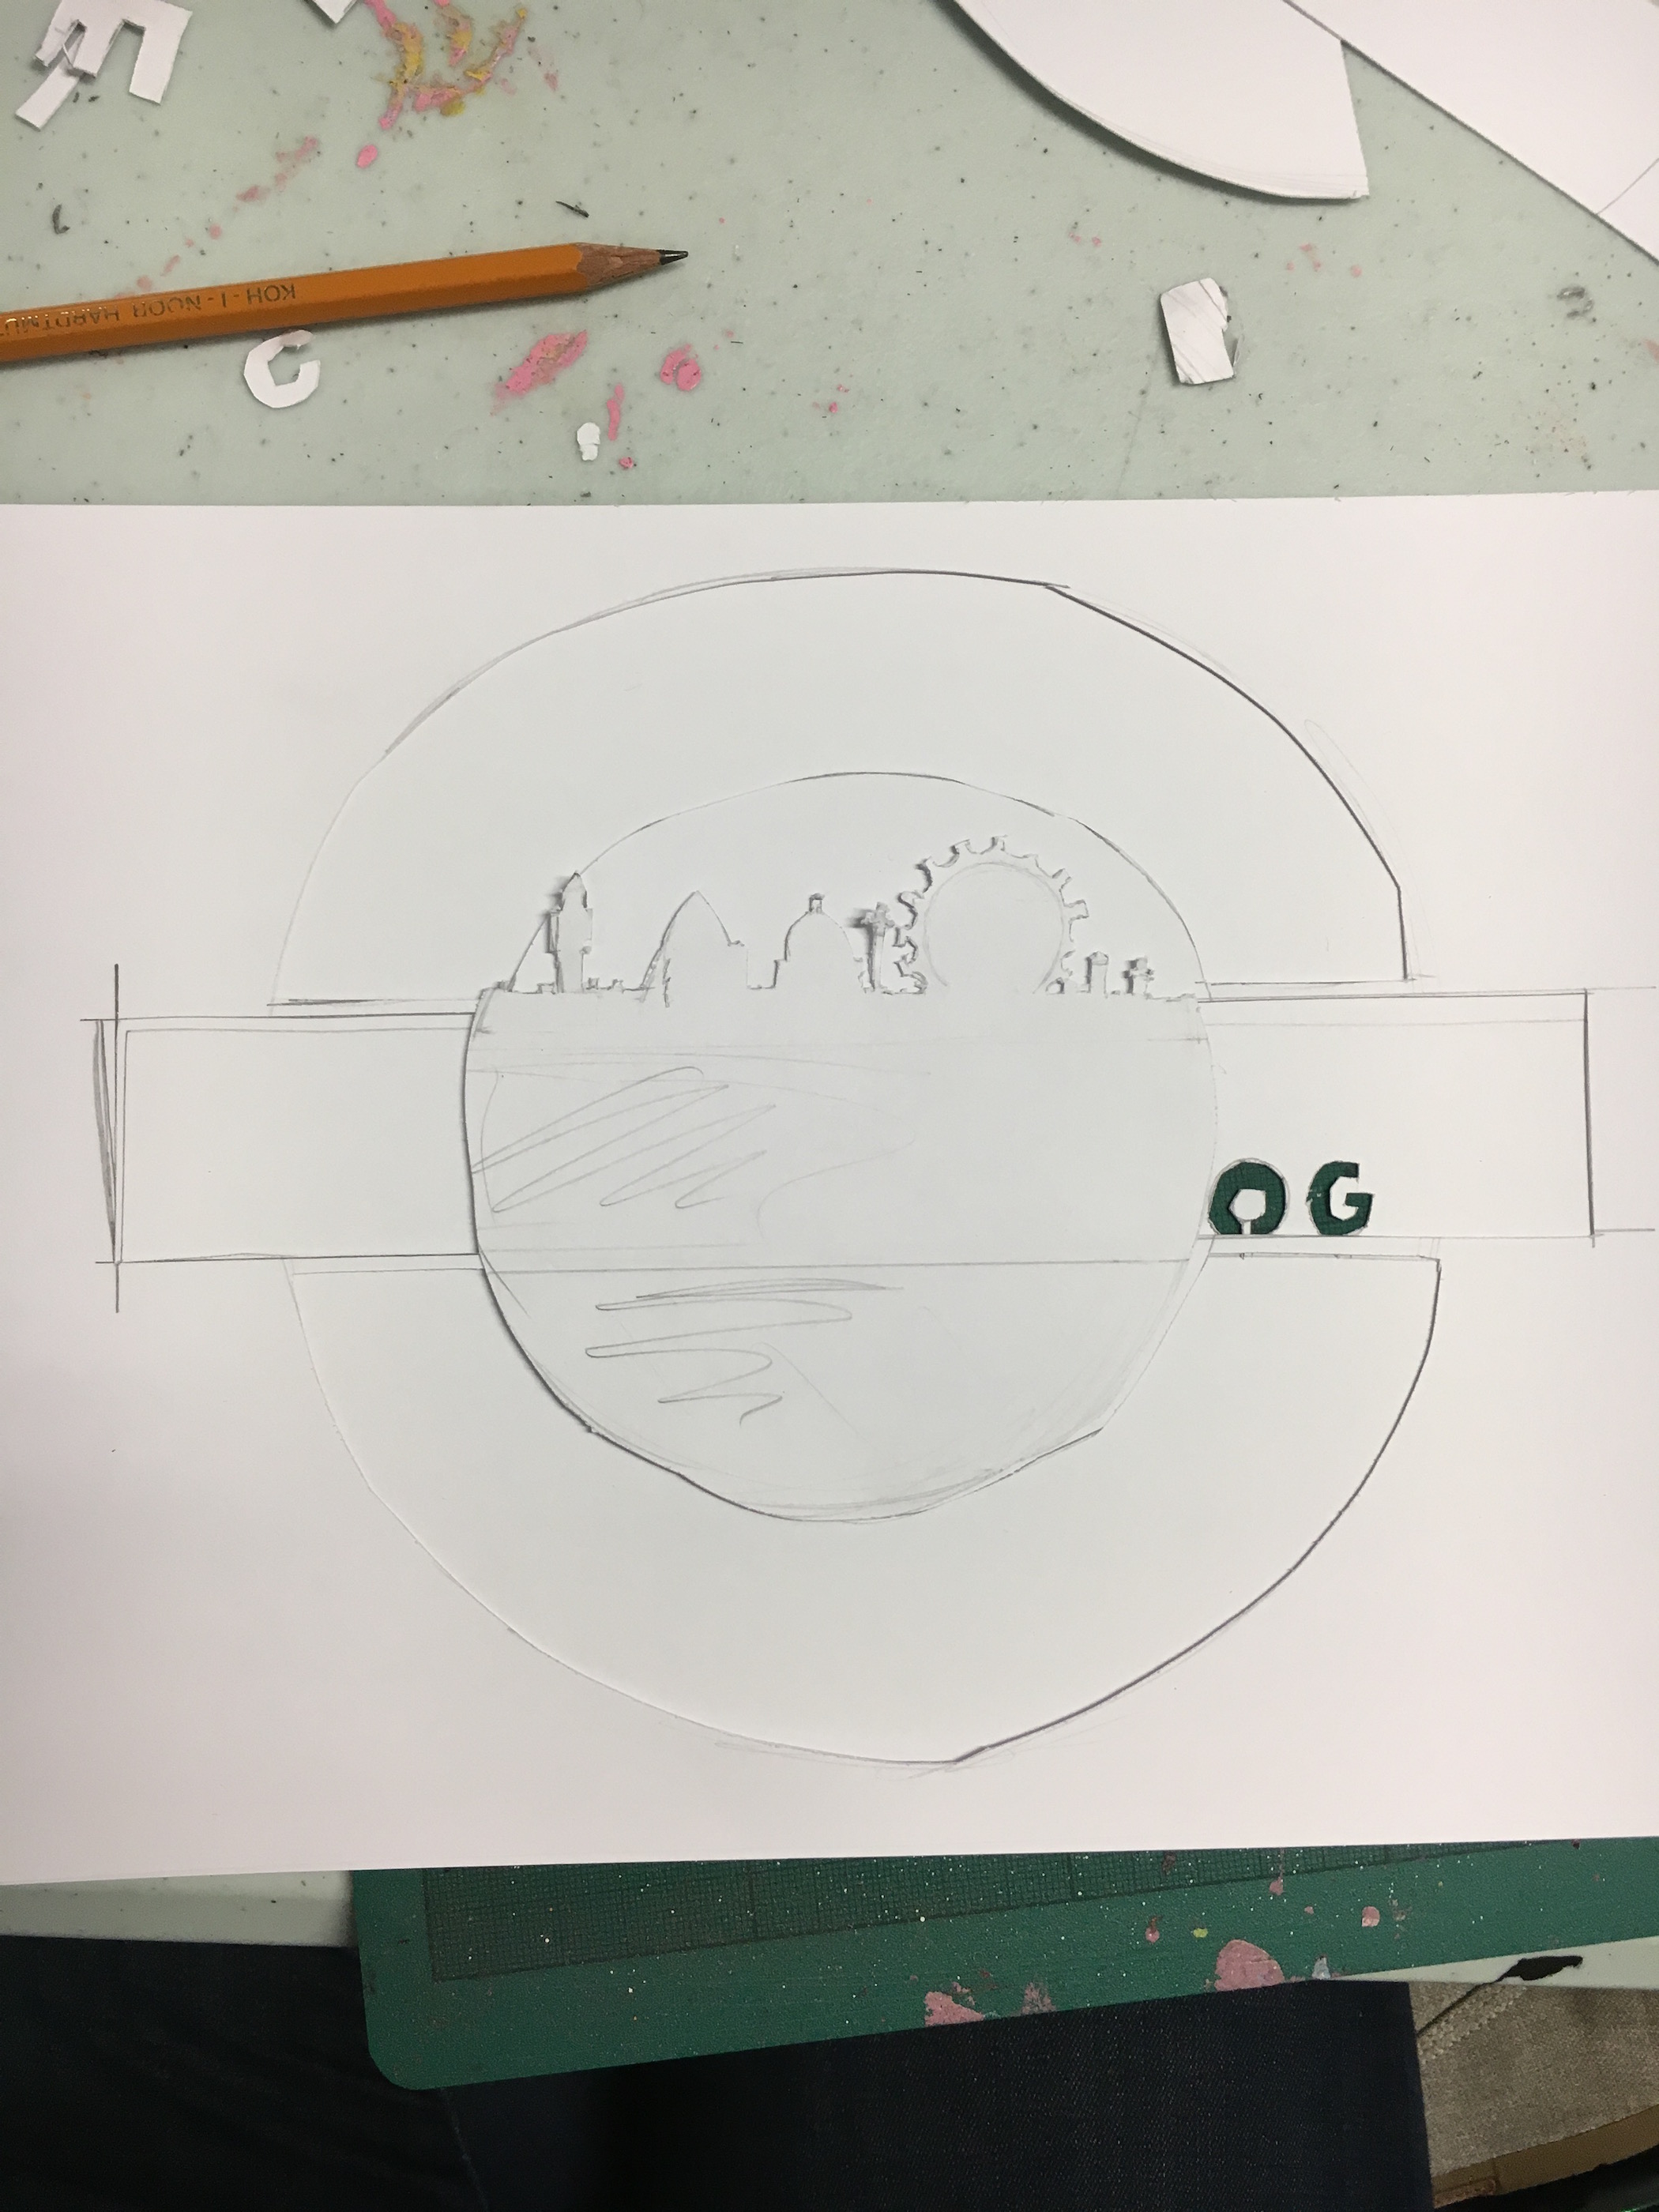
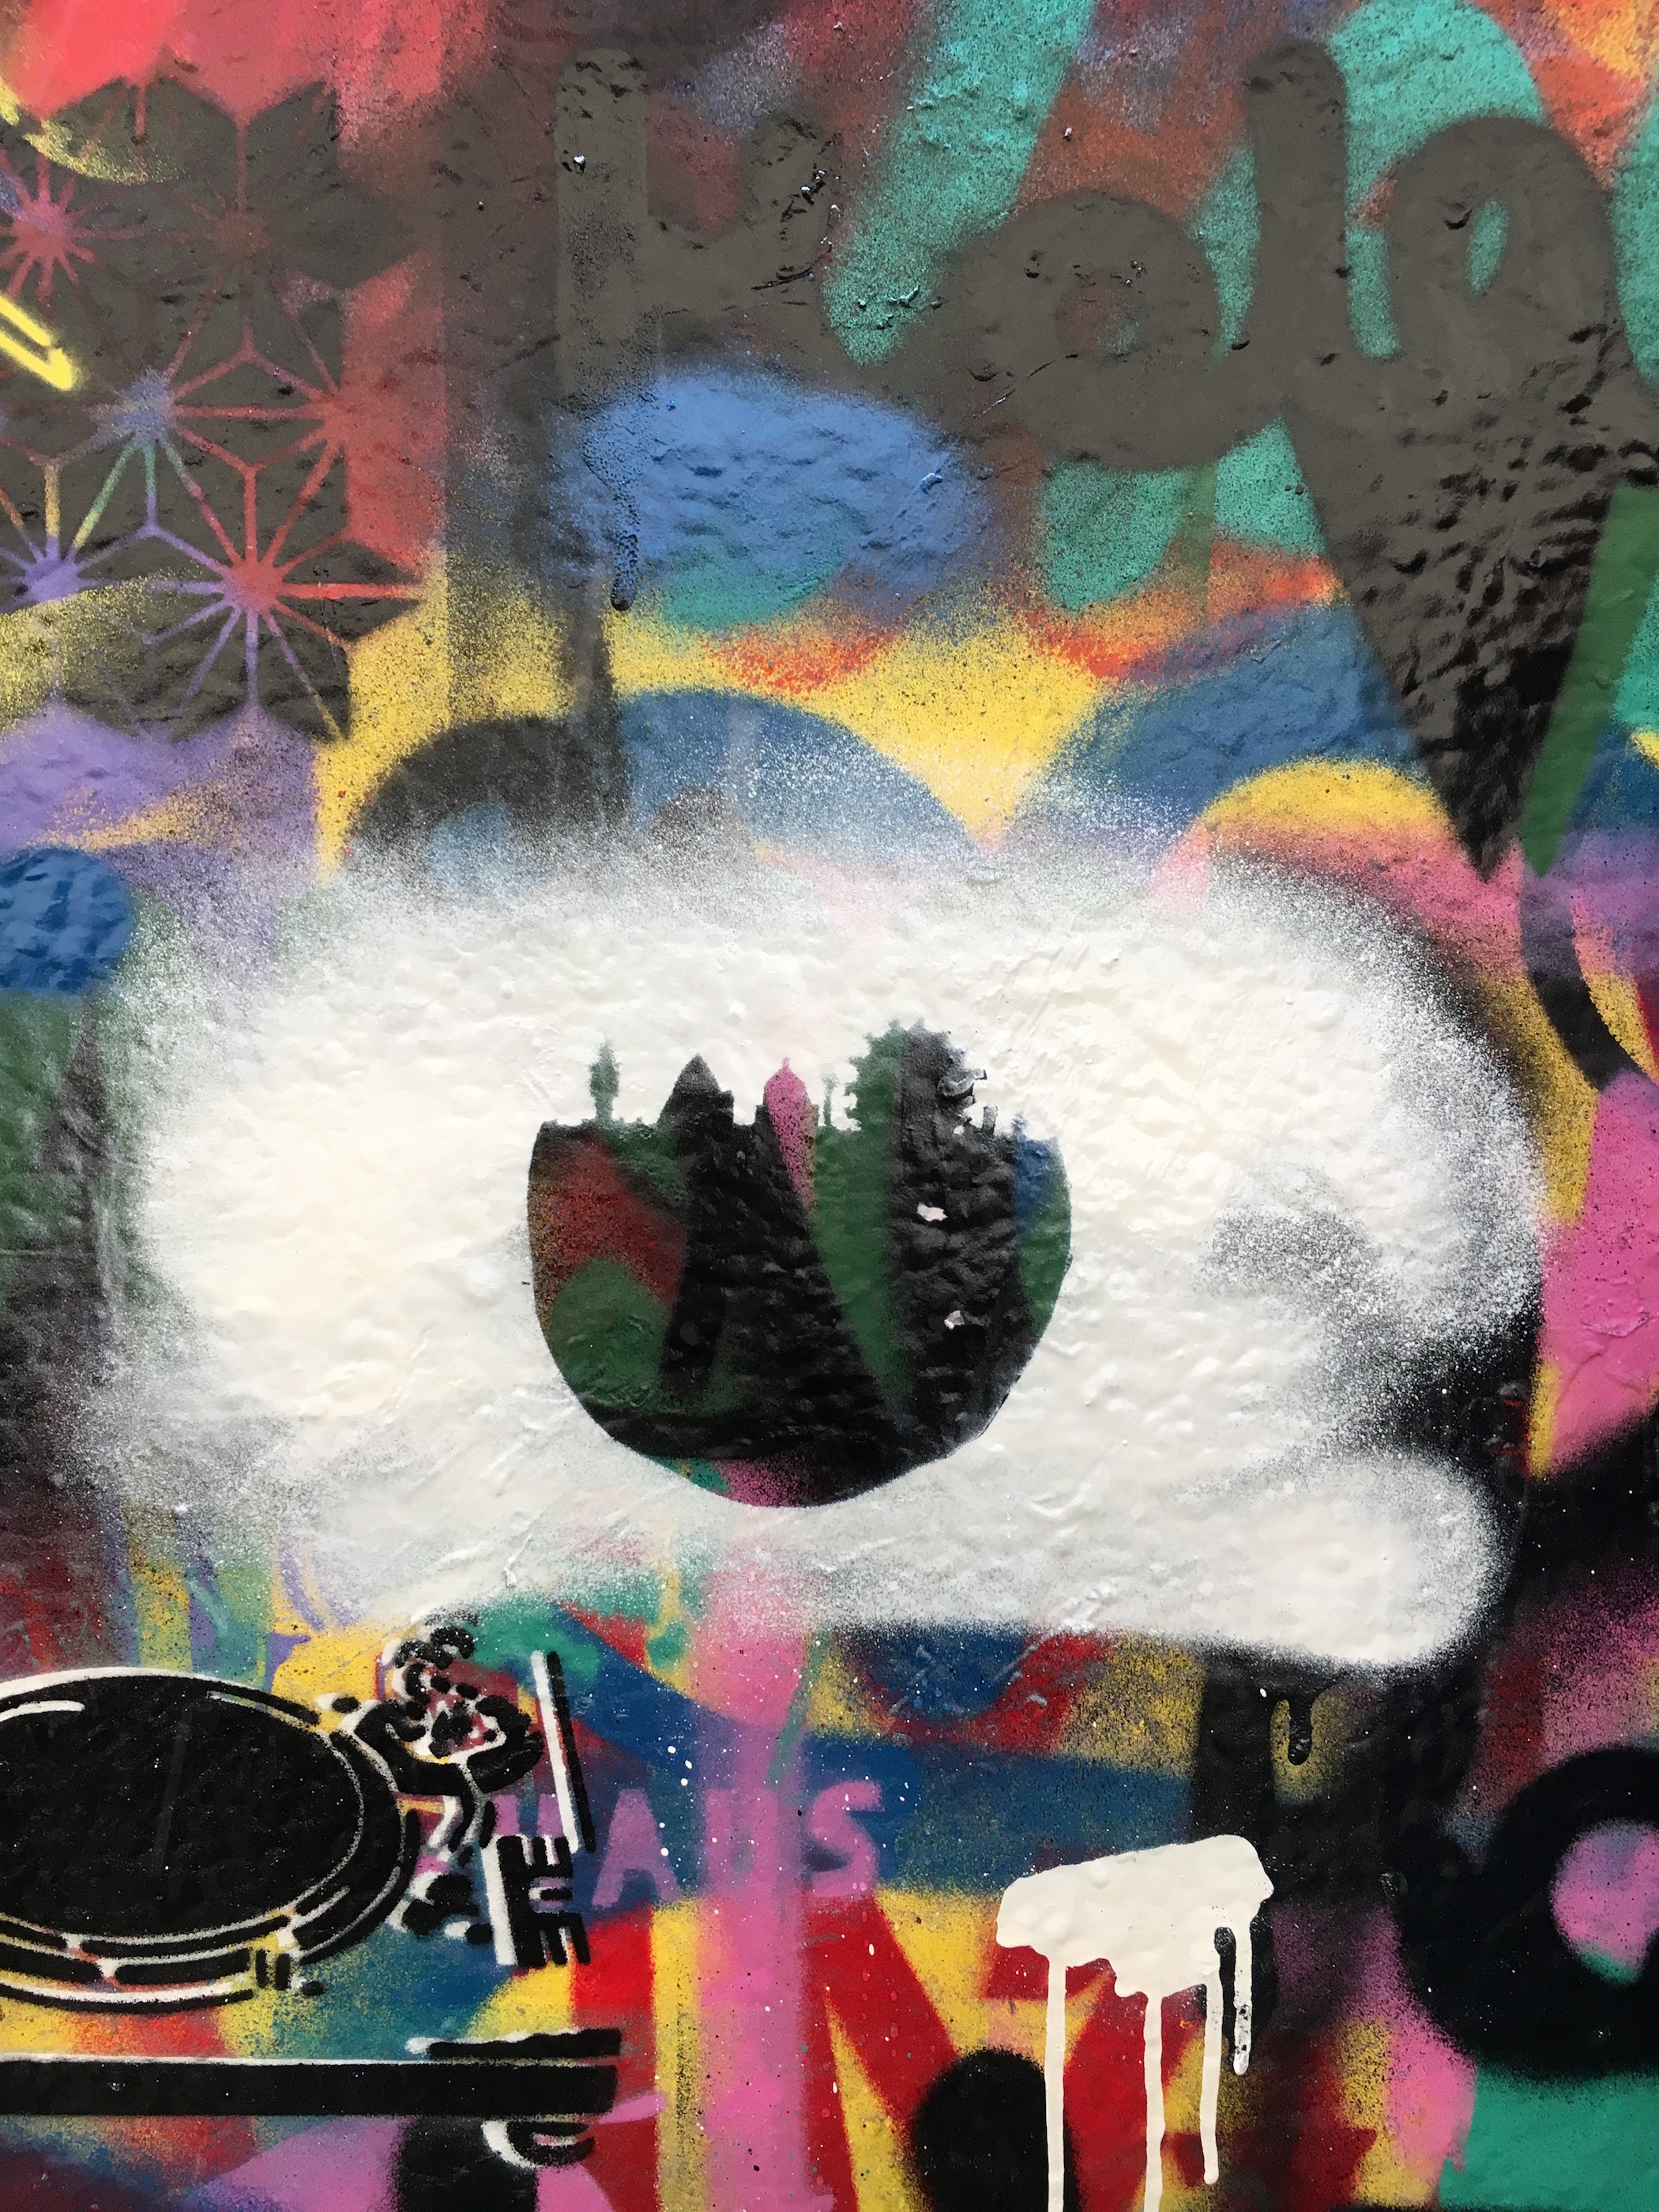
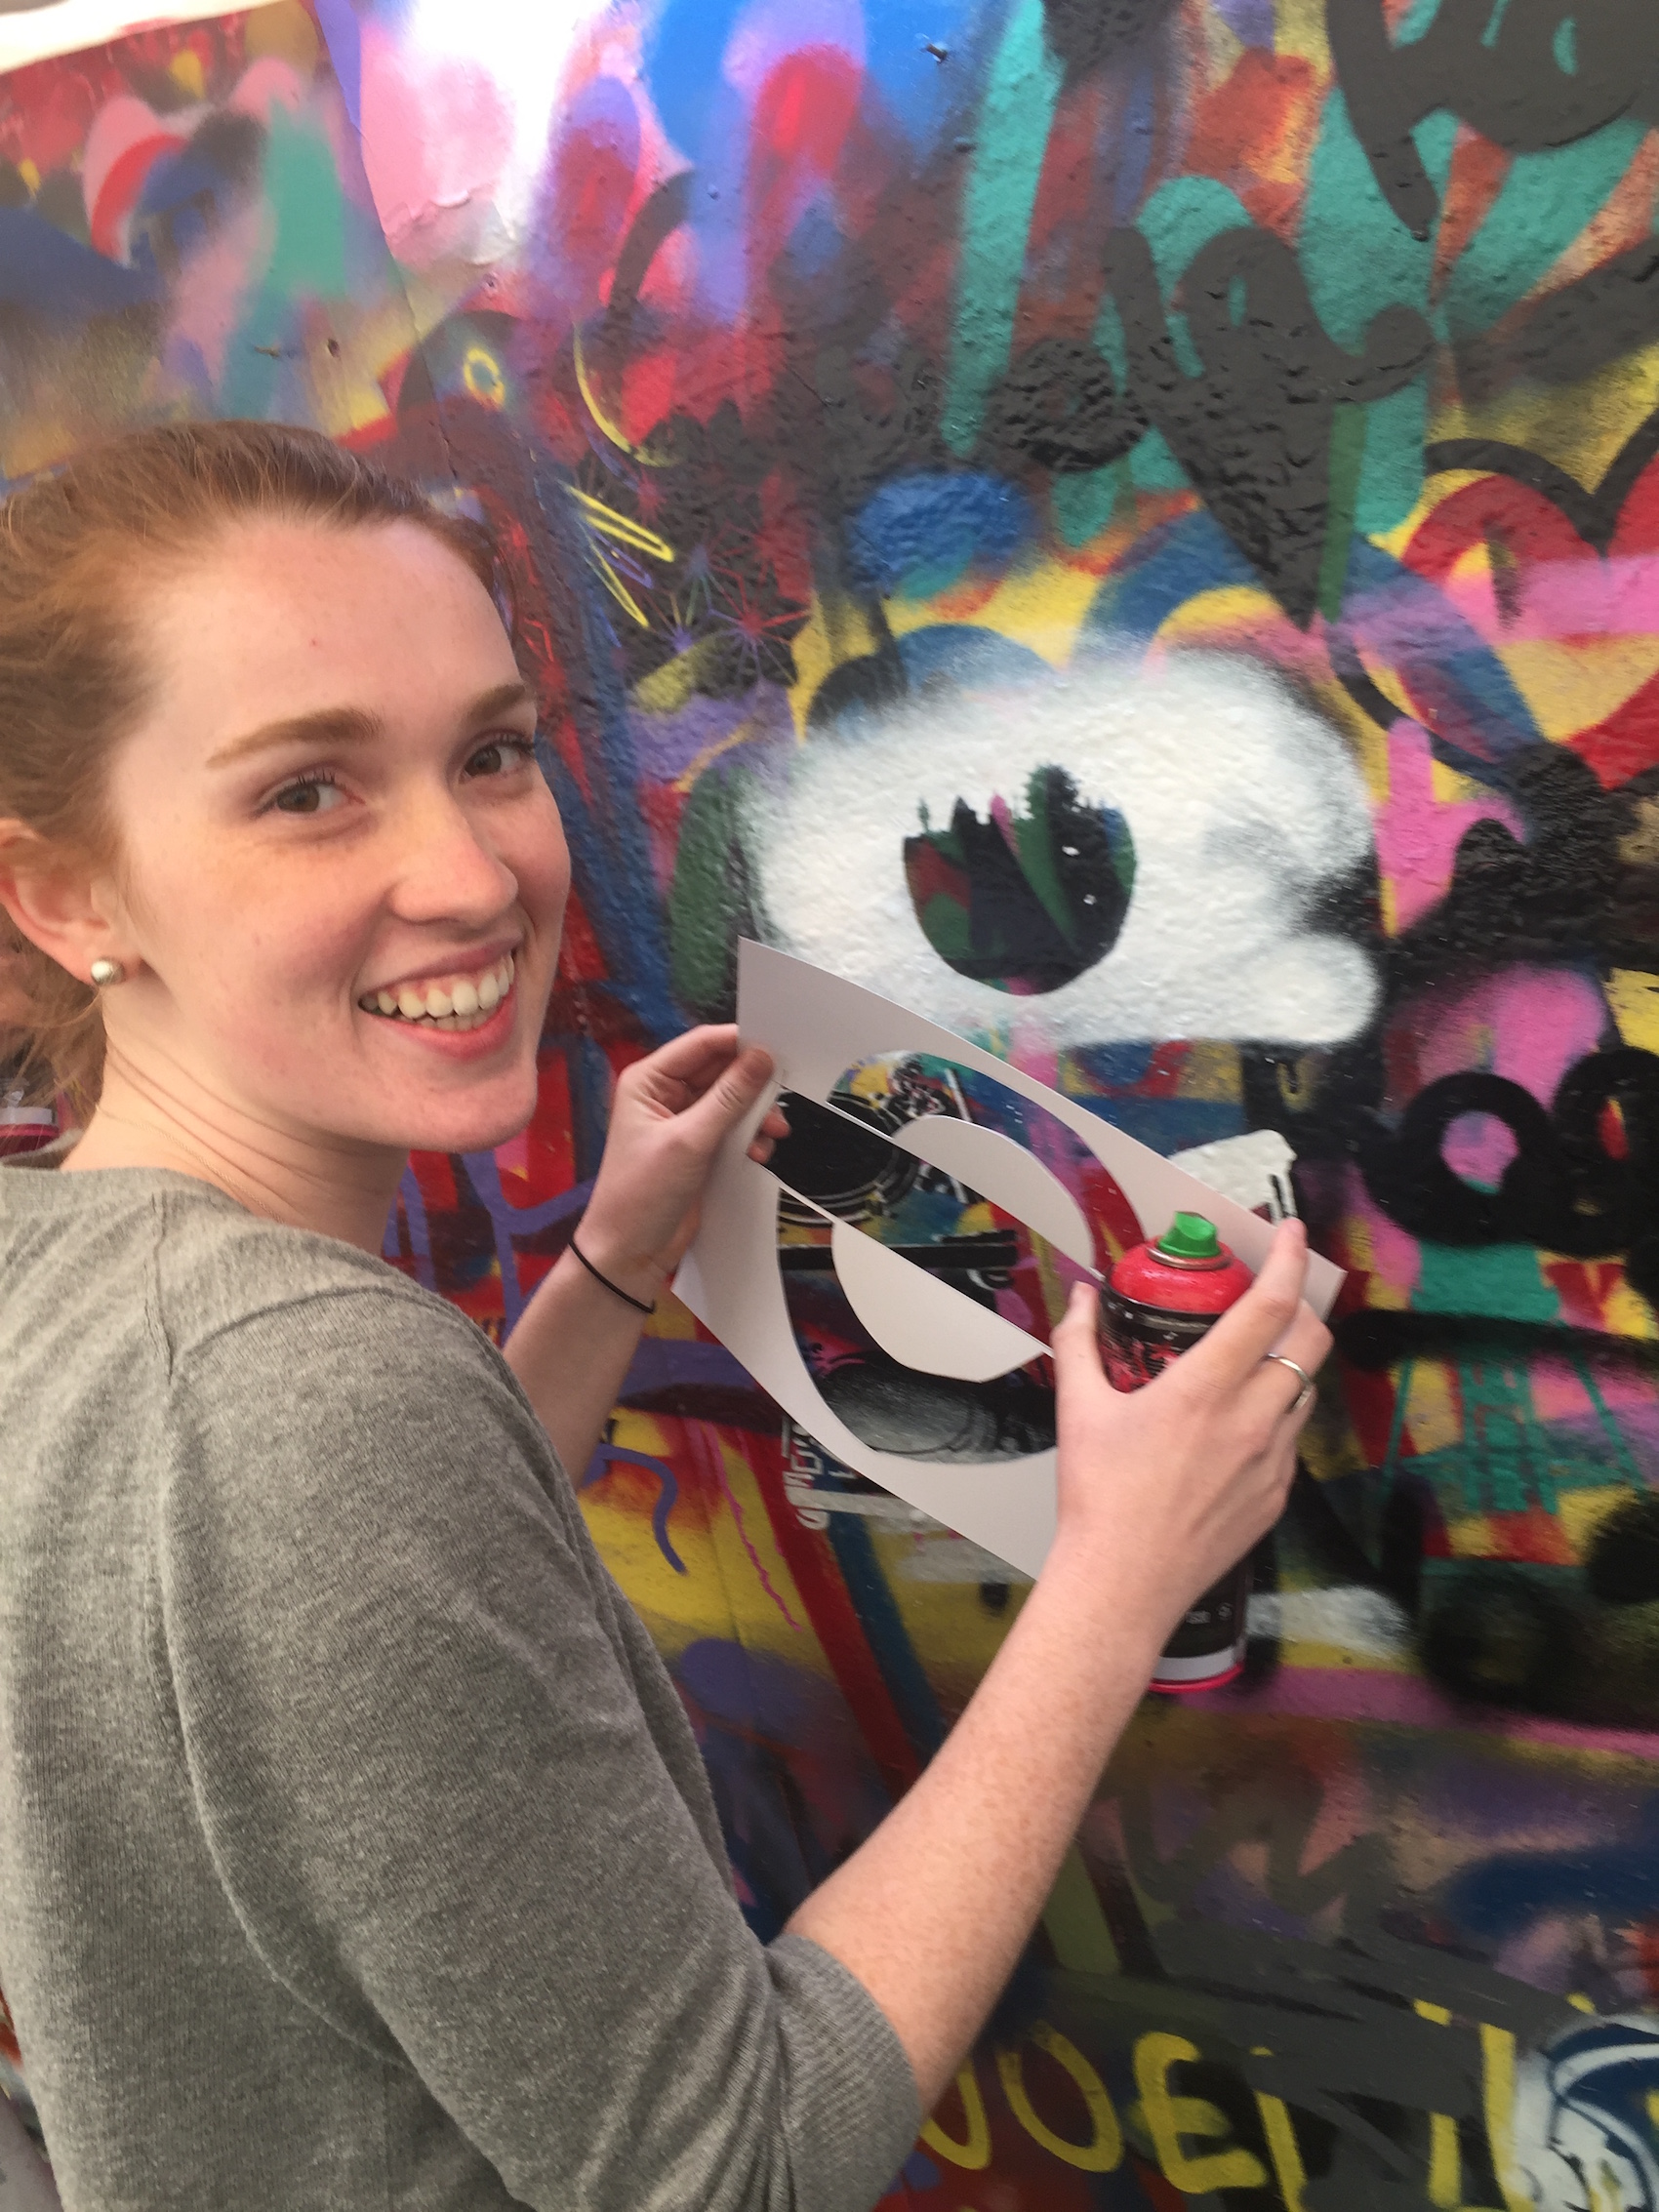
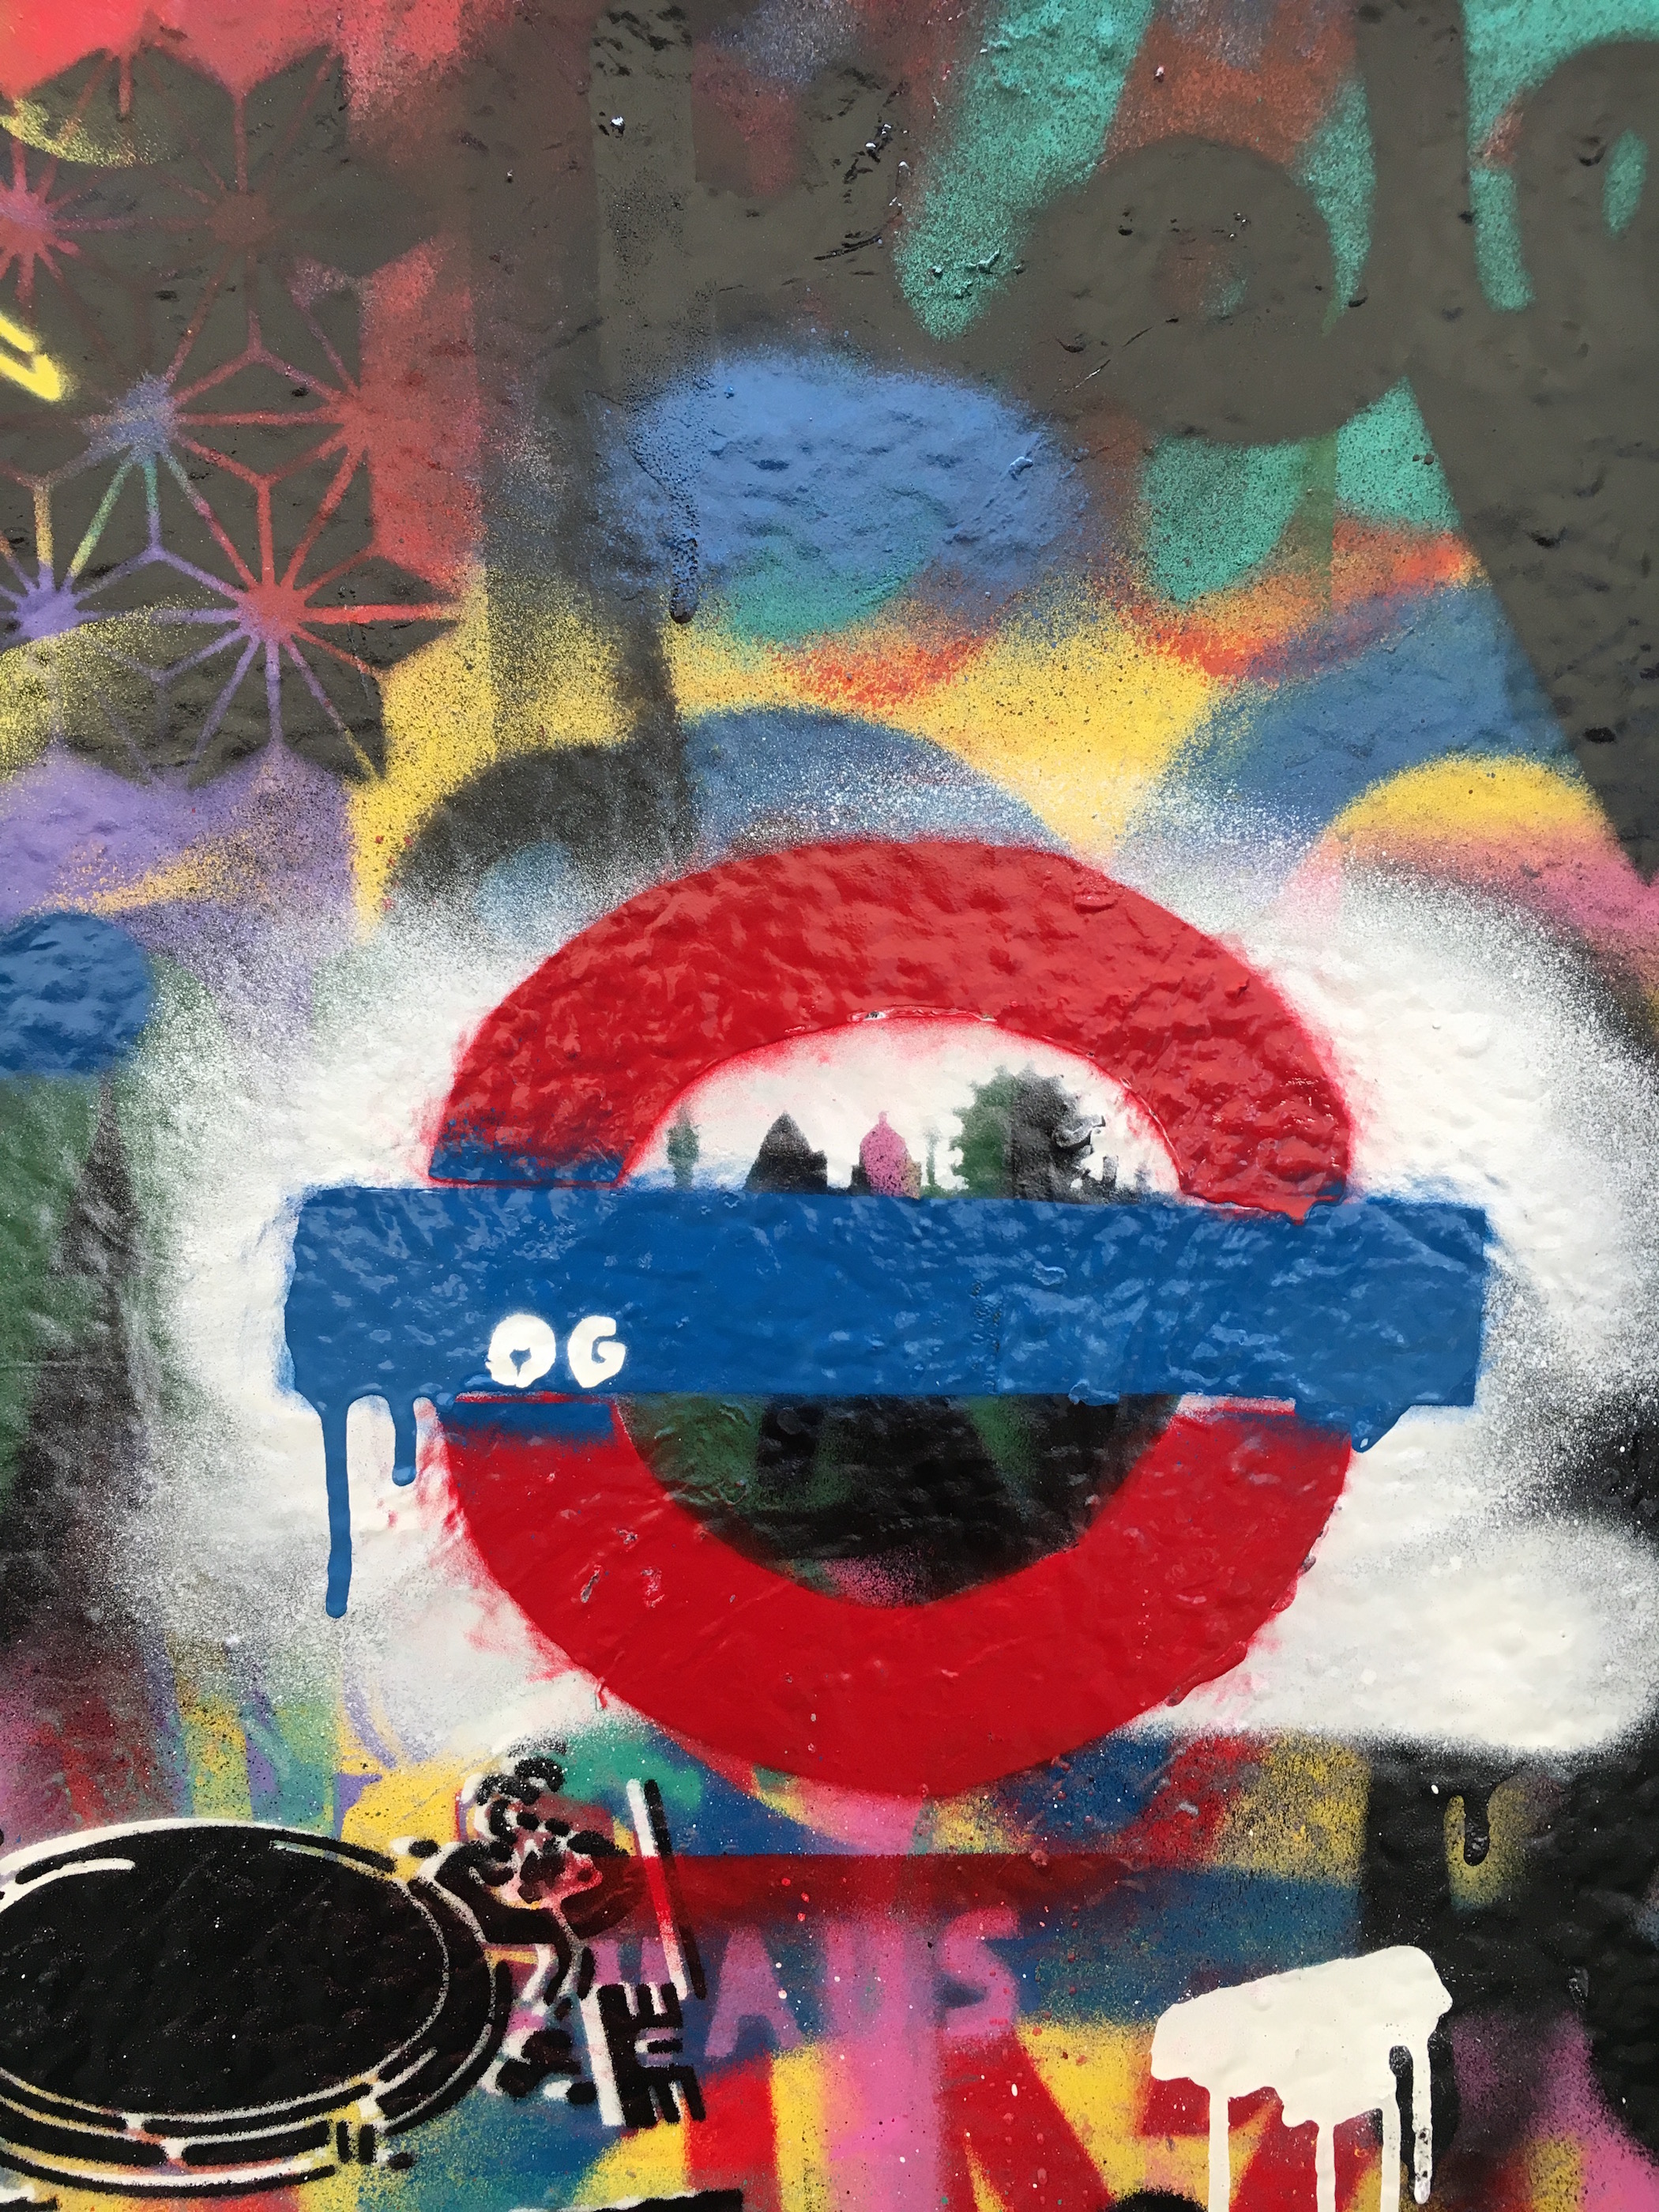
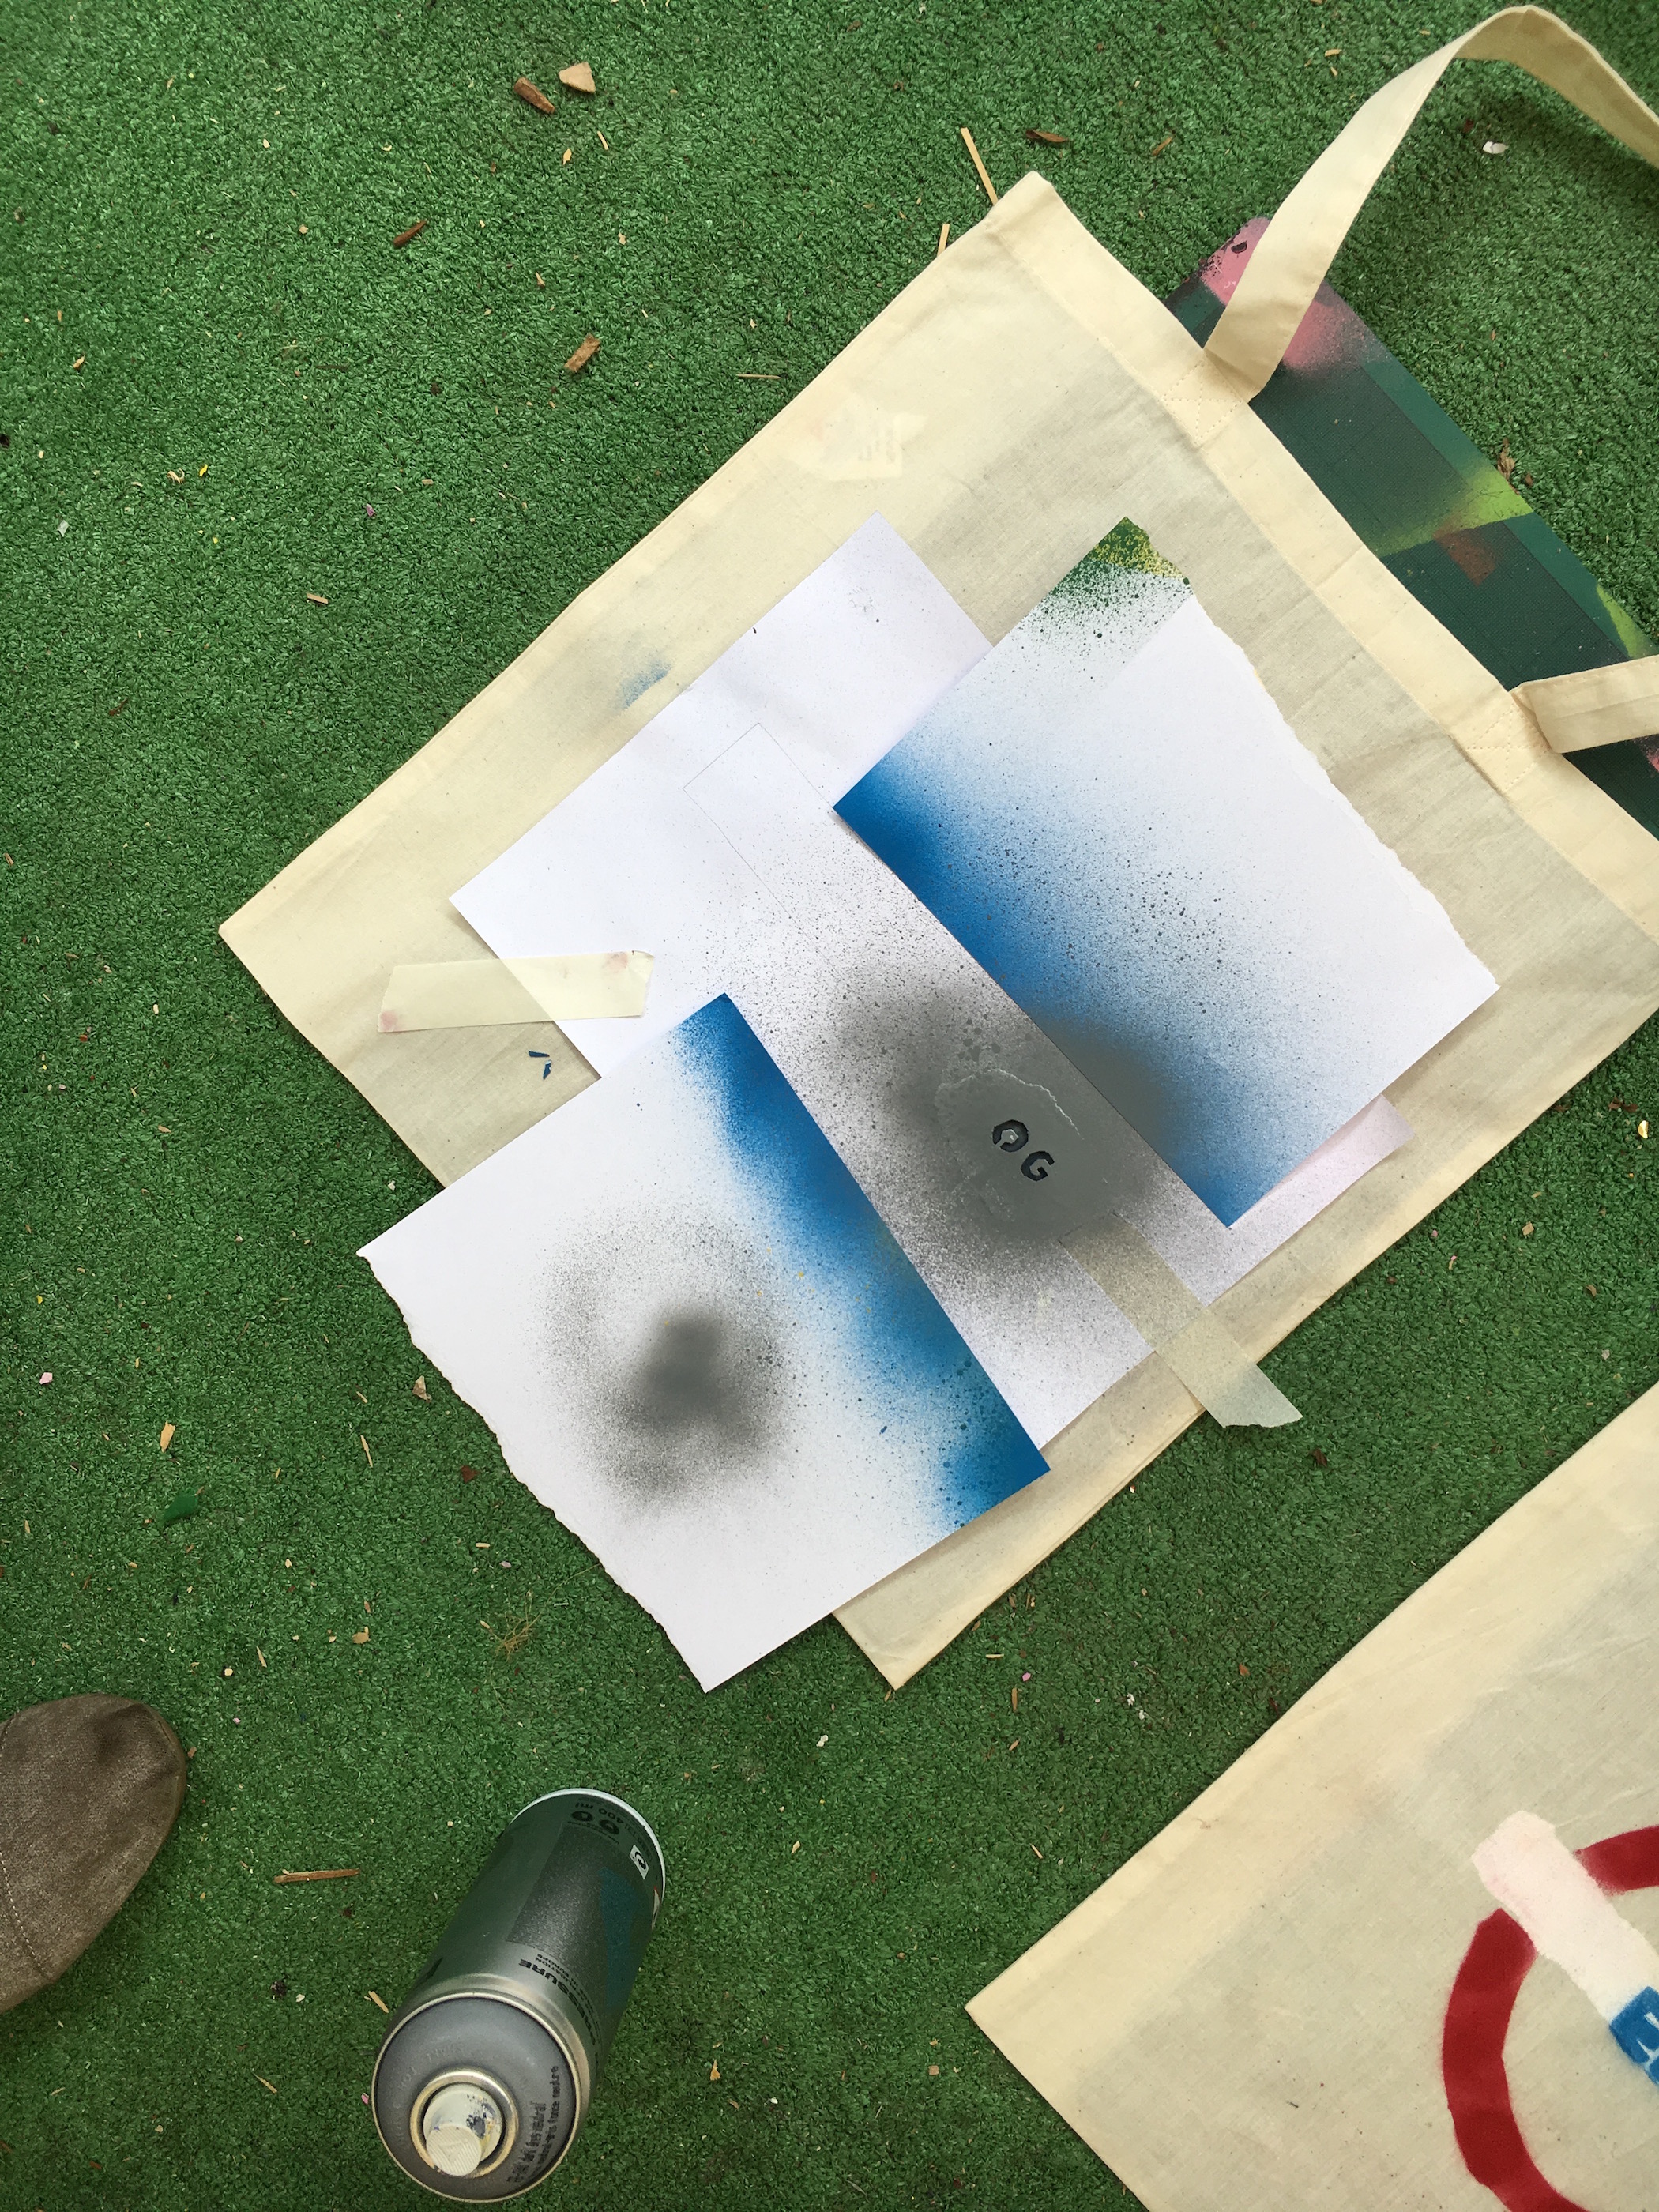
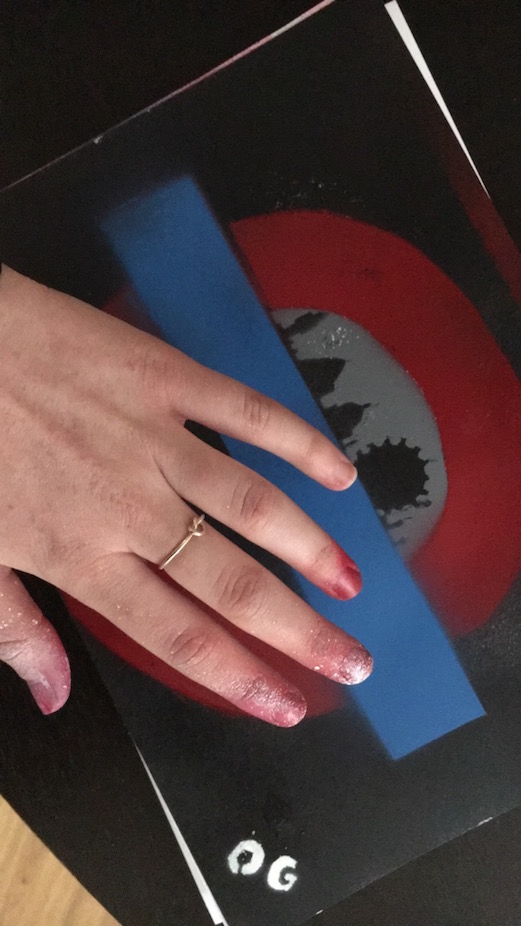
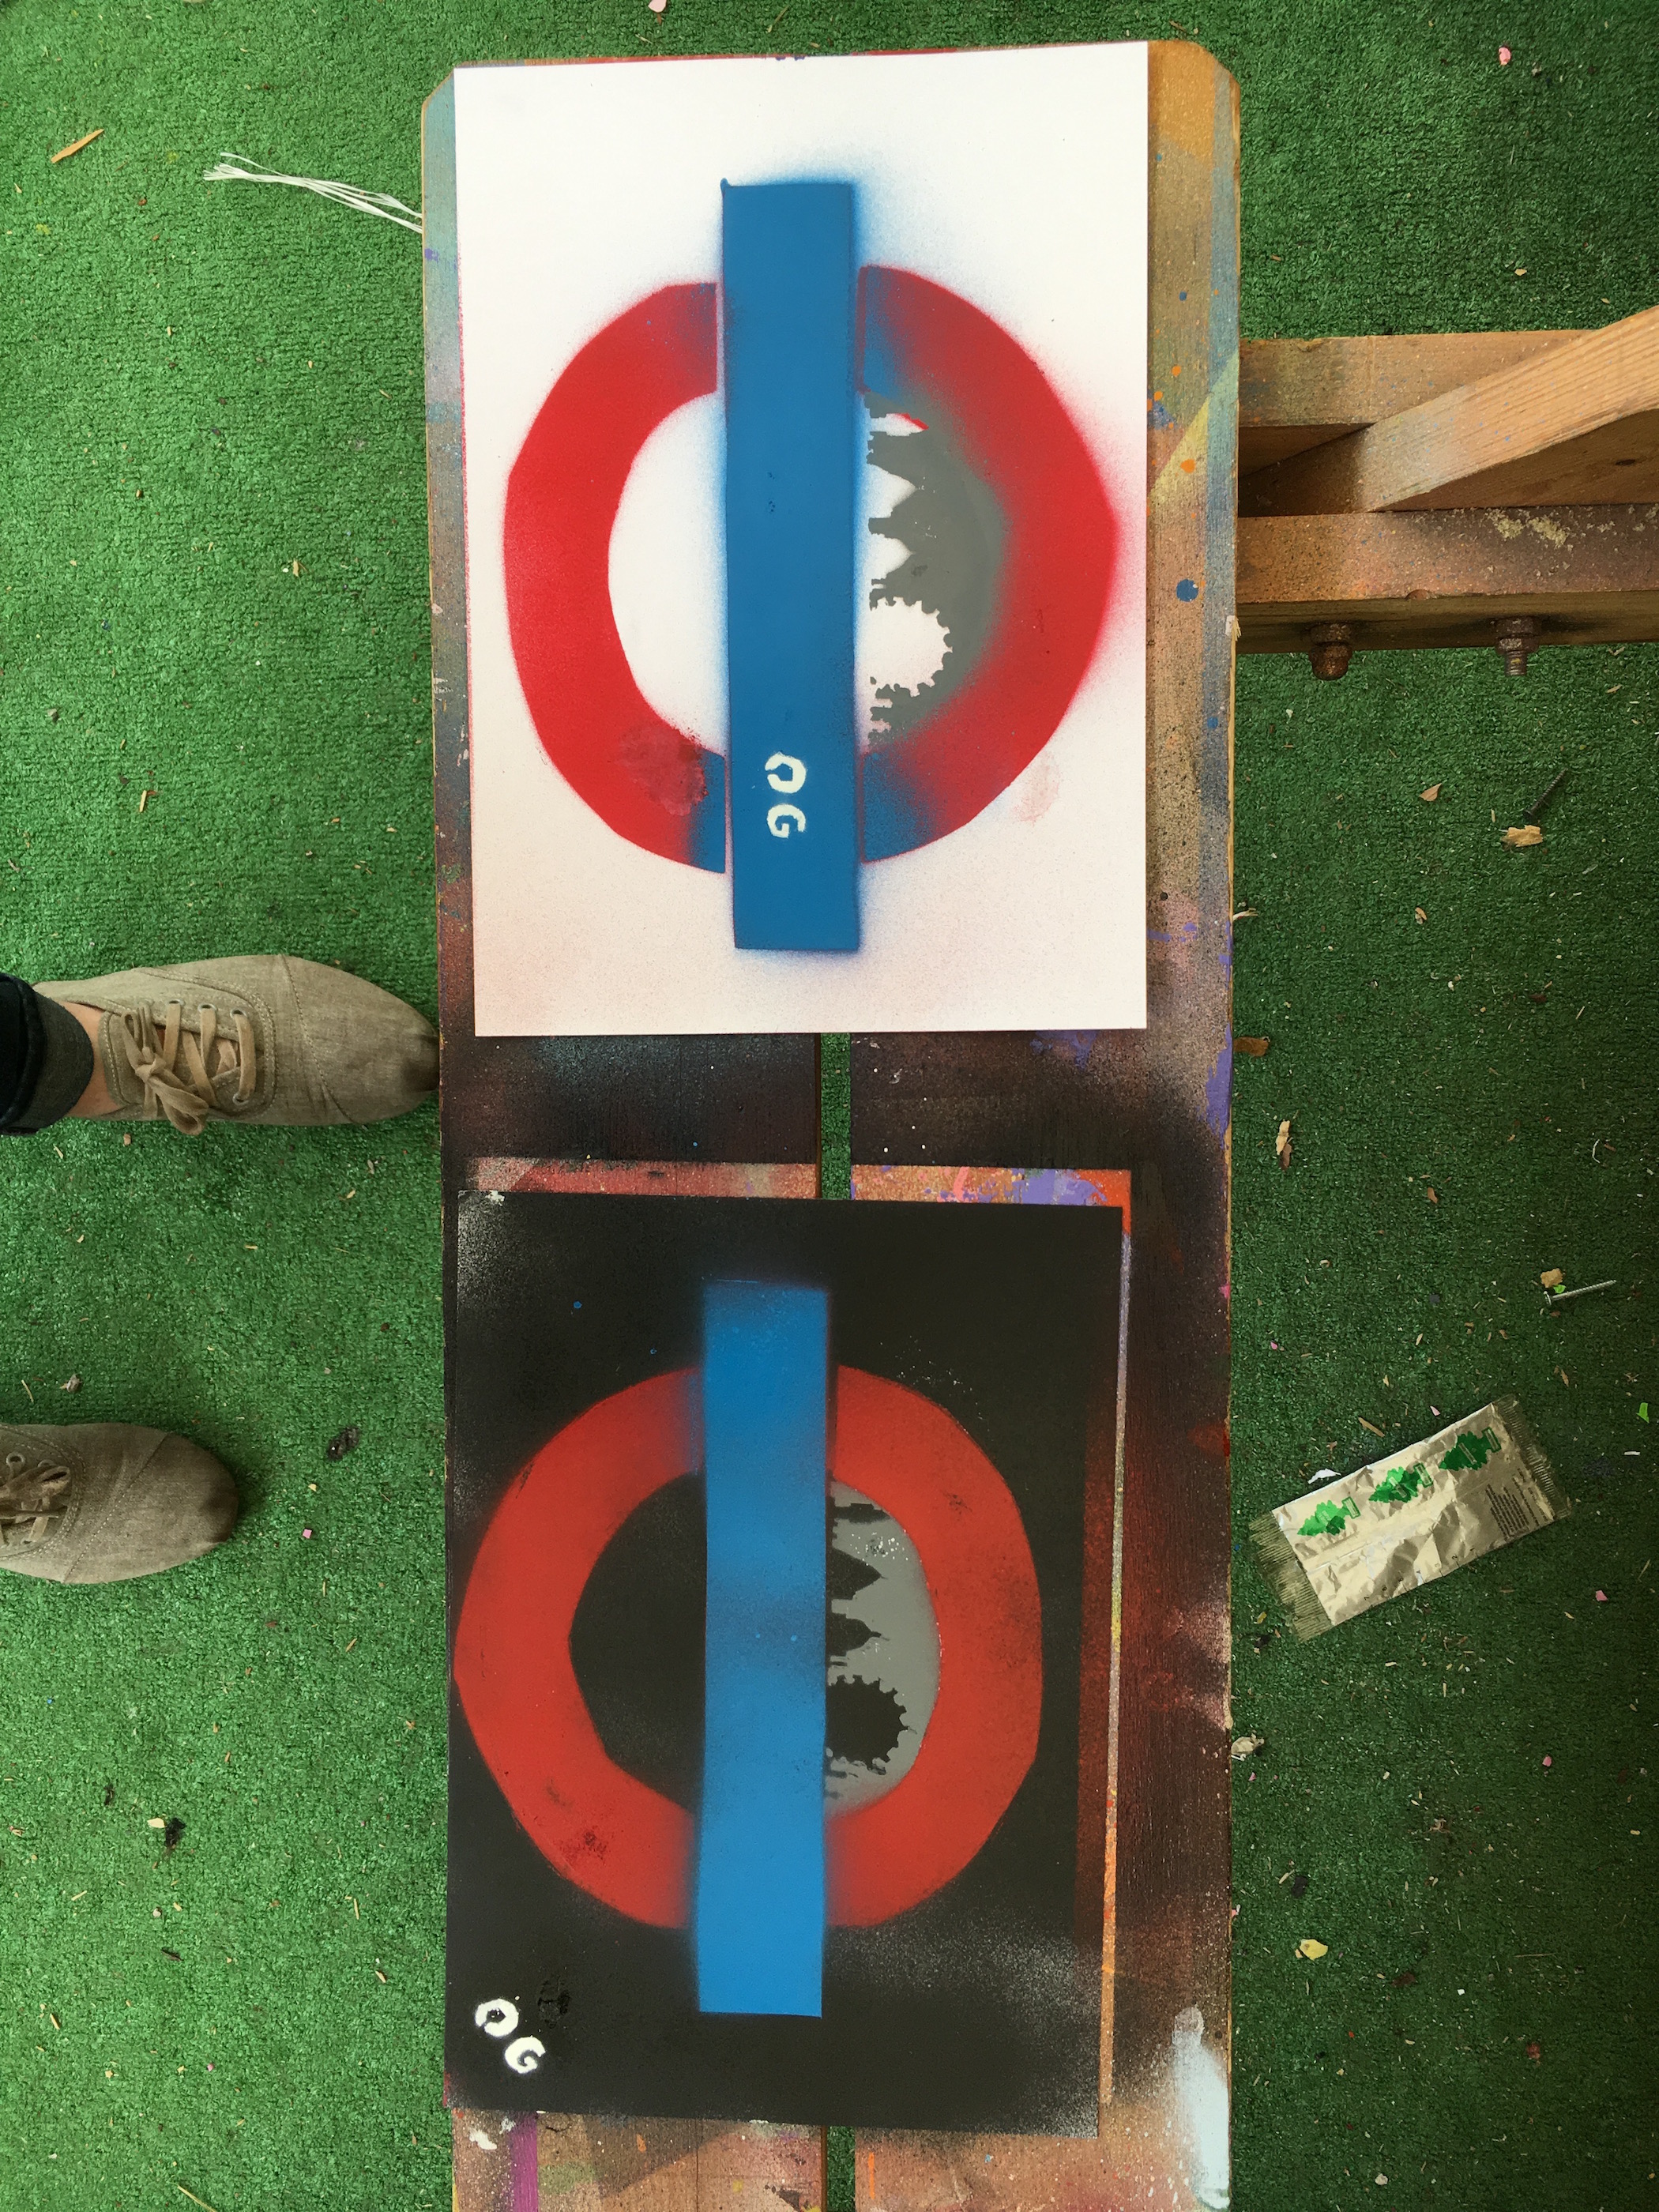
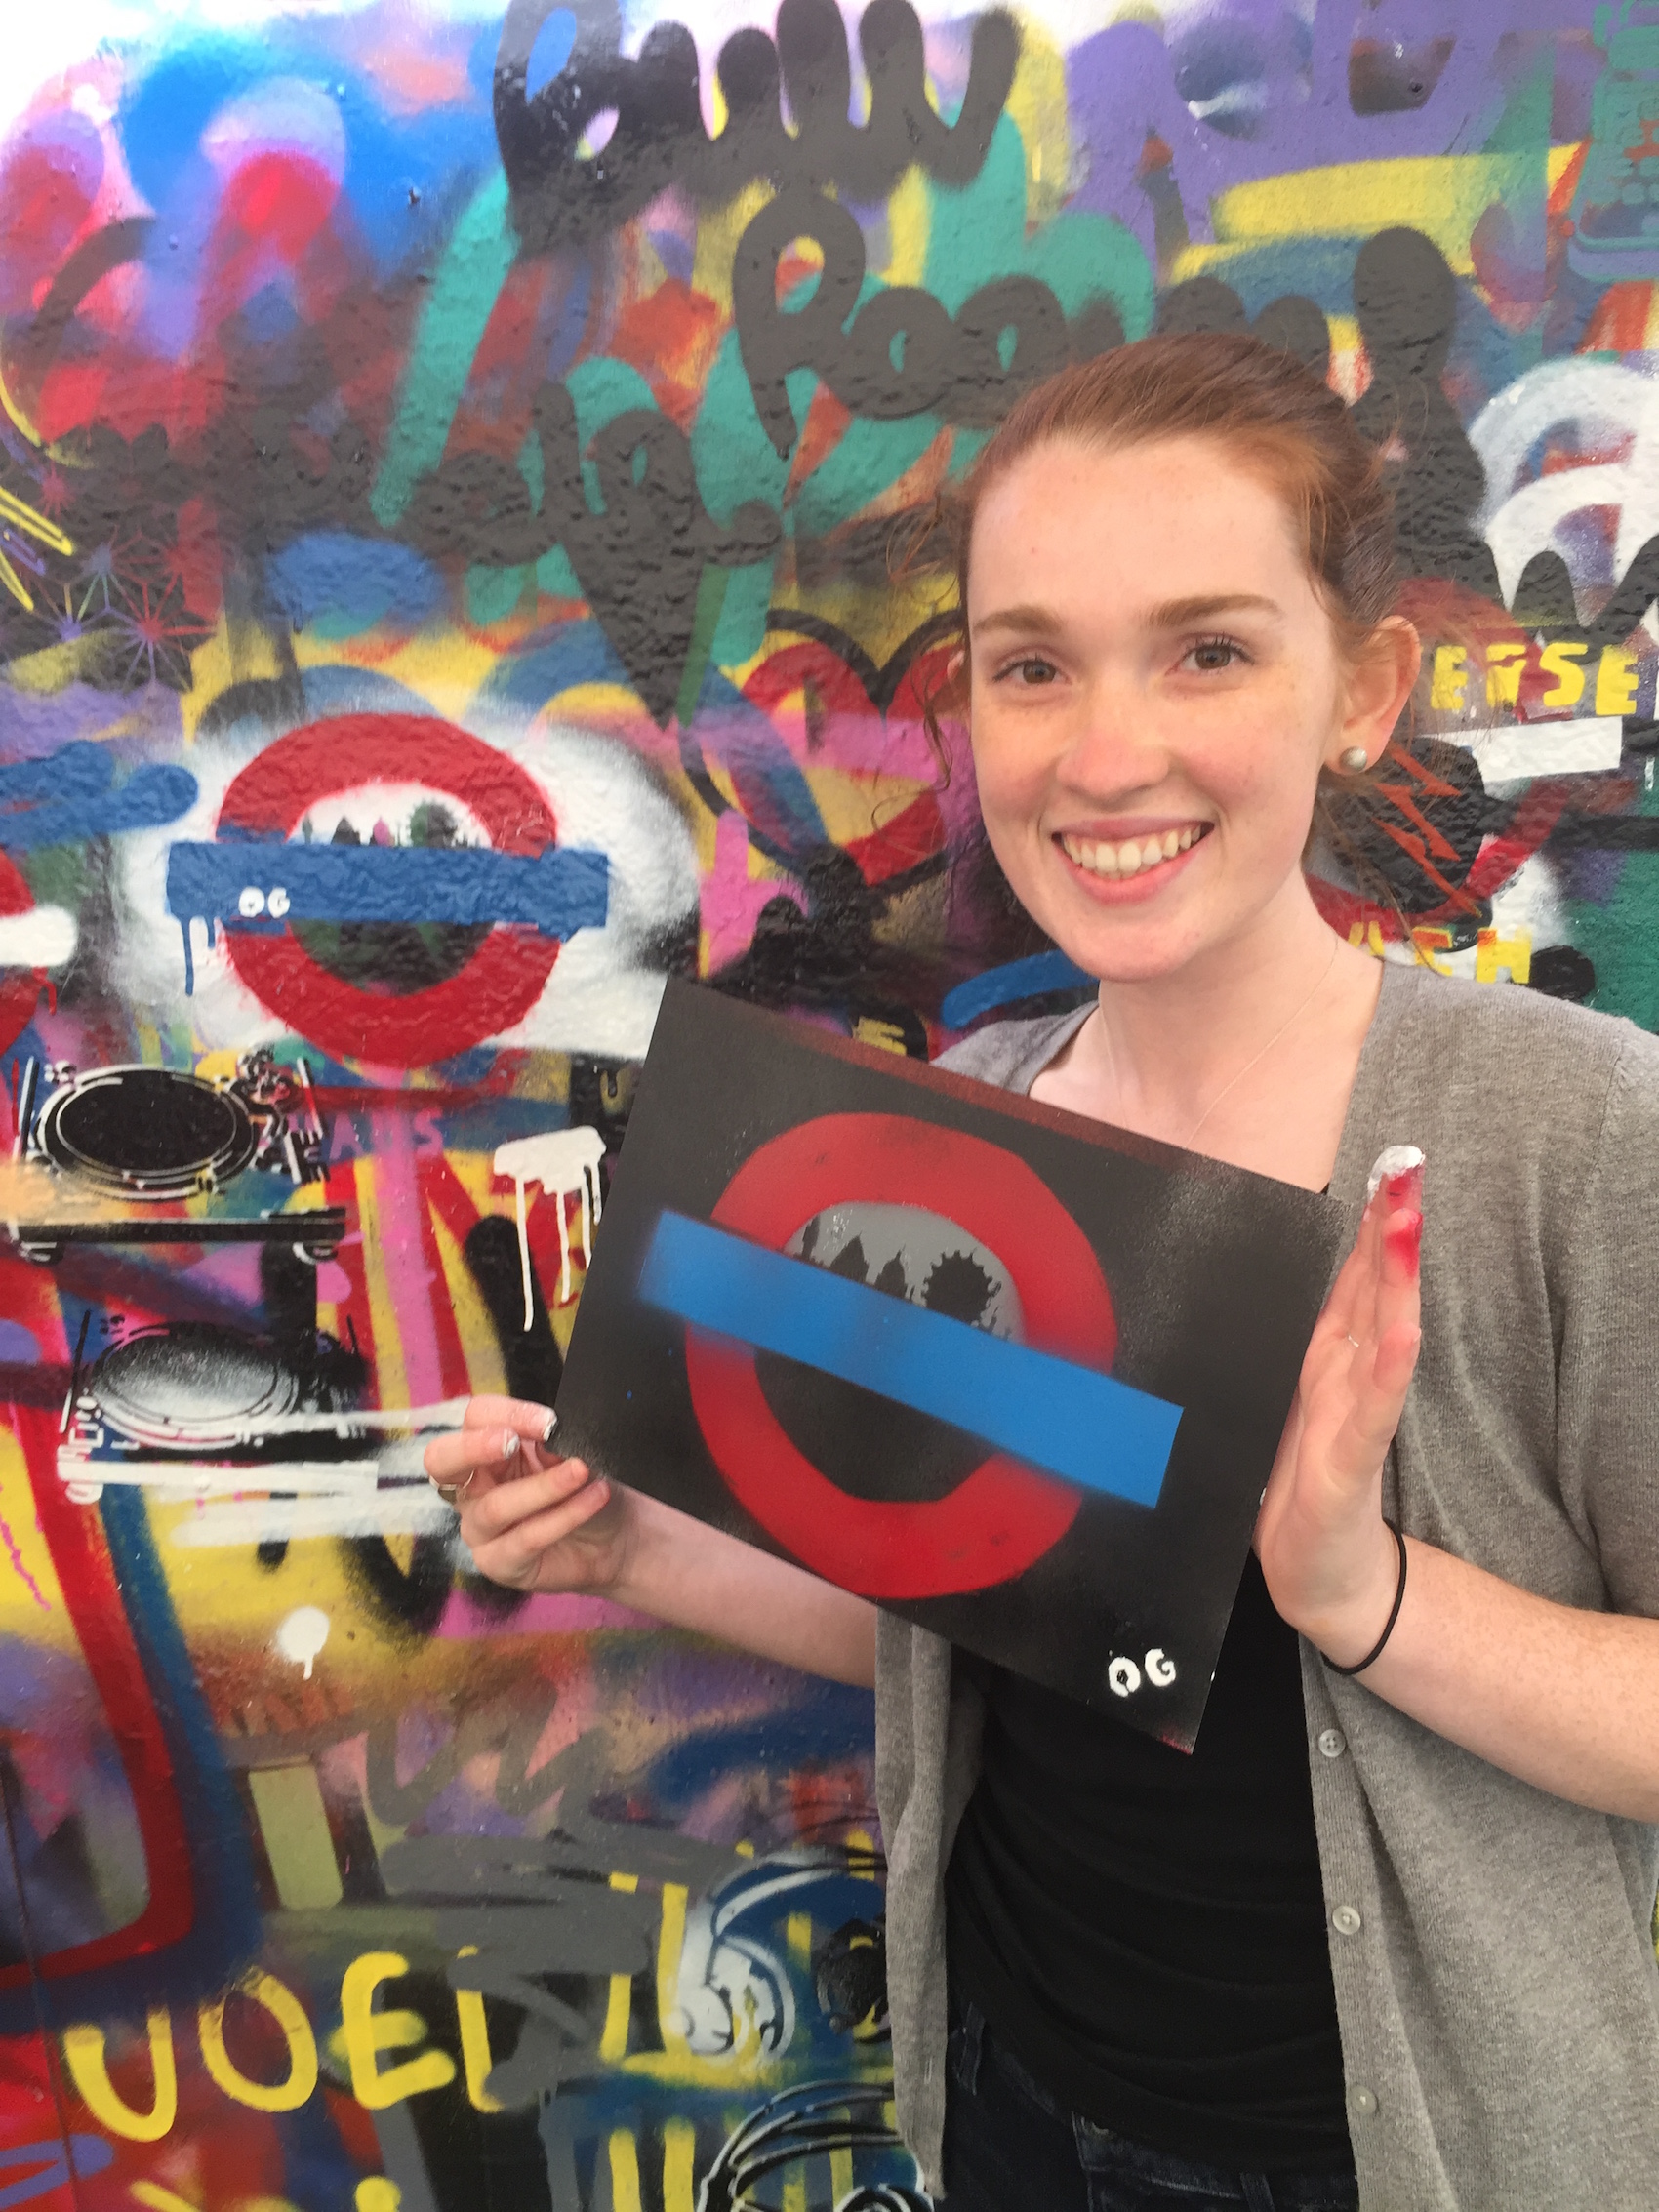
I had come into the workshop with an idea of creating something London themed as a remembrance of where I learned street art but after seeing and learning about all the different types of street art from the tours, it inspired my final design. We were taught the stencil method, which can be seen in Banksy’s street art. Stencil is a preferred method since it allows the artist to create a large piece in a short time framed so they are not caught. Within stenciling there are different techniques too, from complete to over lay. Complete stenciling is simply having one stencil that has all the details of the artwork with little arches connecting it all. Over lay is when multiple stencils are made, each one focusing on a different detail. For example, the one they showed us was a face. So the first layer was the outline of the head, then the eyes and mouth was on a second stencil you lay on top and a third layer was for line marks for texture. I choose to create an overlay since I had three sections to my piece. The first (bottom) layer is of the London skyline. This layer was challenging to cut out with the x-acto knife because of the tiny detail. The second layer was the underground symbol. And the top layer was a simple OG (my initials) to mark my art. The face example that was shown at the beginning of the workshop seemed easy, but as I sketched out in pencil first and then began to cut away at my cardboard stencil it was hard. It was difficult to train my head to think about positive and negative spaces and trying to figure out what was supposed to be cut out and what was to remain. Stenciling is all about the positive and negative space, and is opposite of what one usually works with since you are cutting away at it. And even after thinking about it I ended up doing the London skyline backwards by mistake, but was still able to make it work. After the three stencils were made, we learned the techniques for spray painting.
First and foremost, when you place the cap on the spray can never push down on it, always spin the cap on as it is a pressurized can and might explode with extra force on top. Then shake the can to hear the metal ball inside, the louder the ball the emptier the can is. To create a tag, most seen in graffiti you hold the can to face the wall and press down on the cap. The closer you are to the wall the sharper and thinner the line is painted. So when the can is further from the wall, the wider and lighter the paint is sprayed. After experimenting with my own hashtags on the wall, I started to experiment with color and my stencil.
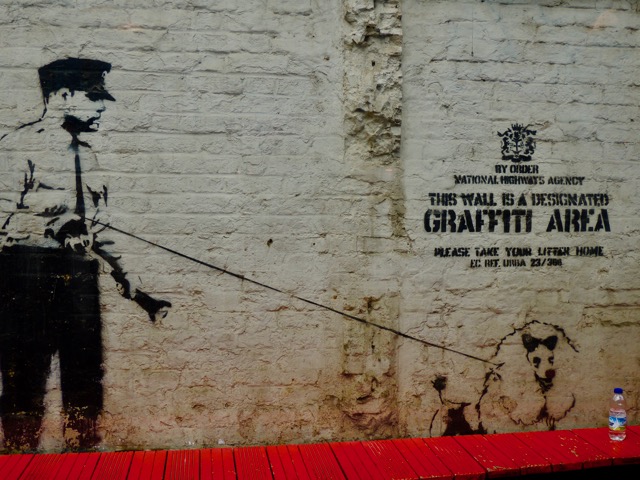
I first held up my London skyline stencil and used grey, silver or white to spray around the stencil. I added on top of that stencil (once it was dried) my London tube symbol and sprayed the outer circle with red and the middle line with blue to mimic the London tube symbol. This layer took the longest to dry at it had the most paint. After a few minutes I put on top my third stencil, my initials and sprayed with black, silver or white. The last layer is the one seen on top so my initials should be the most prominent. However, I learned the smaller the detail the harder it is to get the crisp lines. And you only need to hold down the spray paint for a few seconds at most or else the paint pools and drips. My favorite color combination I made was with the black background which allows my stencil to stand out. This is opposite to Banksy’s “Guard Dog” which we saw on the tour and is a white wall with a black stencil. Both are bold but simple.
I learned it is crucial for your stencil to be held tightly against the wall so no curves allow paint to slip through the layers, make sure each layer is completely dry before doing the next one, and to keep moving the paint so it doesn’t pool. The rougher the surface, in our case the canvas bags, the harder it is to stencil on.
Street art looks amazing, but is a lot harder than it looks. So next time I see a Banksy or any other street art, especially those that are free handed I give them way more credit. I struggled with a small twelve-inch stencil in a safe location and no time limit, never mind huge 10 foot illegal buildings in under twenty minutes.
Bansky's Guard Dog inspiration
The Studio with Materials: Cardboard, Pencil, Xacto Knife
First and Second Layer Stencils
Second Stencil Layer- Underground Symbol
All Three Stencils
First Time with the Can
Practice Tagging- 2017 Wide Numbers
First Stencil Spray Painted
Going to Spray the Second Stencil
Final Wall Street Art- Dribble means too much Paint
Working On Canvas- Final Layer
Makes a Mess so Invest in Gloves!
Final Paper Art
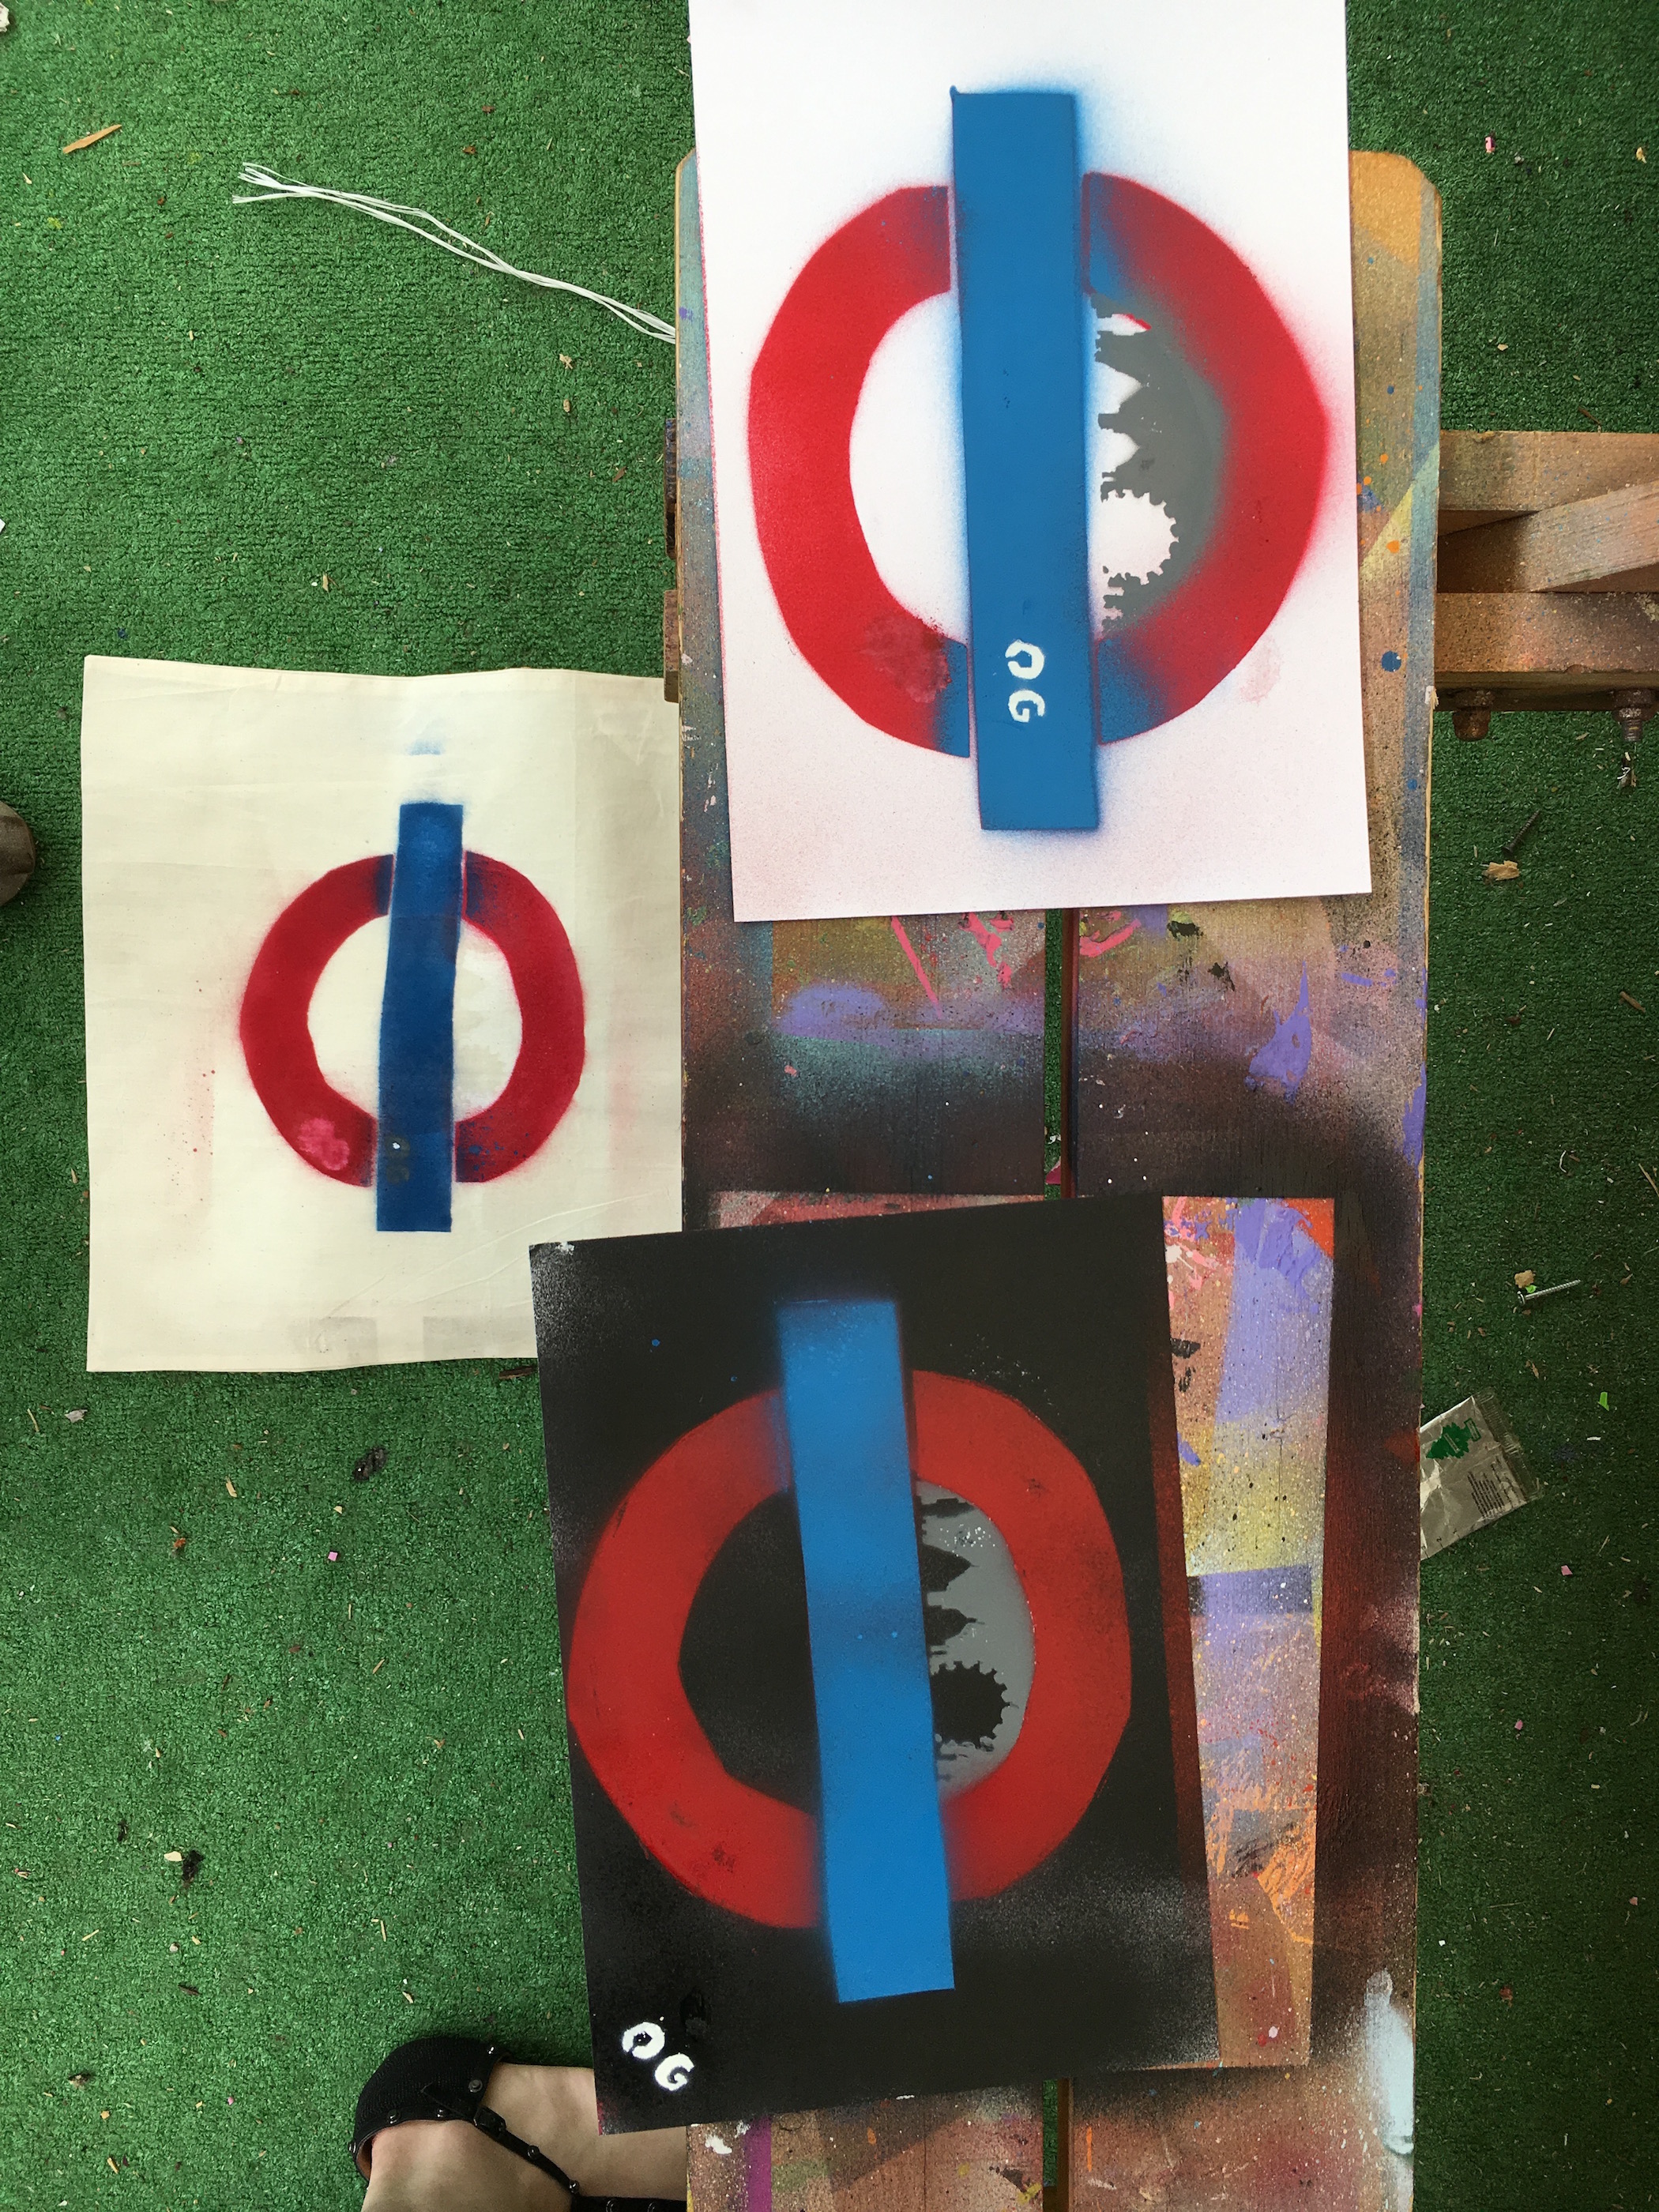
Canvas and Paper Final
Paper and Wall Final


Conclusion
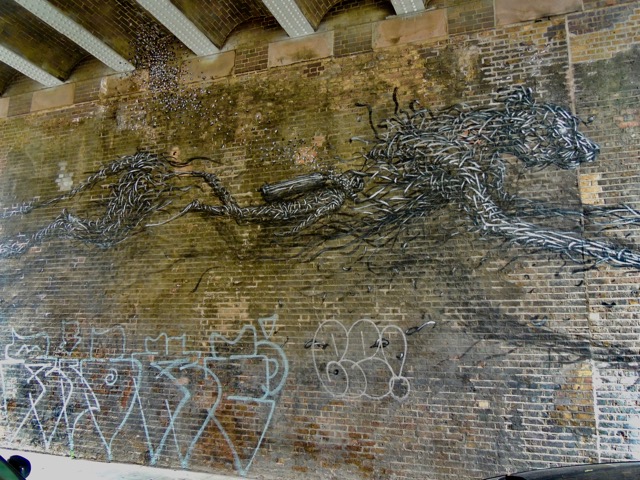
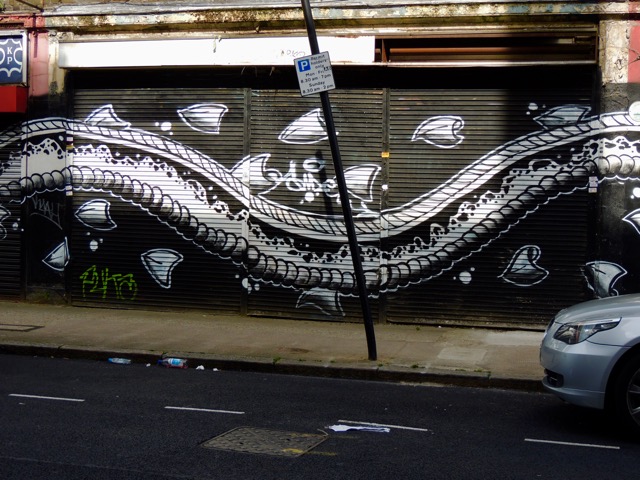
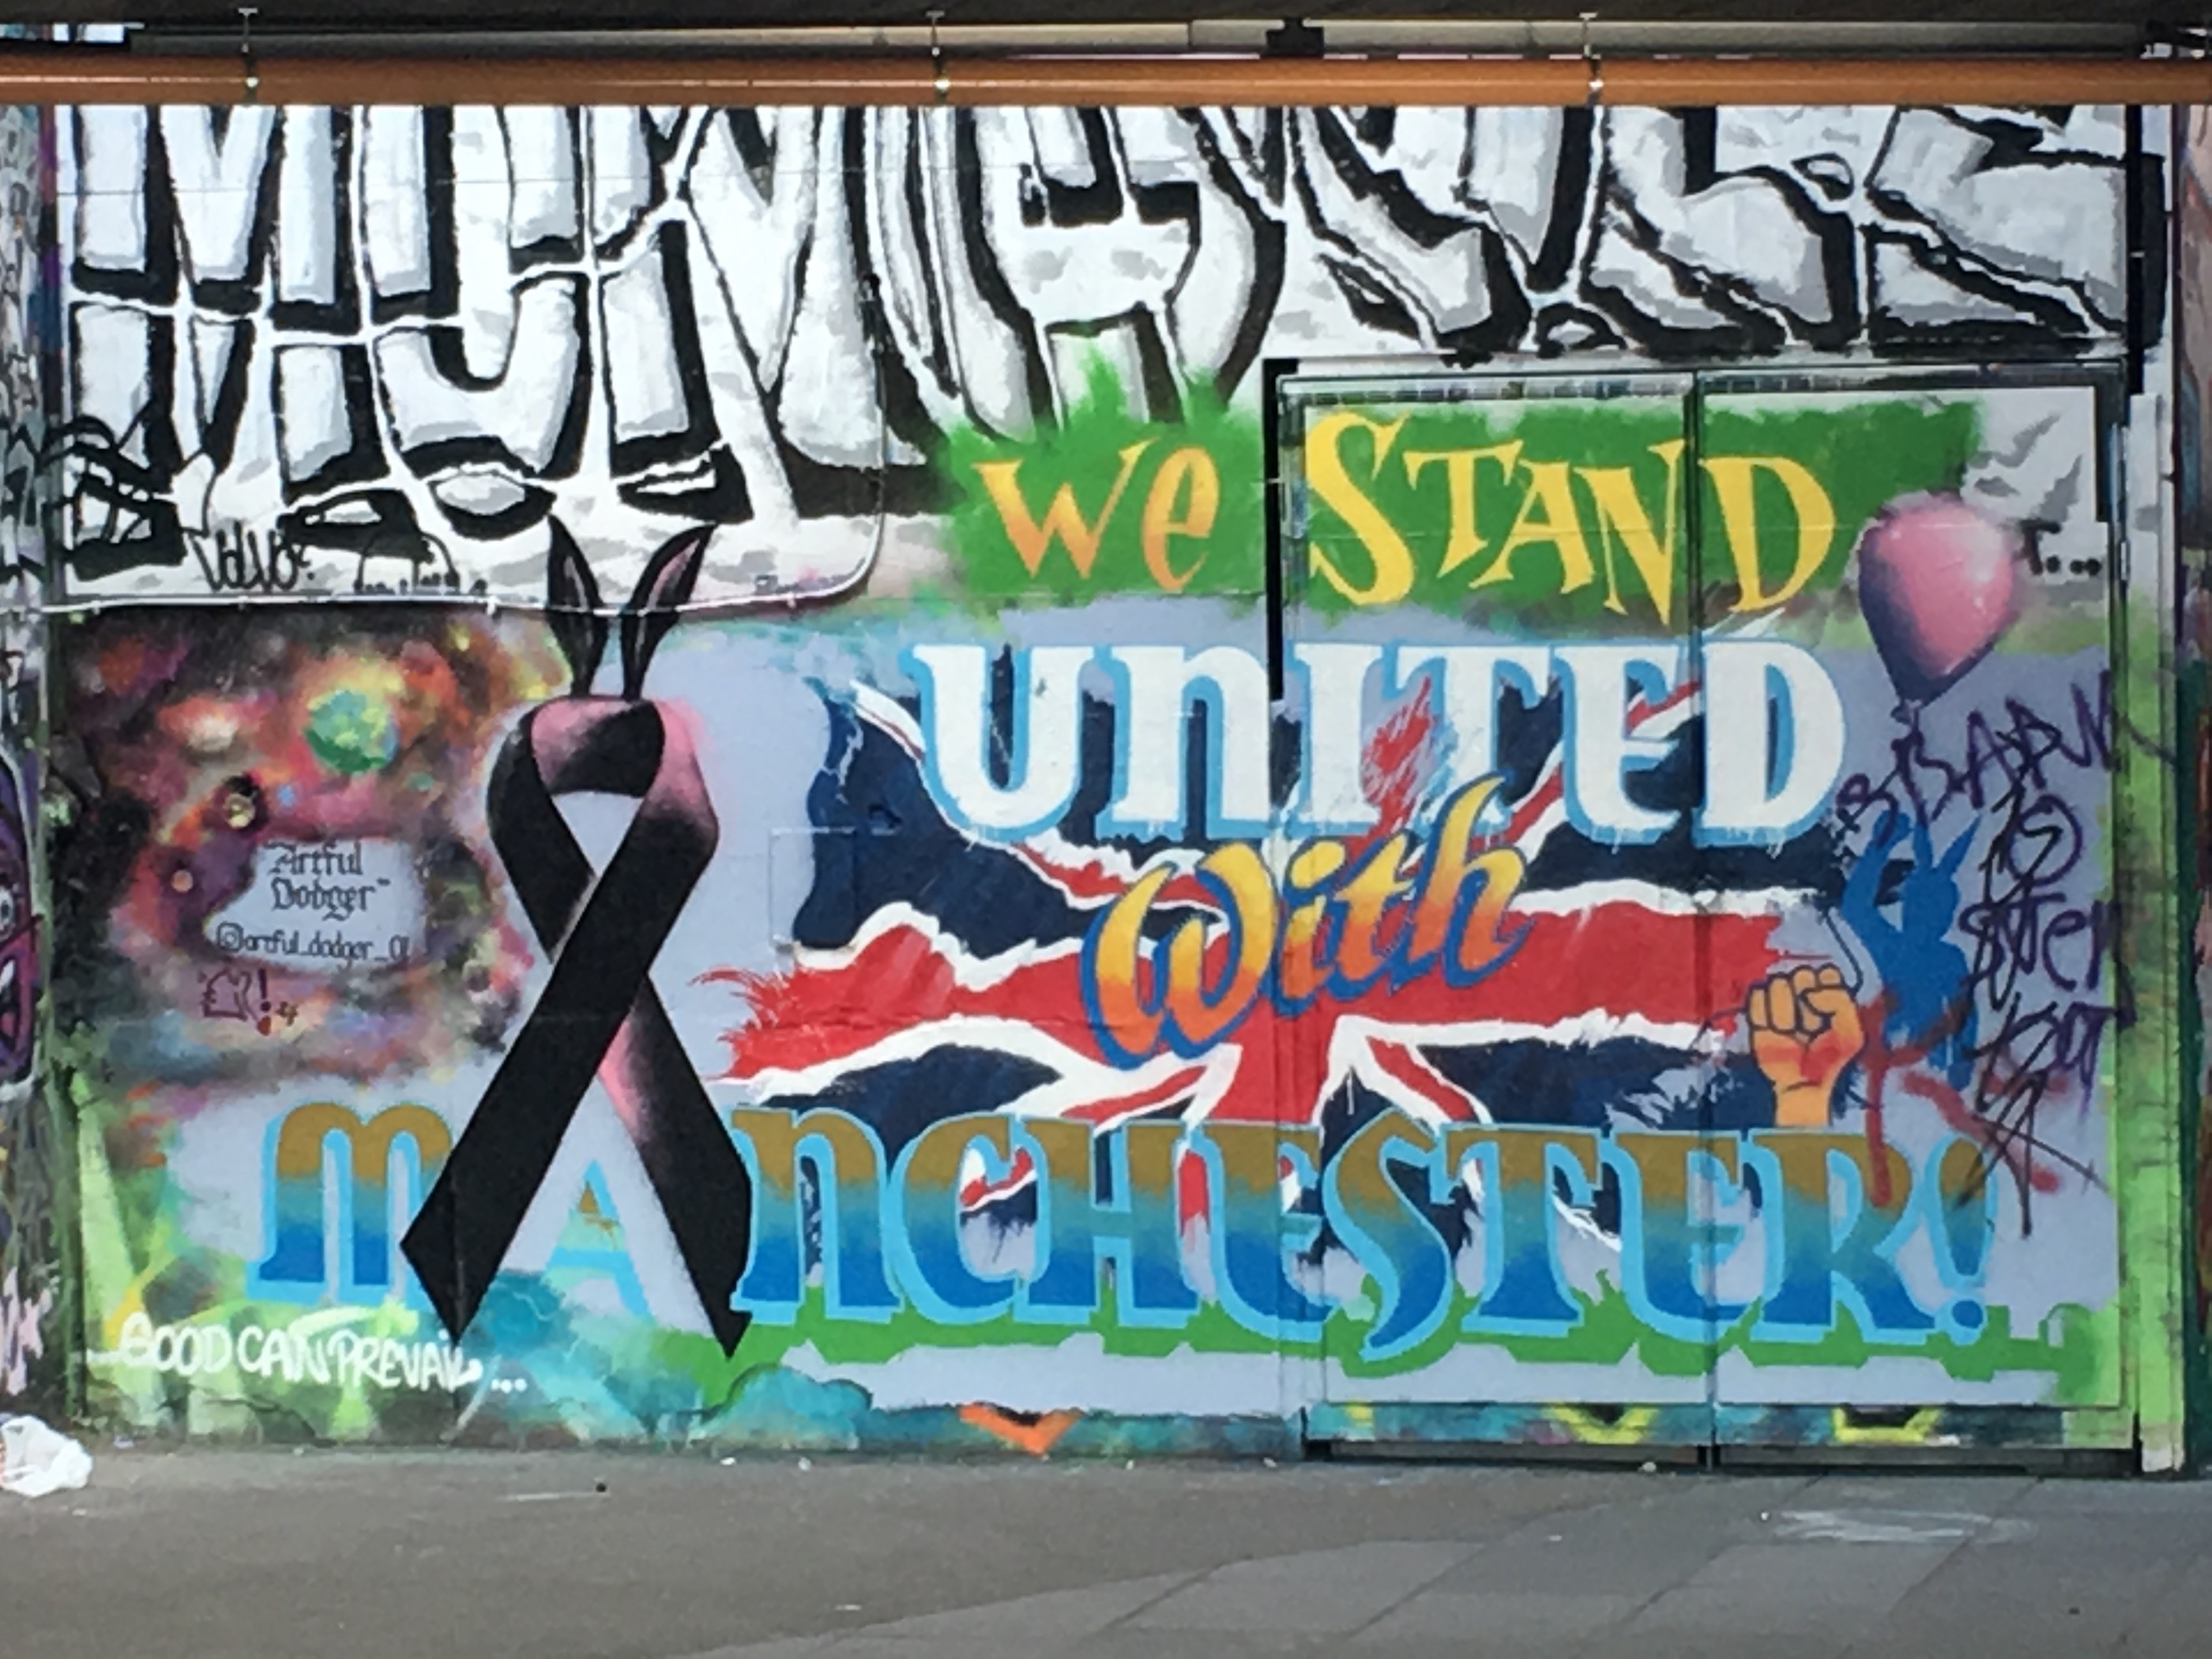
In conclusion, street art in London has come a long way from its foundation of graffiti on trains. It now seems to be on the rise as it has become a popular and more well accepted form of art.This fame of course is huge thanks to Bansky and other popular artists. We have learned how to tell what is commissioned art vs raw street art. And learned where the popular locations are throughout the city including Shoreditch and Brick Lane. From our workshop we learned how difficult one piece can be from time, spraying and finding space. We leave this project with a new appreciation for all the different art we see on the street- not just in London but where ever we go. We can now identify Invader's work in Amsterdam too. Further research could stem from this idea, and perhaps travel more to discover more street art. Also, it would be interesting for future students to go back to the locations we have been to and see if the art work we saw still remains or if new pieces are there. This idea would be really interesting on the street with the Serpent near brick lane because of gentrification, in a year who knows maybe no artists will be left in the area.
Attribution of Work
We both have contributed evenly to each and every section on this page making it impossible to split up. We both worked on the background, added pictures to the gallery, wrote about the photos, talked about our deliverables, and edited the page as well.
External Links
If appropriate, add an external links section