The History, Purpose, and Techniques of Stained Glass Windows
From Londonhua WIKI
The History, Purpose, and Techniques of Stained Glass Windows
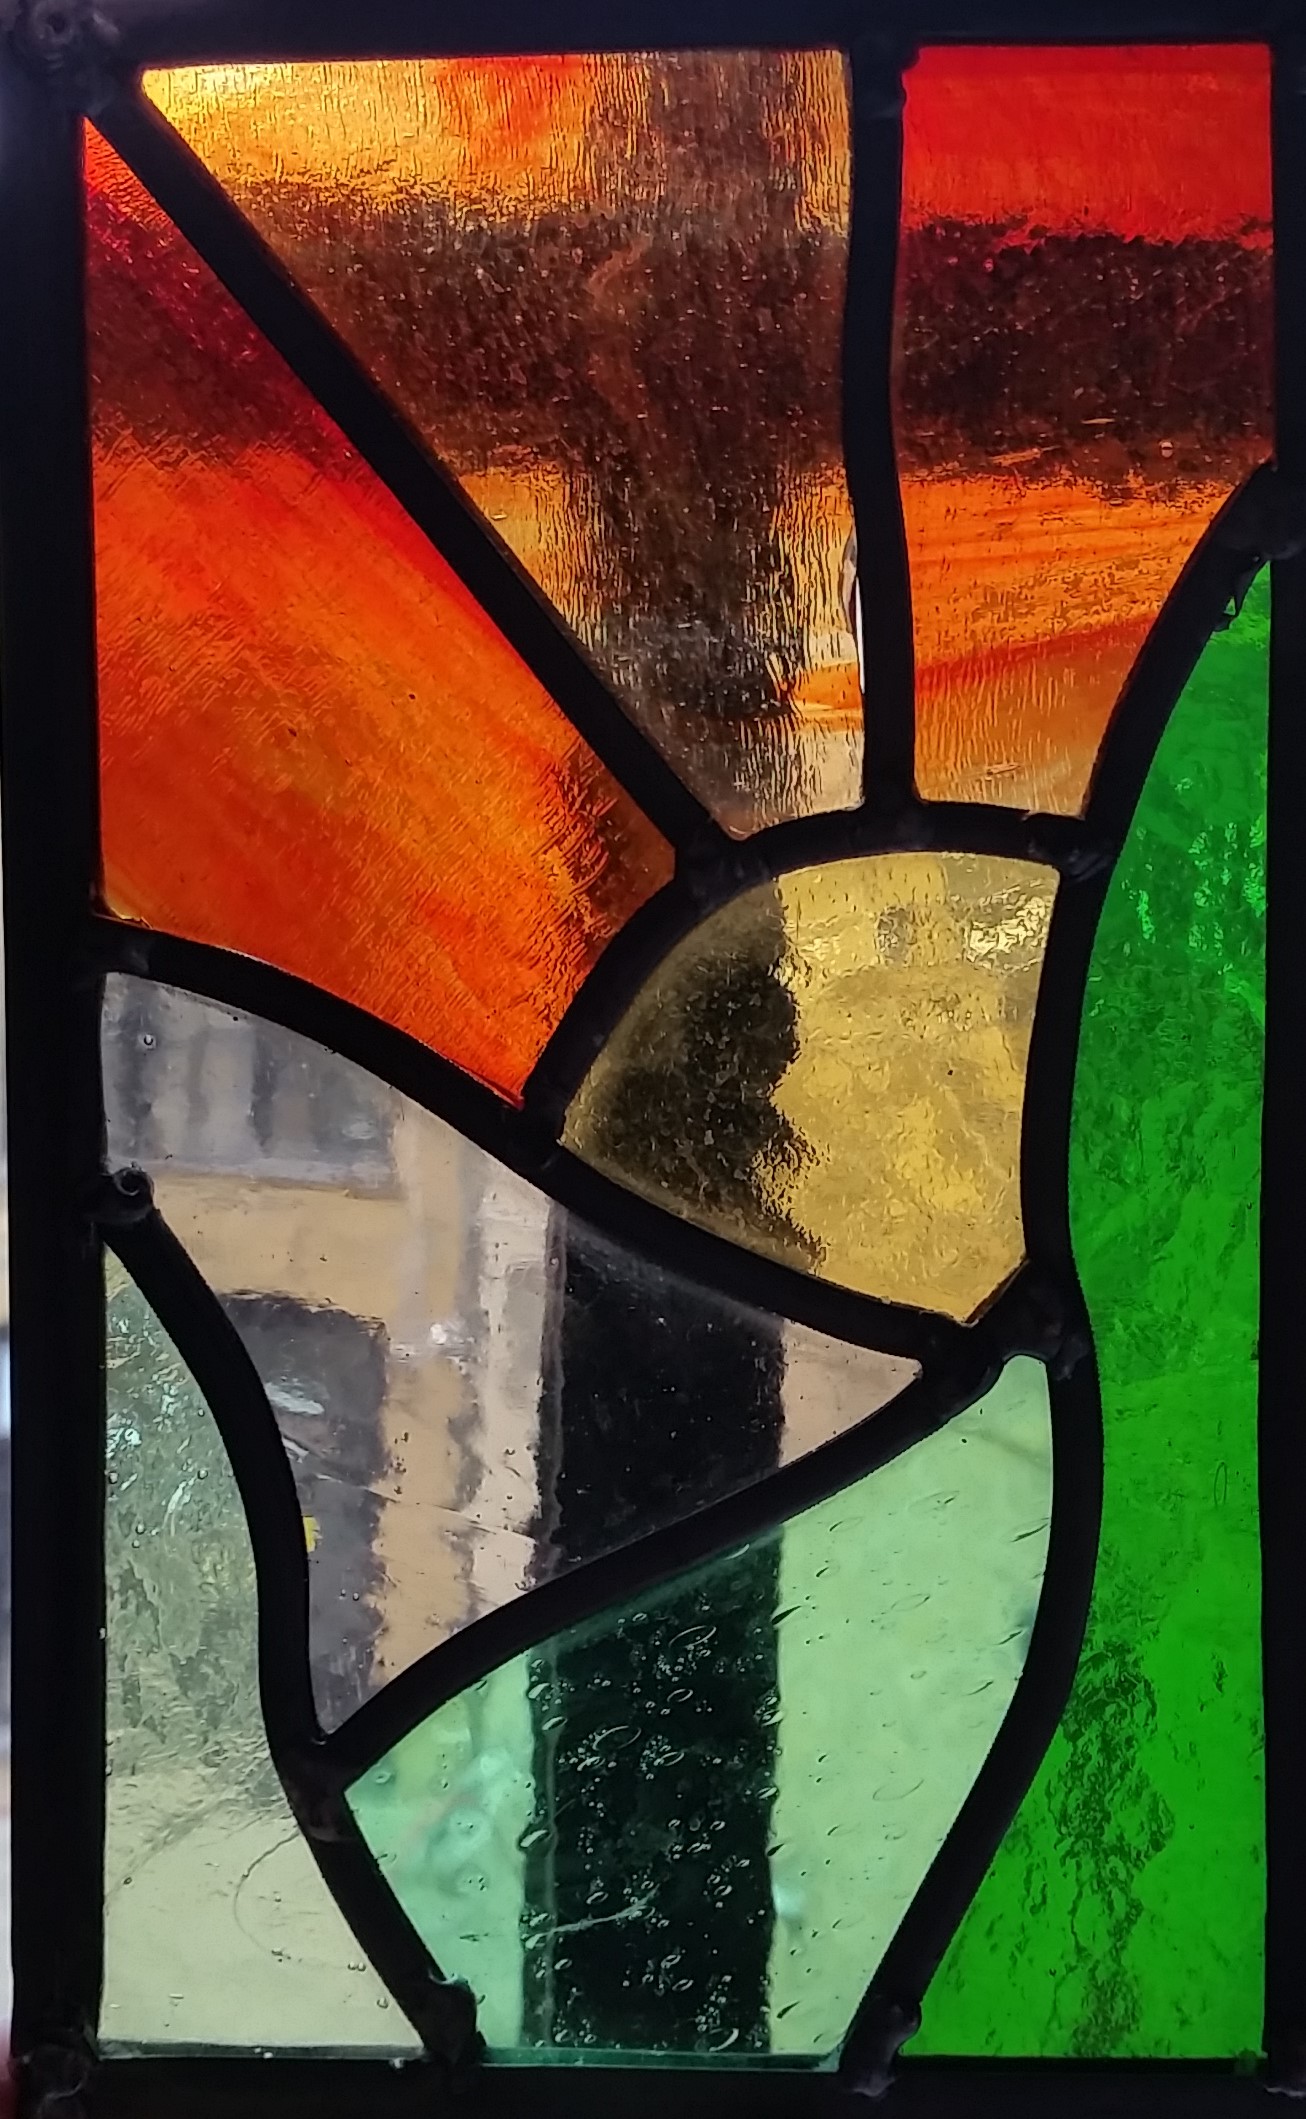 | |
| Artist: | Natalie Bloniarz |
|---|---|
| Title: | Mountain Sunset |
Contents
Abstract
The aim of this project was to develop an understanding of the history and purpose of stained glass windows and to study the techniques needed to create a window, then apply those techniques to create my own stained glass window. Using my prior humanities and arts experience in digital art from AR1101 Digital Imaging and Computing, I created the design for my stained glass window and then proceed to go Deko Studio to create the window. Creating the window for this project was a fun learning opportunity and taught me a lot about what it truly takes to design and create a successful stained glass window.
Introduction
This project covers a brief history of stained glass to provide some historical context for the art form, and then explores the techniques that can be used to create a window. The specific technique used to create the window for the deliverable portion of this milestone was leading. This is similar to the classes AR 162X and AR 262X Glass I and II respectively at WPI, which focus on glass blowing and techniques such as cutting and grinding glass. The main difference between the class I took at Deko Studio and the classes offered at WPI is that WPI focuses more on the creation of the glass and objects directly as a result of glass blowing rather than creating something from pieces of glass like stained glass. The window for the deliverable section of this project was created as part of a beginners workshop exploring the techniques needed to design stained glass, cutting and grinding glass, and soldering the panel together.. This project was unlike anything I have ever done and was a great chance to experience a new art form.
Section 1: Background
A Brief History
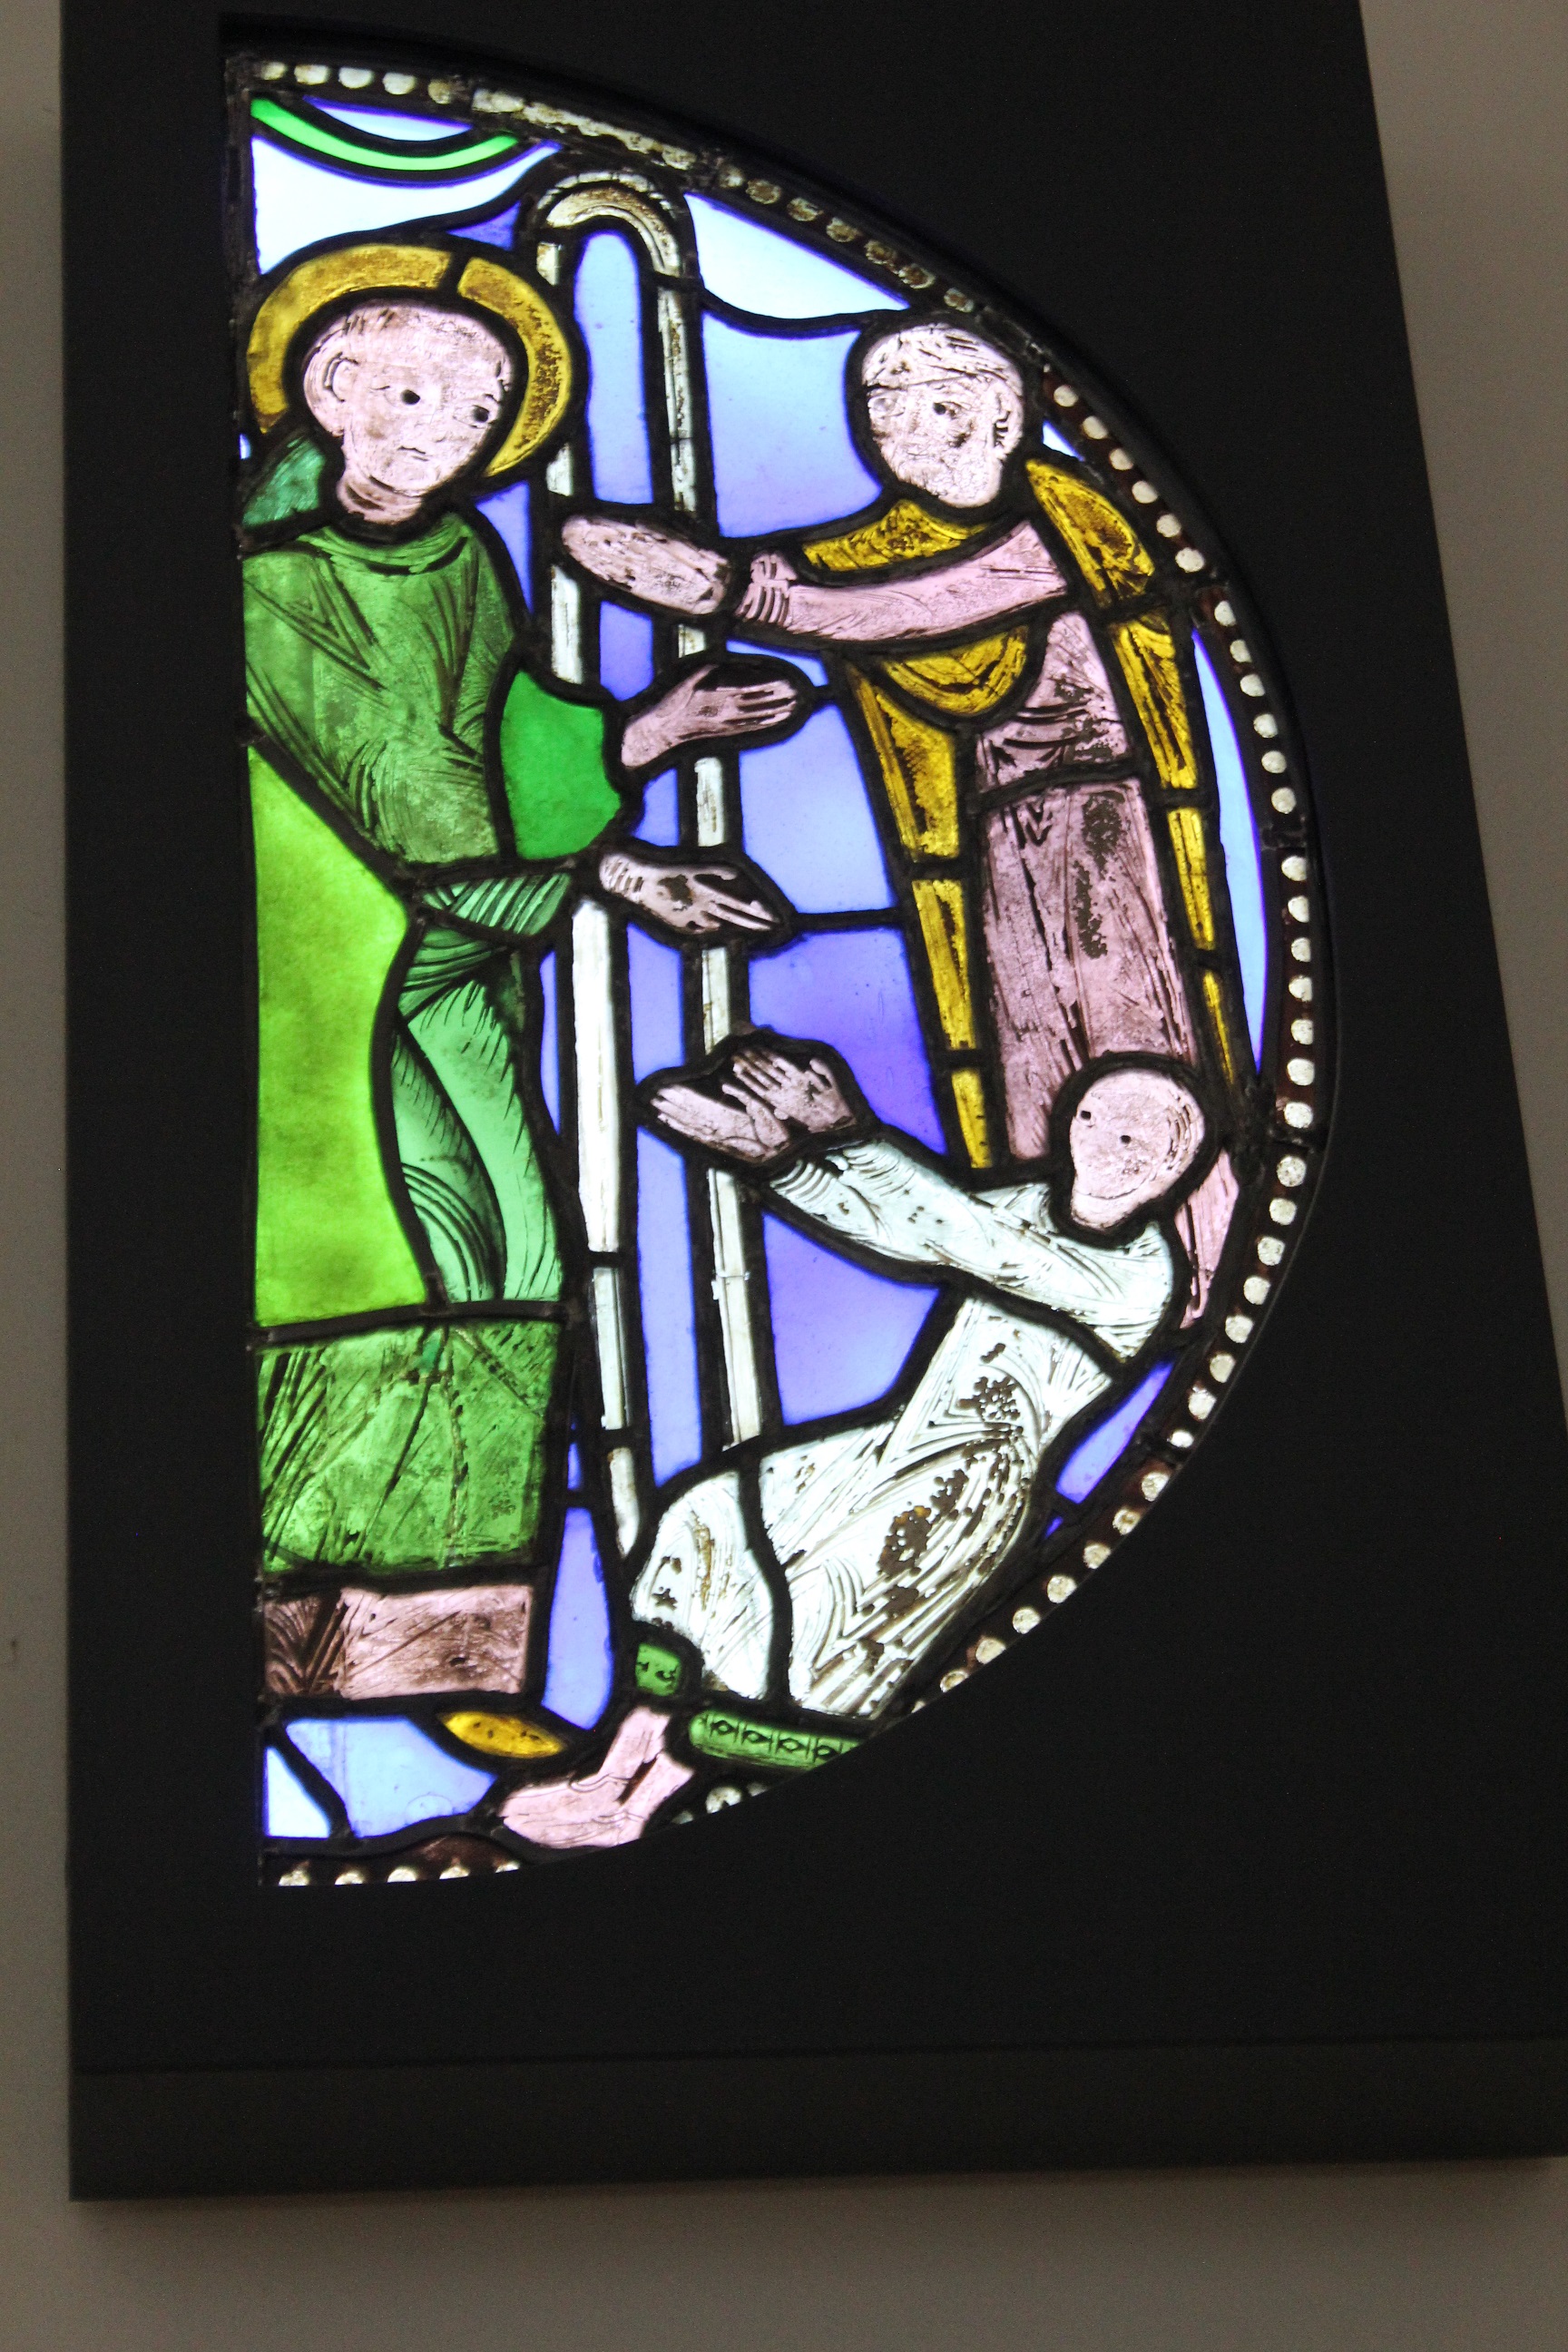
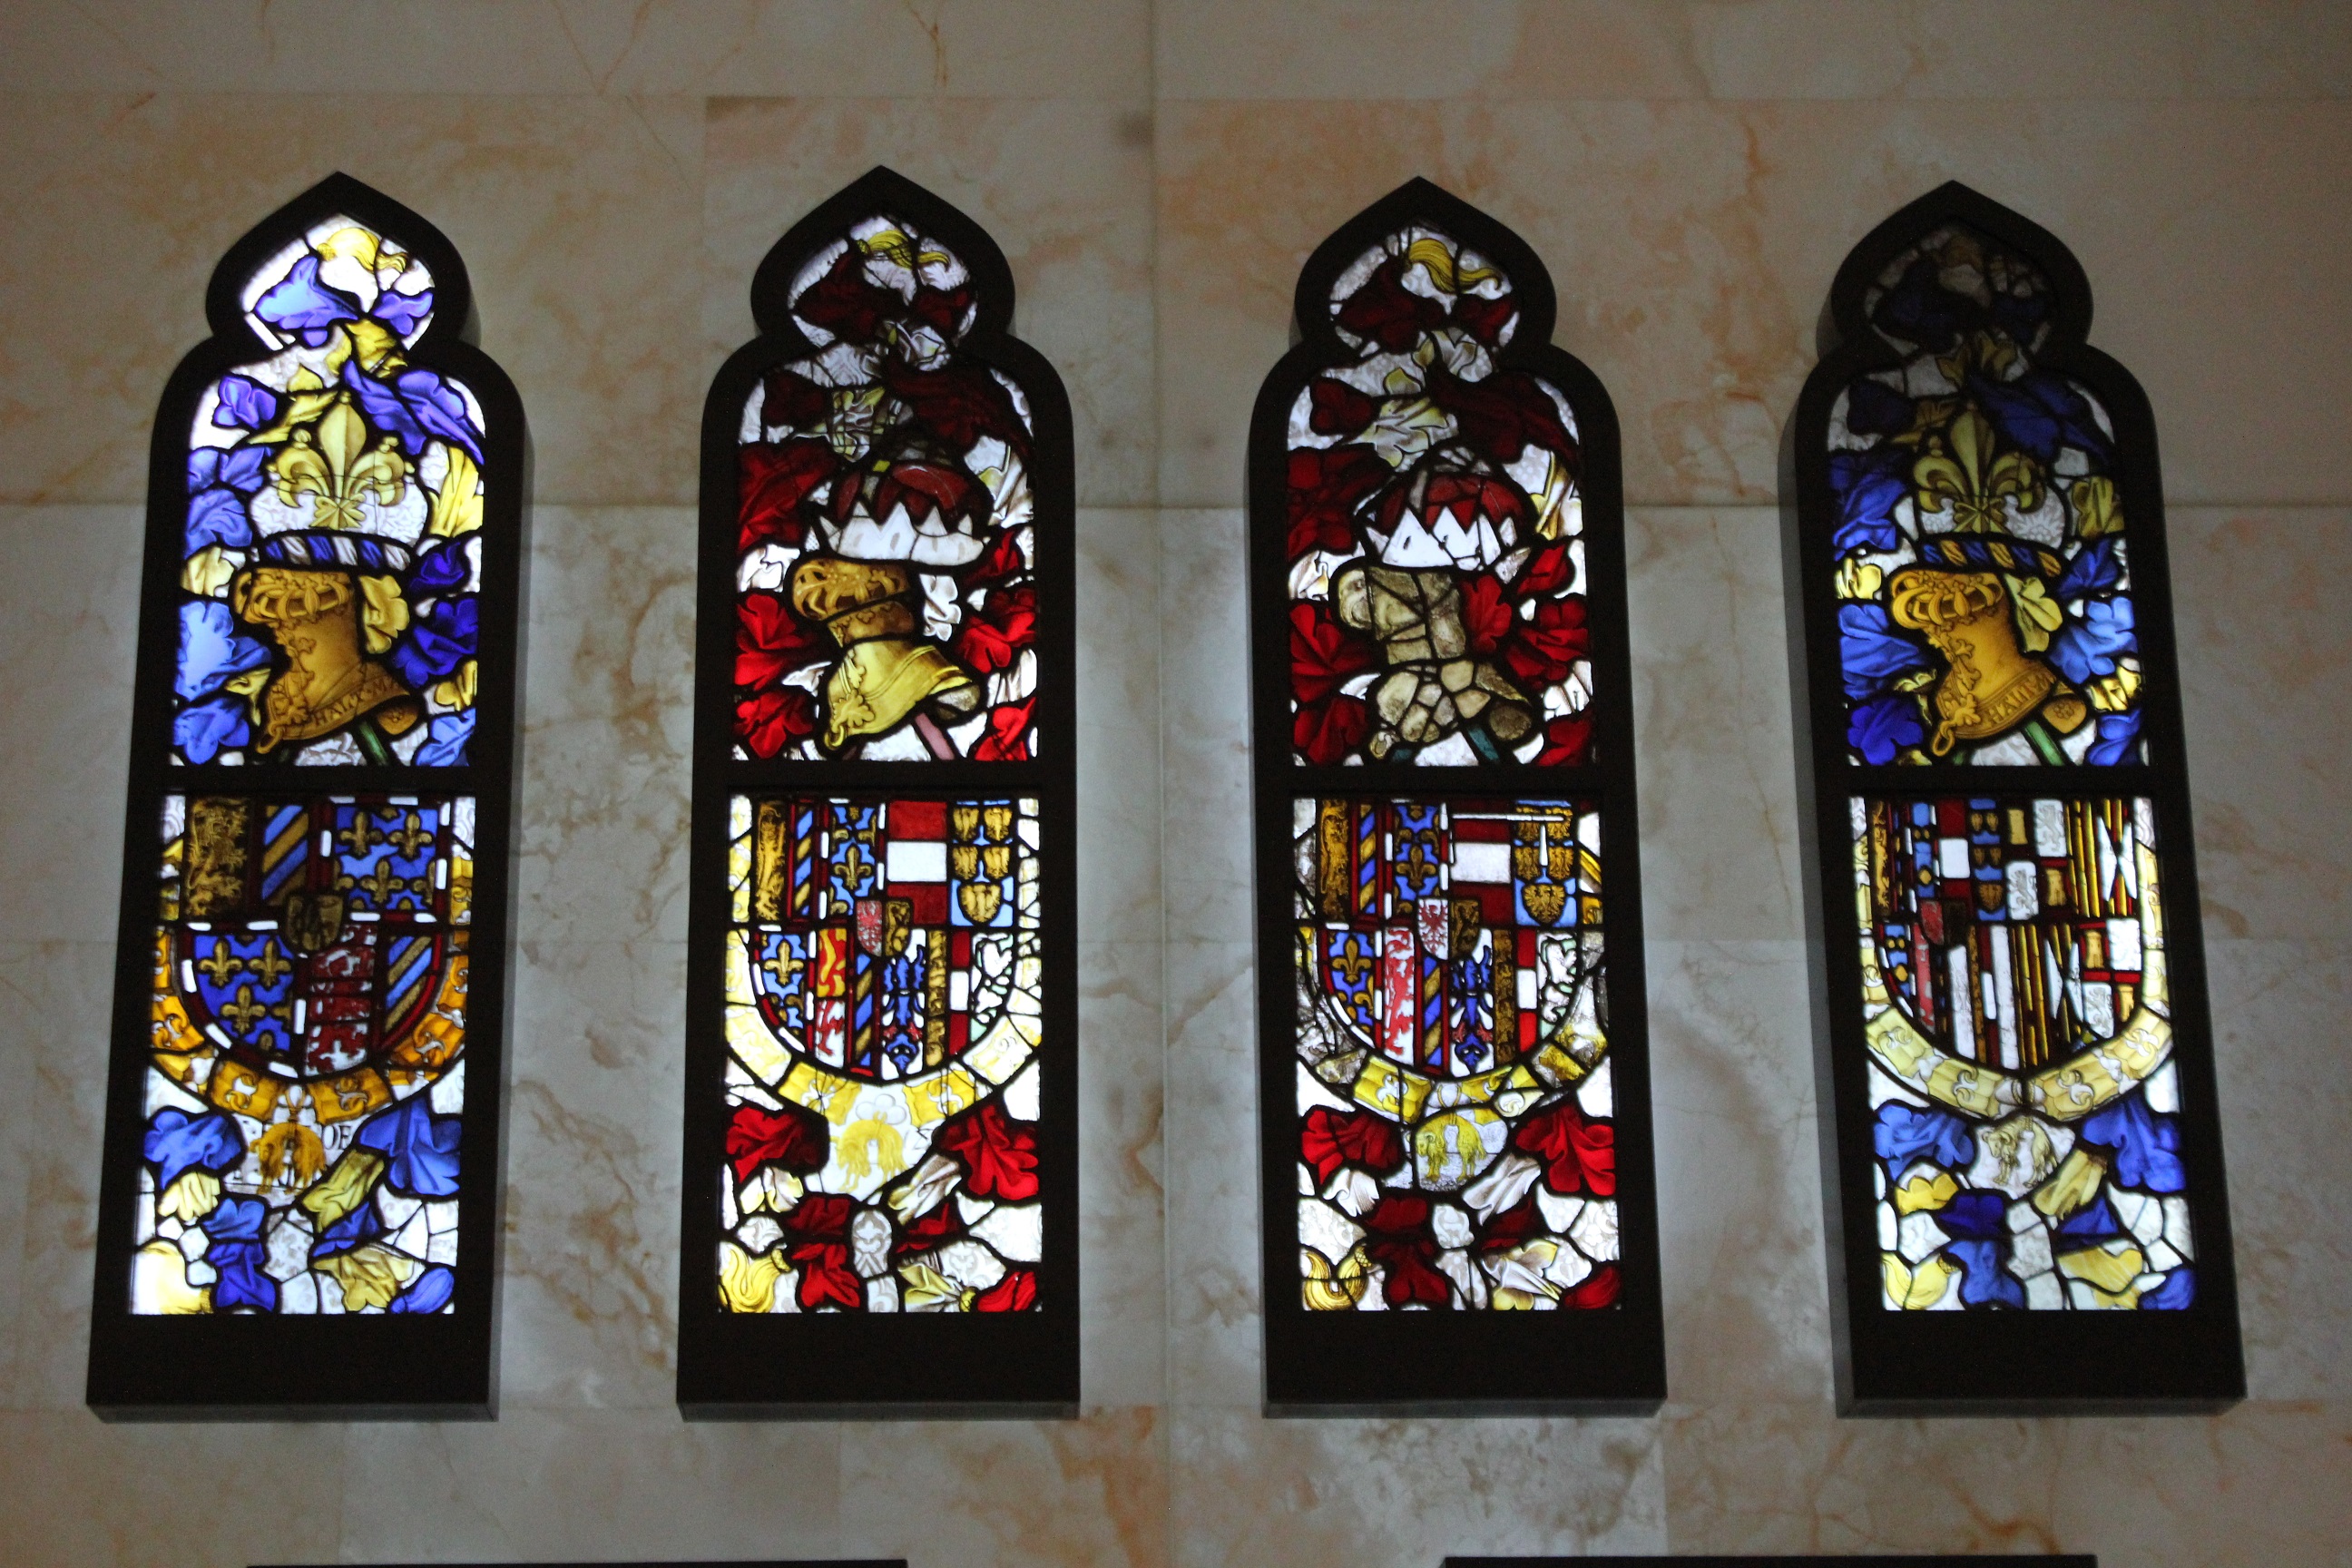
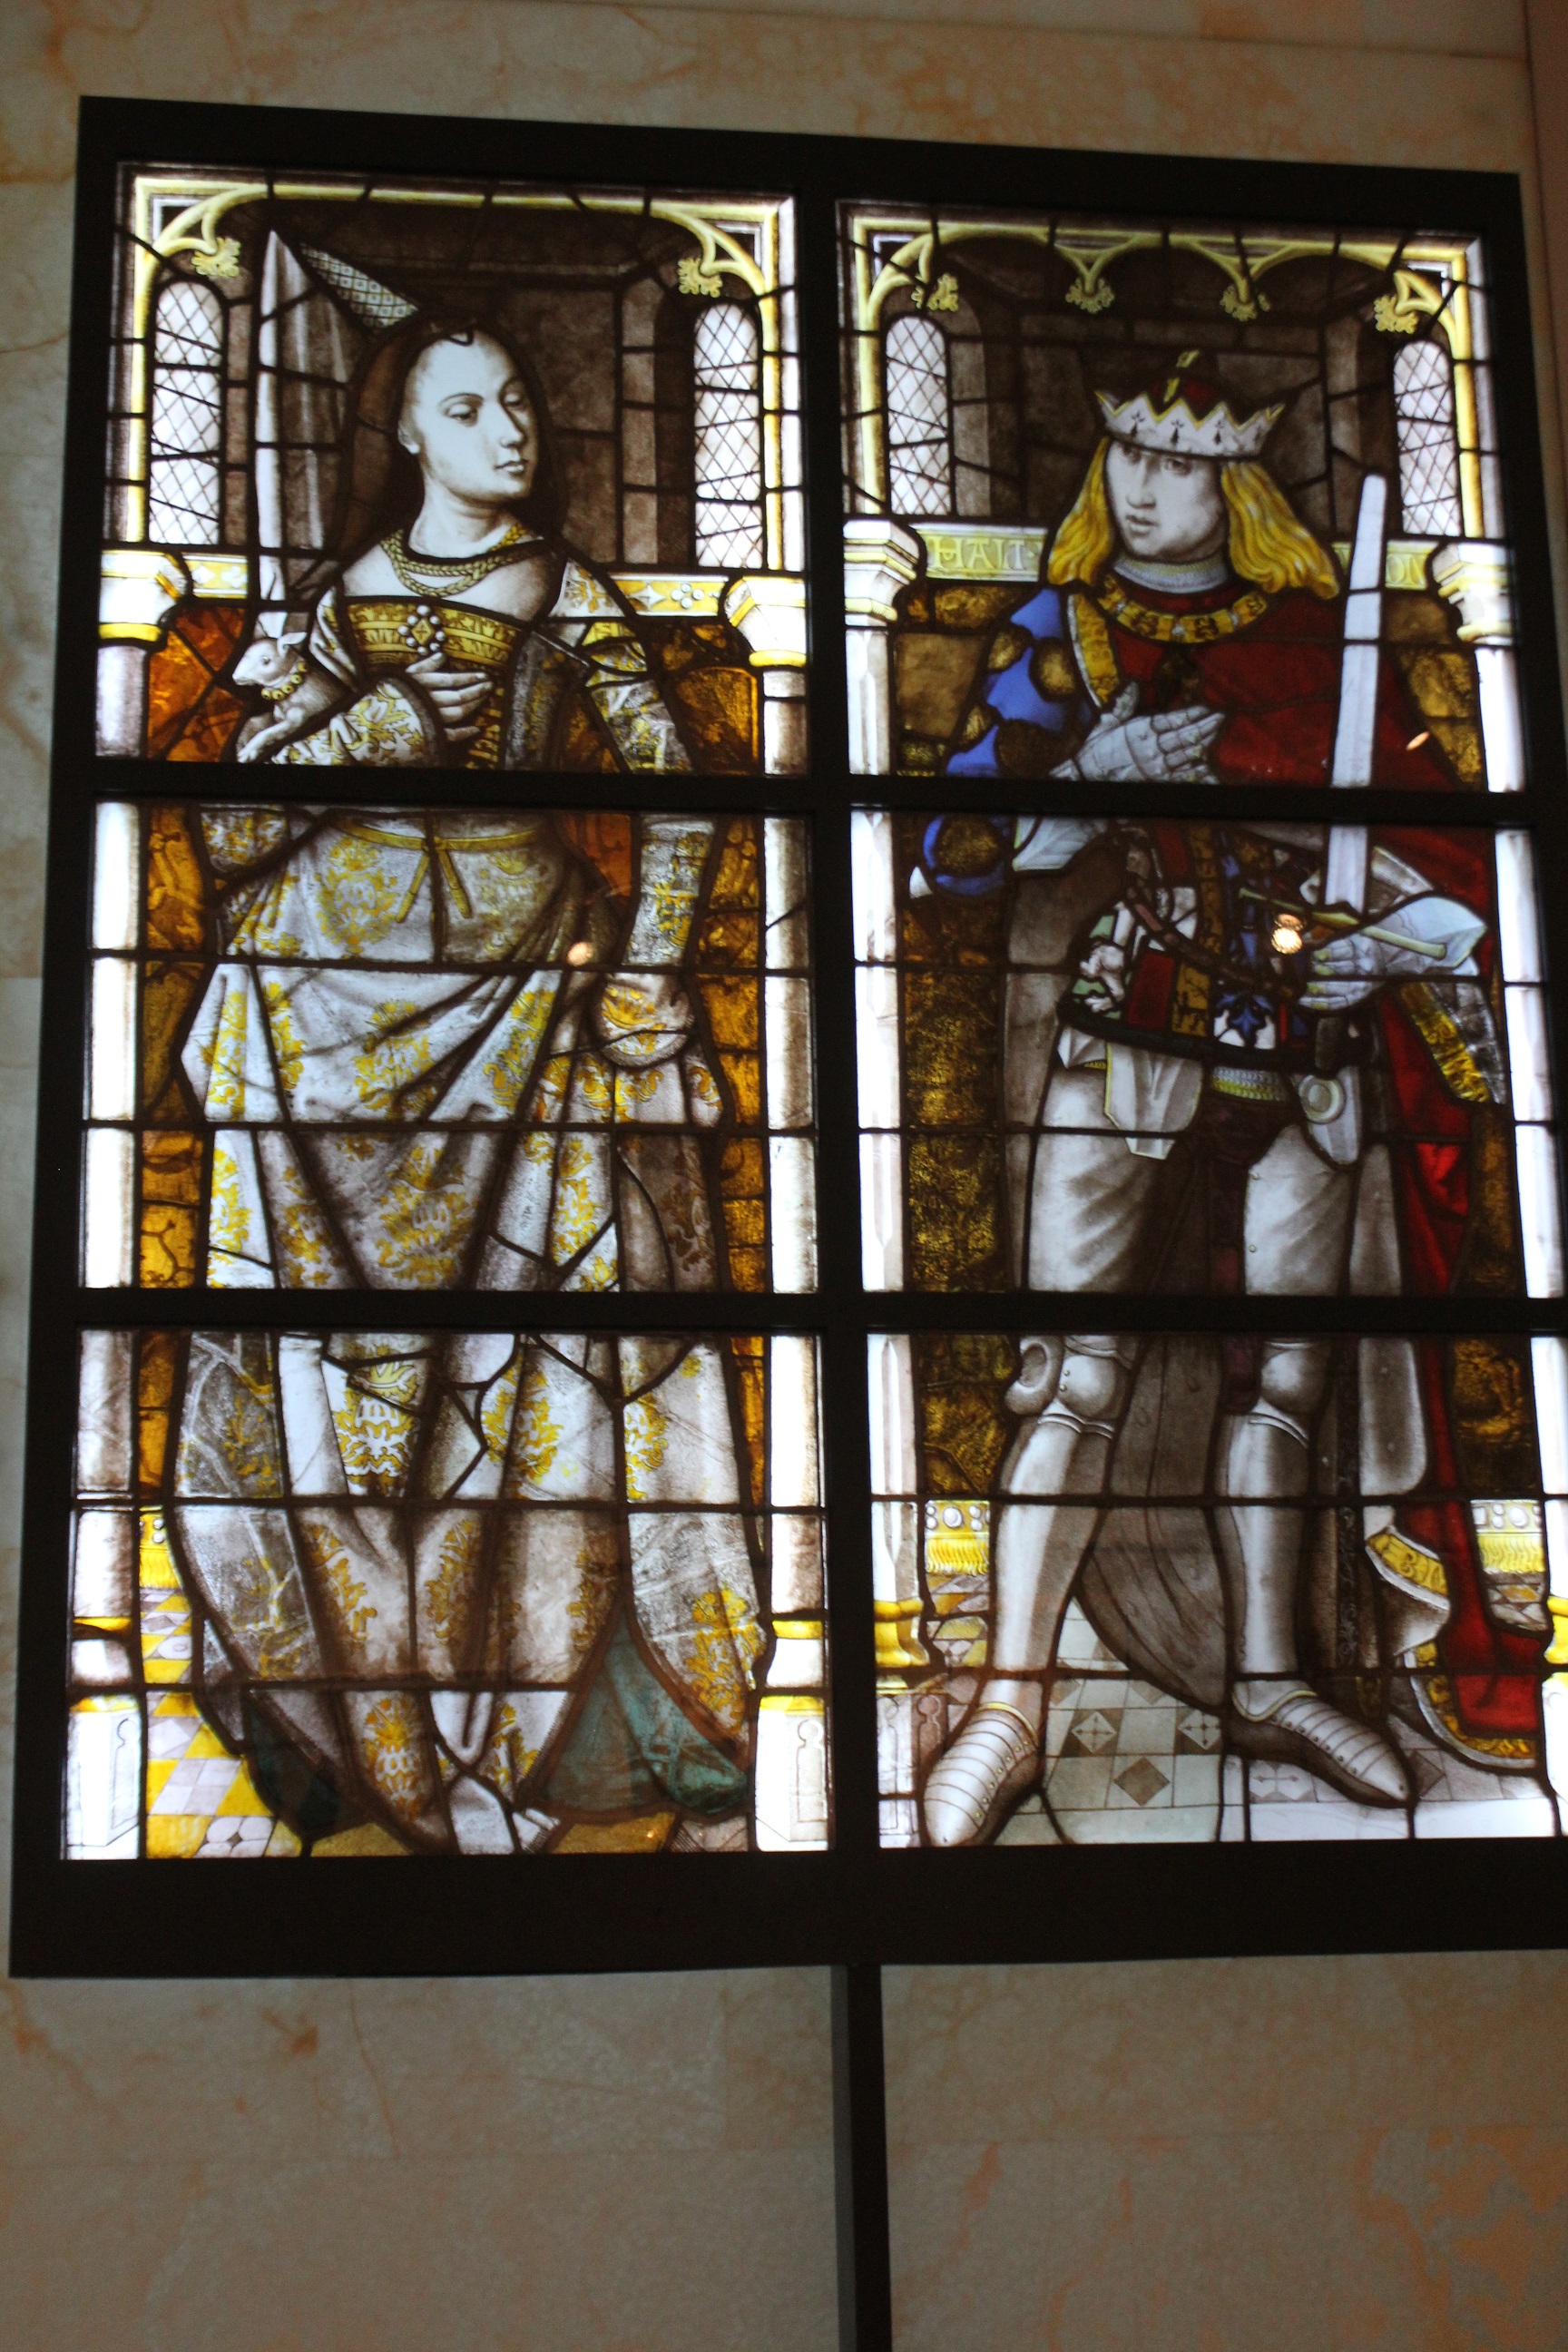
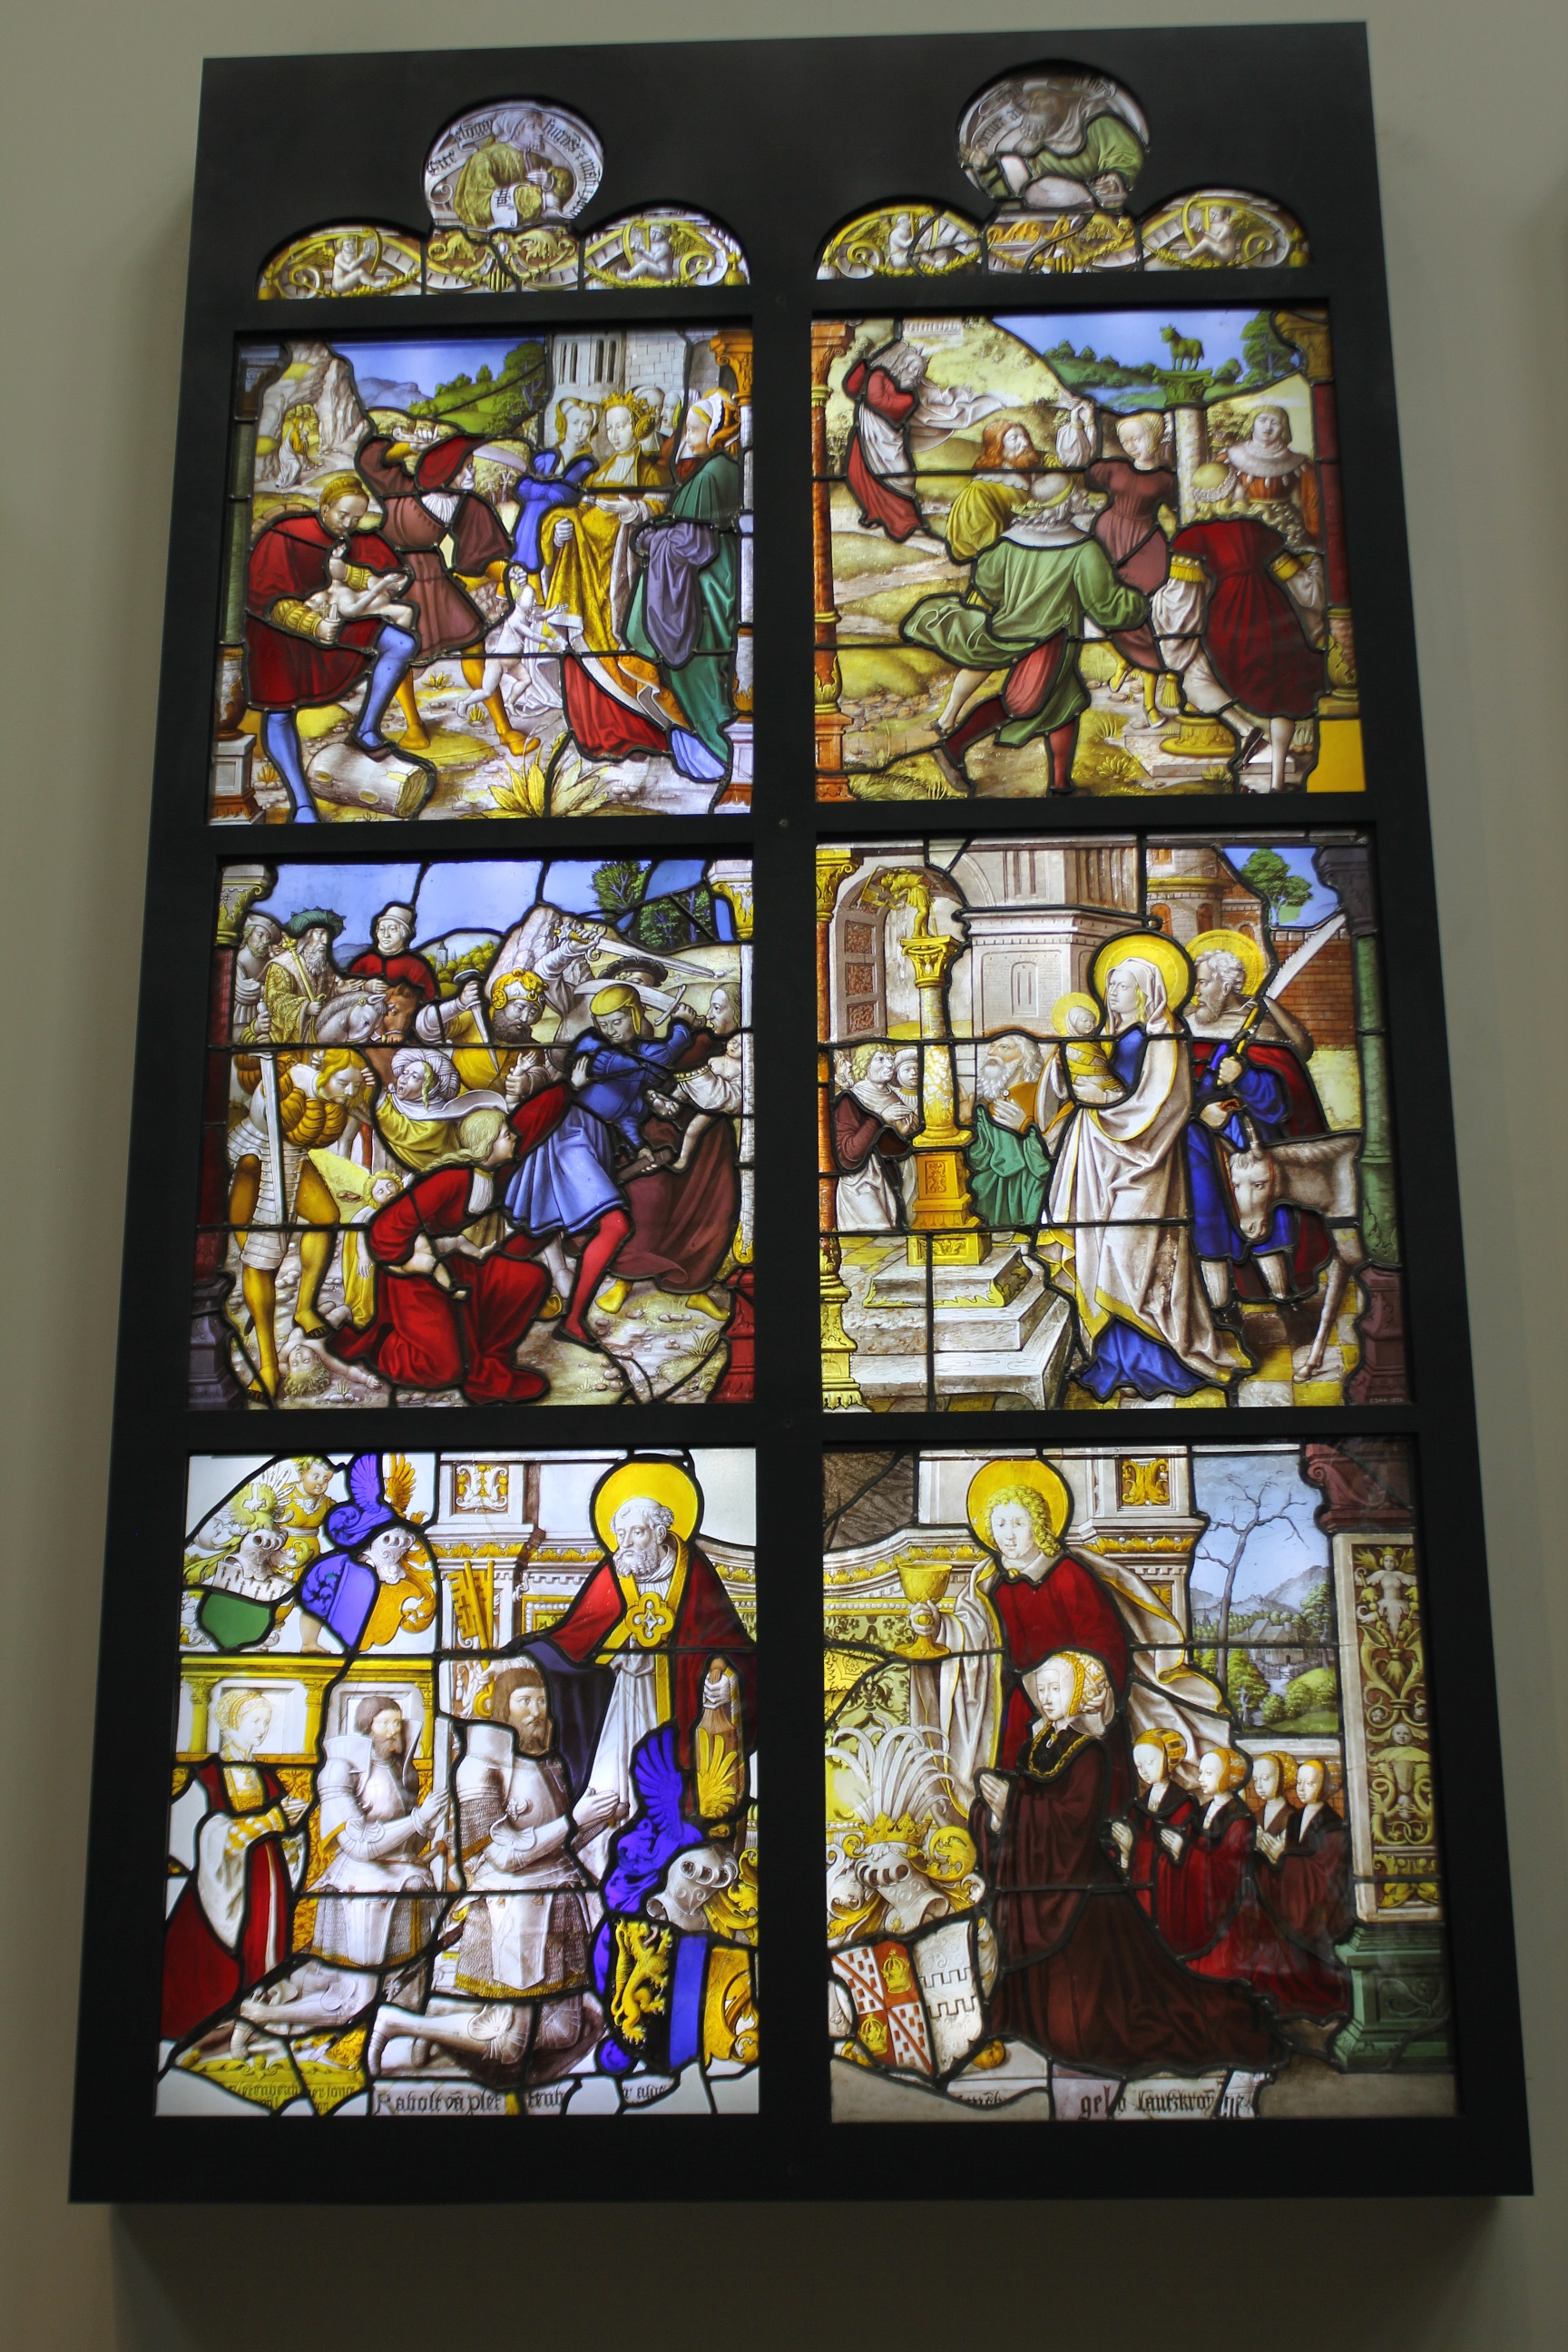
Stained glass is believed to originate from the Middle East as a way to bring light into buildings but allow the building to be completely closed. There is evidence of mastery of creating stained glass in Rome and Egypt, and it is believed that those empires helped to spread the art form. The earliest glass windows were a huge transition from how mankind had been using glass beforehand, mainly as weapon blades made of the volcanic glass obsidian and simple housewares such as bowls and vases.[1] Moving forward to the medieval period, stained glass as it is known today began to take shape, progressing forward from simple glass shapes in holes in walls to full architectural elements. Medieval churches began to commission windows with religious figures and the royalty of the period would request for windows bearing their coat of arms. The figures and forms in these windows were simplistic and lacking perspective.[2] The windows of this time were expensive and at a constant risk of having their light source blocked by a new building, rendering the art useless.[3] Glass in the centuries prior was as valuable as precious stones, for example ruby colored glass was the equivalent of an actual ruby, and can help explain why the churches and castles of medieval Europe were the only buildings commissioning stained glass for a long period. The Augsburg Cathedral is believed to have the oldest existing stained glass windows, but the construction of the windows shows great knowledge of advanced techniques. The windows in the cathedral suggest that other prior windows had existed, because of the advanced techniques, and suggests the idea that the creator of the window had knowledge from all across Europe, but these are the earliest existing windows still standing today.[4] New colors for the glass in stained glass windows were introduced over the centuries as new metals were discovered, allowing for experimentation into lighter colors, painting, and the development of new styles.
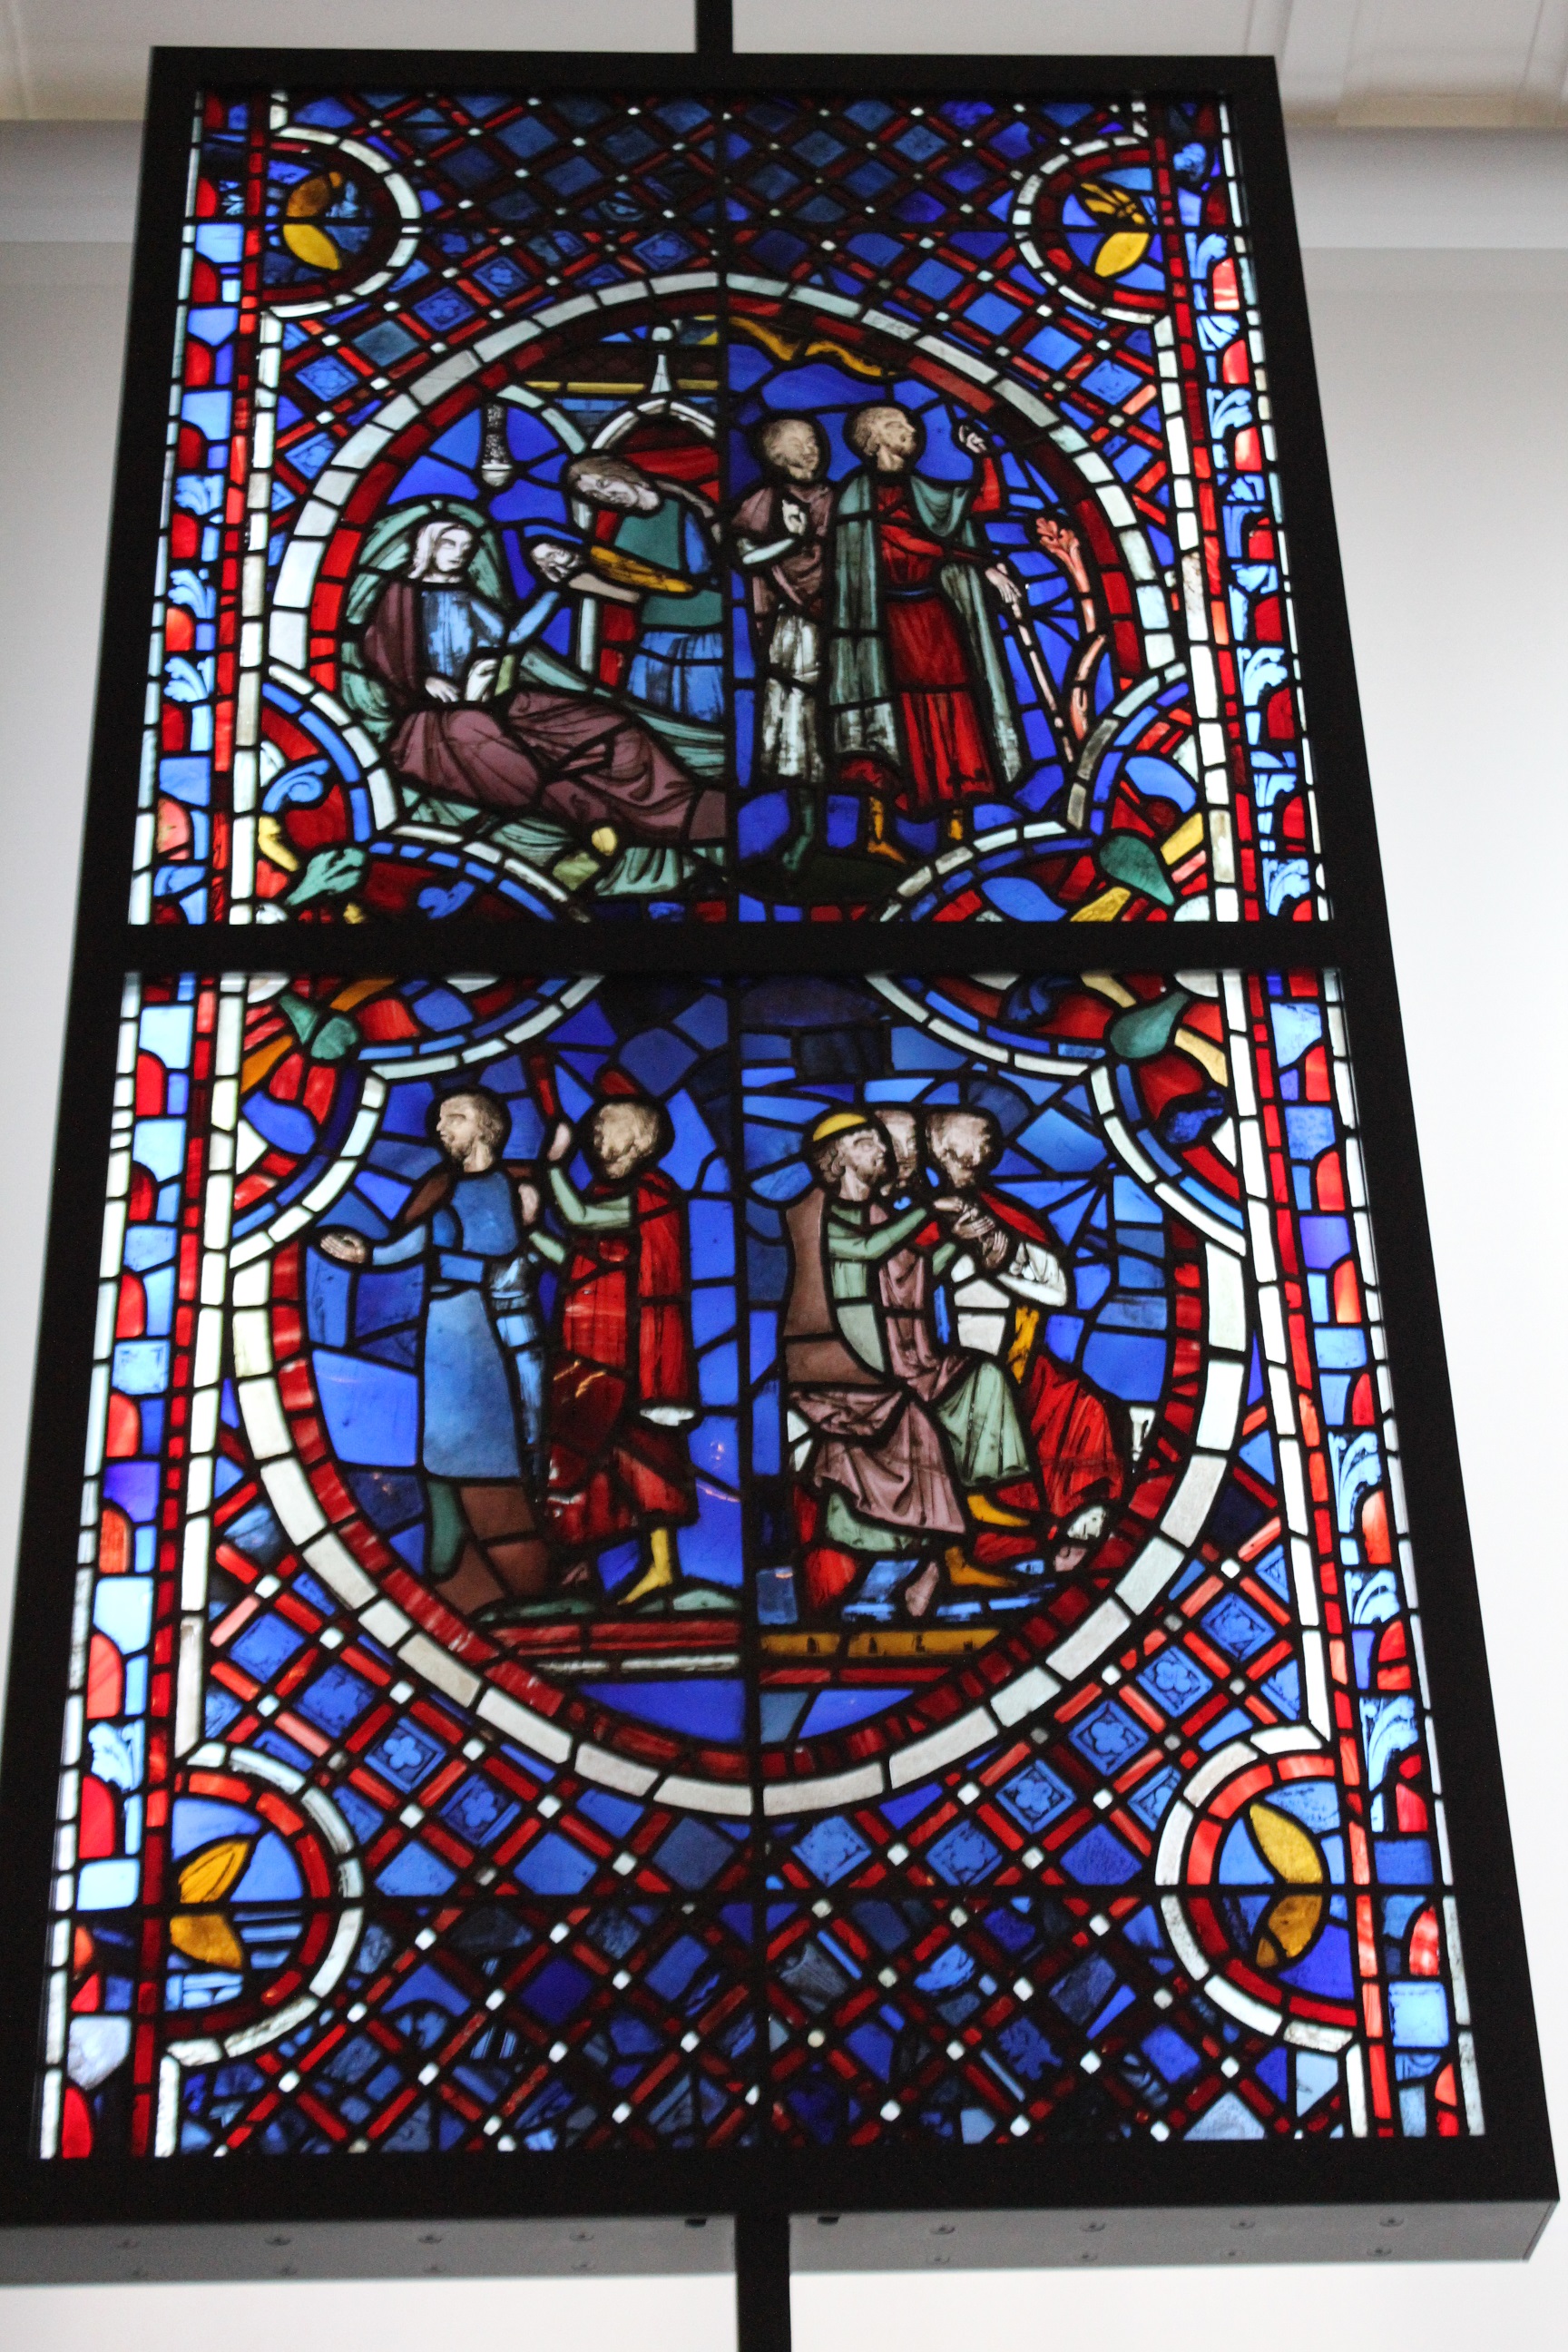
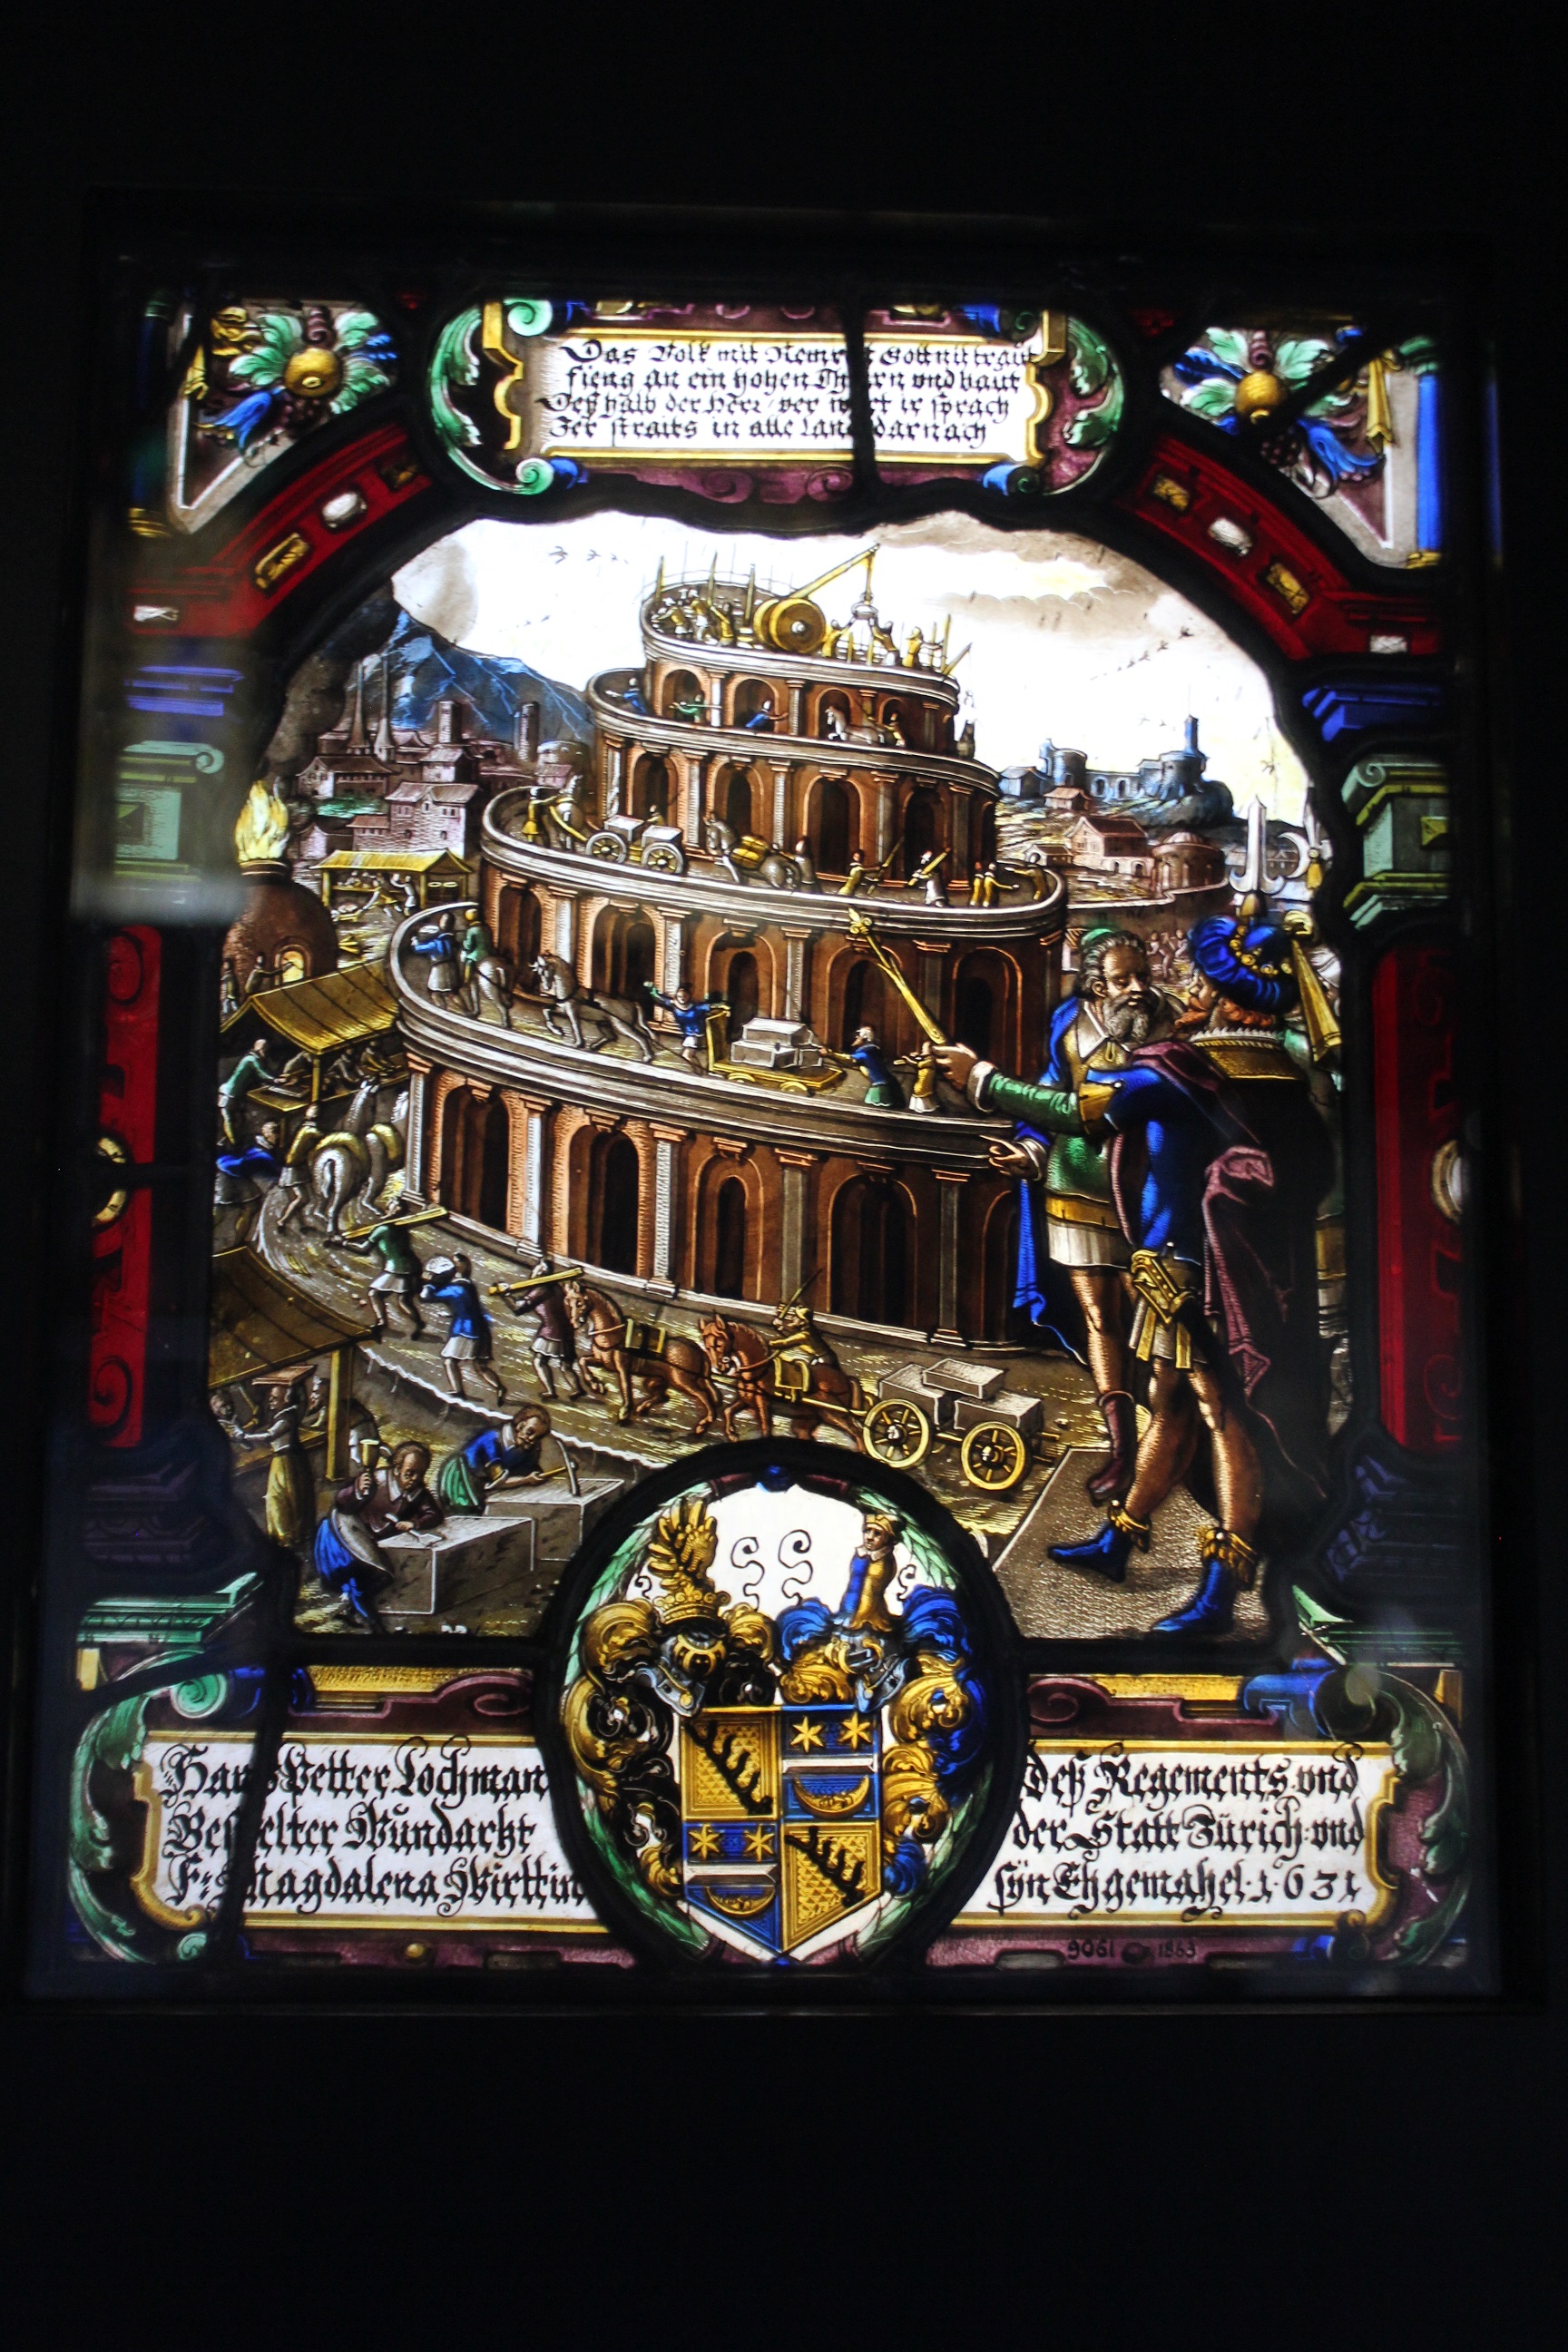
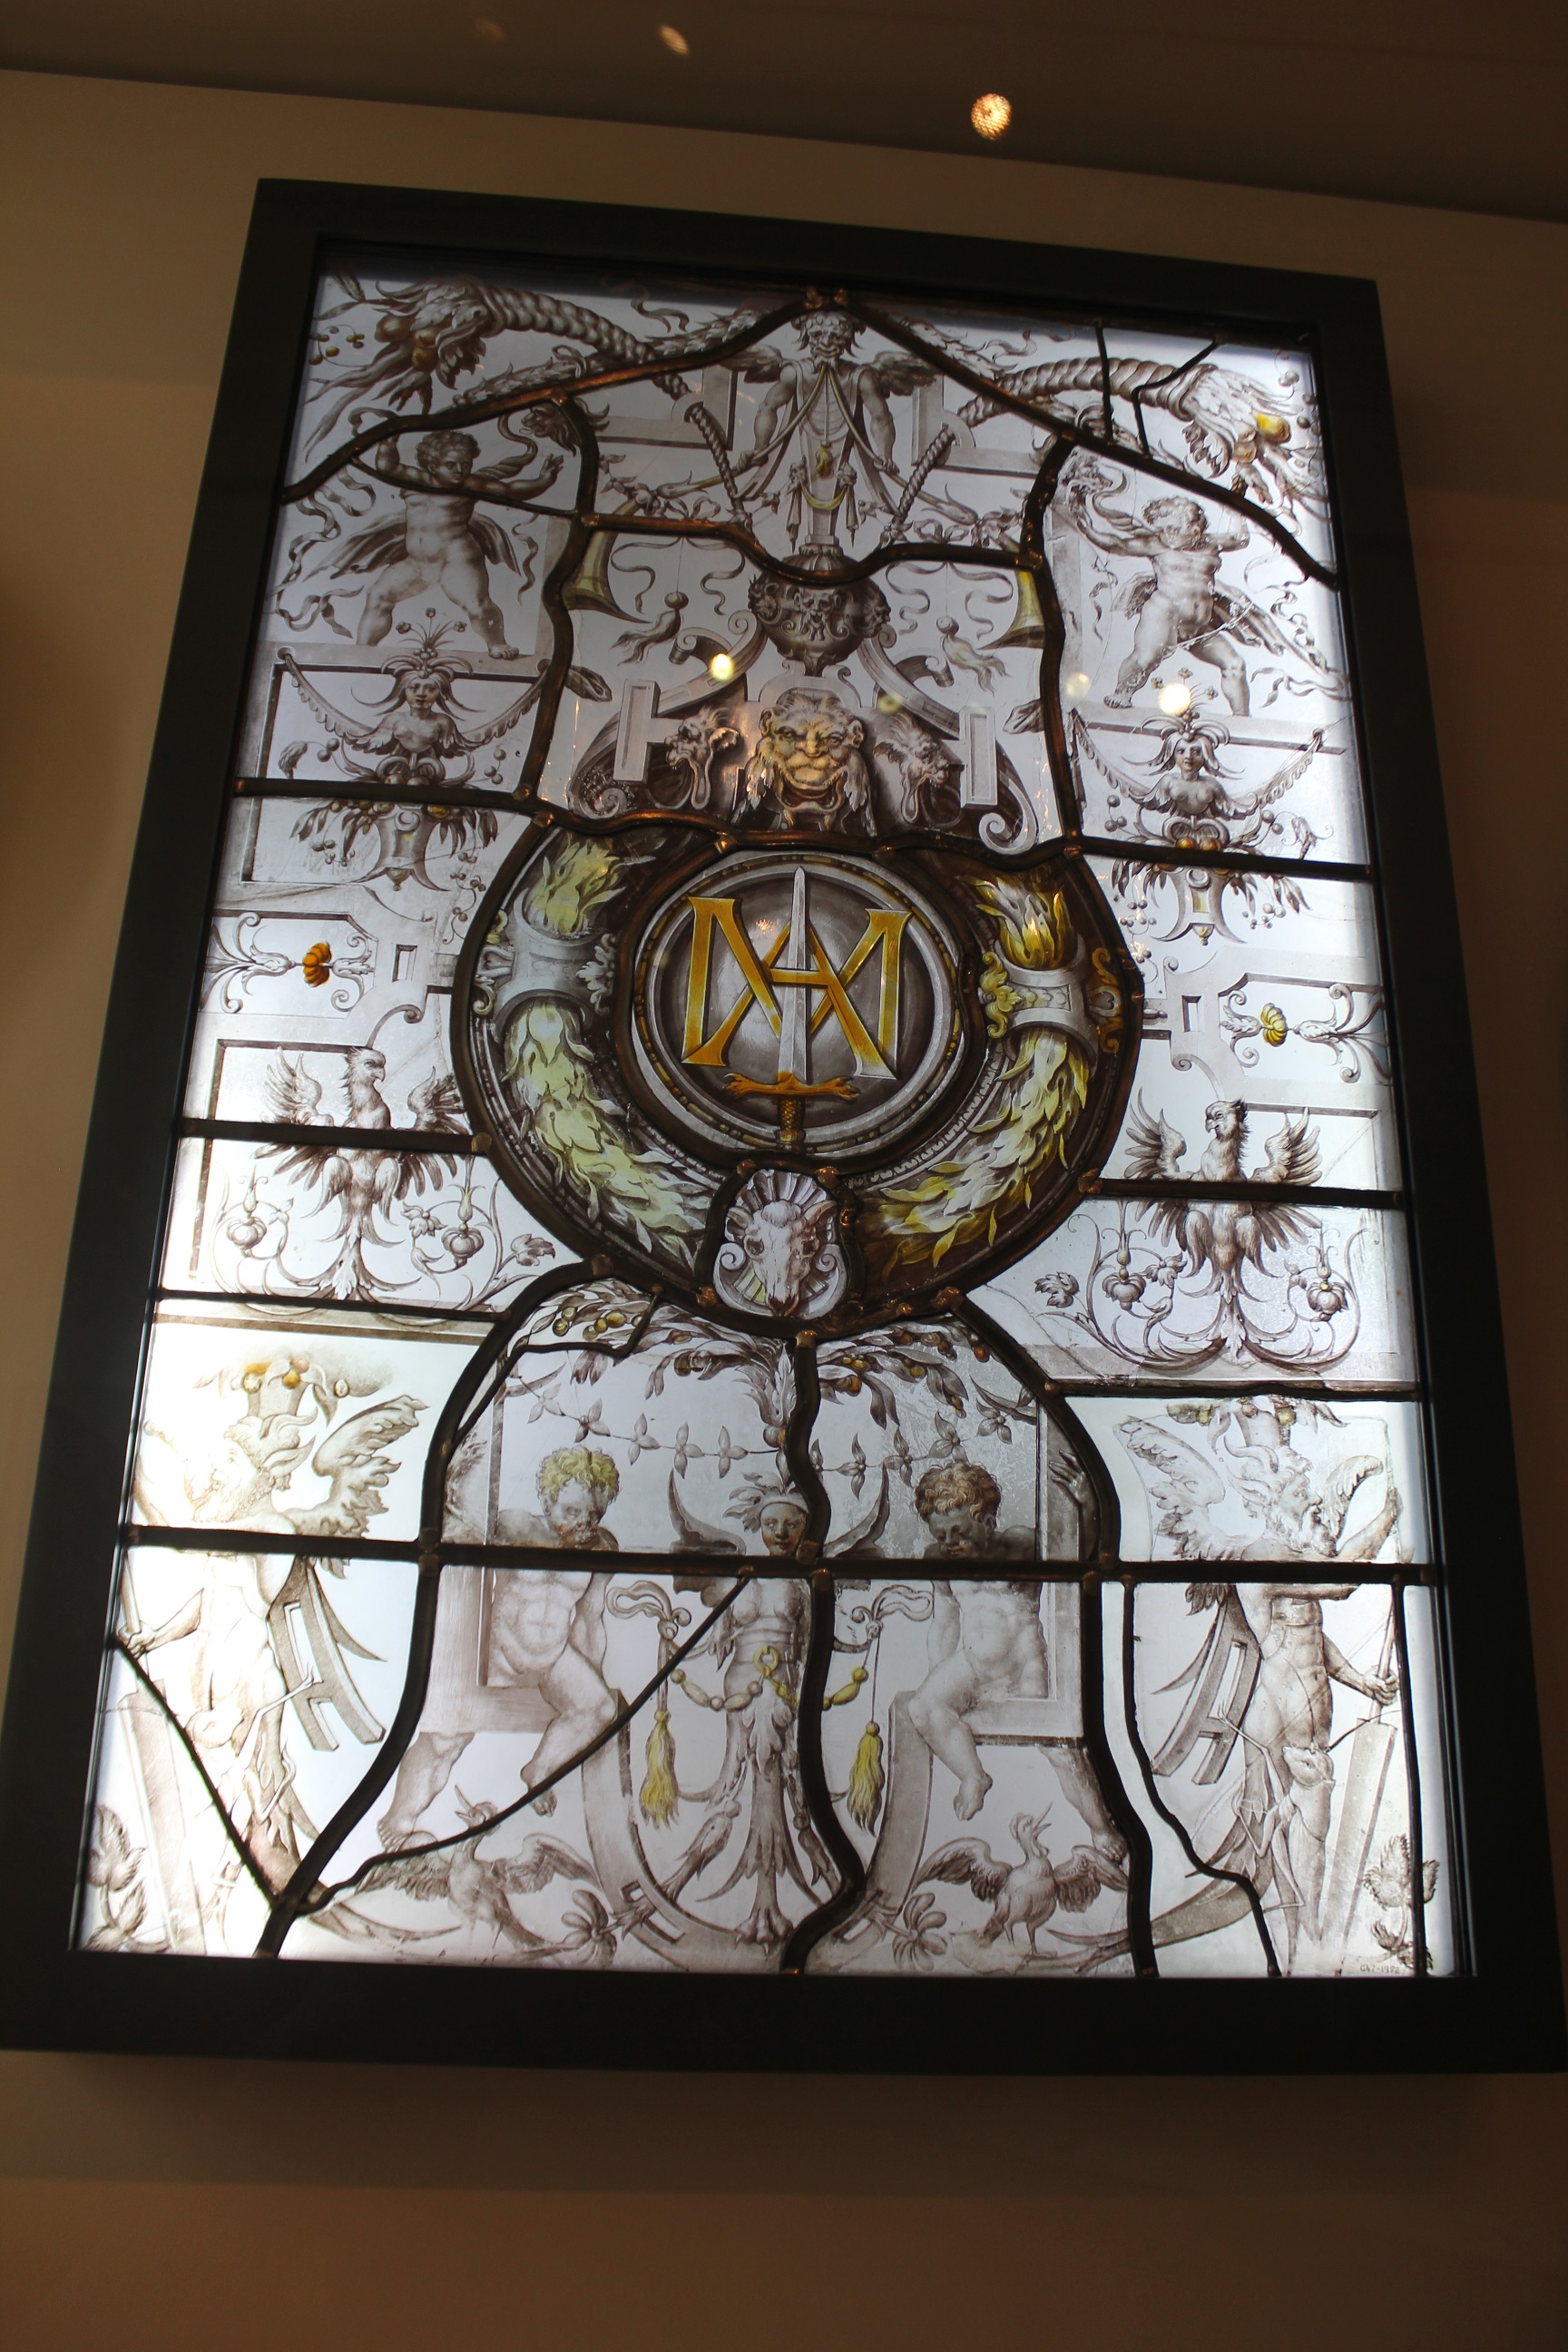
Gothic style stained glass windows, particularly in France, popularized the heavy use of reds and blues in window designs.[5] The Gothic color choices of rich reds and blues can be easily observed in rose windows, which are the larger circular windows found in Gothic cathedrals. The Gothic style of stained glass windows reigned supreme in cathedrals in the thirteenth century.[6] Painting on glass became the next popular style for stained glass windows, and it was rose to popularity in the fourteenth and fifteenth centuries as a way to achieve greater detail in the windows, especially in the faces and hair of figures. This stylistic shift was a drastic change from the previous Gothic windows with their heavy use of vivid colors. Painting also allowed the windows to be made of larger pieces of glass as the lead was no longer needed to create every distinct line in the image. Buildings were starting to be designed around the grandiose windows that would provide the majority of the light inside. A style known as grisaille rose to popularity to further enhance the light in the churches in addition to the churches being constructed with lighter stone. This style focused on a monochrome pallet on the background or entire window, with details painted on using silver.[7] In the sixteenth century stained glass windows began to be used to decorate community buildings, homes, and businesses such as inns and the windows were mainly secular. The use of leading also was further reduced in favor of painting on silver stained glass driven by the desire for detail, but with more color than the grisaille style. Donors to the art also began to be immortalized in the windows they paid for by being added into the design.[8] The grisaille style of the fourteenth and fifteenth centuries served as a stark contrast to the renaissance style windows of that same time period. The renaissance brought the return of more vivid colors that had be scarce in the earlier centuries, and it also brought the use of perspective to the art form adding dimension to the figures. Both forms had a significant amount of detail painted onto the glass, but only renaissance style windows matched the resurgence of colors in the other art forms of the time.[9]
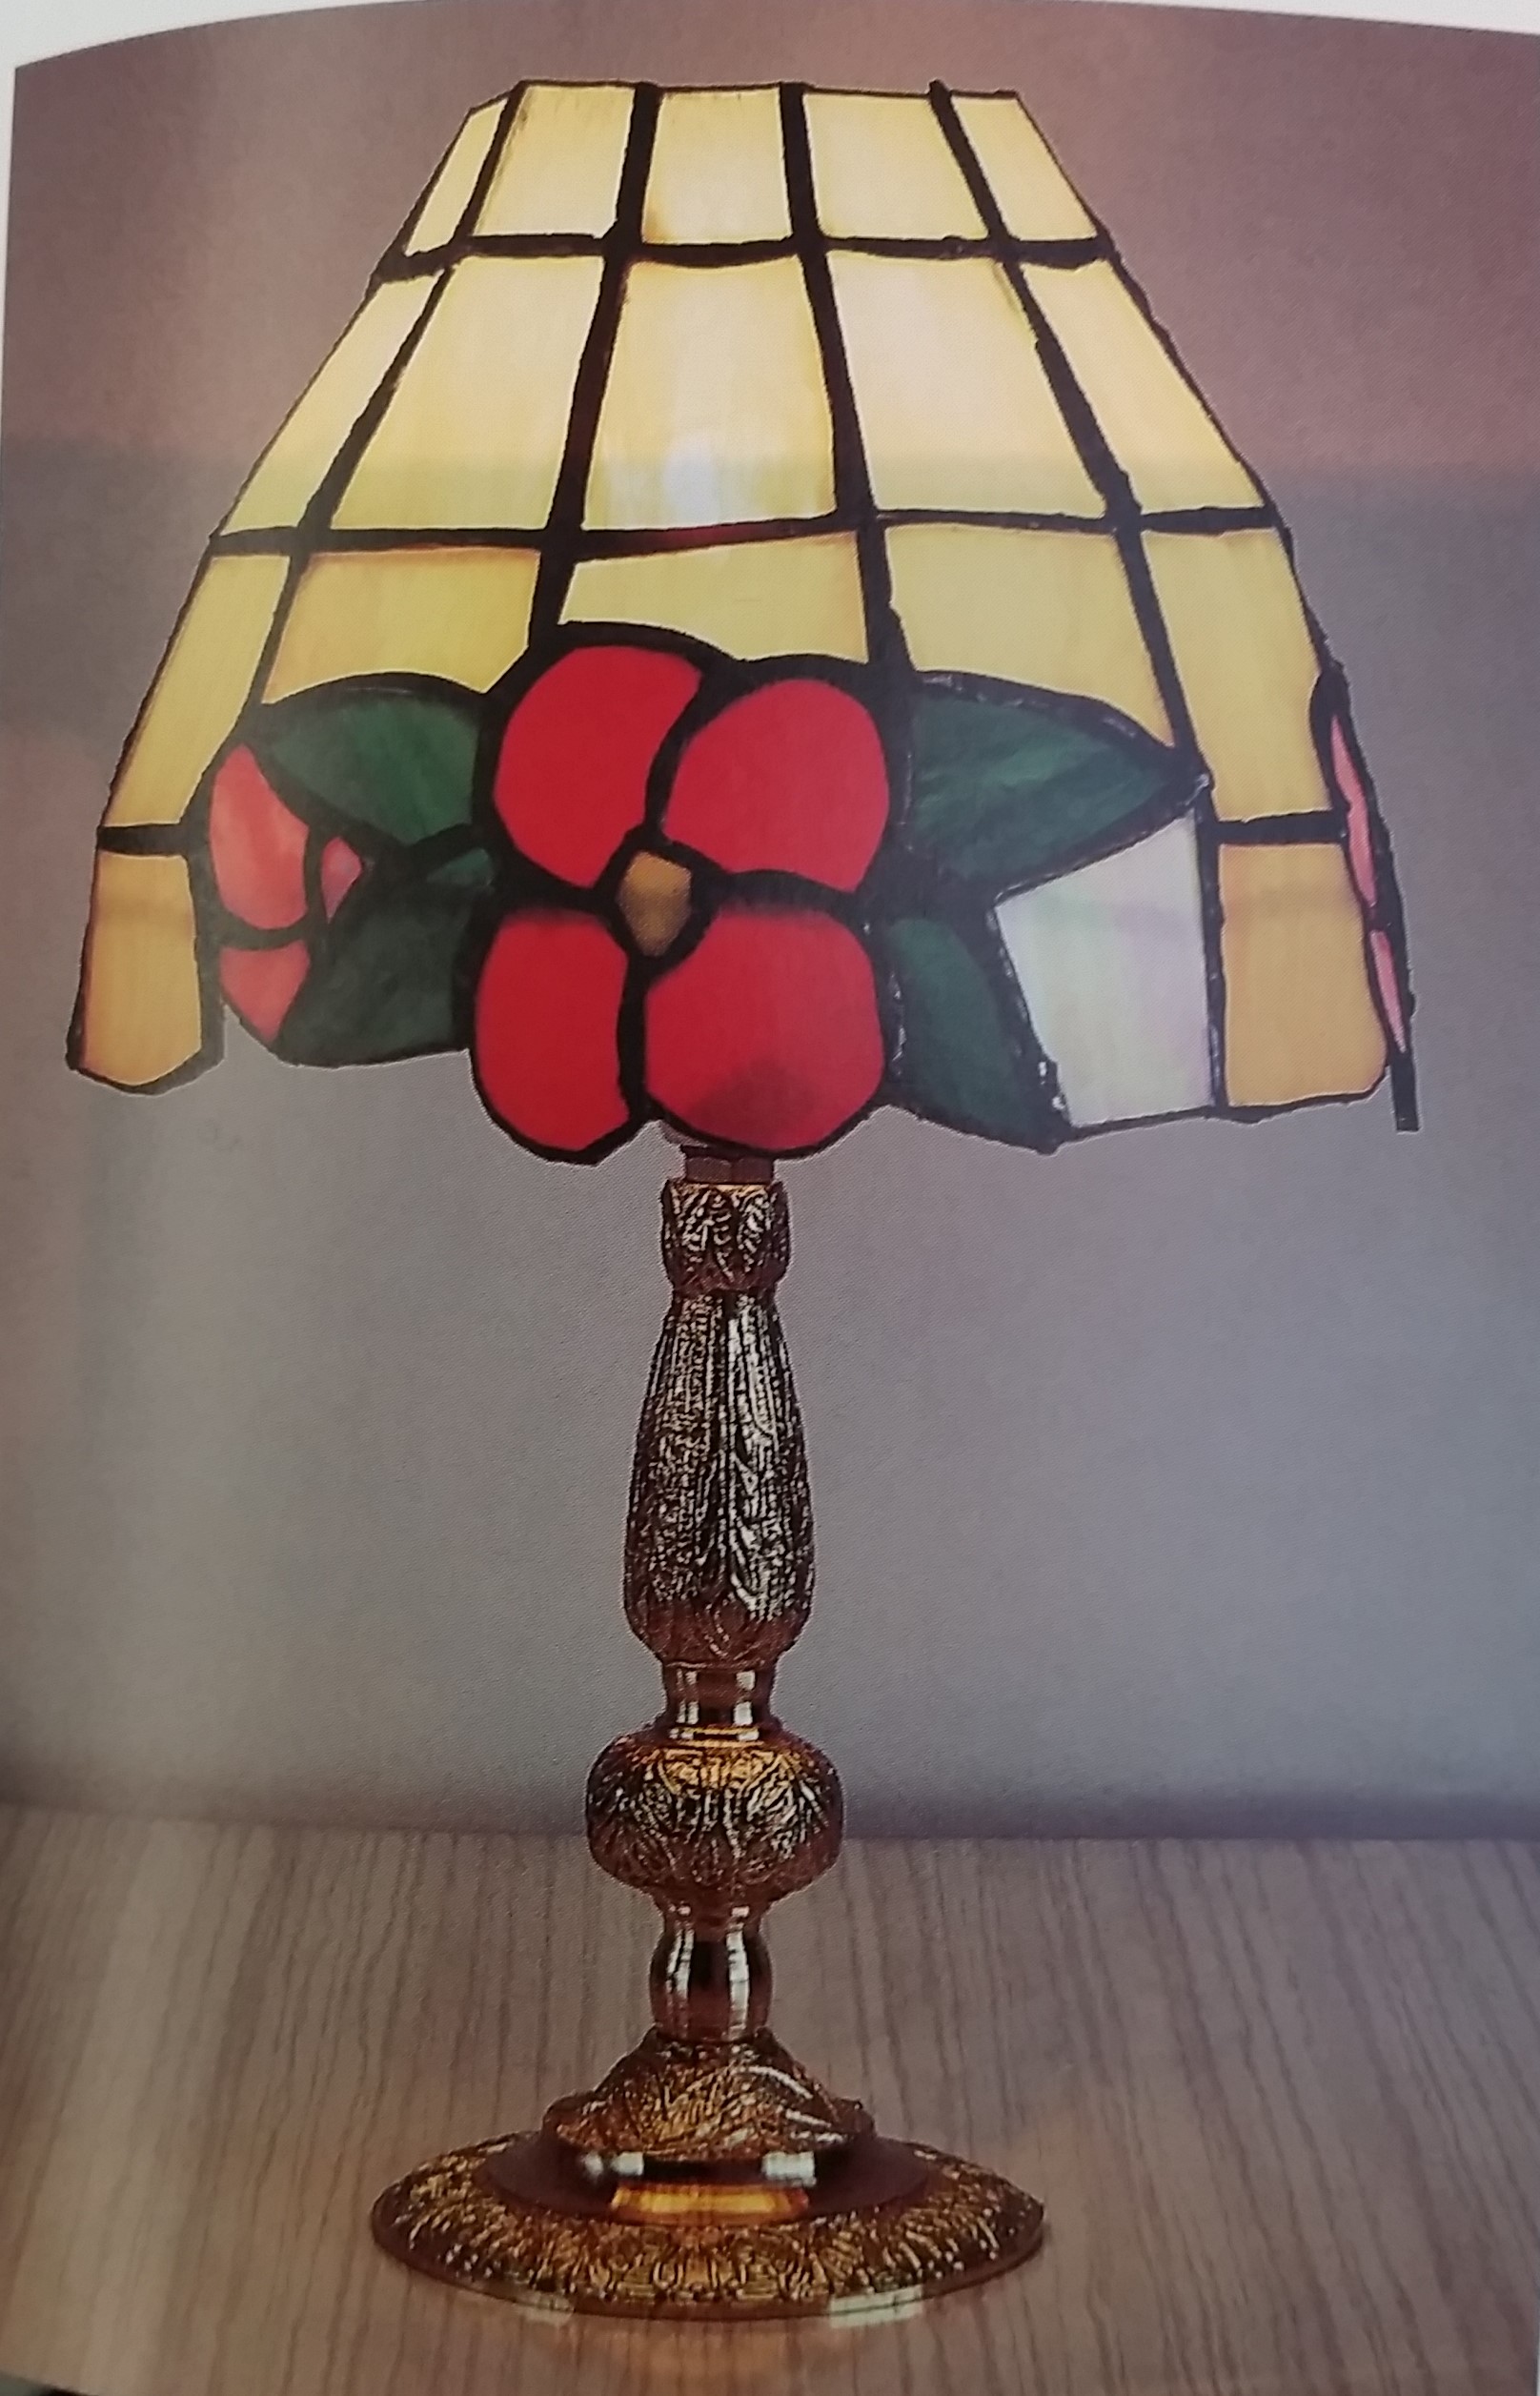
After the end of the renaissance, especially in the nineteenth century, there was a revival of historic styles and techniques that focused more on the quality of the glass than the painting. The Gothic style made a resurgence in popularity because of its focus on the glass and historical techniques. Many renovations of older buildings had damaged the stained glass windows, and allowed for new windows remade in the older styles to be placed into the buildings. Geometric based designs and landscapes with vibrant colors became popular in America and England during this time of revival. The twentieth century brought about new styles and applications to stained glass. The Aesthetic styles of patterned, semiabstract, and non-figural work became popular especially in the United States. Stained glass also began to take on new forms, such as lampshades and other home products; this is known as the Arts and Crafts movement, bringing fine arts into the home of the middle-class. Art Nouveau was Europe’s response to the Aesthetic style in America and the increase of American glass production, putting even more glass in middle-class homes and in buildings. Art Deco in the early twentieth century made its way into stained glass using vibrant colors, geometry, and simple designs. The movement had international popularity and appeared in many building across the world, especially in Spain. Today the use of stained glass is as varied as it has ever been, even being used in sculptural elements like Lightpainting by Stephen Knapp on the front of the Gordon Library at WPI.[10]
A Tiffany style lampshade in the Art Nouveau style[11]
Purpose
The purpose of stained glass windows is closely tied to its history, and has evolved over time. In the beginning, it was simply a way of letting daylight into buildings through small windows and keep the walls completely closed.[12] Stained glass is a strong example of how something can transition from just a functional item into an art form. As the windows became larger with larger individual pieces of glass, and higher quality was being produced in the medieval period, religious figures realized they could use the windows to educate the illiterate masses about the bible. Light was also symbolic to religious figures, in that it represented good and God’s protection in the Old Testament. Religious education in the medieval ages was very important because the church was the highest authority in society, and to achieve salvation one must follow the word of God.[13] Onward from the medieval ages, the use of stained glass had a dual purpose: to create religious images and to highlight the wealth of those who owned the building or were the patron of the art.[14] In more recent times, some older homes, governmental buildings, and businesses have stained glass as a design element, and based on the texture and opacity of the glass, as a way to increase privacy without decreasing light as well.[15] In general, the main purpose of stained glass has stayed rather simple throughout history: to let light into buildings while keeping the building completely enclosed.
Techniques
The process of creating a stained glass window boils down to seven simple steps, but it can be altered based on the technique used and desired appearance of the window. The first part of the process is to develop a design for the window, sketch out the basic shapes and colors of the window. The next step forward is to create a template, called the cartoon, from the basic design and solidify the finalized design. This step creates a guide for every piece of glass that needs to be cut, and how the cut pieces are then later assembled and attached to become a cohesive piece. The cartoon is also important because if leading is being used it creates definitive lead lines and solder points.[16]
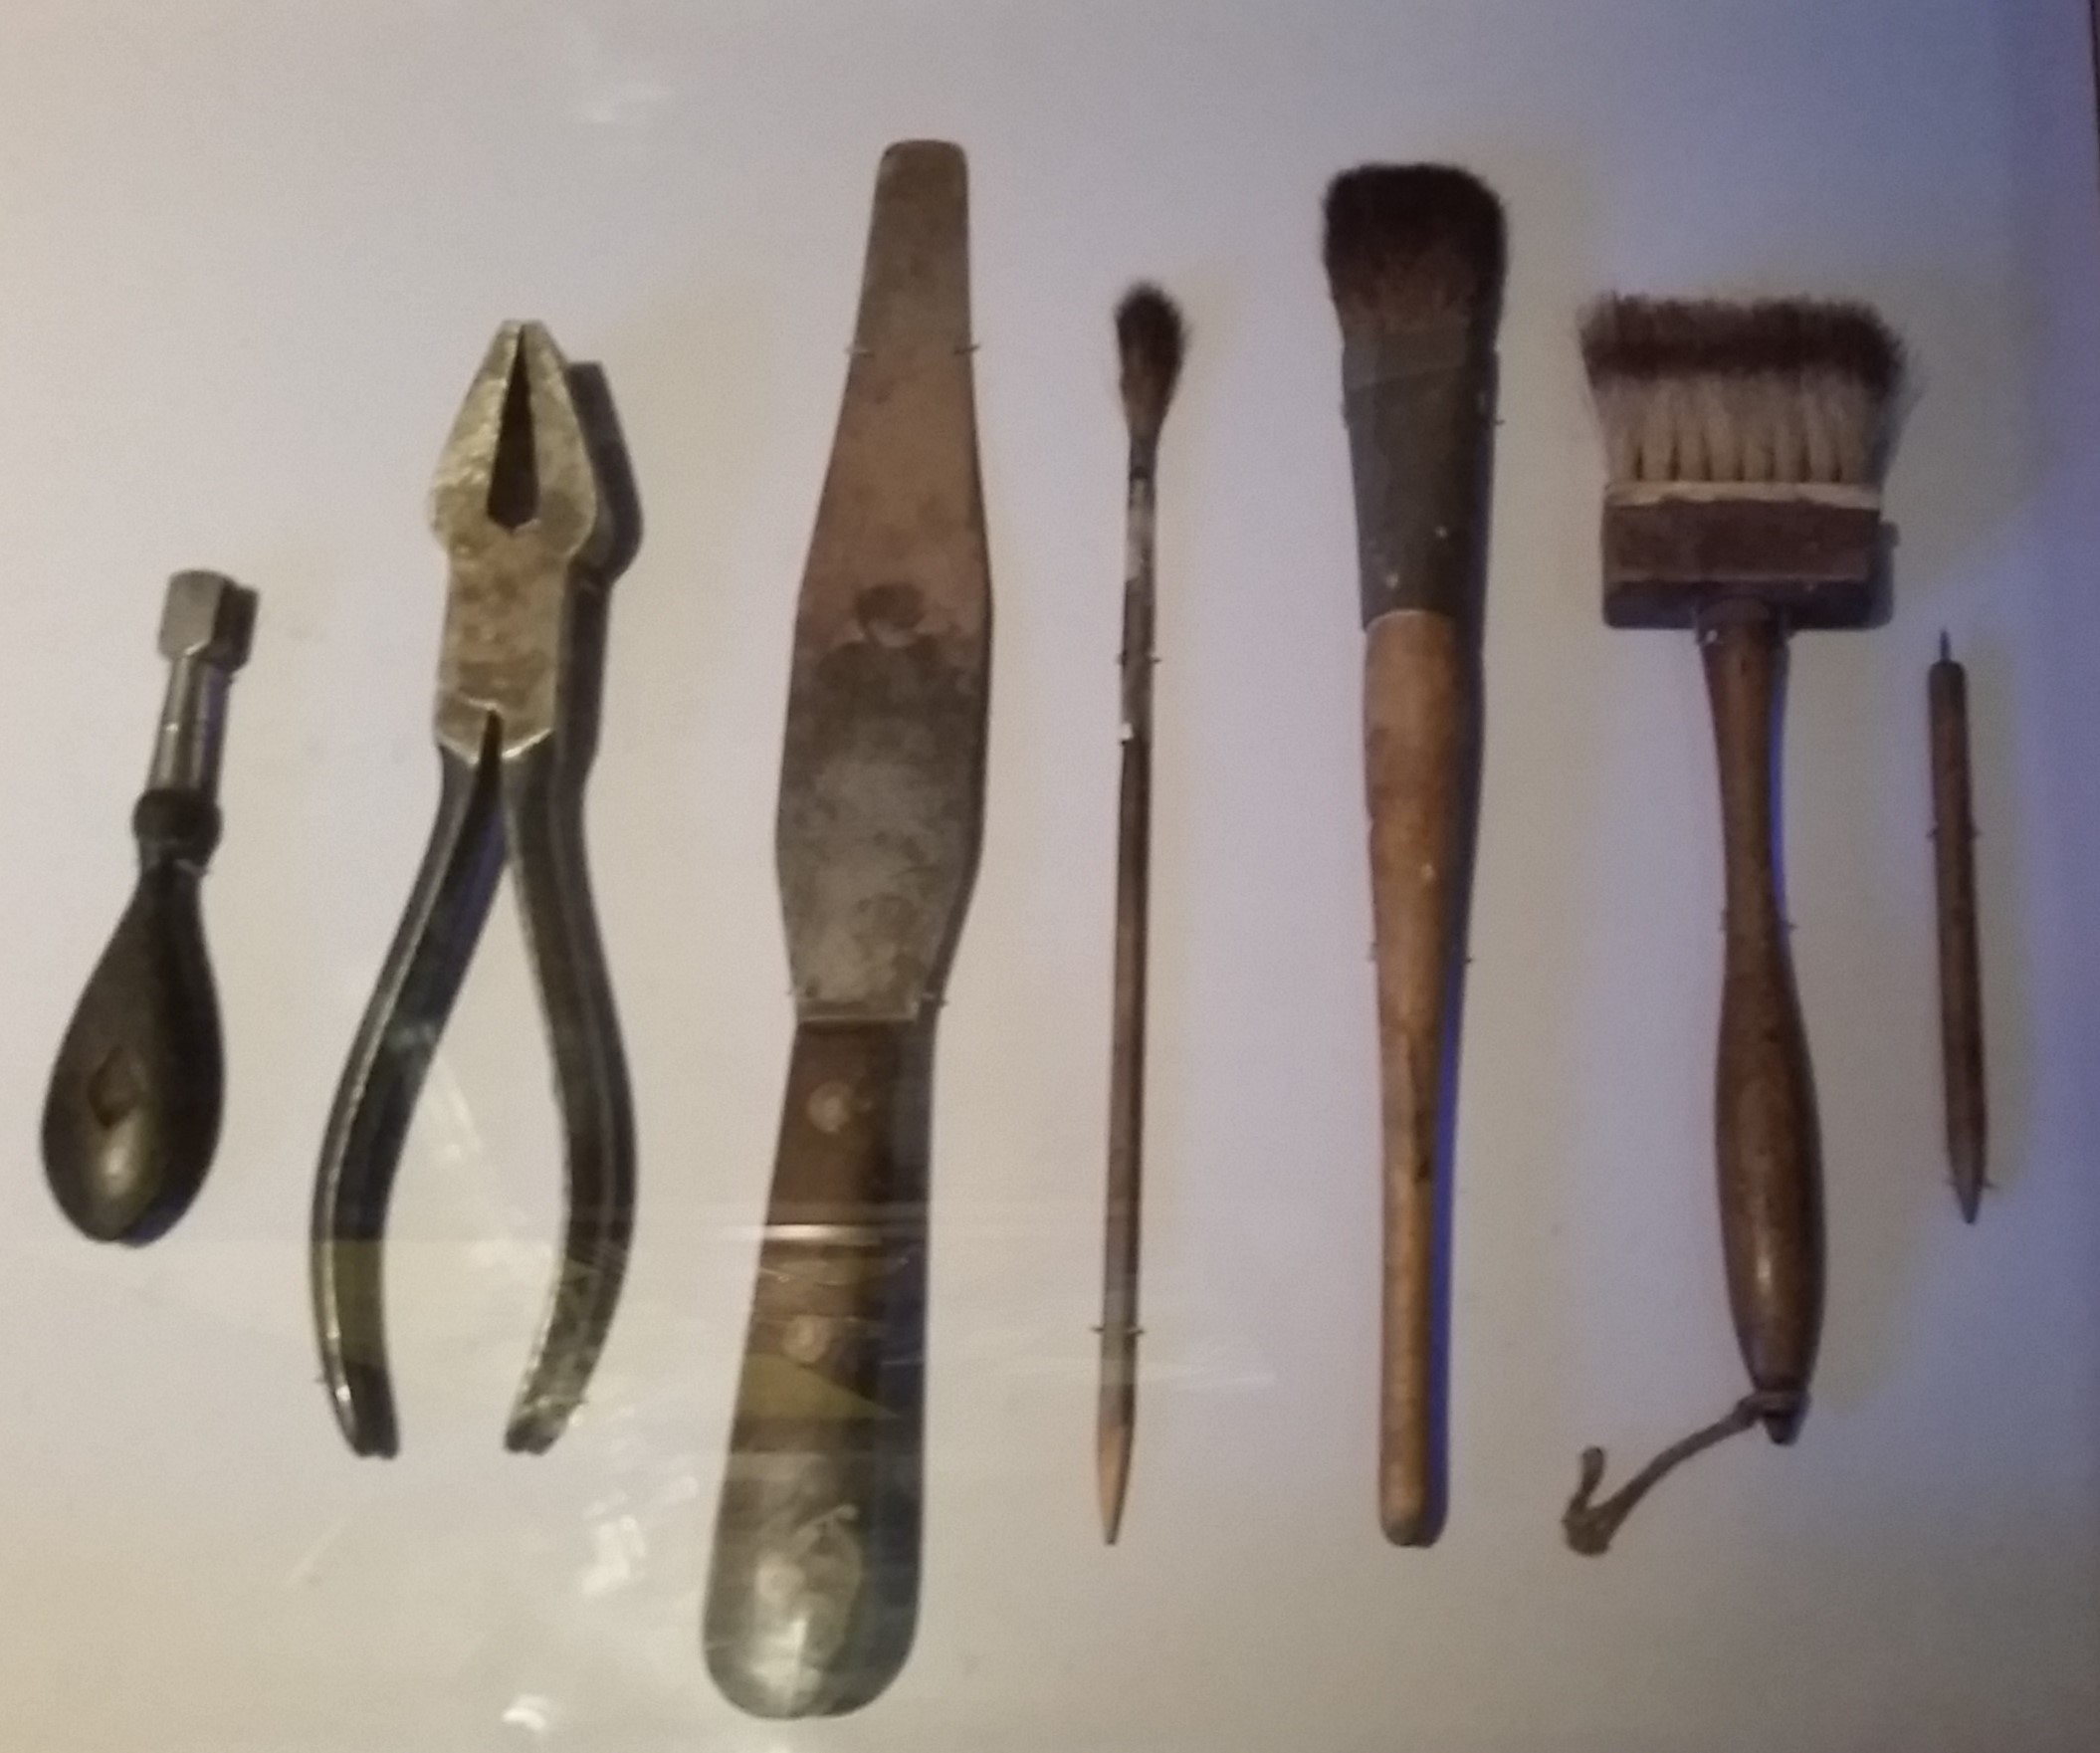 A set of typical stained glass tools including | |
| Tools Pictured (from left to right): | Diamond tipped scorer, breaking pliers, palette knife, applicator brush, badger brush, and a needle |
|---|---|
The third step is to gather all of the needed tools and materials, and to prep the work space. Tools needed for most projects include:
- A board to use as a cutting surface
- A ventilation system to reduce the fumes
- A scoring tool to break the glass along desired lines
- A grozing tool to cut (break) the jagged edges of the glass
- Lead strips or scraps
- A lead knife
- An oyster knife to manipulate the lead
- A soldering iron to attach the pieces of lead
- A light box to check the design of gaps
- A glass grinder for achieving different textures and fine curves
- A scrubbing brush for the application and removal of cement
- Any other tool deemed necessary or useful, as each artist can choose to use less or more tools than those listed.[17]
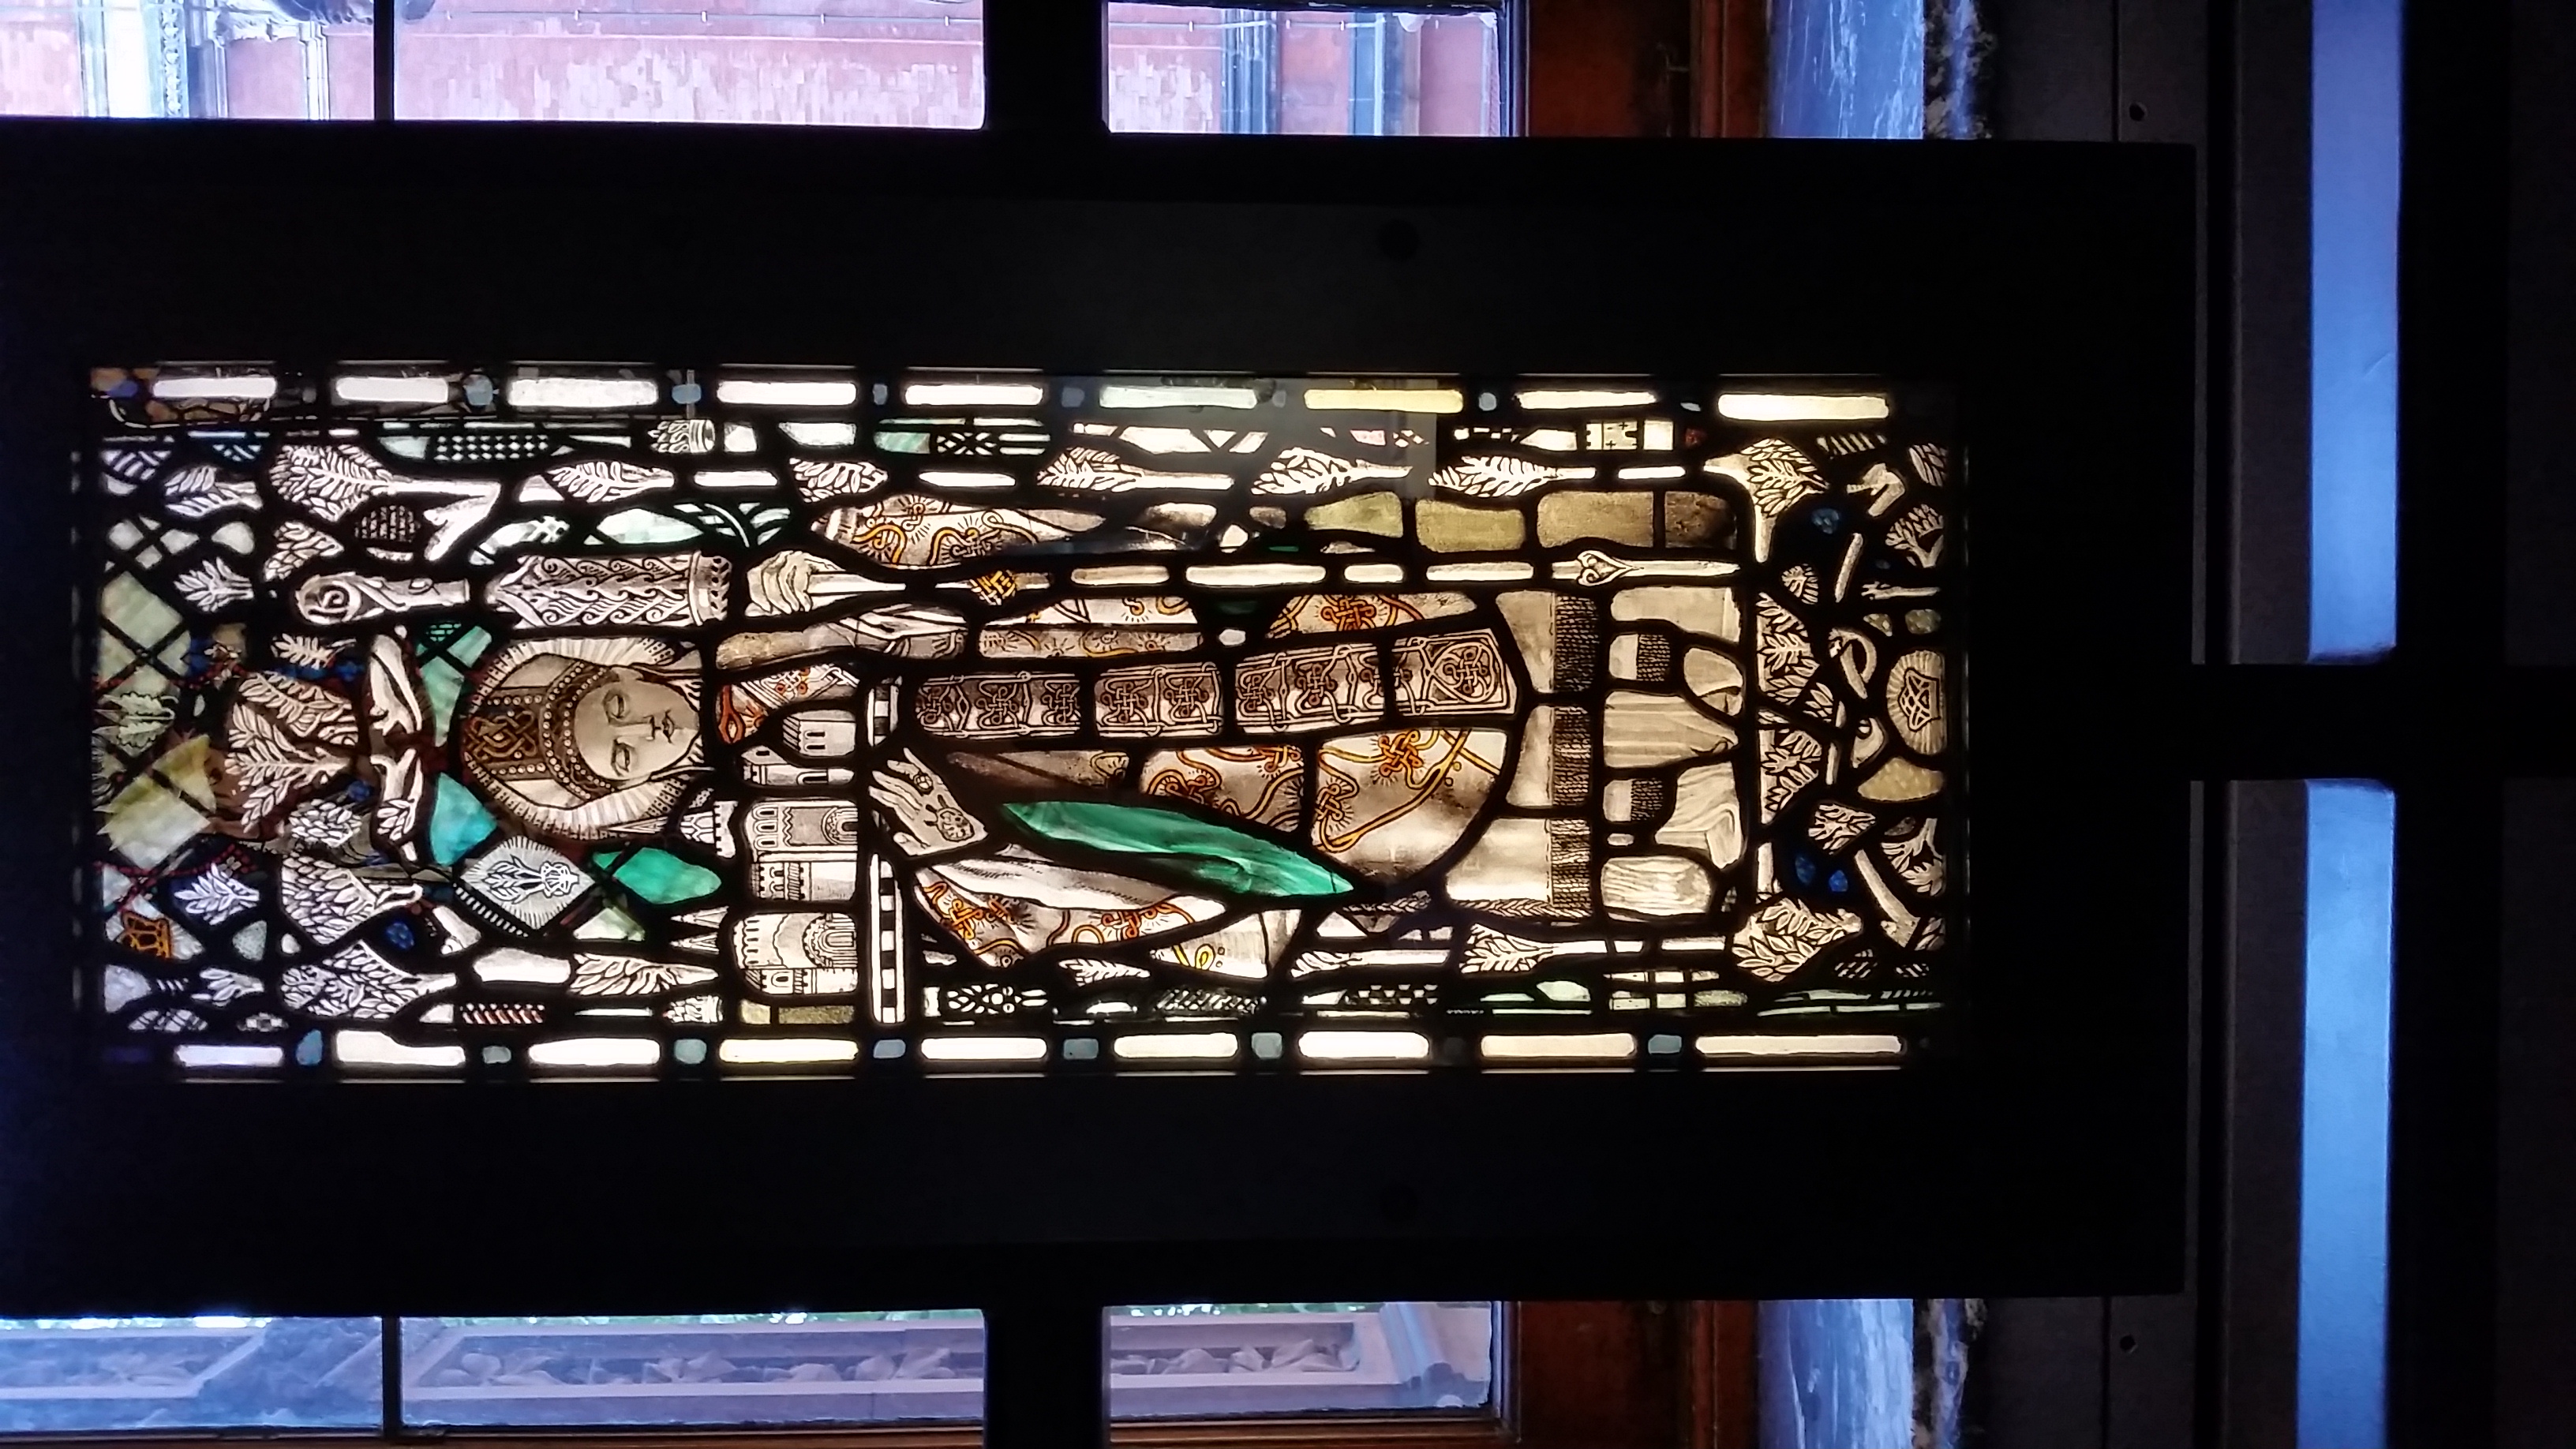
A major part the entire process is the fourth step, which is choosing the proper glass for the desired appearance. A good basis for choosing glass is to pick from a slab or pieces that are flat and not too thick. Thickness is very important as it determines the majority of the weight of the window, and if it is too thick, the window could collapse and shatter under its own weight. A few typical glass choices are:
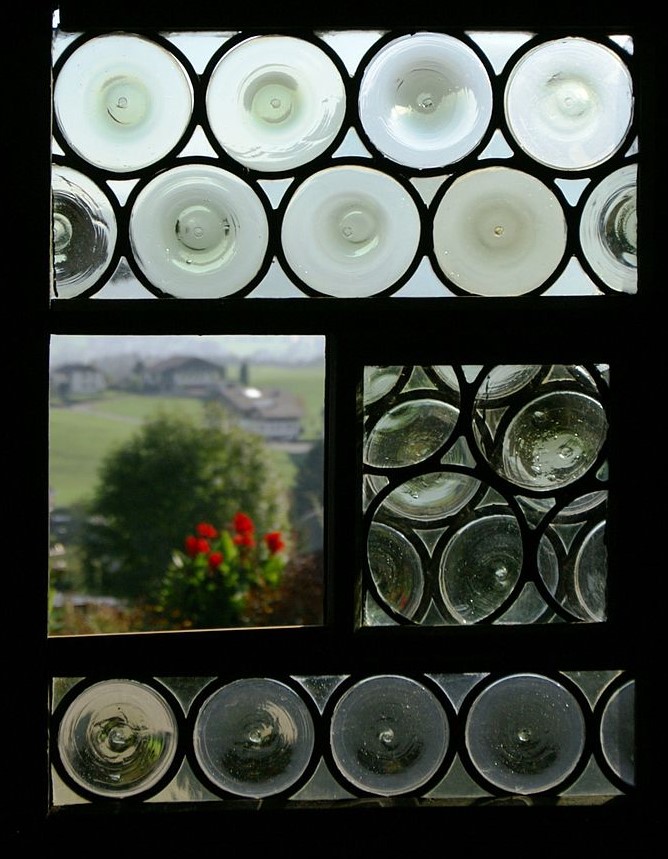 An example of crowned glass[18] | |
 An example of Norman slab glass | |
 An example of antique glass | |
| Description: | These are three different types of glass, the most common of the three is antique glass. |
|---|---|
- Crowned glass, which is created by taking a bubble from a glass blowing rod and flattening it into a panel. This glass is not typically used in modern windows. This type of glass appears typically in two forms: roundels and bullions. Both forms of the glass have a circular pattern due to the manufacturing process, but bullions are any piece cut from that glass and a roundel is a circular bullion. Historically this type of glass is clear, but that does not mean that it cannot be found colored as well.[19]
- A Norman slab, which is created by blowing glass into a rectangular form and it is known to have an irregular texture and thickness making it difficult to work with. The uneven thickness of the glass also give it a slight foggy appearance, and the bumpy texture of the glass is visible[20]
- A crossed/pressed slab, which is created by rolling molten glass onto a table with a rolling pin. The pin and table have indentations to create texture but the glass is often hard to work with because of the differing thicknesses.
- Antique glass is the standard glass used for stained glass windows. It is created by creating a glass bubble, piercing both sides making a cylinder, and then cutting the cylinder and letting it unfurl and cool flat. the glass can be made with a variety of colors and textures. A singular color is achieved by mixing in metallic compounds into the glass creating pot glass, while multiple color can be achieved by mixing potted glass or using the flash method. The flash method uses a bubble of glass with a large amount of a light base color, and then dipping that bubble into a darker color creating a multilayered slab.
- If the mixed color was achieved by mixing multiple potted glasses, it is called streaky or reamy glass based on the colors mixed and the ease of cutting. Reamy glass specifically has a wavy pattern in the colors, with bands of strong tonal contrast. Streaky glass has a greater portion of light colored sections with streaks of contrasting colors of varying thickness[21].
- Curious glass is glass that is an oddity or mistake of production and is often discarded by manufactures; this means that the glass can be any color or thickness.
- Commercially produced glass is another option in that it is readily available and easy to produce. It is often light in color and has a smooth texture.[22]
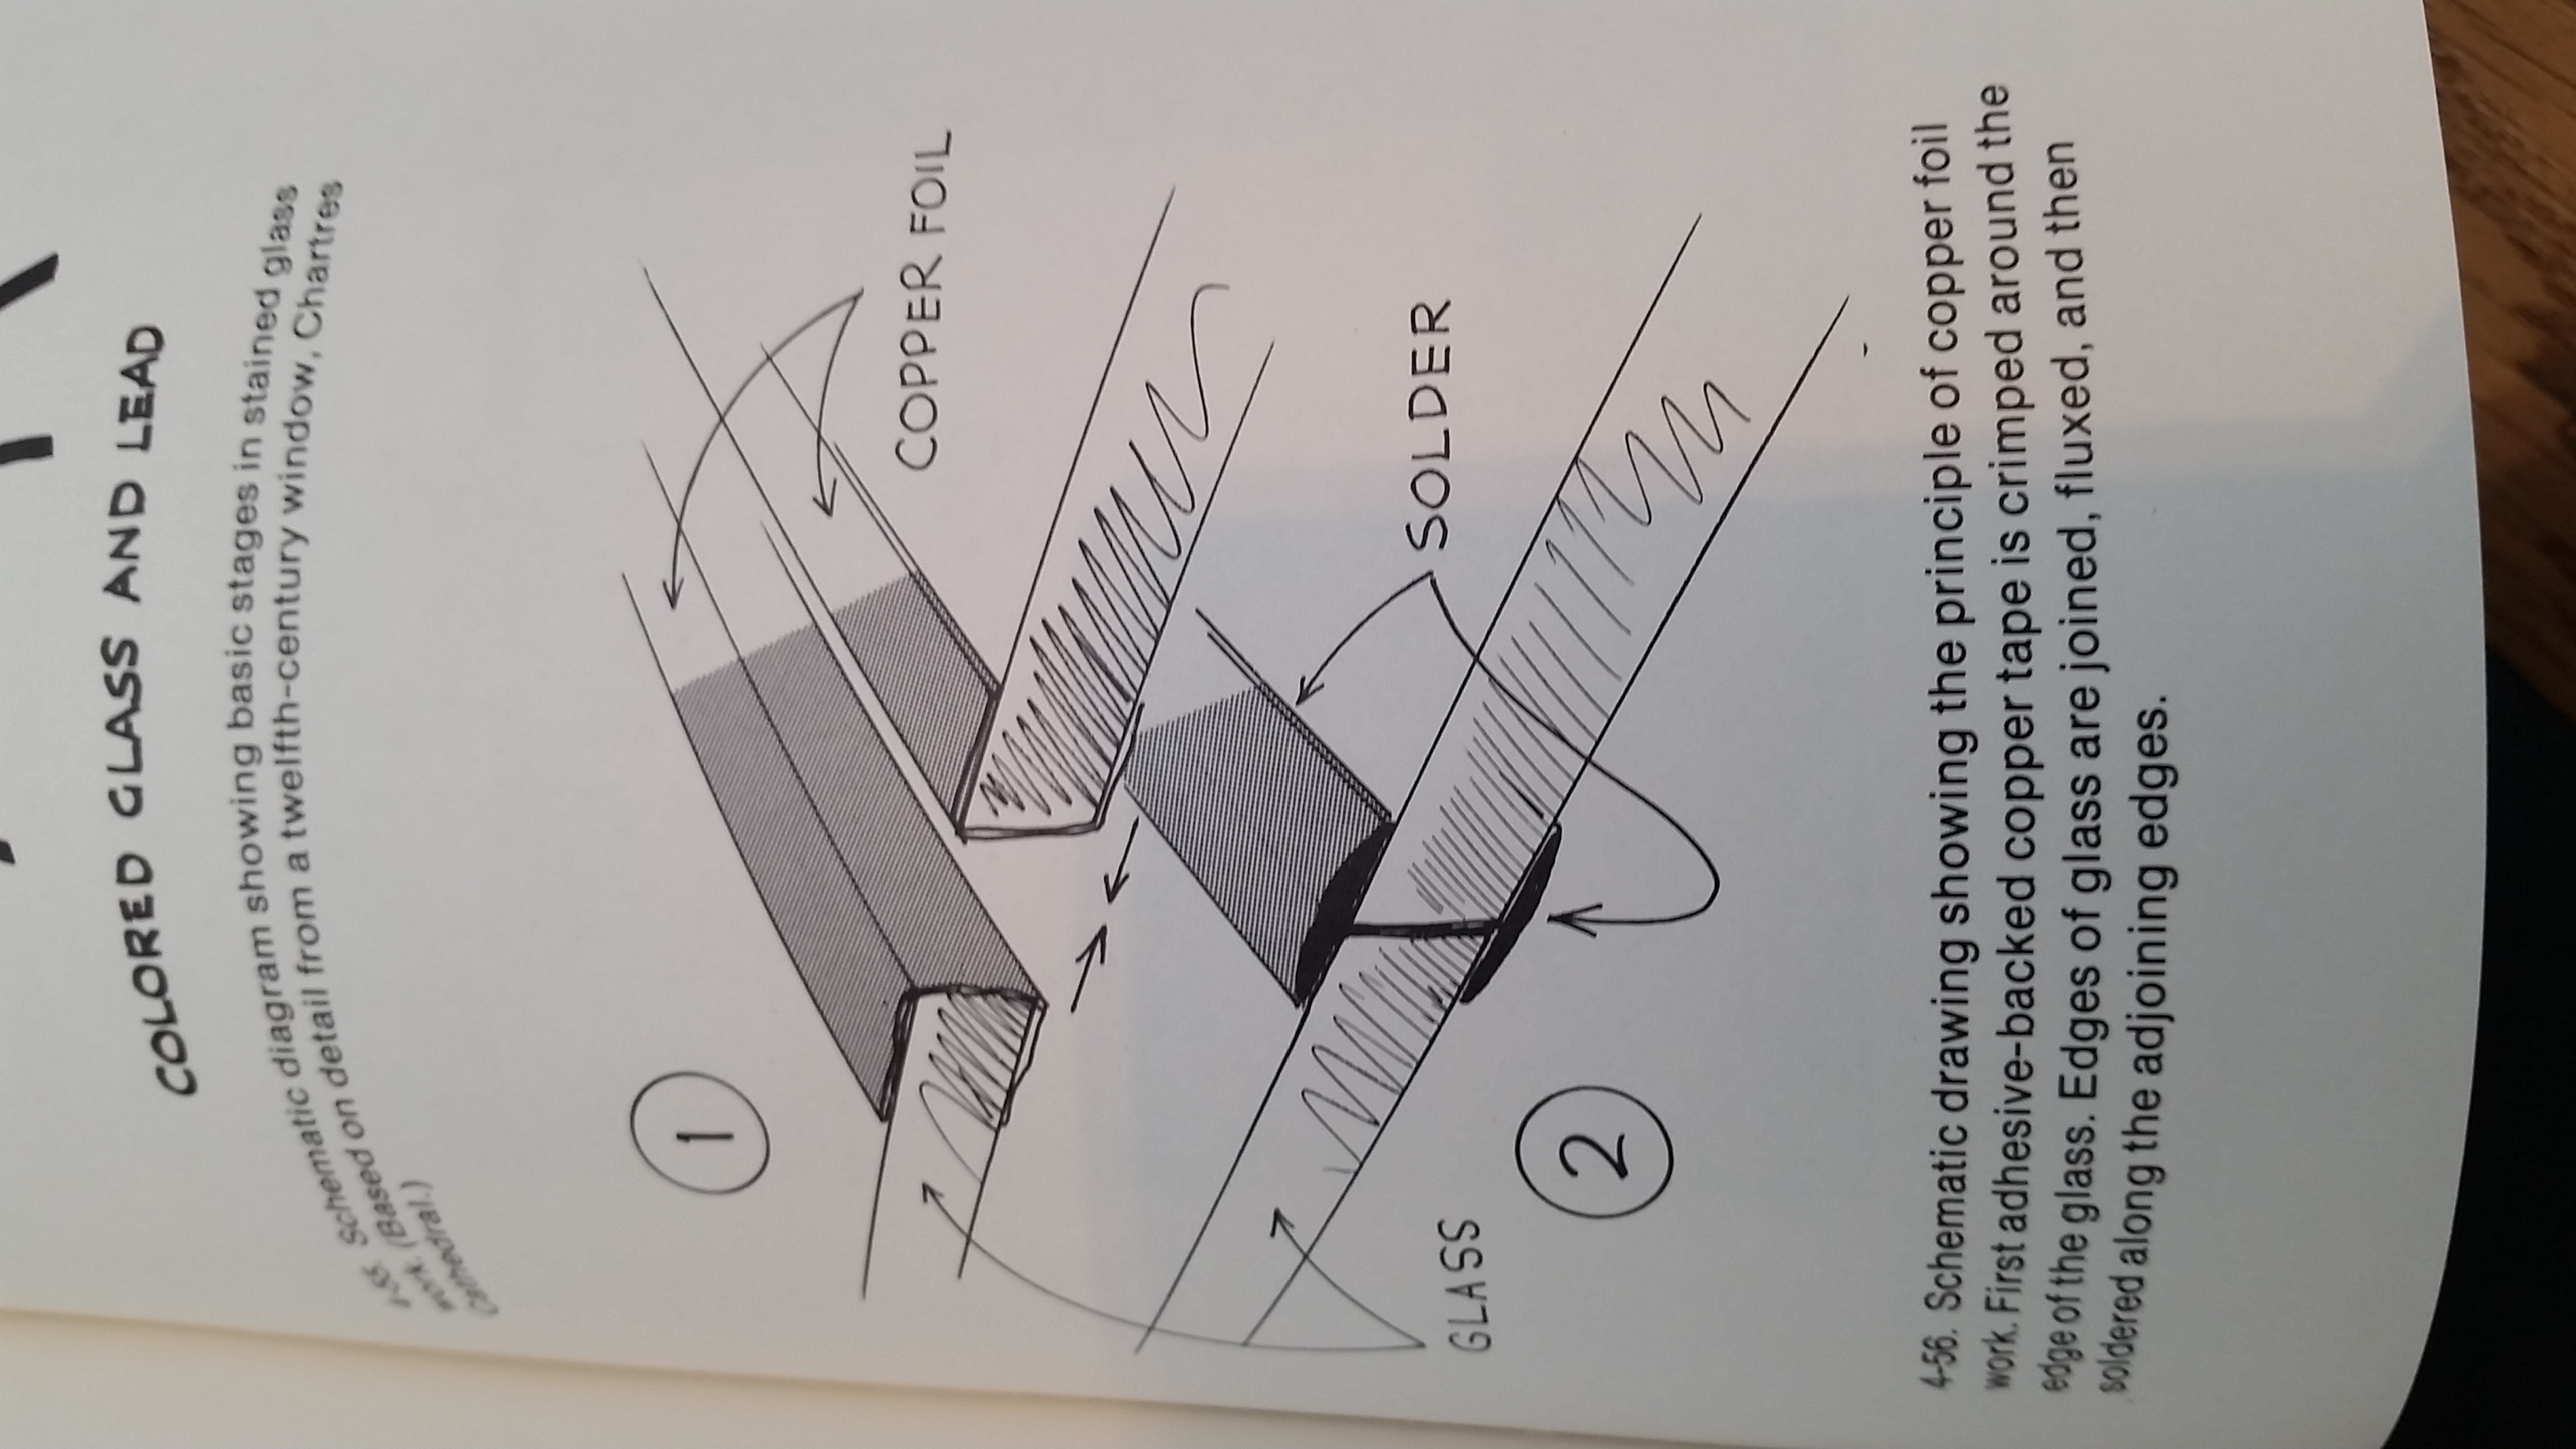 An diagram of the copper and foil technique.This illustration shows how the copper is used as a base for the solder[23] | |
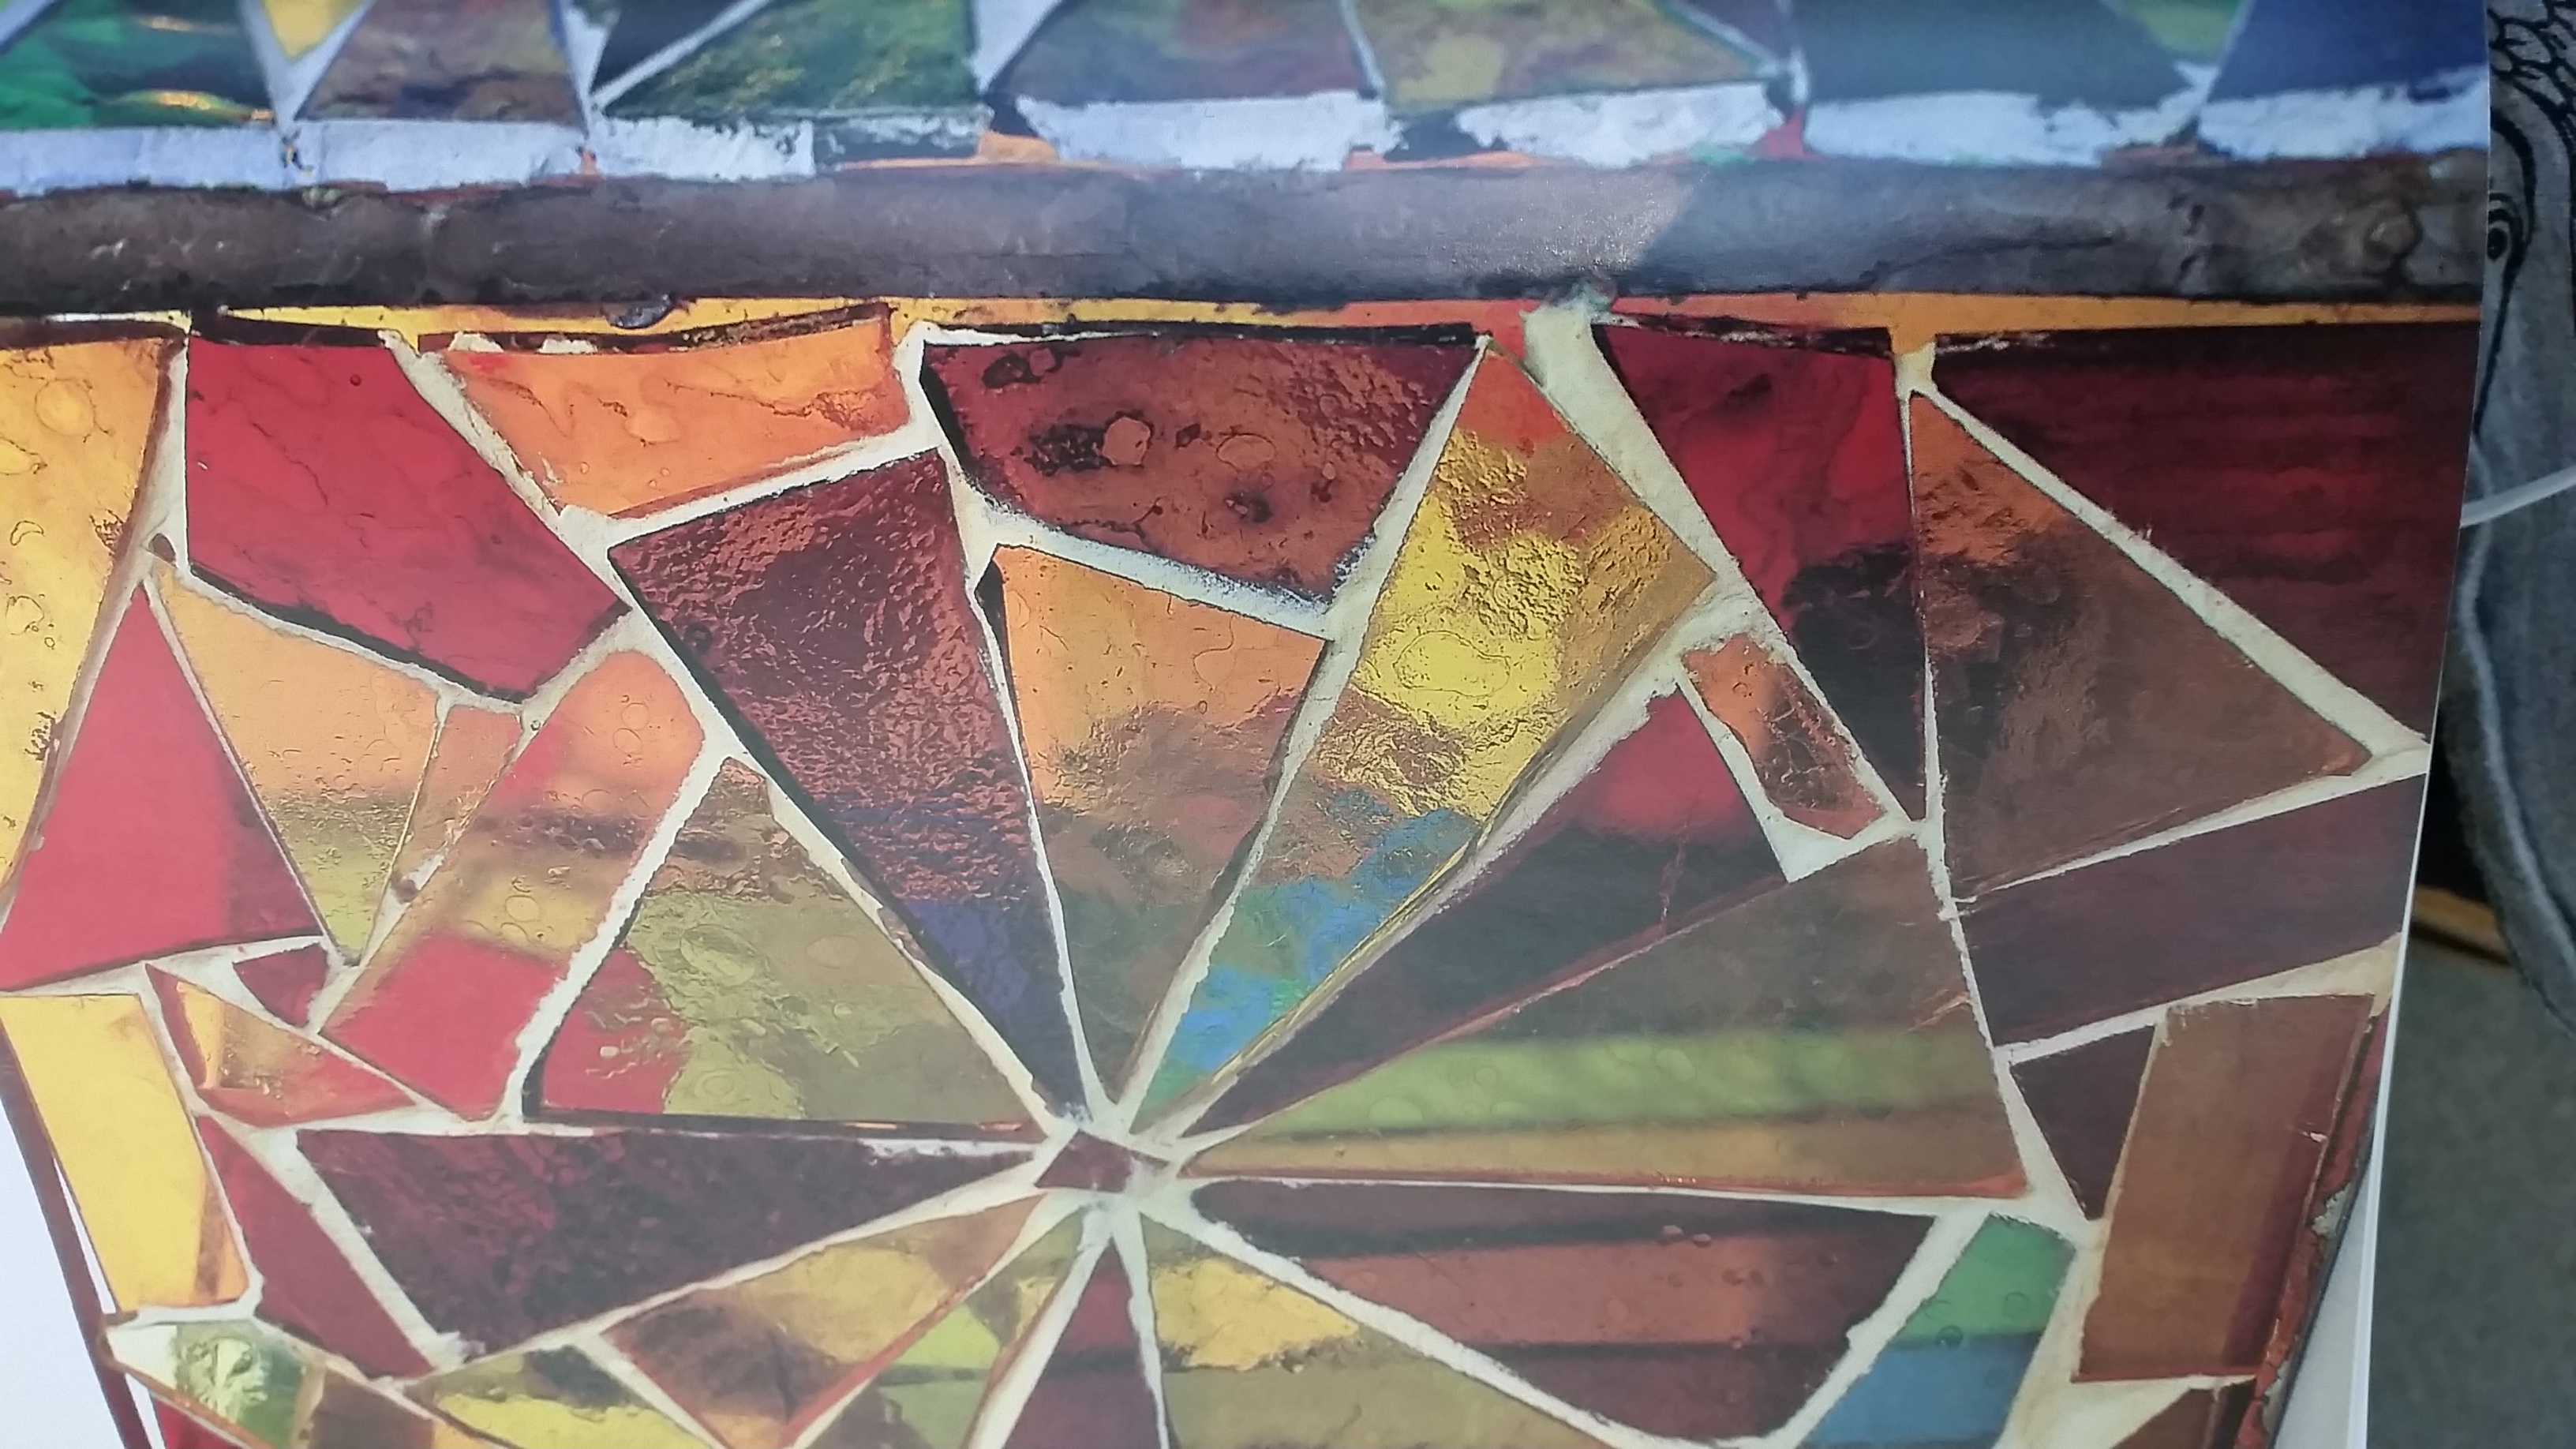 An example of the appliqué technique[24] | |
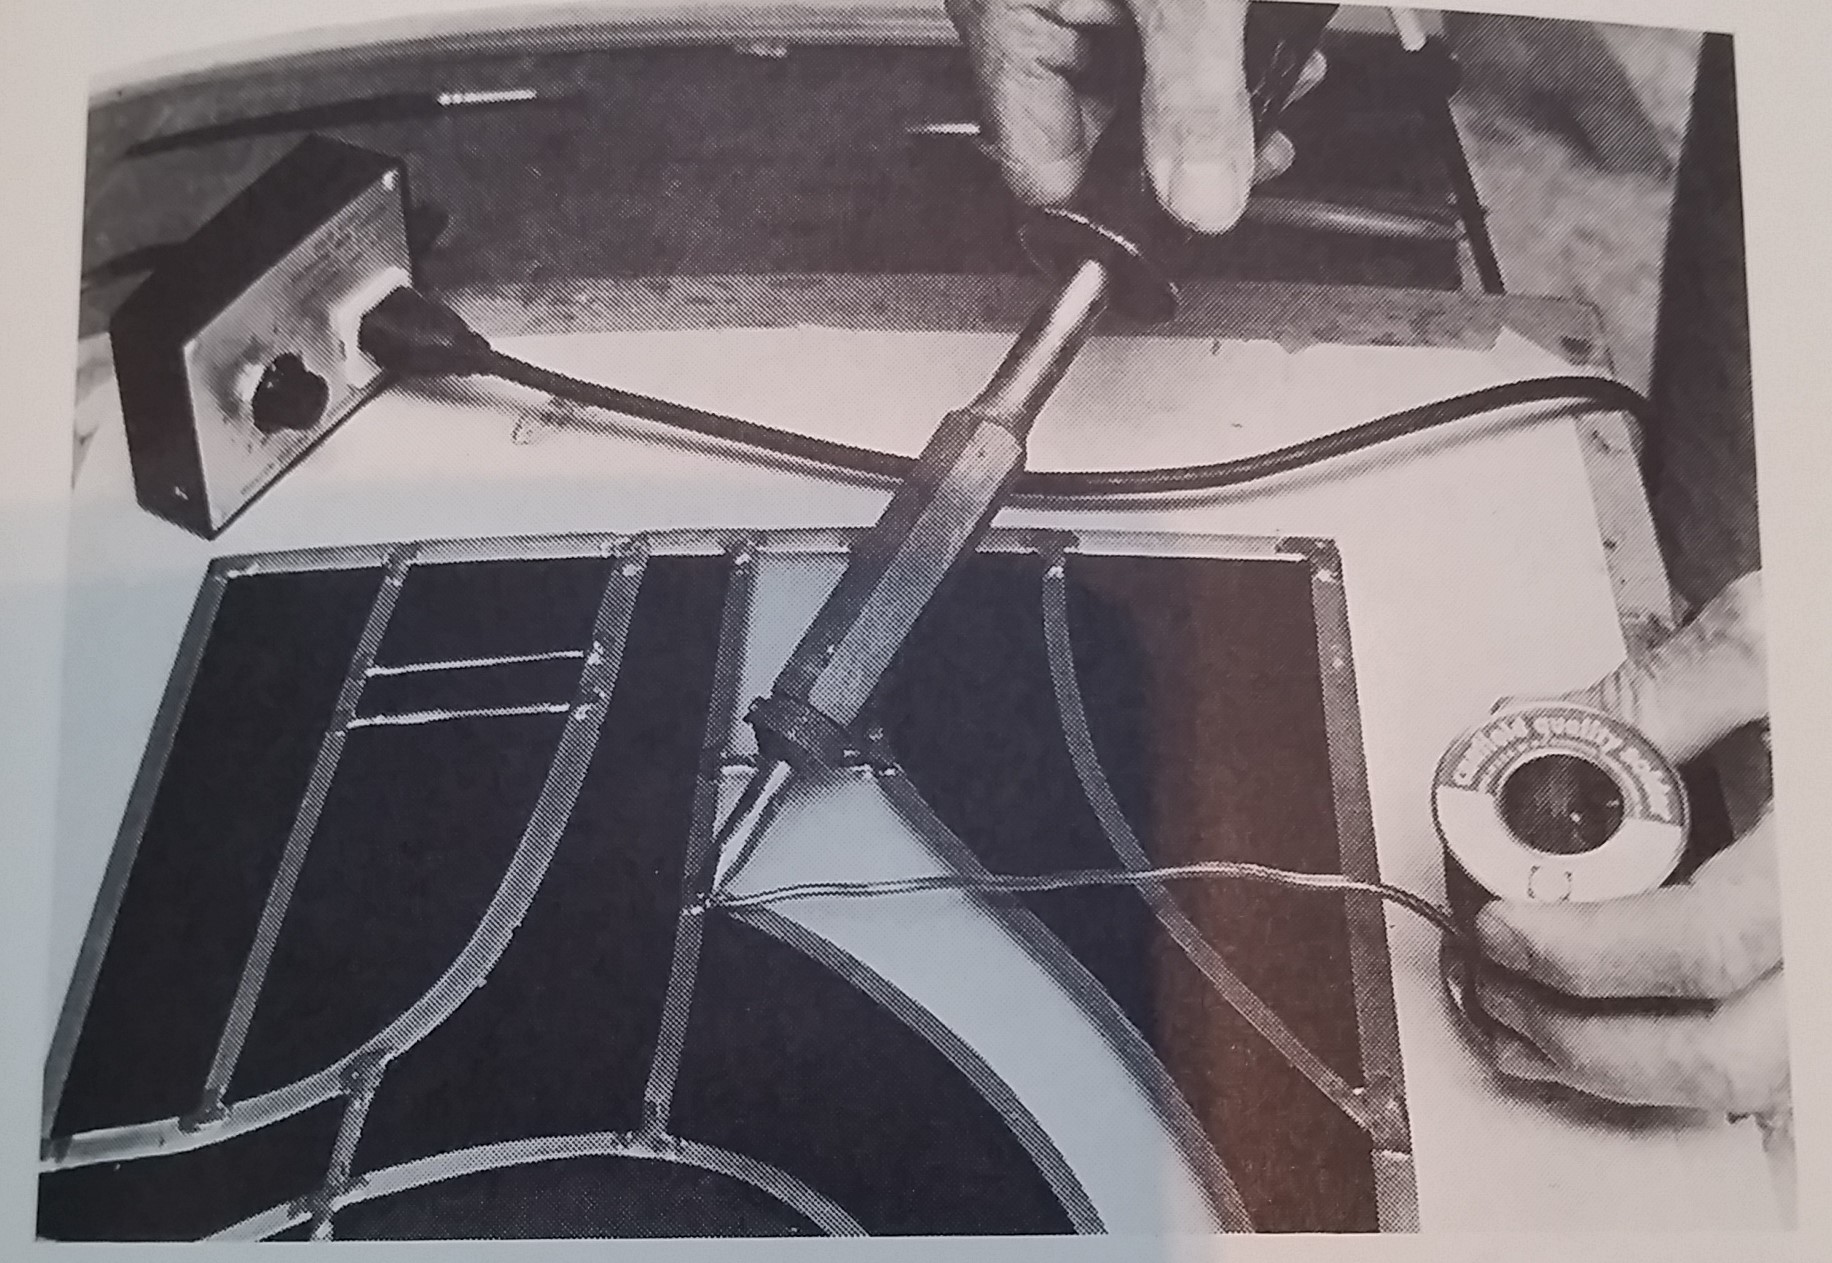 An example of the leading technique[25] | |
| Note: | The most commonly seen technique is the leading technique because of its wide use throughout history. |
|---|---|
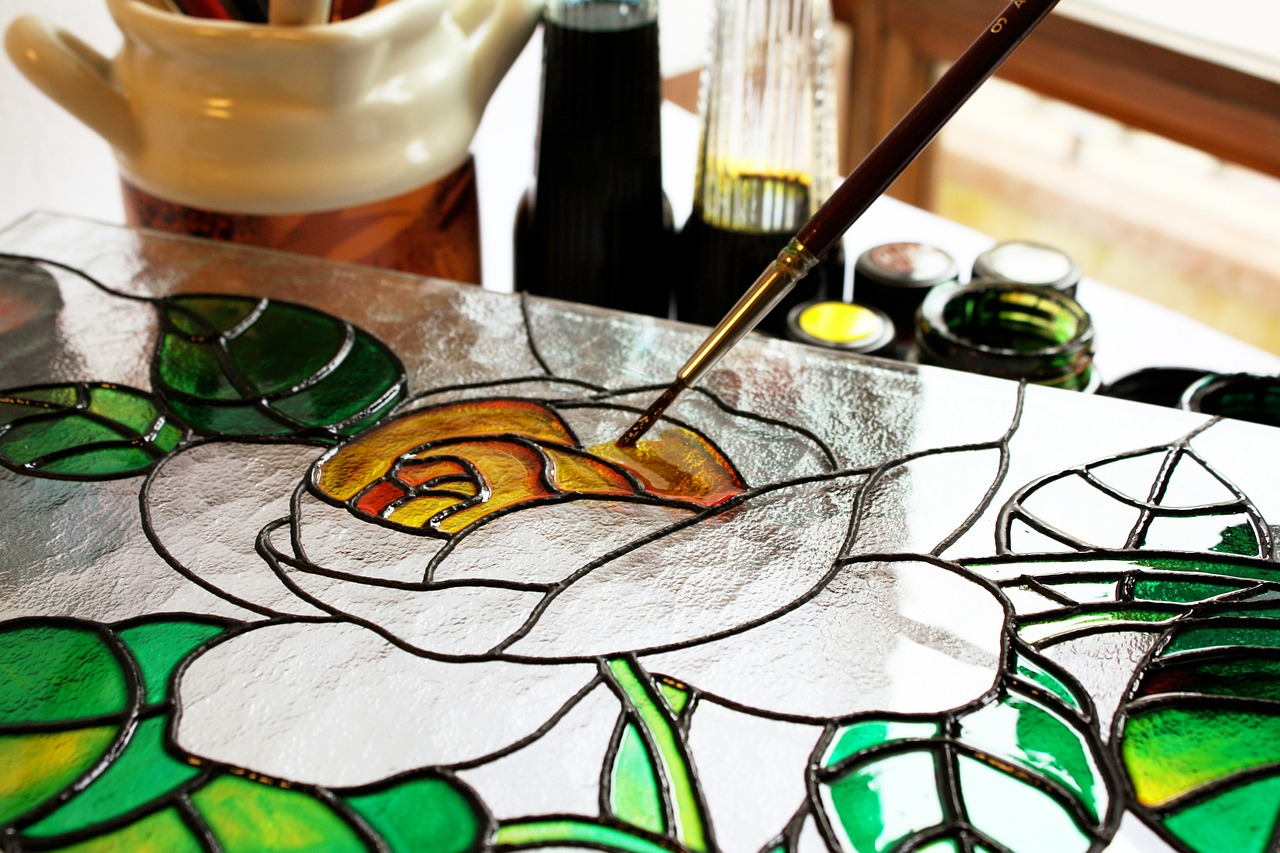
The next step is to cut and shape the glass. Cutting glass can be difficult for beginners because each cut must go to the edge of the glass making intricate cuts challenging. To cut the glass it first must be scored along the desired line. Once scored, the glass is then carefully broken along the scored line using the pliers to firmly grip the glass.[26] Then the cut pieces can be shaped and organized before moving onto assembly of the panel, which is the sixth step of the process. The window panel can be assembled in a few different methods the main methods are: copper and foil, appliqué, fusing, and leading. Copper and foil was popularized by Louis Comfort Tiffany, and is best known for the the use of copper and foil on a lampshade. The technique involves taking each piece of glass in the design and wrapping the edges in copper foil which is then soldered along the length of the seams. This method is similar to another called tinning which uses the same copper foil wrapping but lining the seam with flux, allowing blobs of solder to flow throughout the seam to create the bond. Soldering two pieces can be done in two main ways the first of which is seam. seam is similar to tinning and copper and foil in that the solder is run between the two joints, creating a flat joint. The other option is bead, which builds upon a seam with more flux and then the solder is run above the joint until a raised line is formed to the desired height. Appliqué steps away from solder and it involved gluing the pieces to a clear slab. This changes the grouting of the glass from negative to positive, allowing more light to pass through. Fusing glass involves overlapping each edge of every piece and then firing the design in a kiln. The end result is a solid panel with no leading or gaps between the glass. The one main problem with this method is if the glass used in the panel is not homogeneous, it can lead to cracking and uneven melting.[27] Leading is the most commonly seen method in stained glass. This method used lead came to secure the glass in place, often in a grove in the lead, and then the lead is soldered to hold the pieces together. Cement is then used to secure the panel and fill any remaining gaps in the lead adding stability and waterproofing to the joints.[28] The final step is to finish the window whether that be polishing the lead, packing for transport, installation, painting, or all of the above.[29] Painting can add detail to a stained glass design that can easily be achieved by the coloration of the glass or the assembly. If a panel is painted it will need to be fired in a kiln to set the paint.[30]
Section 2: Deliverable
Creating my own Stained Glass Window
The Design
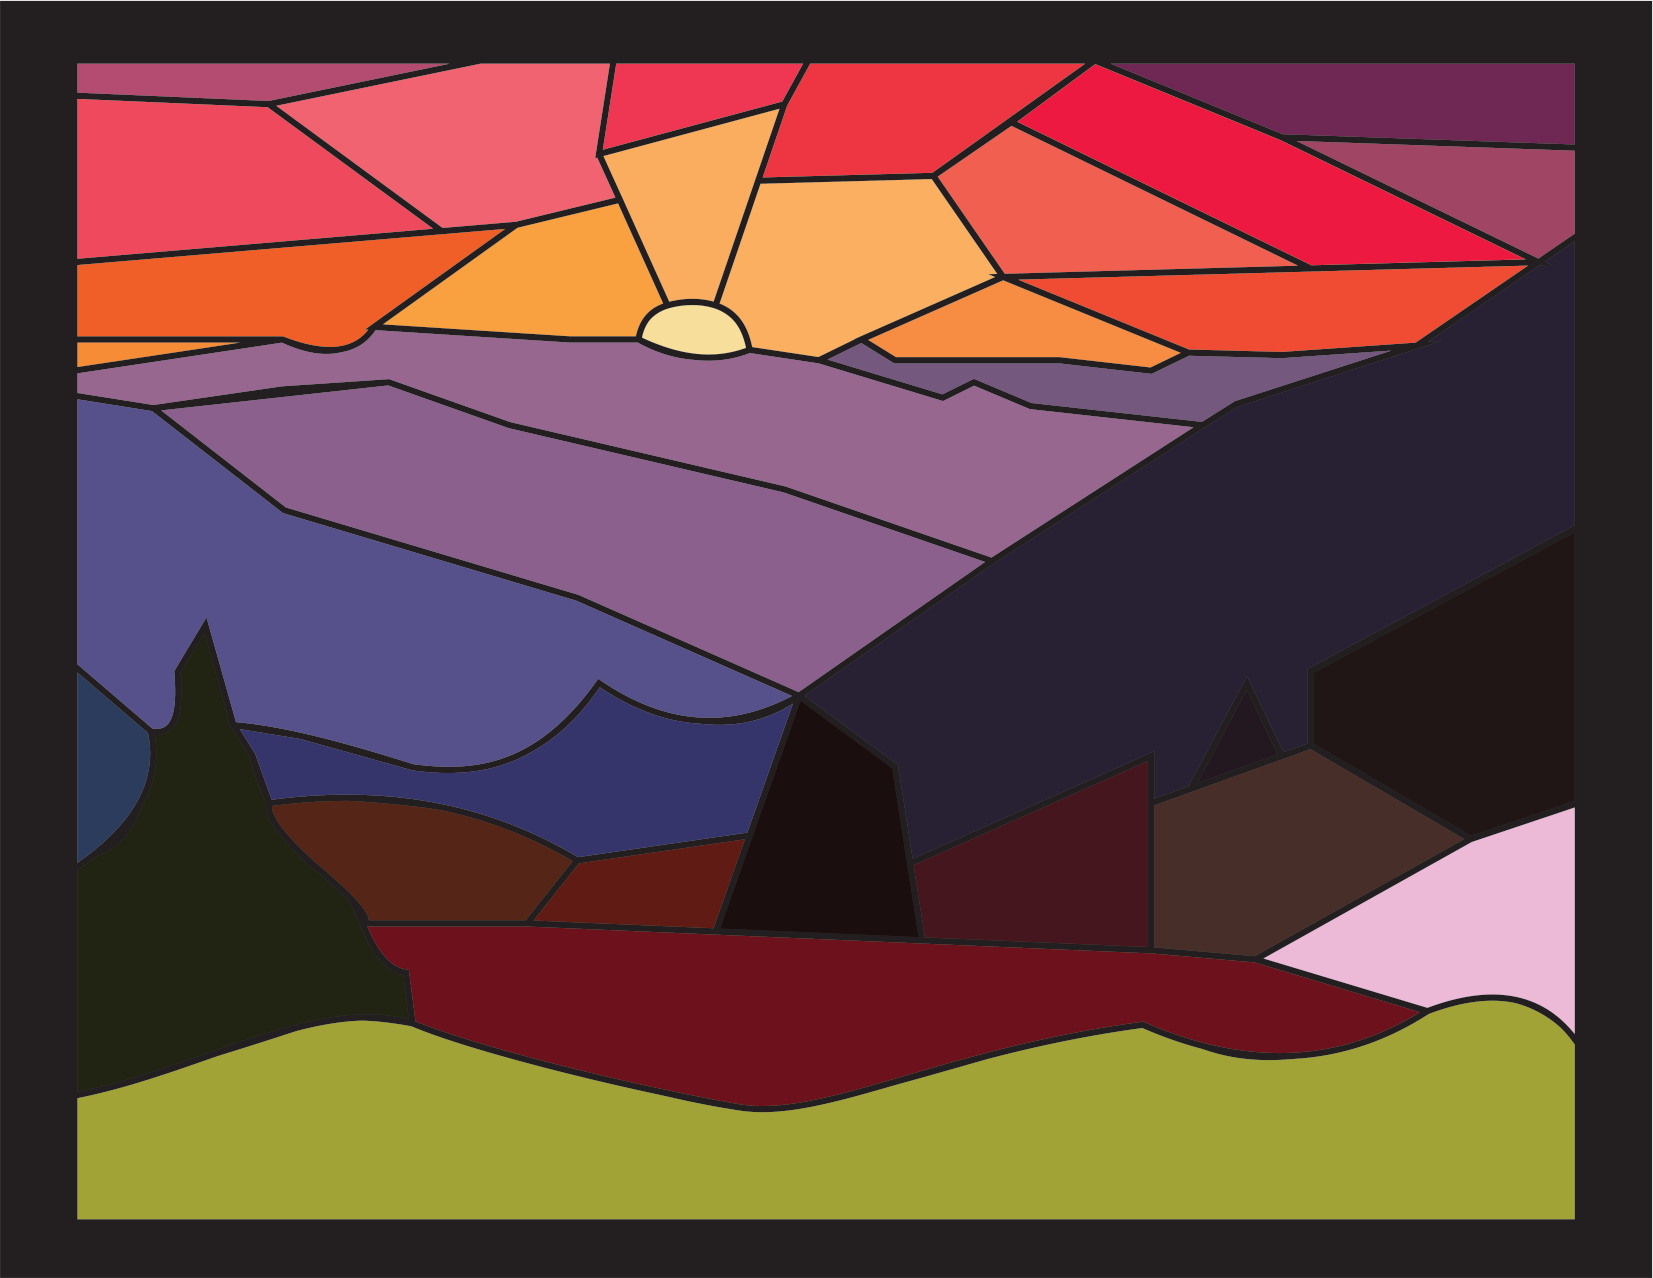
For the design of my window, I took inspiration from nature and a window design I had seen while browsing on pinterest. I decided on a mountain sunset scene for the beautiful array of colors that I could use and because I loved that design so much. I then chose an image off google and used that as a template for my design so I could see how it would look broken into pieces. This original design was contingent on how complex I could make my panel at the workshop. The main use I would have for this panel is as a decorative piece in my home, and maybe someday it could actually function as a window.
The Process
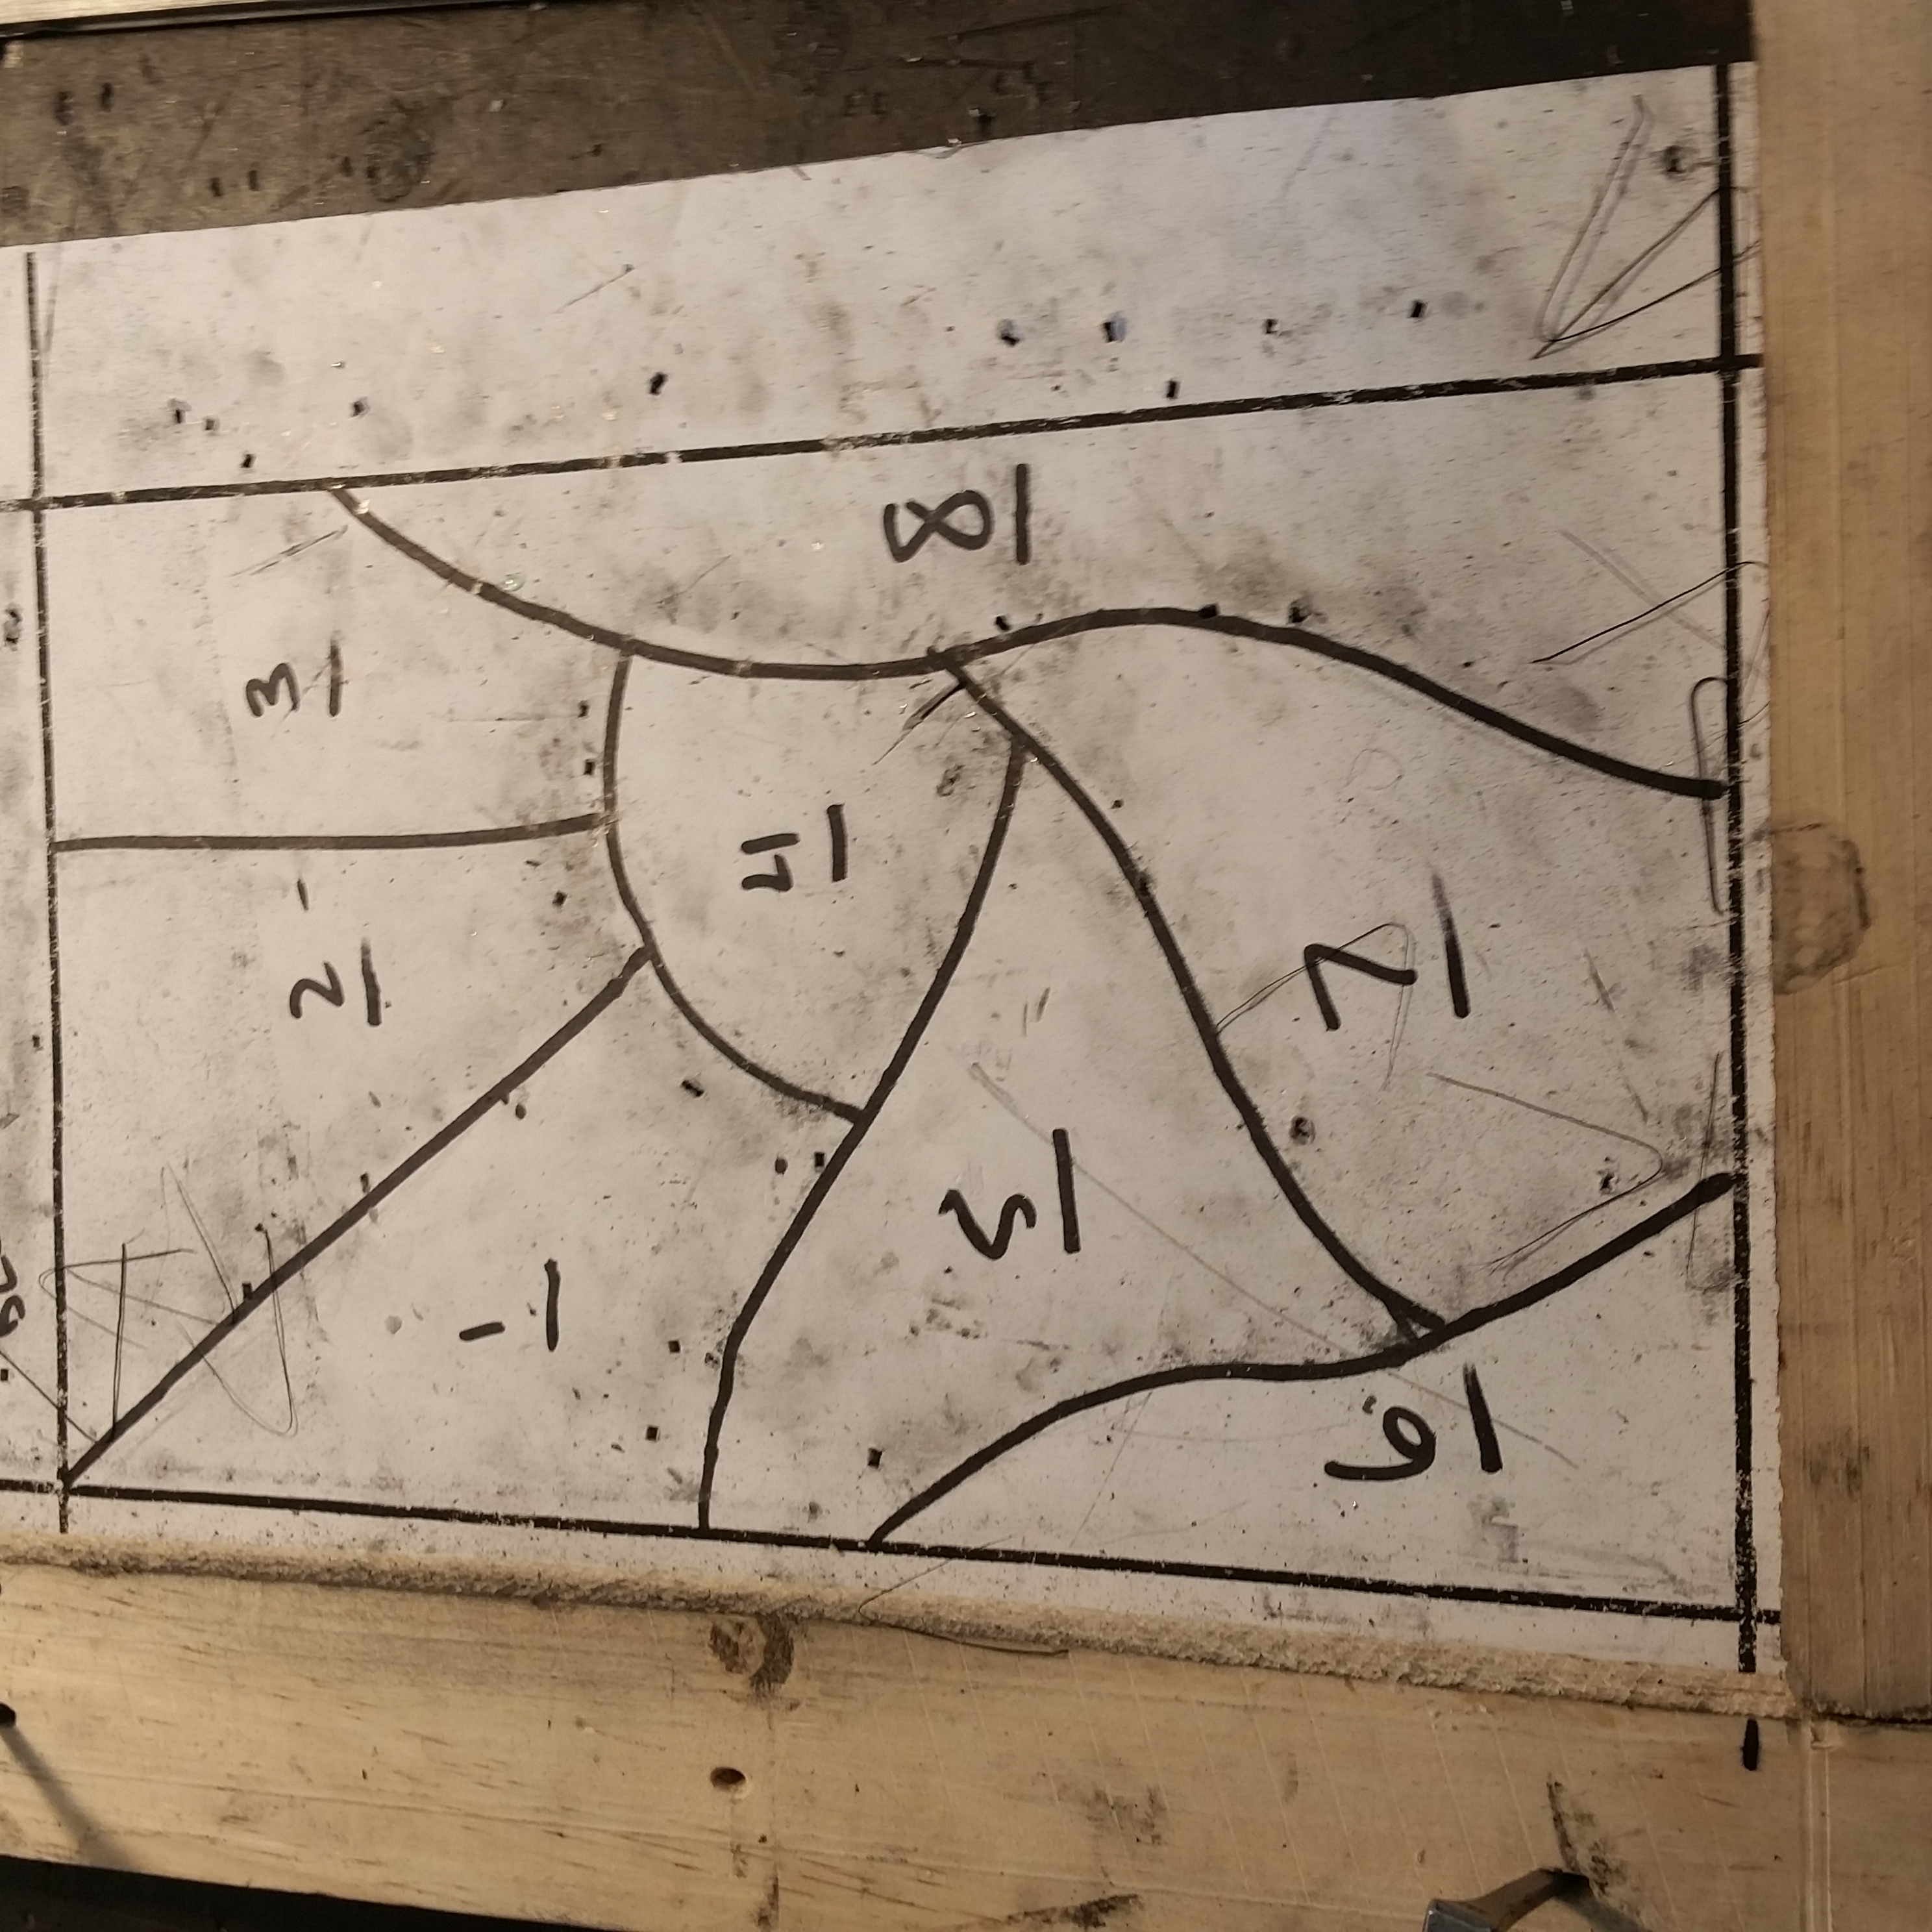
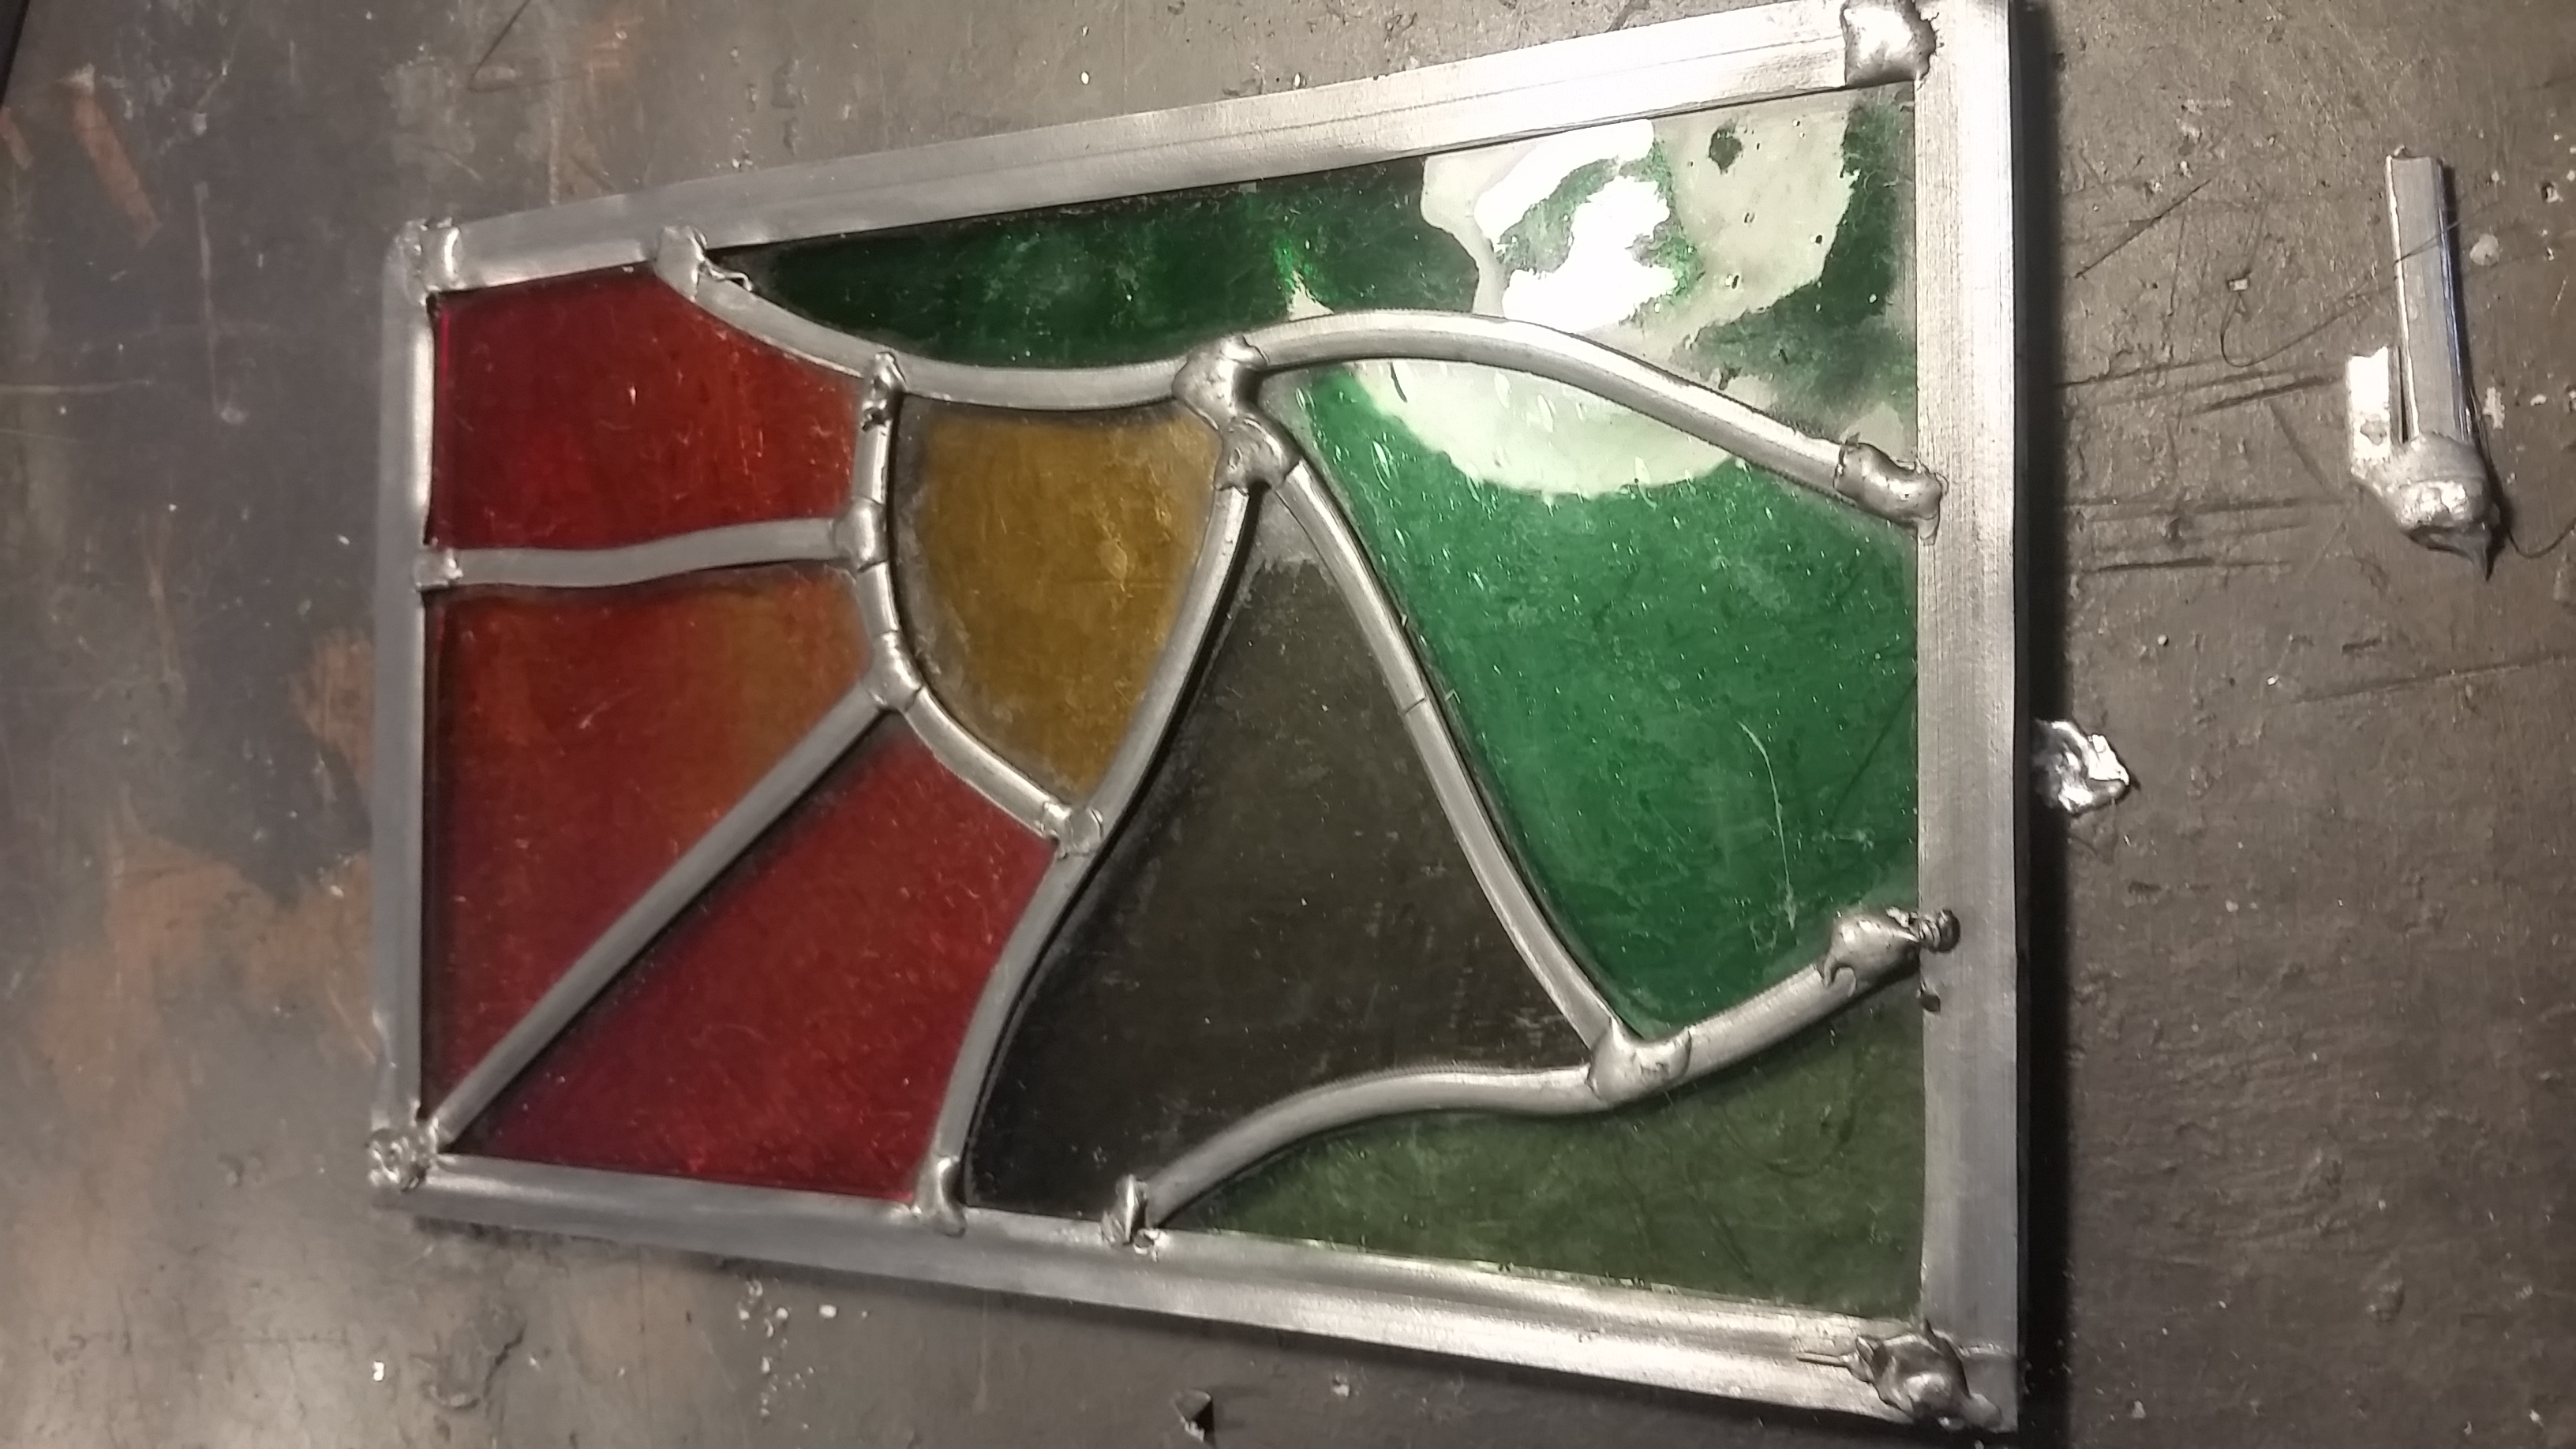
The process of creating my own stained glass window began at 9:30 a.m. at Deko Studio in London. The first portion of the workshop involved learning how to properly handle and cut glass. I practiced scoring along a marker line and breaking glass for about an hour. The scoring tool works like a pen and carves a line into the glass, which can then be used to break the glass. There are three main methods I used for breaking the glass in my panel: scoring and using specialized pliers, scoring and tapping along the line, and scoring and using a different pair of specialized pliers. The two pairs of pliers were grozier pliers, for breaking small pieces, and the other was a pair of glass breaking pliers for larger breaks and simple curves. Moving onto the actual panel creation, I was given a piece of paper to design my window with a design restraint of a maximum of eight pieces. For my design, I took my ideal design above and dramatically simplified the lines and colors. The final design ended up looking like a basic mountain sunset.
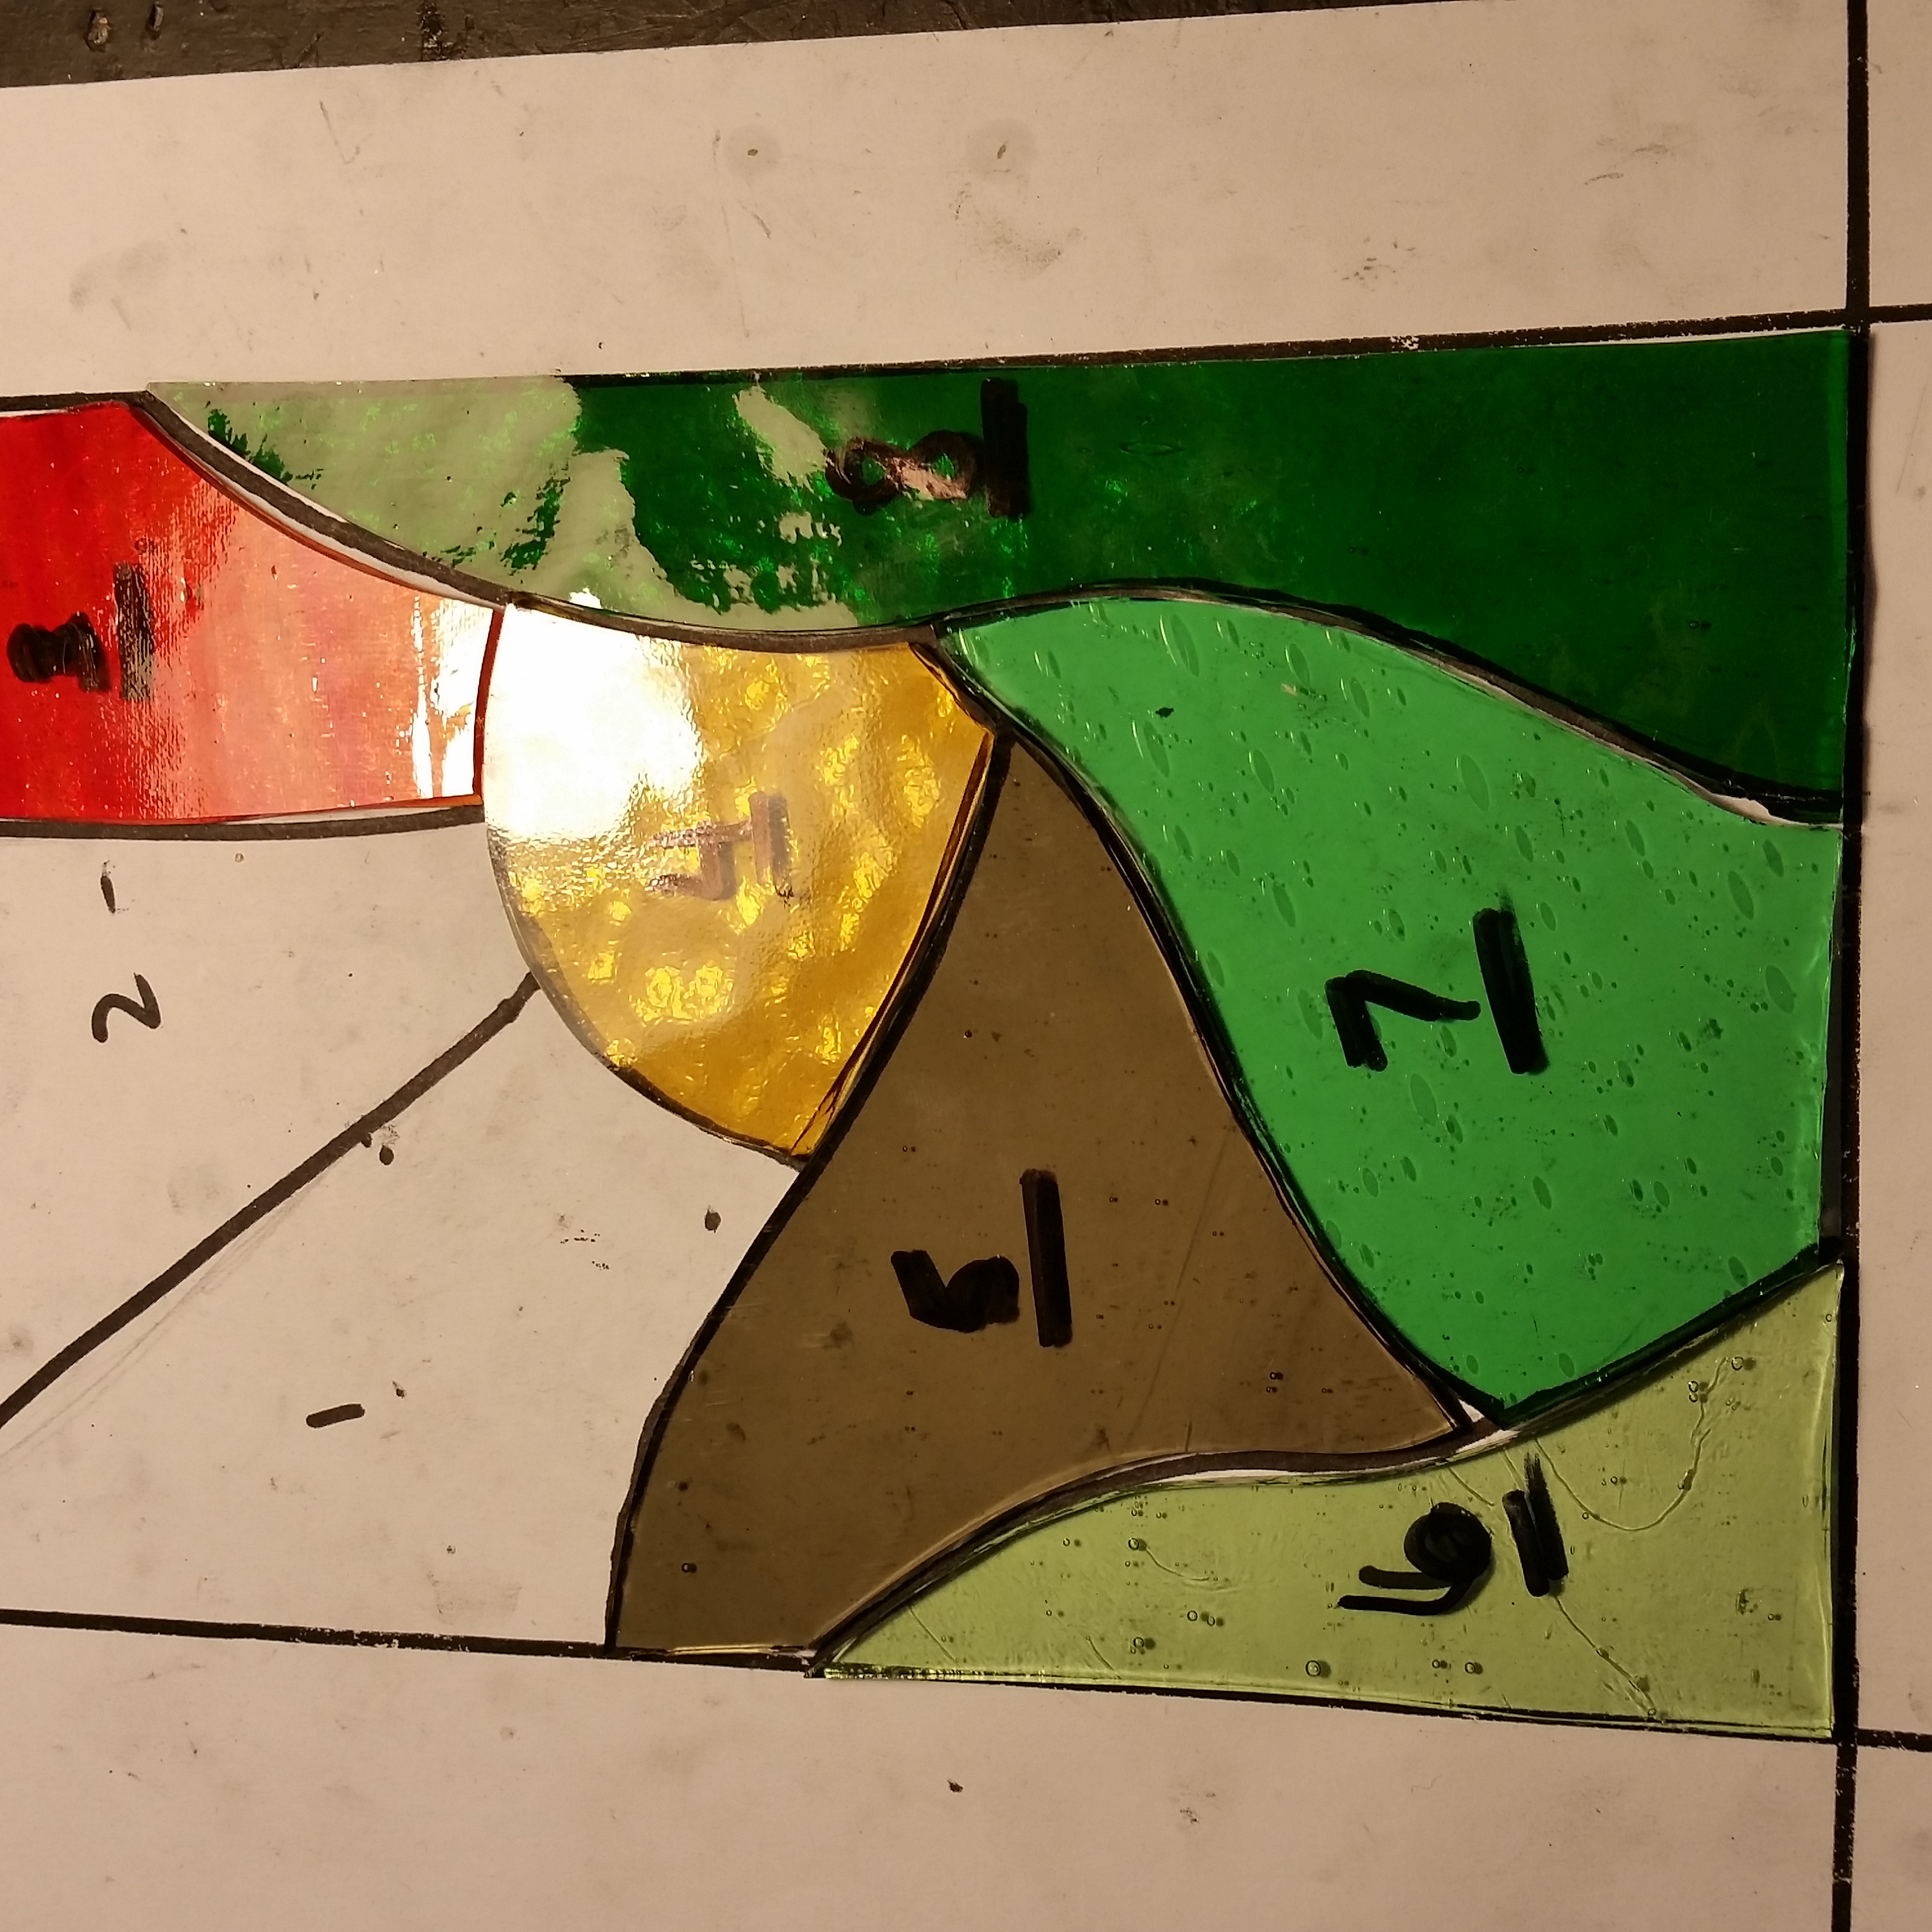
The main historical influence on my design was the modern do-it-yourself movement, because I preferred the freedom to create any possible design rather than staying within a limited historical style. After creating my cartoon it became time to chose and cut the colored glass. The type of glass we used was standard antique glass, and was mainly the leftover pieces from commissioned art works. I picked pieces with a smooth texture for the sunset sky because I didn't want my sky to be too complicated, and the glass I chose had beautiful striations that helped me to achieve my desired sunset effect. For the hills and trees I chose to use four different shades of green to add depth to the piece and in an attempt to keep the image more realistic. I also chose to experiment with texture on two of the four pieces, further creating definition between each of the green pieces. Lastly, for the sun I picked a textured yellow piece because I like the more mellow refraction effect it had in the light.
After I had accurately cut each of my pieces, I began to cut and shape the lead. This was the most difficult part of the process because it required an incredible amount of precision. The first step was creating a corner of the frame, from which all other pieces would line up with. This was the most challenging part because nailing the wood guide to the table would often cause the cartoon to shift and to have to begin the process all over again. After that had passed I began the tedious task of cutting and shaping thin pieces of lead to the curves of my glass pieces. This was the only moment where I regretted my design choice because the lead would not hold the curved shapes very well. Once all of the lead was in place it was time for me to solder all of the joints, and using my prior experience I finished soldering rather quickly. Once I was finished soldering, the only step left was to polish my window.
The Result
Conclusion
After looking into the history, purpose, and techniques of stained glass windows I applied my knowledge to create my own window. Creating a stained glass window is a tedious process of endlessly cutting glass and lead, hoping that in the end the pieces will fit together. It would be interesting to see how the art form will continue to evolve over time and what the purpose of it will be.
References
- ↑ ARMITAGE, E. (1959). Stained Glass: history, technology and practice, etc (1st ed., pp. 19-21). Pl. 117. Leonard Hill: London.
- ↑ ARMITAGE, E. (1959). Stained Glass: history, technology and practice, etc (1st ed., pp. 22-28). Pl. 117. Leonard Hill: London.
- ↑ Chieffo Raguin, V. (2003). The history of stained glass (1st ed., pp. 32). London: Thames and Hudson.
- ↑ ARMITAGE, E. (1959). Stained Glass: history, technology and practice, etc (1st ed., pp. 19-21). Pl. 117. Leonard Hill: London.
- ↑ ARMITAGE, E. (1959). Stained Glass: history, technology and practice, etc (1st ed., pp. 34-40). Pl. 117. Leonard Hill: London.
- ↑ Chieffo Raguin, V. (2003). The history of stained glass (1st ed., pp. 88-111). London: Thames and Hudson.
- ↑ Chieffo Raguin, V. (2003). The history of stained glass (1st ed., pp. 32). London: Thames and Hudson.
- ↑ ARMITAGE, E. (1959). Stained Glass: history, technology and practice, etc (1st ed., pp. 34-40). Pl. 117. Leonard Hill: London.
- ↑ Chieffo Raguin, V. (2003). The history of stained glass (1st ed., pp. 112-141). London: Thames and Hudson.
- ↑ Chieffo Raguin, V. (2003). The history of stained glass (1st ed., pp. 32). London: Thames and Hudson.
- ↑ Shanahan, M. (2001). Stained glass (1st ed., pp. 47). Lewes: Guild of Master Craftsman Publications.
- ↑ ARMITAGE, E. (1959). Stained Glass: history, technology and practice, etc (1st ed., pp. 19-21). Pl. 117. Leonard Hill: London.
- ↑ Chieffo Raguin, V. (2003). The history of stained glass (1st ed., pp. 10). London: Thames and Hudson.
- ↑ ARMITAGE, E. (1959). Stained Glass: history, technology and practice, etc (1st ed., pp. 22-28). Pl. 117. Leonard Hill: London.
- ↑ Chieffo Raguin, V. (2003). The history of stained glass (1st ed., pp. 228). London: Thames and Hudson.
- ↑ Reyntiens, P. (1967). The technique of stained glass (1st ed., pp. 40-45). London: Batsford.
- ↑ Shanahan, M. (2001). Stained glass (1st ed., pp. 8-13). Lewes: Guild of Master Craftsman Publications.
- ↑ Böhringer, F. (2006). Angelika Kauffmann-Museum in Schwarzenberg im Bregenzerwald. Retrieved from https://en.wikipedia.org/wiki/File:AKMuseum5.JPG
- ↑ Sourcebook 2015. (2015) (pp. 109). Retrieved from http://www.sgaaonline.com/SB2015-pdf/Sourcebook-2015OE.pdf
- ↑ Sourcebook 2015. (2015) (pp. 1-2). Retrieved from http://www.sgaaonline.com/SB2015-pdf/Sourcebook-2015OE.pdf
- ↑ Sourcebook 2015. (2015) (pp. 109). Retrieved from http://www.sgaaonline.com/SB2015-pdf/Sourcebook-2015OE.pdf
- ↑ Reyntiens, P. (1967). The technique of stained glass (1st ed., pp. 27-32). London: Batsford.
- ↑ O'Brien, V. (1986). Techniques of stained glass (1st ed., pp. 63). New York: Prentice Hall Press.
- ↑ Shanahan, M. (2001). Stained glass (1st ed., pp. 48). Lewes: Guild of Master Craftsman Publications.
- ↑ O'Brien, V. (1986). Techniques of stained glass (1st ed., pp. 57). New York: Prentice Hall Press.
- ↑ Shanahan, M. (2001). Stained glass (1st ed., pp. 14-15). Lewes: Guild of Master Craftsman Publications.
- ↑ Shanahan, M. (2001). Stained glass (1st ed., pp. 49). Lewes: Guild of Master Craftsman Publications.
- ↑ Shanahan, M. (2001). Stained glass (1st ed., pp. 57-61). Lewes: Guild of Master Craftsman Publications.
- ↑ O'Brien, V. (1986). Techniques of stained glass (1st ed., pp. 88-92). New York: Prentice Hall Press.
- ↑ Reyntiens, P. (1967). The technique of stained glass (1st ed., pp. 73). London: Batsford.
External Links
Here is the website for the studio where I made my window: Deko Studio.
